The culprit and the cause

Photo description: Izzy the calico on a Barcalounger chair back she has claimed as her own complete with claw marks

Izzy the cat was quite miffed when I got a new chair and got rid of the hollow she has been carefully cultivating for years. She started the process over with the new chair and decided to add in claw sharpening, much to my dismay. To hide the damage I made a chair back cover with materials from around the house. It worked OK, but kept sliding, so I bought some nice heavy custom-print fabric from Spoonflower to make a new cover.

Photo description: old free chair back cover, with the new fabric across the seat

The first decision I had to make was how to construct the back cover. I decided to do a long strip up the sides and top, and a panel for the front and back. I tore the fabric to get straight lines (yes, light denim will tear like cotton plain weave, just make sure to tear at least an inch away from the seam line because the threads distort at the tear.) I then used the treadle sewing machine to sew up a new cover. I did a fit once the side seams were done, adjusted the length, then sewed a hem.

Photo description: Singer model 66 red-eye treadle machine used to sew the chair back cover
Photo description: newly installed custom chair back cover on a Barcalounger swivel chair

I do like the Art Nouveau look with squirrels on the fabric. Izzy has already started to reclaim the new cover. It’s a good thing I like cats more than furniture.

Throwback Thursday: lure

In March of 2017 I hand carved and painted a fishing lure for my Dad.

Photo description: carving a basswood lure blank with a pocket knife and cut resistant glove
Photo description: sanding down the blank, started with 100 grit, 220 grit shown
Photo description: air brush setup with lure mounted on a wire for control
Photo description: base coats of paints applied
Photo description: fishnet stocking pulled tight over the lure blank to mask for painting scales
Photo description: finished airbrush painting

I did coat the lure in a water proof gloss finish, but didn’t take a picture at the time. Below is a picture of the lure in 2026.

Photo description: gloss coated hand carved and painted wood fishing lure, approximately 4” long, 9 years old

Throwback Thursday: egg aprons

In February of 2017 I did an egg apron experiment for a friend with chickens. I made three kinds of egg apron from simple white cotton fabric that I had in my stash.

Photo description: white egg apron with woven rope tie and two rows of pleated pockets
Photo description: round bottom apron with braided rope tie, large pocket with two hand access ports and division seams along the bottom edge to keep eggs from knocking together
Photo description: harvest style white apron with buttoned up large “pockets” to hold eggs or produce
Photo description: same harvest style white apron unbuttoned

The experiment was interesting. The round bottom apron was hard to get the eggs out, the pleated pockets were nice, but if you leaned over too fast the eggs rolled out, and the harvest apron didn’t keep the eggs separated.

Now, with three of my own chickens and one or two eggs, I just use my pants pockets. Even when we had more chickens the aprons were more of a pain than helpful. Egg baskets are a more practical solution.

Duped

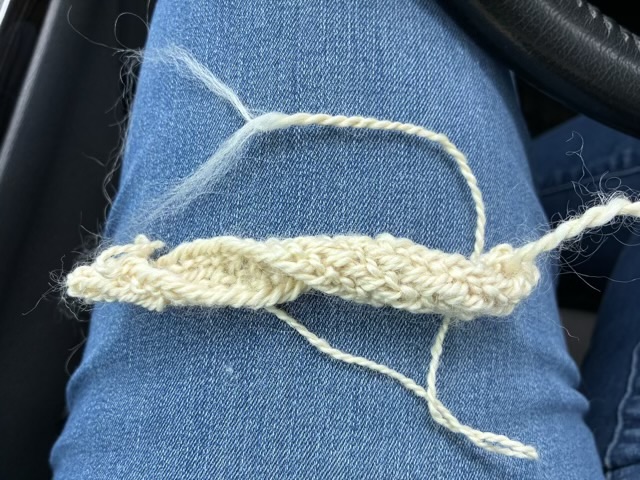
Shame on me, really, for not doing my due diligence on my purchase. I wanted to crochet a shamrock, and went looking for patterns. I found one that looked cute and was “on sale” with high ratings and over a thousand purchases for the shop in Etsy. I bought it because I really do want to support pattern makers. The pictures were beautiful, but not helpful, and the instructions were skeletal and incomplete. The layout looked like it was copied and pasted from the free version of ChatGPT version 1. I did attempt to make the shamrock, and found that I had to lean heavily on my own crochet knowledge to puzzle out what to do on a pattern listed as “beginner friendly.” My shamrock had a hole in the middle.

Photo description: crocheted shamrock fail

So this post is going to be about what to look for when purchasing patterns.

  • Check how long the shop has been in business (on Etsy this information is on the shop page). Under a year is suspect.
  • Check the shop name. Does it match the logo or has there been numbers tacked on? The logo might look professional and familiar, but if the shop name is different, it is someone pretending to be a different shop.
  • Read the 1 star reviews, even if you have to scroll for while.
  • You get what you pay for. A $2 pattern is not going to be a complete tutorial on how to crochet. (Although in my professional opinion if it says beginner, it should, regardless of price.)
  • Reach out to the shop owner. I did get a prompt response, with canned answers. It was obvious from the first interaction that the answers were not from someone well versed in crochet or helping or teaching.

My $2 purchase cost me more time and hassle than it was worth. What really makes me boil is that there are beginner crafters out there looking for patterns and this kind of garbage causes doubt in their own ability, rather than looking to the pattern as the fault.

And all those 5 star reviews? I strongly suspect that they are all the same person (or group of people?) posting the same fake or pirated photos under different accounts. A complicated ruse, but a profitable one, unfortunately.

Throwback Thursday: long Turks-head knot

This throwback only goes back two years, in 2024 I made my Dad a long Turks-head knot pencil grip with hemp string.

Photo description: hemp string wrapped around a yellow pencil in a woven pattern made in June 2024

I asked for hints for his birthday and he mentioned that the pencil grip doesn’t fit on mechanical pencils.

Photo description: same pencil grip on a new yellow pencil two years later next to a plastic mechanical pencil

So I made him some more.

Photo description: mechanical pencils with different colored hemp knots in different patterns

I’m still not confident with knot naming. The pencils in the photo above are laid out in the order I made them, from left to right. Rather than name the knots, I’ll tell you what went wrong. The first one I forgot to split the third time around so ended up with a different pattern. The second was too tight and I was not able to double the knot. The third was a little looser, so I doubled most of the knot, but couldn’t squeeze in the final doubling. The fourth I changed color and was still only able to double most, but not all, of the knot. The fifth I deliberately didn’t split the third pass. The sixth I was able to double some, but not all. The seventh, ah the seventh, came out as I wished, with all passes doubled.

Here is the video I referenced to make my knots: A Long 4 Bight Paracord Turk’s Head Knot (21 lead 4 bight)