Spinning as I go: plarn

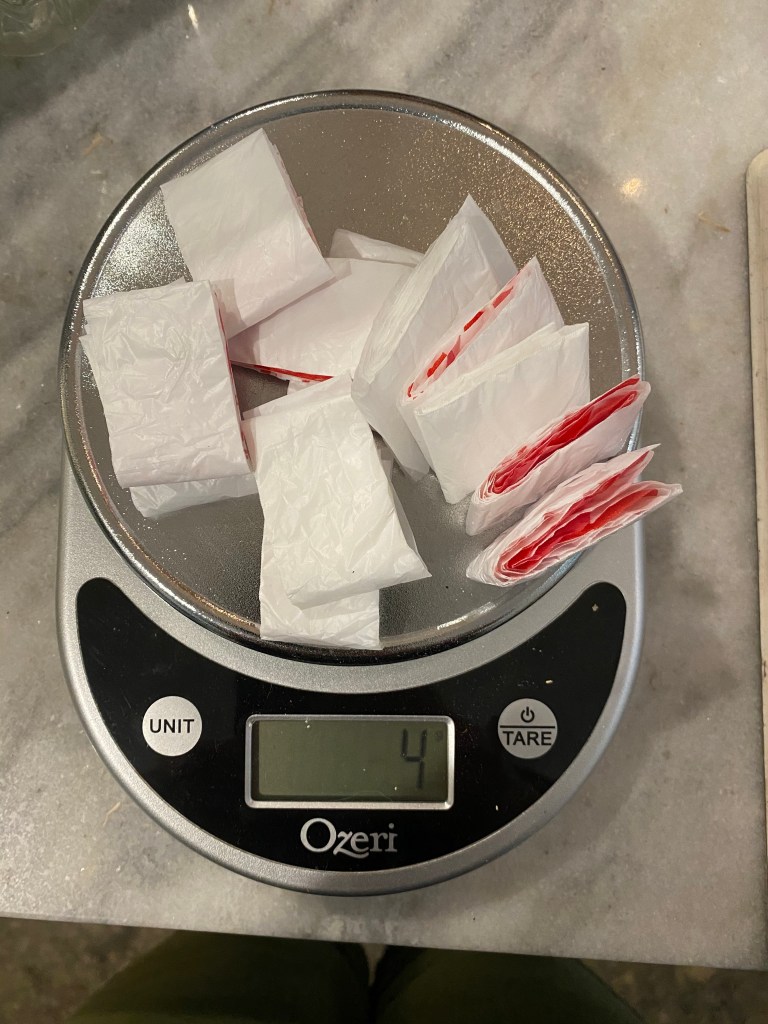
A crafting friend recently reminded me of the value of plarn. Plarn is yarn made from plastic (PLastic-yARN). Typically it is used in recycling efforts by giving new life to used shopping bags. (And oh the things people make, just image searching plarn is its own rabbit hole.) The attraction of cutting up bags is that if you cut them from side to side you end up with loops, which are very easy to connect into longer pieces. So I set my grocery bags out to dry, then cut them into loops by folding them length-wise several times, squeezing out the air, and cutting about one inch sections. (I found the measurement of the end digit of my tallest finger is one inch. Convenient.)

Sections cut from a grocery bag

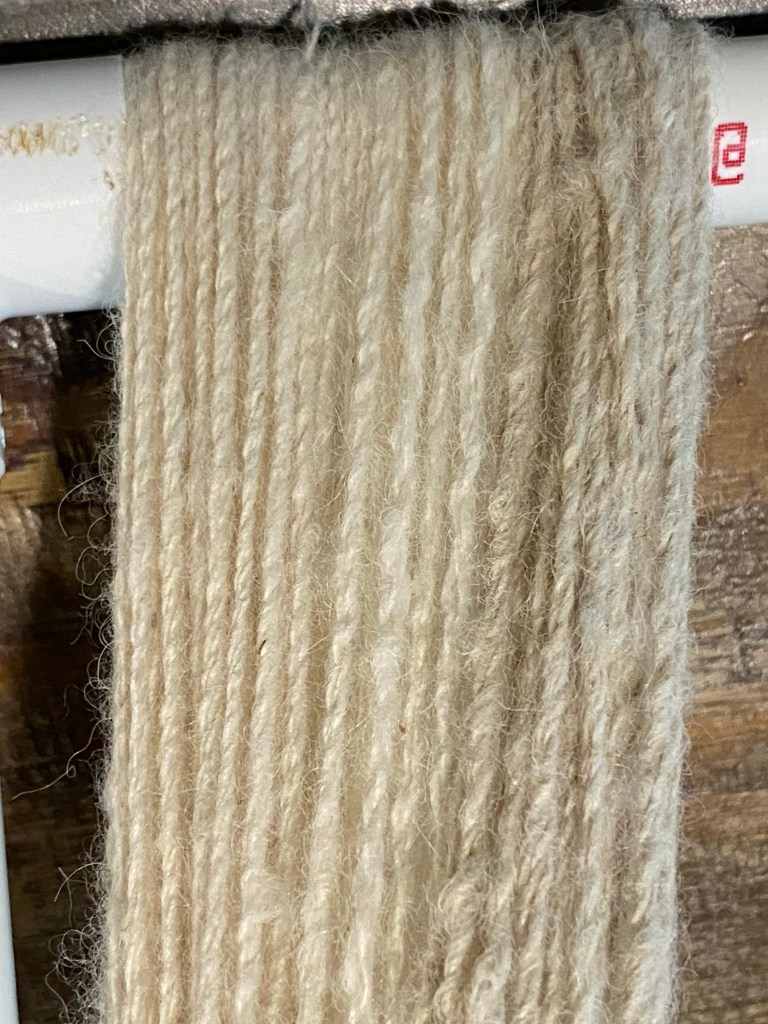
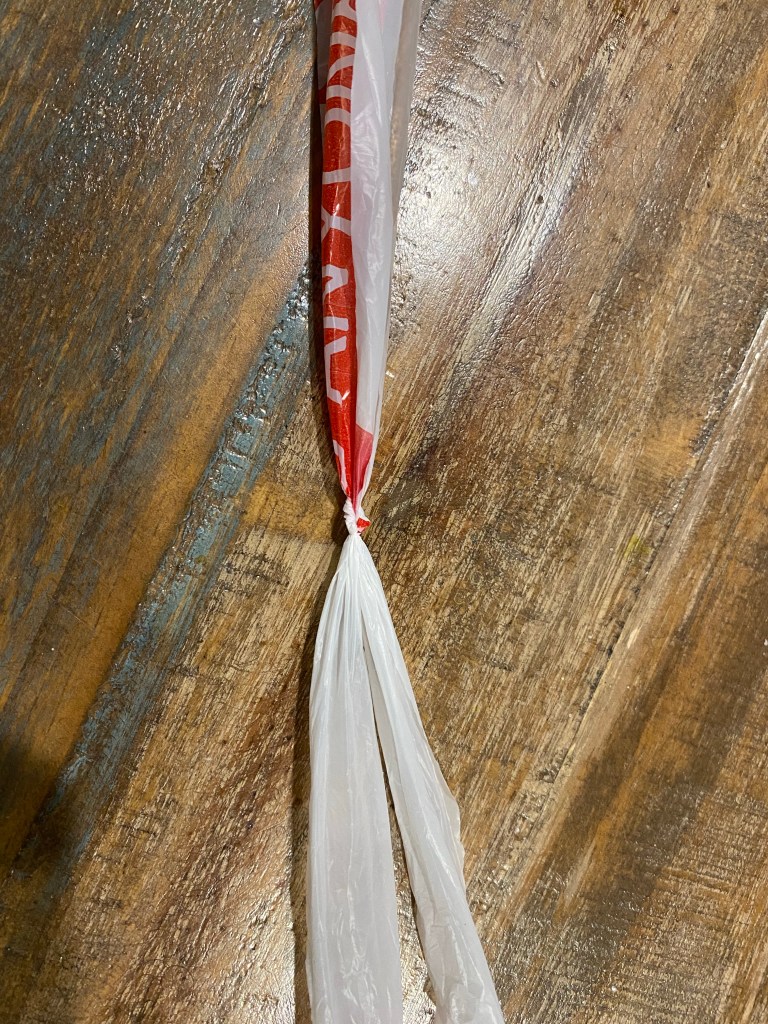
I really enjoy nålbinding, and connecting short sections is the exact method needed for this technique. Rather than making a large length of plarn, I decided to attach as I go. But can I spin it too? Well of course. It actually works quite well to attach a loop, use the hook on my drop spindle on the other end of the loop, and spin just that section. (It is possible to put twist into the plarn with a pencil or fingers if you don’t have a spindle with a hook.) Putting twist into the strand makes it more durable and easier to work with when making stitches. The tighter the twist the harder the plarn feels; I prefer to twist until the diameter is about the same as the knot.

Plastic bag loops attached and aligned
Two loops pulled snug to make a small knot
Drop spindle hook used to put twist in the section

I did a short video to show this technique. (I used a new method for closed captions, so check that out too.) This post is getting rather long, so I’ll talk about what I’m doing with the plarn tomorrow.

Reversible tote bag with pockets

I’ve been wanting to make a pocketed bag for awhile. I decided to use some excess fabric thus reducing the stash as well as making something useful!

Sketch of bag plans

When approaching a sewing project, I usually collect my thoughts by doing a sketch and a rough outline of the steps. Then I use paper to make a pattern. This basic idea can be adapted to different sizes, but my primary goal was to make the side pocket fit a bottle of water (it is good to have priorities). Since this is size independent, I’ll give the outline of the steps below. Pictures of the finished project are at the end of the post.

1. Choose two coordinating fabrics. Iron fabric, then cut out pattern pieces.

2. Sew one piece of each color side pocket together at the top, right sides together. Turn right-side out and sew along the seam close to the edge. Repeat for all pockets.

3. Place the side pocket with right side out on the matching side panel. Place the side panel with pocket right-sides together with the matching bottom. Sew the seam, reinforce the area at the top of the pocket by going back and forth. Sew the plain side panel to the opposite side of the bottom.

4. Repeat step 3 with front panels.

5. Sew up all four sides, from corner to top. Clip the corners.

Be sure to clip corners to keep them neat

6. Repeat steps 2-5 for the other fabric color. I prefer to have one pocket per panel, so be careful of pocket position (yeah, I had to do some seam ripping).

7. Sew handles right sides together, then turn right-side out. Press. Sew over seams, close to edges.

Tube turner devices are handy for turning handles

8. You should now have two one-sided bags and two handles. Place the bags right sides together and pin the handles right-sides together between the bags (loop tucked inside). Sew the top seam, but leave about 4-5” open for turning. Be sure to go over the stitches securing the handles a couple times.

9. Turn the bag right-sides out. Sew the top seam close to the edge, and add some more security stitches to the handles (I sewed triangles). Done!

Close-up of handle stitching
Finished bag (patterned side)
Finished bag (plain side) with an iron-on decal I designed

Alpaca experiment

I have read that some people spin alpaca fiber without washing it. Alpaca fleece does not have heavy deposits of lanolin like the wool from sheep. There seems to be a great debate on whether it needs to be washed, or at least very strong feelings, so I thought I would make up my own mind in the matter with a little experiment.

Singles spun from washed and carded alpaca, washed alpaca, and unwashed alpaca (respectively)

I took three samples from the same fleece (Sugar Plum’s). Two were washed (not scoured, but washed in warm water with mild soap), and third I pulled from the cleanest part of the fleece. One of the washed sections I carded using fine toothed hand carders and made rolags. The second washed section I left uncarded and spun from handfuls. The unwashed section I also spun from handfuls. I did attempt to pull out a rough roving-type bundle of fibers, but after sitting in my bag a couple of minutes, there was little cohesion and it was just easier to spin small sections.

Cabled yarn plied from washed and carded alpaca, washed alpaca, and unwashed alpaca (respectively)

The biggest difference was in spinning the singles. The washed and carded fleece spun smoothly and consistently. The washed uncarded was a little more fiddly to spin especially when I reached clumps of thicker fibers. I had to distribute these sturdier hairs with the finer fibers to keep the yarn from drifting apart. The single also had considerably more halo (fibers sticking out), than the carded sample. It was the same with the unwashed fiber, clumps of fiddly bits and more halo, but in addition, my fingers felt like I had applied lotion. There is definitely some kind of coating on the unwashed alpaca fiber, but it was not unpleasant. I did wrap the unwashed single onto my niddy noddy and gave it a soak in warm water and no-rinse wool wash. Nothing came out of the water. Even though I know the color can change throughout a fleece, I still felt the darker color was due to trapped dirt.

Close up of cabled yarn on the niddy noddy from washed and carded alpaca, washed alpaca, and unwashed alpaca (respectively)

I decided to cable the yarn (ply twice to get a four strand yarn). The differences in fiber preparation made no difference in the mechanics of plying. The uncarded samples still have a more pronounced halo as you can see in the photo above, as well as a less smooth appearance. My plan is to nålbind all the samples with the same stitch (I want to practice a new stitch, so this is a good opportunity).

So how do I stand on the wash or no wash discussion? If I had fleece with very little vegetable matter (VM) and mud, perhaps from a coated animal (the farmer can put coats on to keep the dirt off somewhat, but I don’t know how the animal feels about that), I wouldn’t mind spinning directly from the fleece. The fleeces currently in my possession are not that clean, so I will be washing and carding henceforth.

Wrist coolers

I can no longer take things touching my neck. It started when my kids were little and I stopped wearing necklaces because being choked out by my baby was not on my to-do list. I tried wearing necklaces again when they were past the grabby stage, but could only tolerate light pieces or short sessions with heavier adornment. Then crew necks started bothering me. Sheesh.

In the heat of the Texas summer, many turn to cooling devices worn around the neck. I’ve tried, really, and after 5 minutes I simply can’t take it. I’d rather be hot than have the pressure on my carotid (or maybe it is the jugular, but nothing can brush the back of my neck either, so there we go.) So I took a “cooling” neck gaiter, cut it down, and resewed bits to fit my wrists. Wetting them down certainly produces a cooling effect, and having them arranged in wrinkles rather than folded increases the evaporation. We’ll see how they do for me this summer. If they do work, I need to make some in nicer colors!

Cooling fabric sewn to fit my wrist

Kid bucket-list item

Growing up with a gluten-free Mom has meant that my kids have never had home-made play dough. I never had gluten containing flours in the house. (Although they were provided a steady supply of the manufactured kind, so no real hardship.) Until now. We used the Heritage Wheat to make play dough and color it with gel colors following this recipe. This is NOT the way to make play dough cheaply, as the Heritage Wheat is not inexpensive, but it was quite interesting to actually make it (I didn’t realize it had to be cooked), and the texture is more satisfying than the canned variety. They had the most fun kneading it.

Home-made play dough