Rambouillet (part 1)

I was gifted samples of Rambouillet wool by a local spinner who also likes to encourage new spinners.

Top down: scoured black Rambouillet, white Rambouillet roving, raw white Rambouillet

Getting started on this stash was precipitated by the acquisition of my wool combs. I love my mini Louet wool combs. They make such a nice preparation of the wool for spinning.
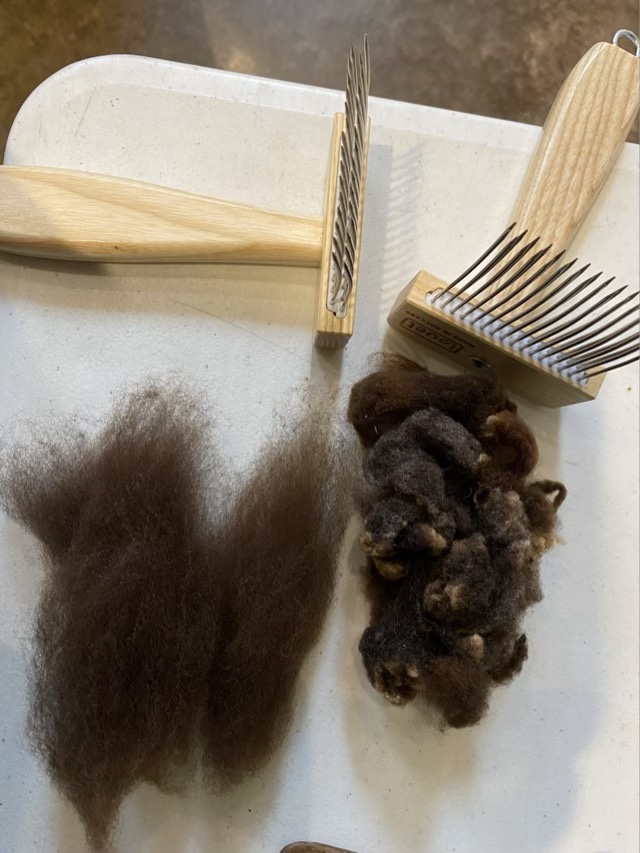
Combed black Rambouillet (left), uncombed (right)

I spun the combed wool with my latest 3D printed spindle as I walked the neighborhood. Not only did the Rambouillet spin like a dream, my spindle didn’t break when I dropped it. Huzzah! I can give extra weight to my spindle by putting stone beads in the center cavity. To keep the beads from jumping out, I cap the space with a bit of wool. Easy to tuck in, easy to remove with a crochet hook.

Black Rambouillet single spun on my 3D printed spindle

I plied the single right after spinning, using the same spindle. I slid the cop of yarn off the spindle, found the center end and joined it with the outside end, then two plied the yarn with an opposite spin. The spindle performed admirably, and the yarn is lovely.
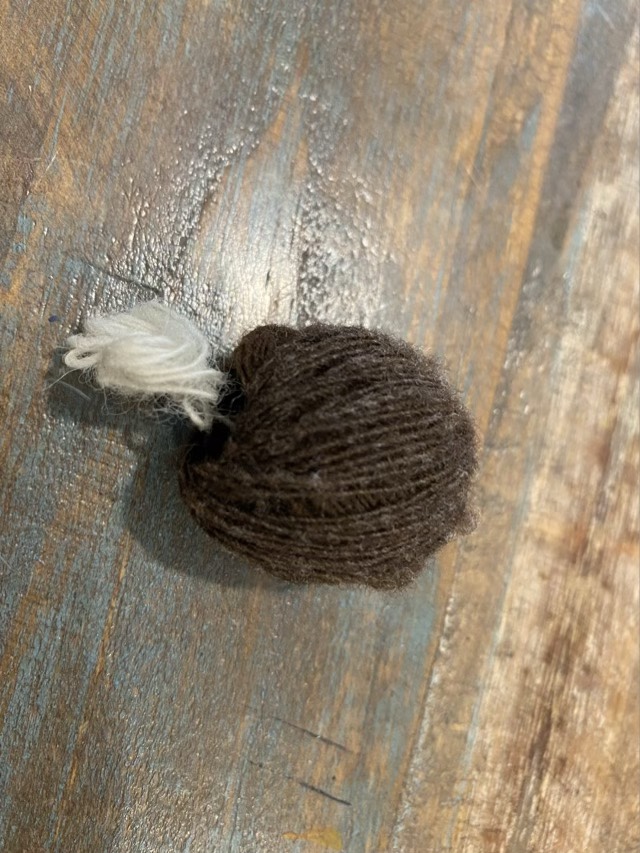
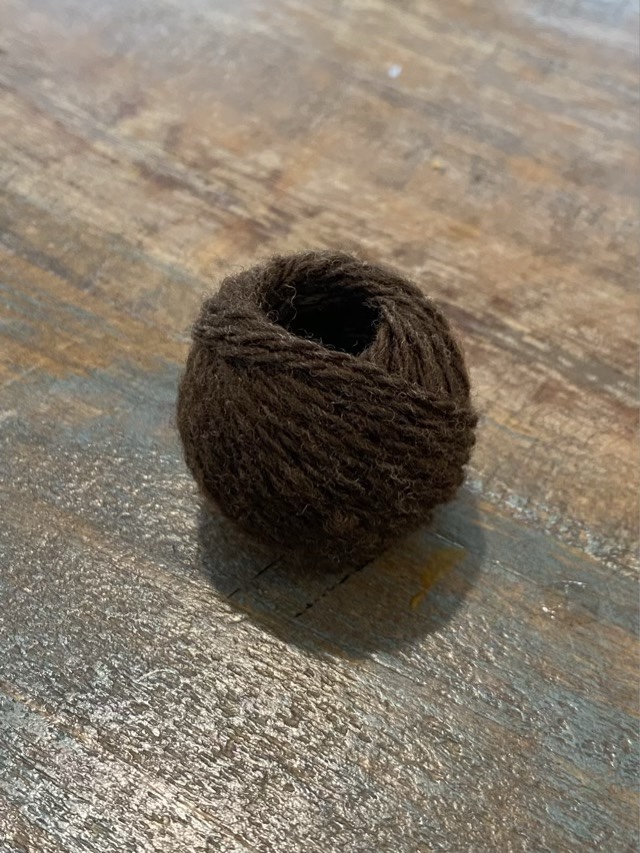
Using a different color leader to start the spinning makes it easier to find the center end
Two-ply cop of black Rambouillet yarn

I’ve divided this post into parts because I have loads of information to share! I understand why two thirds of the sheep in the US are Rambouillet (Brittanica), it is cottony and fine and absolutely a pleasure to spin.
Clun Forest

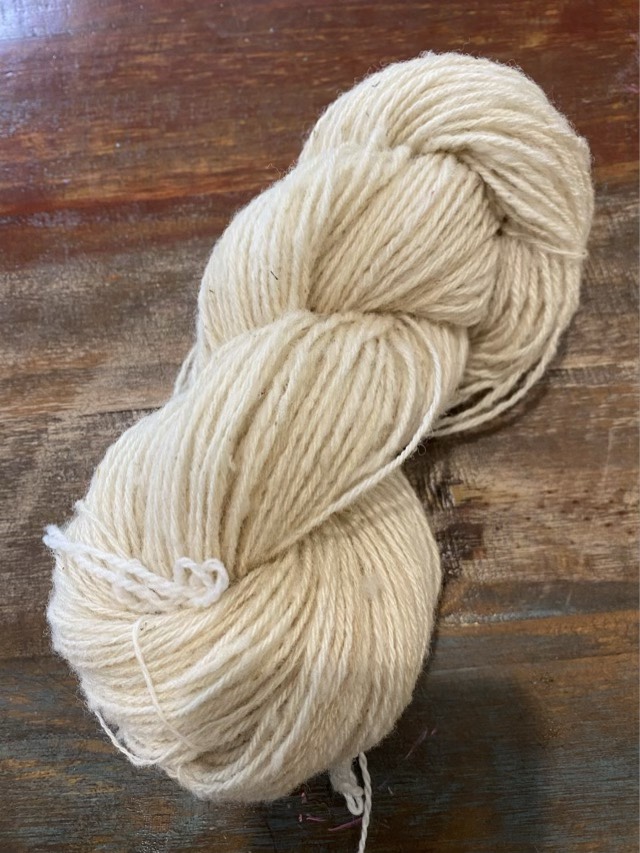
My Clun Forest yarn is done! Here is more information on Clun Forest sheep.

Skein of 3-ply Clun Forest Wool

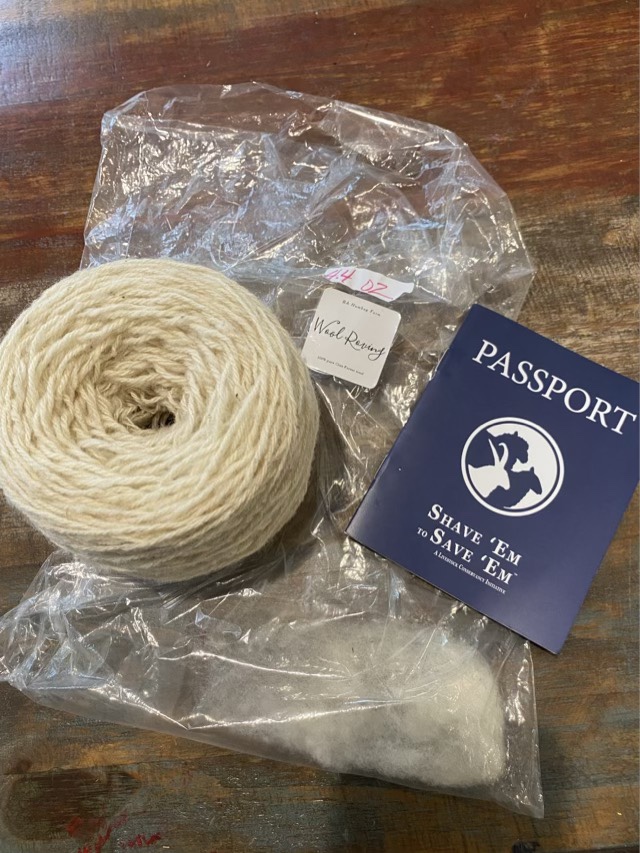
This is the coarsest wool I have spun so far, although the Livestock Conservancy rates the wool as medium. I probably over spun the singles as well, which makes the finished yarn rougher. I purchased 4.4 ounces of wool batt, and ended up with 4.13 ounces of yarn. There were nepps in the preparation; some evened mostly out in the spinning, some stuck out. The bits that didn’t incorporate I pulled out, which explains the weight loss. I’m going to make samples for my fiber page, then the rest of the yarn will be used for a basket or bag. It is definitely not next to skin soft, but seems sturdy enough for housewares.

Clun Forest yarn cake with passport

Now the conundrum is where I put the passport sticker. Hm. It isn’t where I thought it was, and I didn’t put in on the page in the passport (I don’t know why). I suppose I will have to break down and actually clean up my craft room. Hm.

Corralling end caps

It drives me crazy trying to find the end caps for my knitting needles. I take them off to knit, and when I set them down inevitably one slinks off to hide somewhere. So I tethered them. I pushed safety pins through the flared edge of the end cap, then clipped the pin to a hair band. When I’m ready to knit, I slide the hair band on my wrist. When I’m done, the little rascals are right there.

End caps tamed with safety pins and a hair band

My safety pins are a little different; they came with a knitting kit, so may actually be stitch markers. They have a nice sharp point and will go through the end cap material. A standard safety pin would work as well. I do recommend using a stretchy bracelet type object, so there are no clasps to undo. I don’t recommend using one of those silicone bracelets with the friction clasp, because the clasp is likely to pop open as the bracelet is pulled off and send the end caps on a merry flying trajectory across the room. (Yup, experience.)

Even out the twist

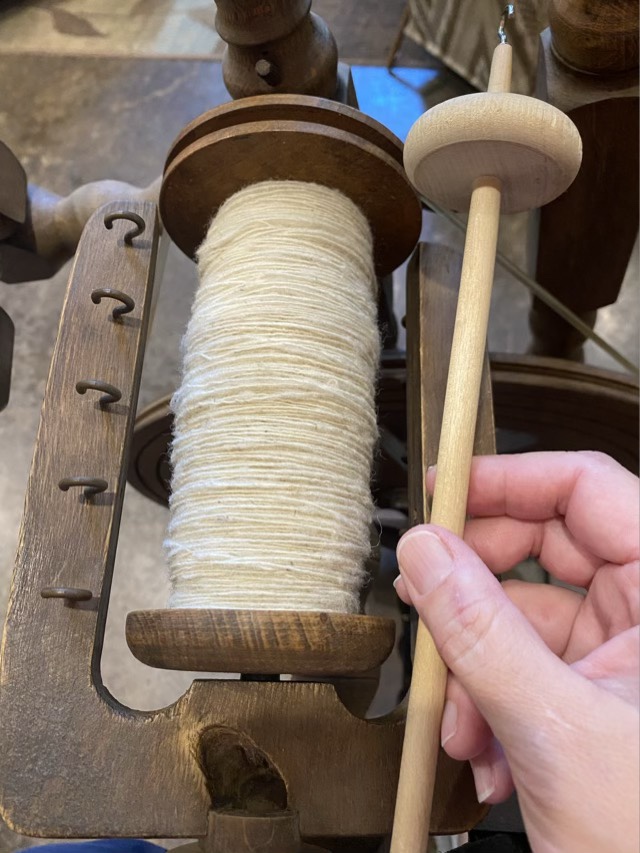
I have finished spinning the singles from my Clun Forest wool roving for the Shave ‘Em to Save ‘Em campaign by the Livestock Conservancy. I’ve been spinning this wool on a drop spindle during my walks through the neighborhood over the past two months.

Single spun wool transferred to a spinning wheel bobbin

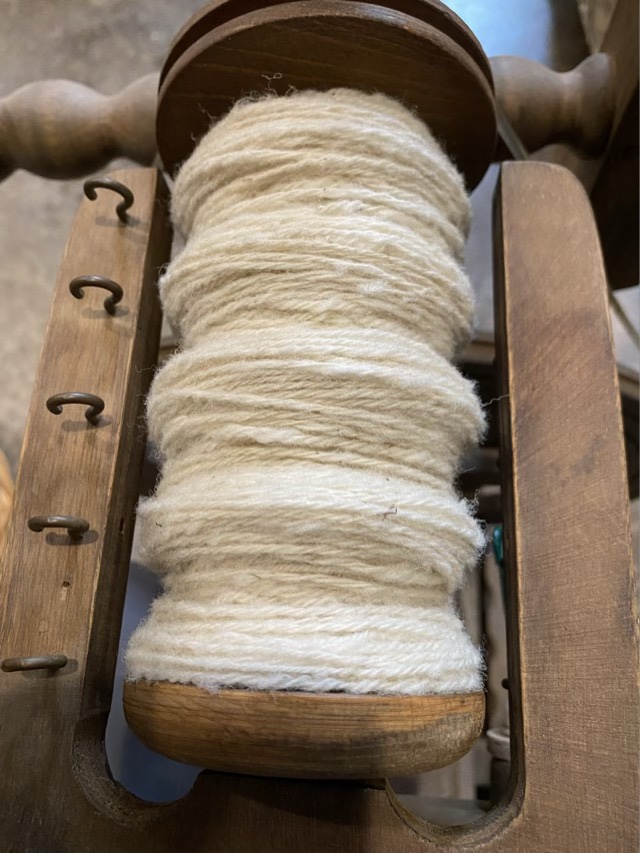
I decided to chain ply the singles to get the finished yarn mostly because I only had one bobbin available and I wanted a three ply yarn. The plying only took a couple hours, and made the yarn much fluffier.

Three ply Clun Forest Yarn

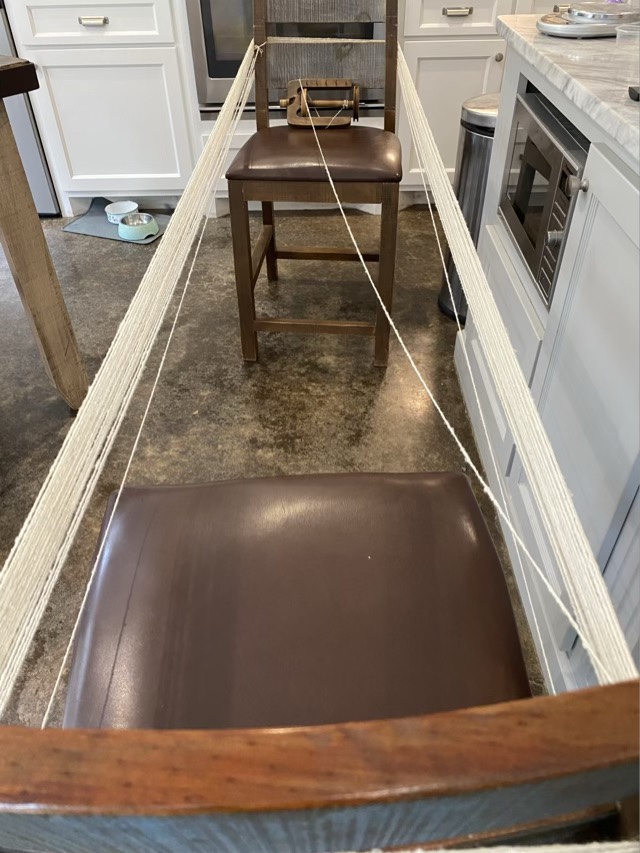
I’m still getting used to the spinning wheel, and the twist in the ply was inconsistent. To even it out some, I put out two chairs and wrapped the yarn around the backs of the chairs so the twist could travel. It worked well.

Yarn wrapped around two chairs to even out the twist

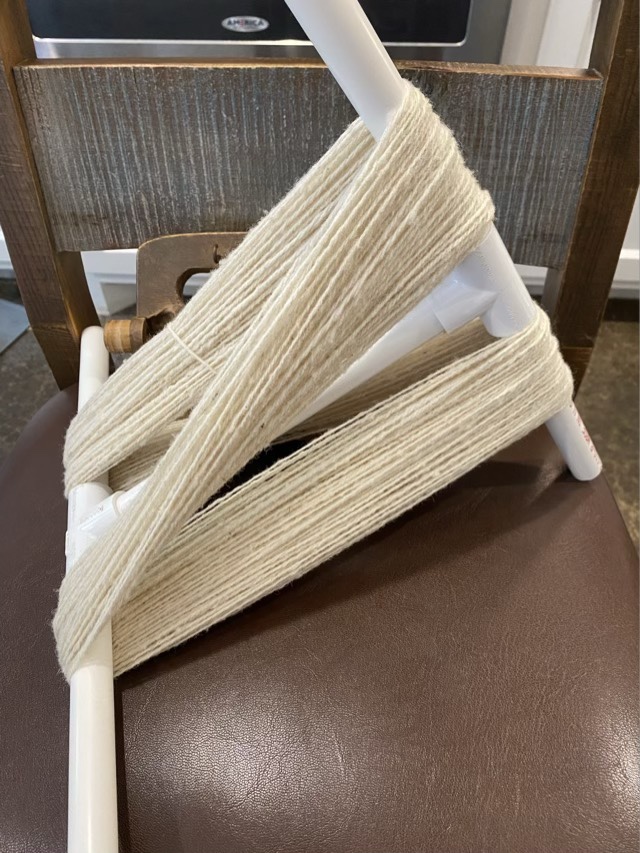
It was also easy to wind the yarn onto my niddy noddy from the chairs.

Yarn wound onto a PVC niddy noddy

The next step is to wet the yarn to set the twist, then let it dry!

Double knit waiting project

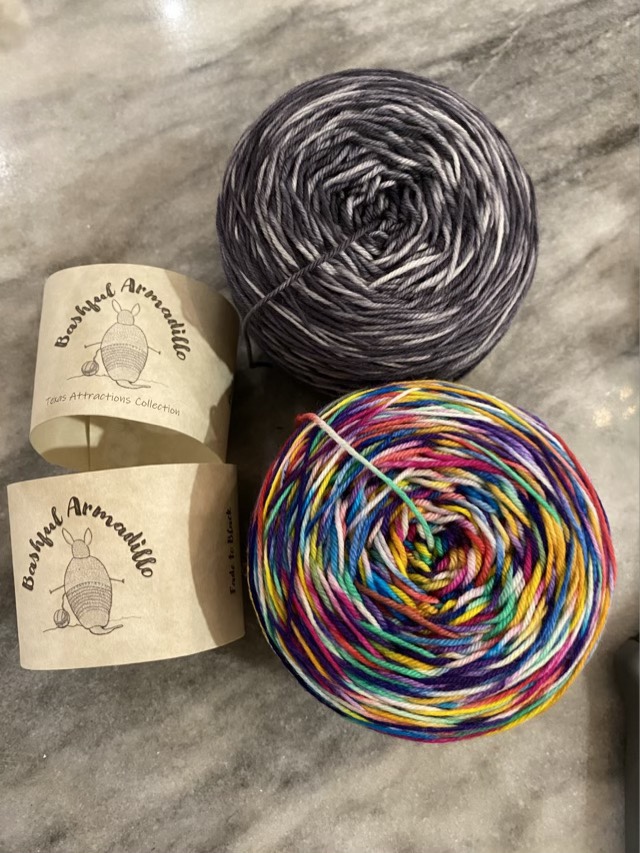
I’m back to knitting for my next “in the car” project. I bought some beautifully dyed fingering weight merino wool by Bashful Armadillo and wanted to do a double knit project.

Bashful Armadillo yarn wound into cakes

I tried a cast on technique that makes a knit transition on the edge, but I couldn’t keep track of the edge; it kept twisting. So I did a two color double cast on instead. I uploaded a short video, mostly so I remember how I did it, because the edge was easy to handle and came out nice and stretchy.

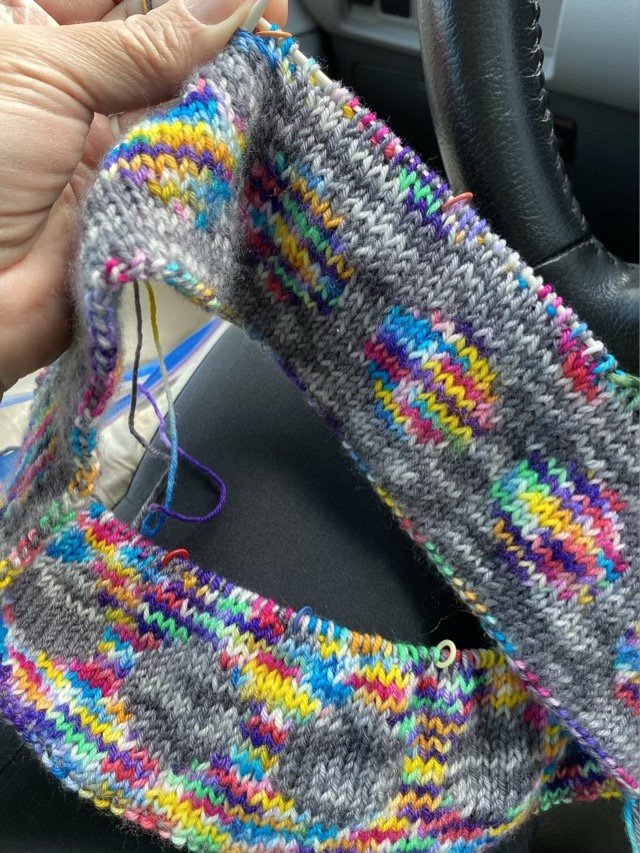
The pattern I drew out on graph paper. I had to make some adjustments after the first round of dots because I was thinking in rows, rather than spirals. Depending on how it comes out, the finished double knit tube will either be a cowl or I’ll make it into a bag. Options.

Start of double knit polka dot project in the round

I’m pleasantly surprised how easy this project is to pick up and put down, essential qualities for a waiting project. I put markers every 24 stitches, and the pattern repeats within that frame, so figuring out where I am is fairly easy. When it is time to stop I don’t have to get to the end of a row, I just pop on a couple end caps and put the project back in the bag.