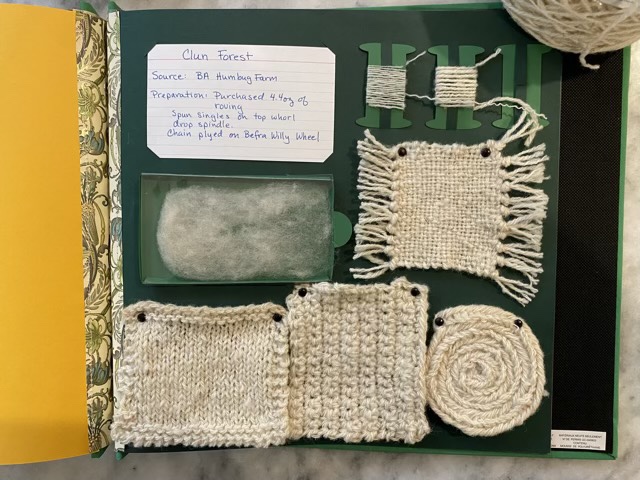
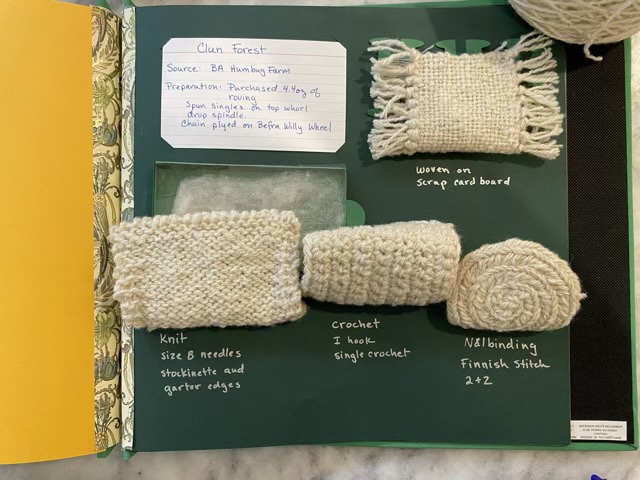
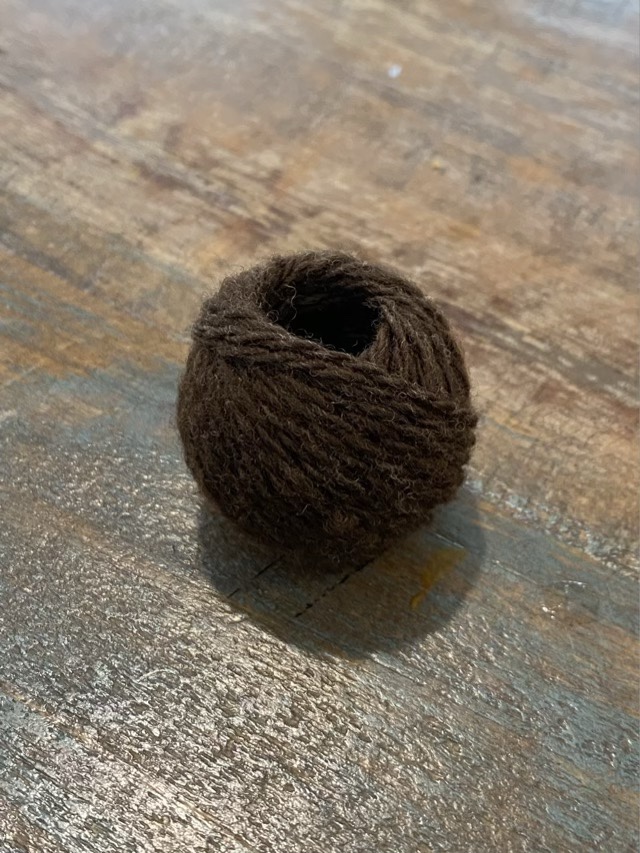
I have finished my Clun Forest hand work samples and mounted them on a page in my fiber book. I made swatches by knitting, crochet, nålbinding, and weaving.
Clun Forest wool fiber pageWith descriptions
I would not make a garment out of this yarn, a rug, yes, or basket maybe. I think though that I overspun the singles. This article talks about how Clun Forest is the best for hand-spinning and produces a “very soft yarn”. My yarn sneers at “very soft” with its fists up. Perhaps on a spinning wheel with low twist some loft would be obtained, but my drop spindle spinning produced a sturdy single. Sturdy, not soft. Hm.
Nålbinding produced the squishiest swatch, and with a liner would produce a respectable hat which could potentially deflect plummeting white acorns. I just noticed that I mounted my nålbinding round wrong-side up. Hm. Easy to fix with the brads. Easier than taking a new picture. Ha.
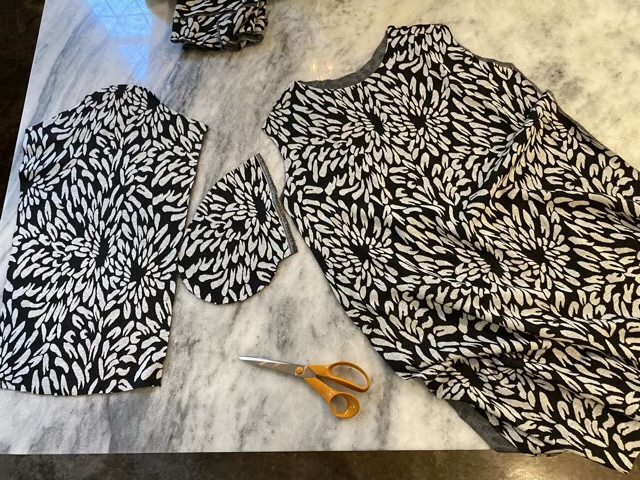
I wanted to try my hand at making a dress for my youngest. I took one of her dresses that she likes and fits well and used it as a pattern to cut the new fabric. I did not cut or alter the old dress, just laid it out on the fabric and gave a generous half-inch seam allowance when I cut the pieces.
Using an existing dress as a pattern
My youngest loves pockets, so the dress had to have pockets, but I didn’t think front patch pockets like the original dress fit the fabric of the new dress, so I did a single layer seam pocket. The pocket is sewn to the front of the dress, but because of the big bold pattern, they are almost undetectable.
Pattern pieces cut for the new dress, sleeves, pockets, front and back
Dusting off my clothing sewing memory, I sewed the pieces together, top of shoulders first, then I finished the neckline (while it was easy to access) with a strip of the matching fabric. I put gathering stitches across the top of the sleeve to ease it into place, and sewed the shoulder seam next. I pinned the side seam and placed the pockets. I then sewed the pocket seam in back, and turned over and sewed a half inch for the pocket opening in front. I sewed the side seam down to the pocket and then from the bottom of the pocket to the hem. At that point I pinned the pocket to the front and sewed it in place, reinforcing the stitching at the top and bottom. I hemmed the sleeves and (…ahem) hem, the gave the dress a quick wash and dry.
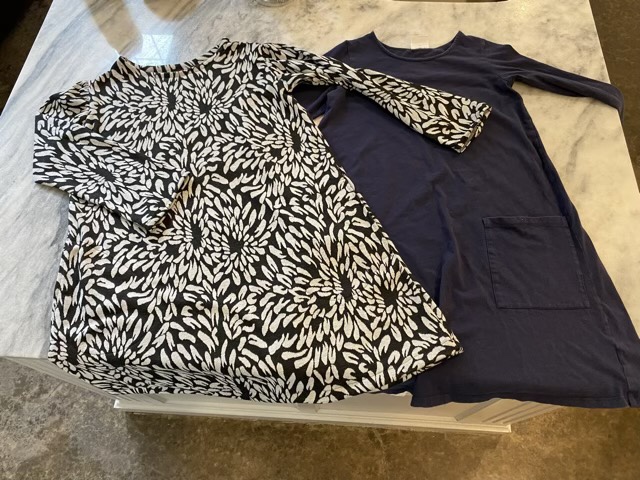
New dress (left) with old dress (right)
The dress came out better than I expected and fit my youngest well. She appreciated the pockets.
I did the pocket the way I remembered, by using my hand as a pattern, which makes a nice looking pocket perfect for hands. I think next time I will make one that has a curve on top, but drops down along the seam to make the pocket more functional for things in addition to hands. I would also dip the front of the neckline a little more than I did, next time. And there will be a next time. It is hard to find appropriate clothing in the stores that fits. Although I might change my tune after the first trip to the fabric store. (This dress was made from fabric from my stash.)
The third sample of gifted Rambouillet wool in my stash was raw fleece, which means it came straight off the sheep and had not been scoured to remove most of the lanolin.
Rambouillet raw fleece
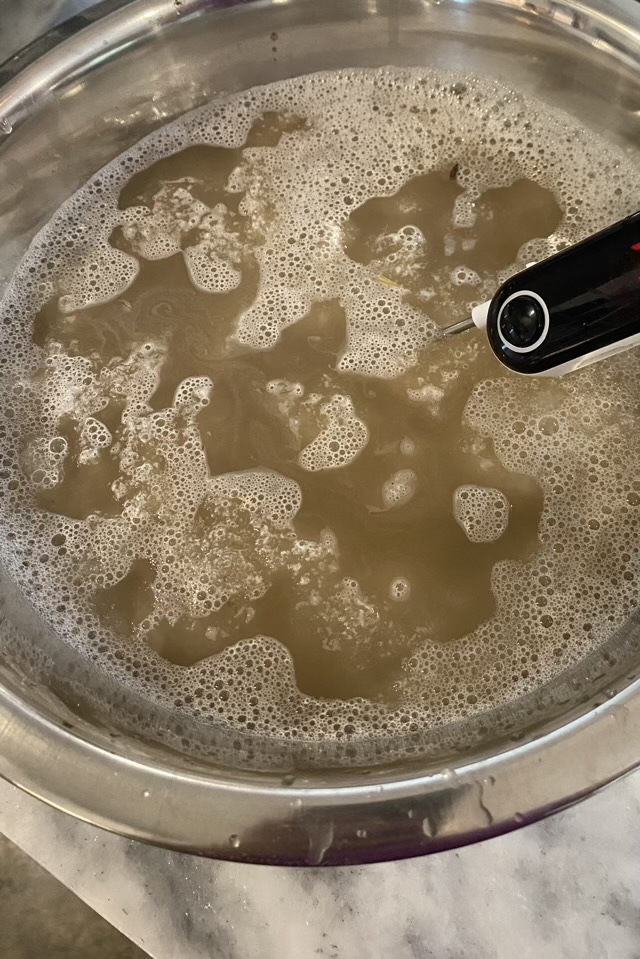
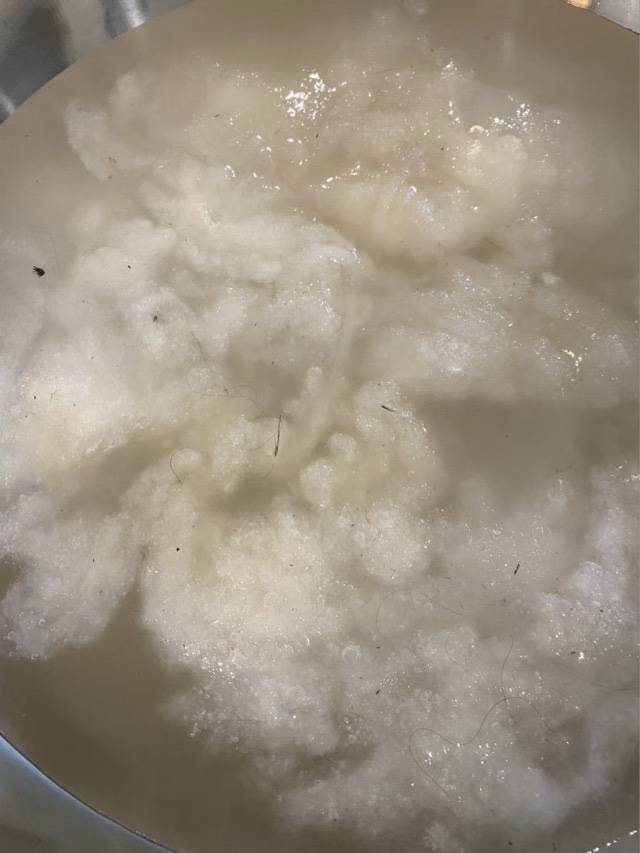
I scoured the wool with Amway LOC (taking a risk because this is fine wool, but the other scouring soap is on my wish list) at about 125 degrees F, letting it soak for 15 minutes in the same temperature water so the lanolin doesn’t redeposit.
Scouring the wool (so much dirt!)Wool rinse (Look! The wool is white!)
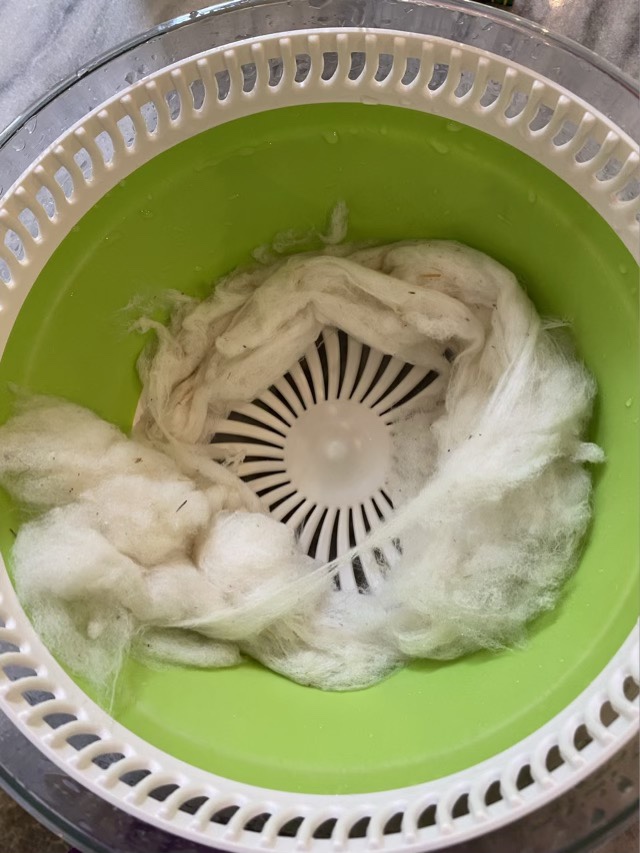
I sacrificed my salad spinner to the cause. I haven’t used it for salad in over two years, and it does a lovely job getting most of the water out of the rinsed fleece.
Rinsed wool in a salad spinner
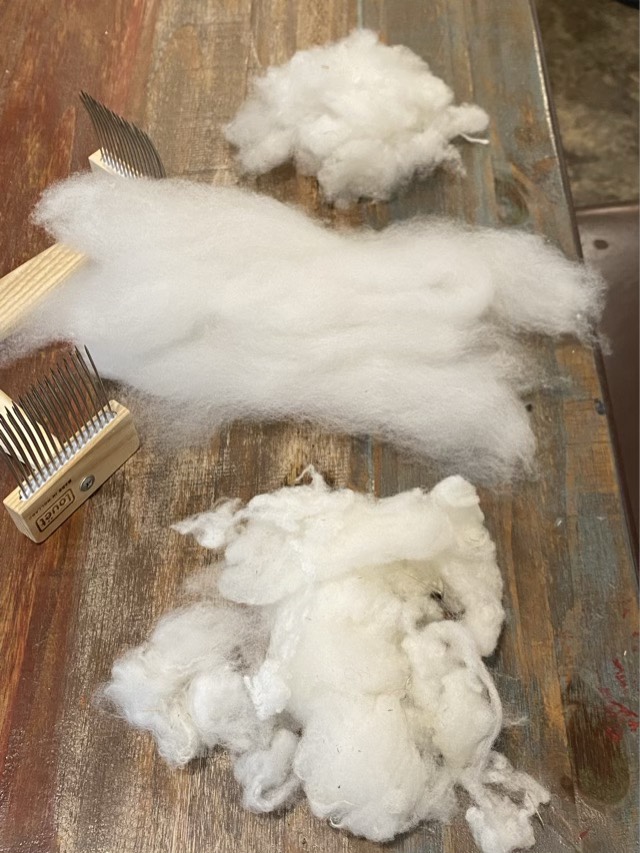
The fleece was dry in a few hours, and I was able to comb it in preparation for spinning. There is more waste when combing, but the waste contains the nepps and vegetable bits that are not desirable in spinning. I put the waste out in the compost bin.
I spun this on my 3D printed spindle, drop spindle style, as I walked the neighborhood. It is even more lovely to spin than the commercially prepared roving. I’m rather falling for Rambouillet.
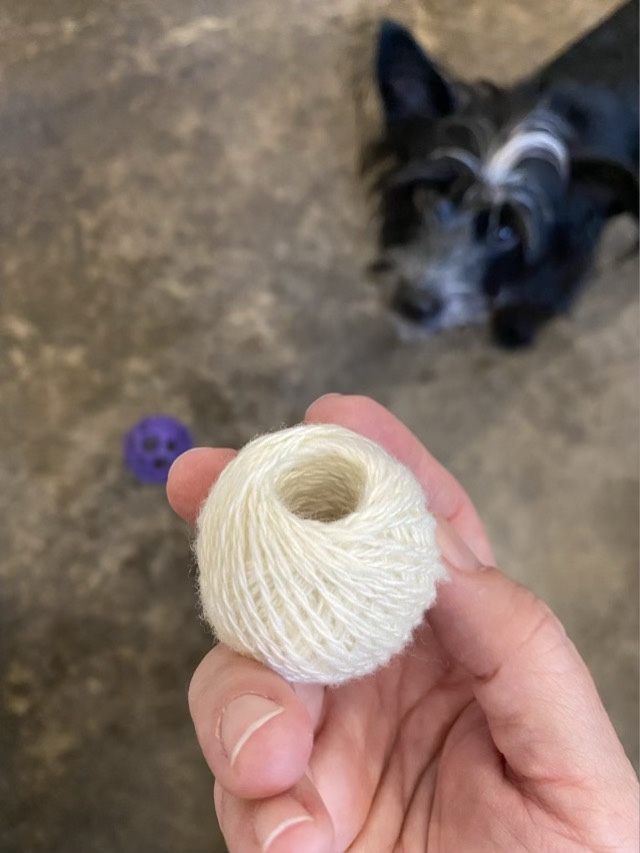
Single spun Rambouillet woolTwo ply center pull ball of Rambouillet yarn pulled off my spindle (with Missy photobomb)
I was gifted samples of Rambouillet wool by a local spinner who also likes to encourage new spinners.
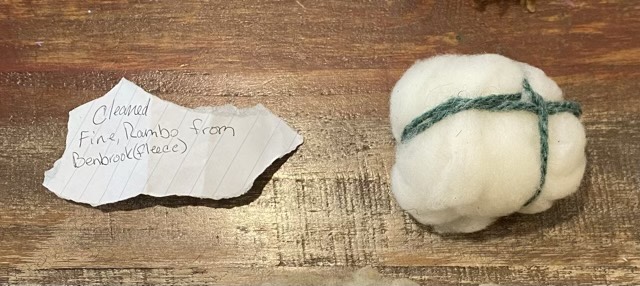
Top down: scoured black Rambouillet, white Rambouillet roving, raw white Rambouillet
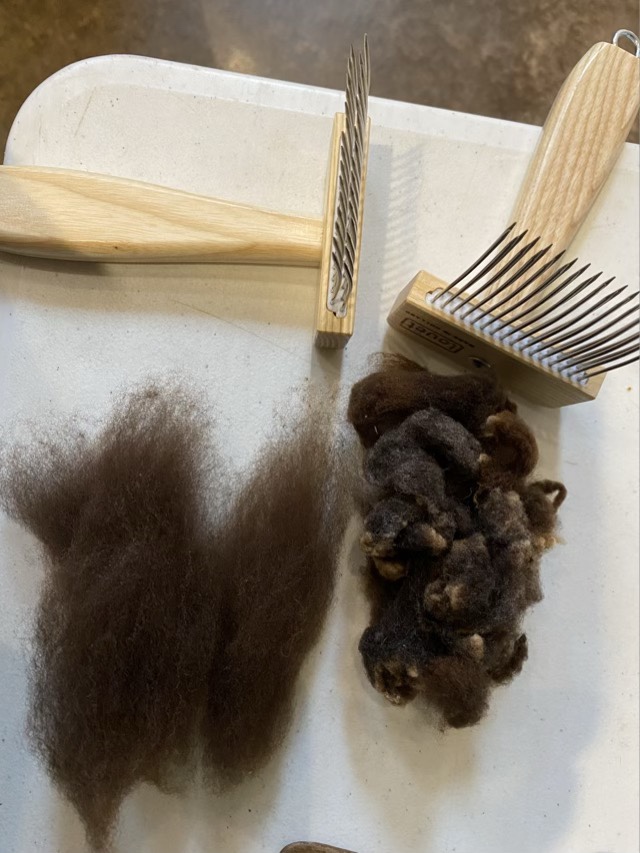
Getting started on this stash was precipitated by the acquisition of my wool combs. I love my mini Louet wool combs. They make such a nice preparation of the wool for spinning.
Combed black Rambouillet (left), uncombed (right)
I spun the combed wool with my latest 3D printed spindle as I walked the neighborhood. Not only did the Rambouillet spin like a dream, my spindle didn’t break when I dropped it. Huzzah! I can give extra weight to my spindle by putting stone beads in the center cavity. To keep the beads from jumping out, I cap the space with a bit of wool. Easy to tuck in, easy to remove with a crochet hook.
Black Rambouillet single spun on my 3D printed spindle
I plied the single right after spinning, using the same spindle. I slid the cop of yarn off the spindle, found the center end and joined it with the outside end, then two plied the yarn with an opposite spin. The spindle performed admirably, and the yarn is lovely.
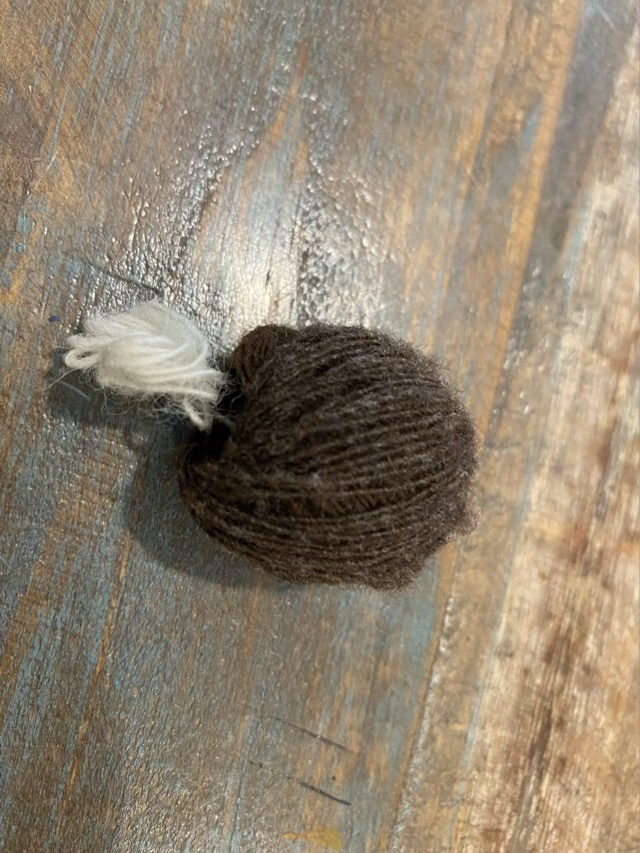
Using a different color leader to start the spinning makes it easier to find the center endTwo-ply cop of black Rambouillet yarn
I’ve divided this post into parts because I have loads of information to share! I understand why two thirds of the sheep in the US are Rambouillet (Brittanica), it is cottony and fine and absolutely a pleasure to spin.