Make a box

Here is how to make a smaller box from a big box. We get a regular supply of cardboard delivered to the house, but they are usually too big to use to wrap gifts directly. So I use them make smaller boxes.

What you need:

  • Large cardboard box (or sheets of cardboard)
  • Heavy scissors (I use kitchen shears)
  • Ruler
  • Pencil
  • Length, width, and height for the new box

Start by deconstructing the old box. Most cardboard boxes have a single glued seam along a side edge that can be pulled apart. Lay the box flat and layout the cut and fold lines for the new box.

Cut and fold lines laid out on cardboard

I recommend using existing fold lines if possible. Measuring out from the center, mark the width of the new box with dotted lines (for folds). My box is 6x6x5, so the sides are all the same width. If you need different width and length, alternate the values as shown in pencil in the picture above. Mark the height of the box across the sides also with a dotted fold line. Make a one inch tab on the end (mine is on the right). Above and below each side, measure out flaps that have a height equal to 1/2 the width. Then using heavy scissors, cut out along the outside lines.

Box pattern cut from larger box

Cut the flaps free by making two cuts on either side of the line. This makes gives room in the corners when the box is assembled.

Box flaps cut free

Before folding the sides, tab, and flaps, gently score the lines using a ruler and a pointy, but not sharp implement (such as the outside tip of the scissors, or a dull pencil). Then gently fold the cardboard along the line. If the cardboard buckles instead of folding neatly, score again a little harder, and work the fold with your fingers close to the line.

Flaps, sides, and tab prefolded

Check the box by folding it together with the flap inside the opposite edge. If it looks serviceable, use hot glue to secure the tab in place. The box can be store flat, or assembled with packing tape.

Assembled box

Project update

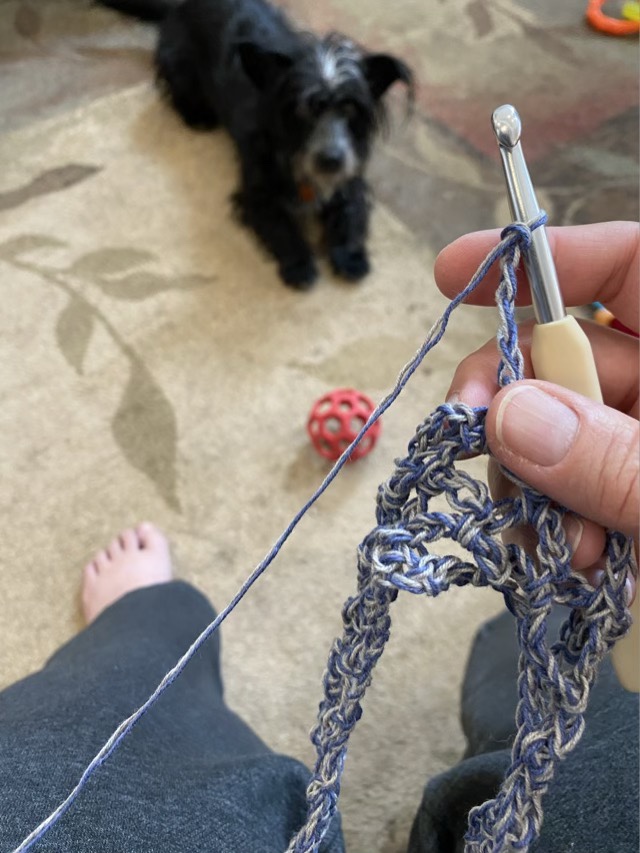
My waiting project is progressing. My original idea was a cowl double knit with polka dots. I chose two variegated yarns, which is making the pattern muddier than I envisioned. On the plus side, it looks like an old school monitor glitch, which is cool in its own right.

Double knit cowl in progress

Prepping pages

I needed a new fiber page for my spinning book, so I made five. Honestly, it is easier to make multiples for most things, since the tools are out and the groove is worn. I chose five because that is how many end papers I had when I cut the fancy paper to size. Random, but effective. I chose the colors to go with the end paper as well.

Newly constructed fiber pages

Getting the pages in the book has proven a bit more difficult than prepping the pages. I need longer metal posts, and something to space out the pages in the spine, to match the thickness of the page. Hm. That means I need to venture into a craft store. In December. With the other thousand people that need to do the same. Hm.

Throwback Thursday

We put up the tree this week. We decorate with ornaments collected over the years, no theme, no ribbons, but bits of memory hung on the branches. So for Throwback Thursday, here is the ornament I made in 2019 from one of the chicken’s first eggs. I actually made three against the ravages of time and accident, but all three are whole and hung.

Ornament made from a blown out chicken egg coated in Modge Podge

Straw to gold

I’m continuing my quest to spin all the things, and I grabbed my purchased prepared flax roving and set out on a walk. Hm. Flax does not spin like wool.

Loose roving and a short drop spindle is a difficult way to spin flax.

After the initial (abysmal) trial, I pulled up a book on spinning flax (and yes, I often do my research after trying on my own). There are several different preparations of flax. I did not have the yard-long fibers, I had combed top roving, which has a staple length of about 5-8 inches. The Practical Spinner’s Guide – Cotton, Flax, Hemp recommends using a distaff to hold the fibers. My sister gave me a distaff, but I hadn’t successfully used it yet. So I separated out sections of roving, pulled out the distaff, a handkerchief (also from my sister), and some cord, and “dressed the distaff”.

Flax fibers aligned on a handkerchief with distaff
Dressed distaff with flax and long shaft top whorl spindle

I changed up spindles as well. The freshly spun flax single is stiff, and the book’s author (Stephenie Gaustad) recommends wrapping the yarn at a low angle along the shaft to minimize bend. So I pulled out one of my top whorl student spindles with a long shaft. Drafting is different too. I tend toward worsted draw (short draw, keeping fibers aligned) but do rely on a little twist to draft out the fibers. Most spinners fall somewhere on the worsted to woolen draft spectrum as a default. Spinning flax I need to pull out the fibers, hold them, then let the twist in. It is a two handed operation (or at least a four opposing digit task). Flax also doesn’t need or want as much twist. If I spin the spindle too vigorously the thread snaps. I have dropped my spindle many, many times. I’m learning to give a gentle spin. It is enough.

Current progress on flax spinning

I am gaining a deep sympathy for the miller’s daughter in Rumpelstiltskin. If it was flax she was spinning (which honestly looks like straw and is spun into valuable linen), and her Dad had a tendency to the poetic embellishment, and the king was literal minded and greedy… well. Stuck in a room full of the wrong kind and preparation of straw with a spinning wheel (that was also probably the wrong kind), I can see her despair. It is still too bad that her cleverness didn’t extend to explaining metaphor, but not all of us are quick with the spoken word.