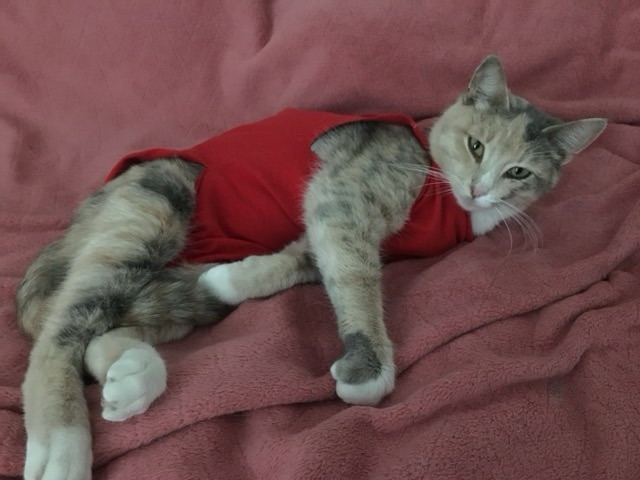
In April of 2018 we took over Sophie the dilute calico’s veterinary care and took her to get spade. To keep her from licking the incision and taking out stitches, I made her a body suit from an old t-shirt, cutting out leg holes and leaving strips on the back so it could be tied shut. She was remarkably tolerant of us.
Photo description: dilute calico cat, lounging on a pink blanket, wearing a red body suit from shoulders to hips, ties in the back not pictured
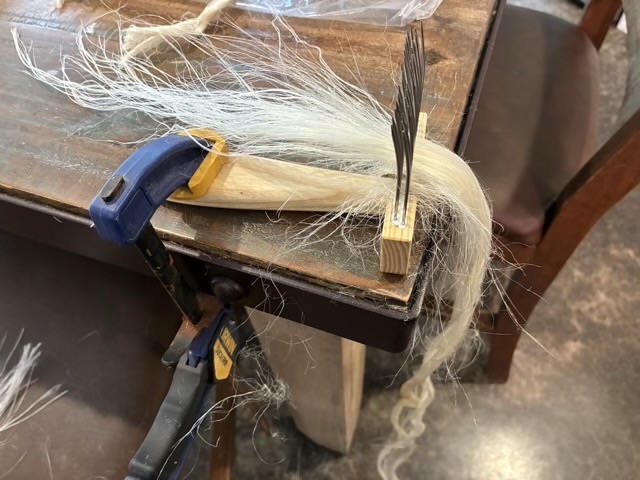
The lotus fiber I purchased had not been hackled. I do not have a hackle, but I do have wool combs, and one comb clamped to the table made a serviceable way to separate the long fibers in the bundles.
Photo description: two row wool comb clamped to the kitchen table in order to comb out the shorter pieces of lotus fiber
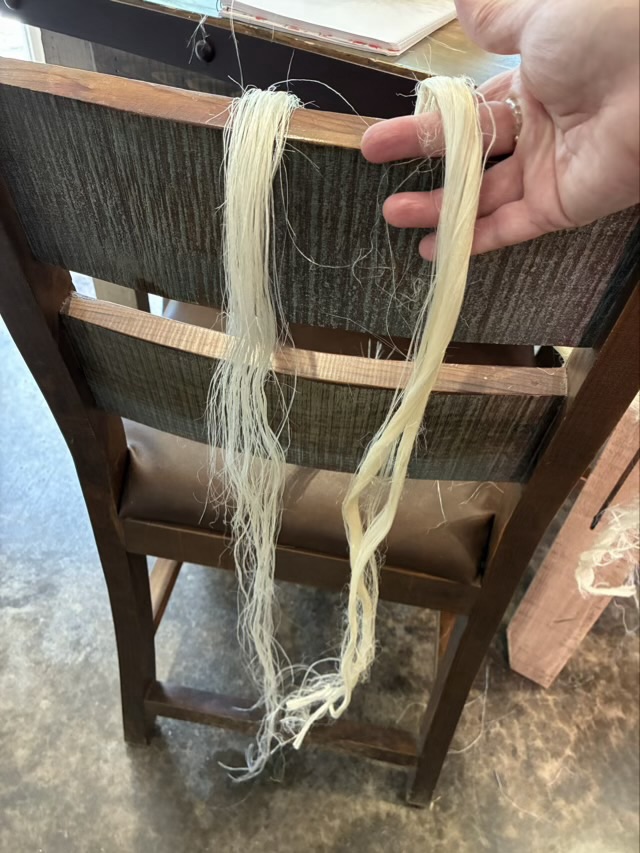
Combing out the fiber went well once I had the rhythm of it. I would comb out one side starting at the end, then flip the bundle around and comb out the other side.
Photo description: combed lotus fiber on the left, uncombed on the right
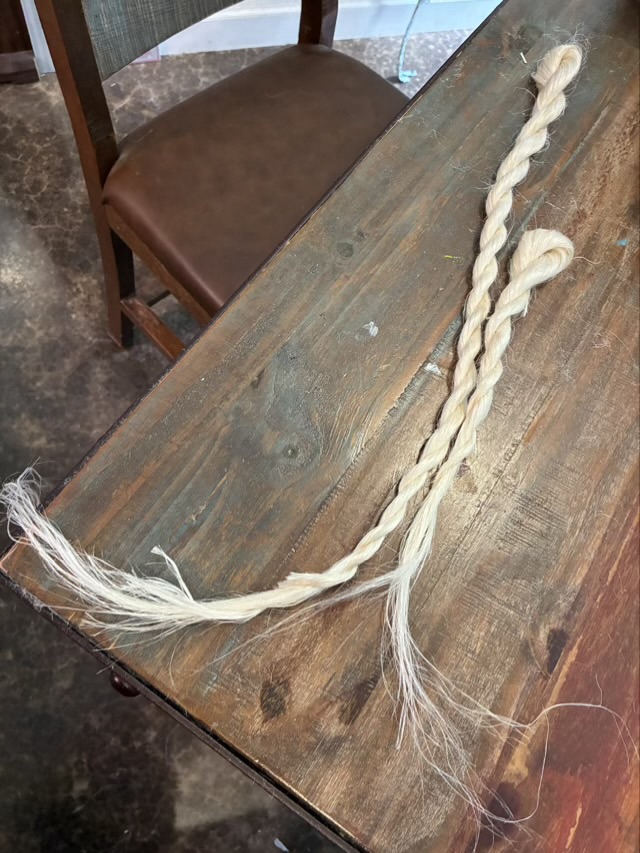
There were extremely long fibers, over five feet, and many, many shorter fibers. The shortest formed tangled knots in the comb. I was able to comb out a second round measuring up to about two feet, down to six inches.
Photo description: two stricts, twisted bundles, of lotus fiber, long line on the left, shorter on the right
The tow, or the pieces combed out shorter than six inches, I put in a bag. Maybe I can use it as stuffing. The lotus fiber feels more like jute, heavy and prickly.
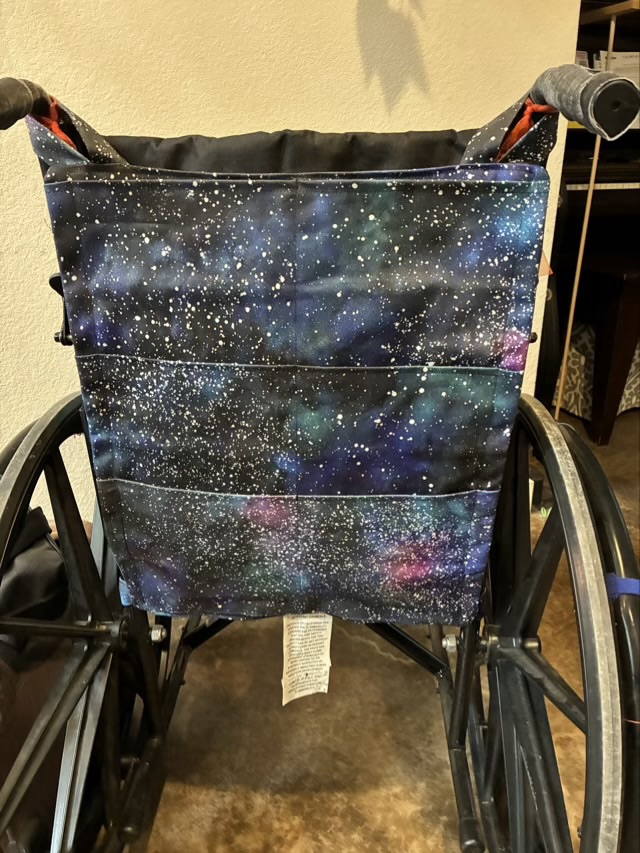
The pocket on the back of the wheelchair can only hold a pamphlet, anything thicker pokes the rider in the back. So I made a separate organizer type for long zoo trips where we need spaces for water bottles. My youngest requested space fabric, so we selected a print-on-demand pattern from Spoonflower on cotton denim fabric. I made three pouches by sewing a sleeve so none of the white backing shows.
Photo description: denim fabric sewn right-sides together, turned inside out and the seam pressed with a wood seam roller to lay flat
I put three sleeves on the backing fabric, and sewed down the center to make six pouches. I then made loops for the top corners to go over the handles and straps for the bottom to attach to the wheelchair frame. All of this sandwiched between another rectangle of denim. My Singer model 66 treadle handled the denim up to six layers, but eight was a struggle (a little extra oomph with the handwheel sometimes works, but you risk a bent needle). When I turned the entire assembly right side out I had to move the edge stitches in so I wasn’t sewing through 12 layers of denim (this organizer is hefty!)
Photo description: finished organizer installed on the back of a Drive brand wheelchair
I’m pleased with the flat construction, it doesn’t interfere knees when pushing and it folds up with the chair well.
I’m also trying to track my time on projects. This one took me 2.5 hours of active time.
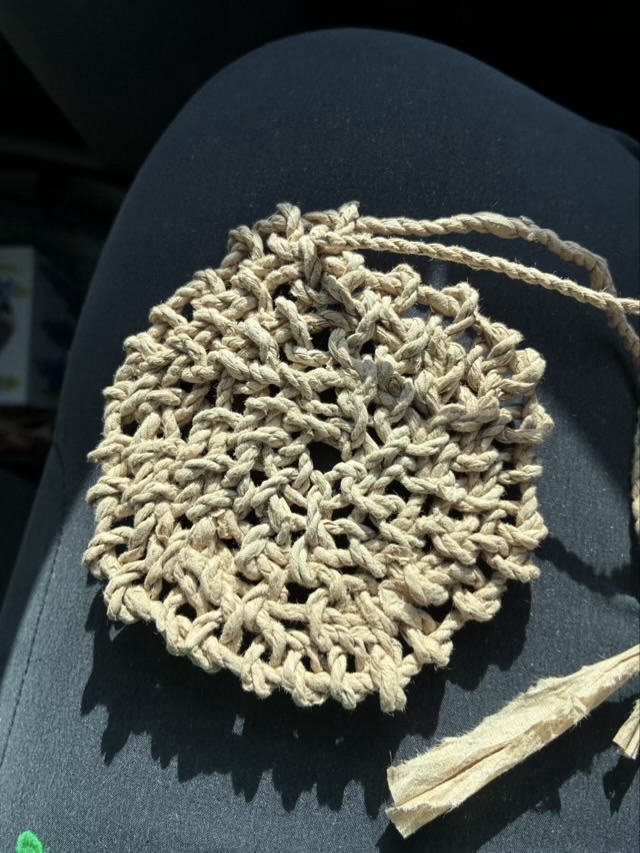
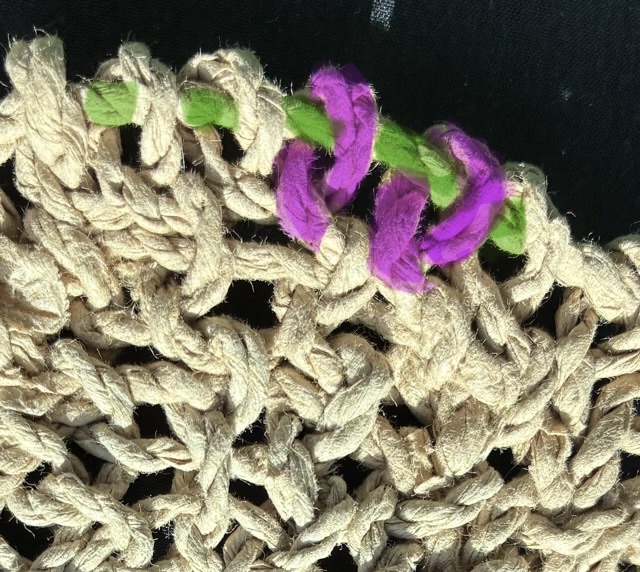
I have a car project for which I tear unbleached fast food napkins into one inch strips, twine the strips together, then add stitches to a loop and core basket. Well, I intended it to become a basket, but I am doing my stitches (button hole loop or Coptic stitch) upside down. It makes it hard to add the stitches because I’m going through a smaller loop.
Photo description: round loop and core base make from paper napkinsPhoto description: close up of the stitches with the core twine marked in green, and two loops highlighted in purple
Opening up the smaller loop to add the next row of stitches weakens the twine at that point, and paper twine is not robust stuff to begin with. I will probably continue to the end of the core twine (there isn’t much left), and experiment with preservation methods with the finished object. The feel of the fabric is quite nice, flexible but firm with an interesting texture.
In April 2018 I decided to try making my own garden flags. I taped down cotton cloth on cardboard with masking tape, then used acrylic paint to completely cover the cloth.
Photo description: four garden flags freshly painted, drying on the cardboard where they were taped for painting
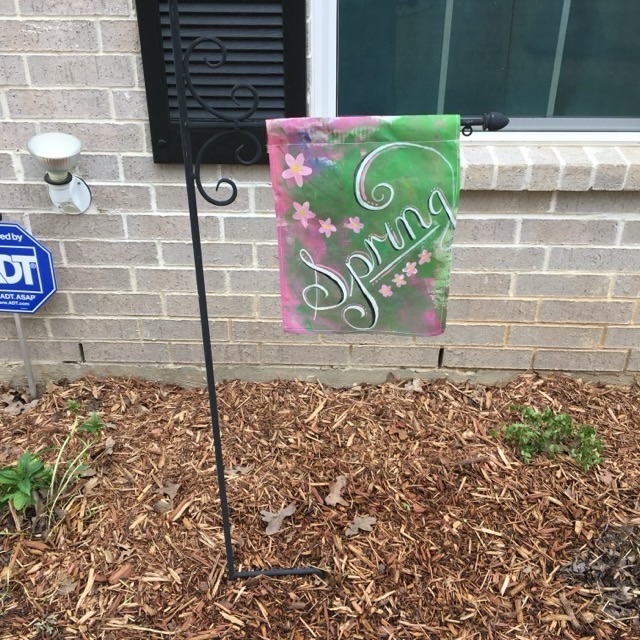
Once the paint was dry I hemmed the flags and sewed in the top channel so they could hang on my garden flag pole.
Photo description: finished flag hanging vertically in the garden
These flags held up remarkably well. If I were to make them again, I would be sure to iron the fabric before taping it down, and sew the pocket at the top wide enough to accommodate the loops that are on my holder. In summary, iron the fabric, and measure twice, cut once, which is good advice for most projects.