Hem stitching: rib knit

The whip stitch is very useful for putting hems on finely knit items like t-shirts or soft pants. Because fine knits are difficult to unravel, you don’t need to fold over the edge twice, you can stitch over the cut edge, which also gives the hem a lower profile. If you are hemming a ribbed knit, lining up the ribs helps keep the fabric even and gives a nice gauge for stitch size!

Photo description: hemming fine ribbed knit pants with a hand-sewn whip stitch

I started at a seam, and hid the thread knot in the seam fold. Then I put the needle through the pearl side (indent) stripe on the inner layer, and just picked up a couple loops on the next rib of the outer layer. To keep the stitches at the right tension, after stitching a few I pulled open the ribbing to draw in the thread. This leaves the stitches loose so they won’t show and are less likely to snap when the fabric stretches. Pulling the stitches tight would result in a visible stitch line that would break the first time the fabric stretched.

Photo description: finished hem that is nearly invisible

The incredible sweater machine

I bought an “incredible sweater machine” (as seen on TV) on the FB marketplace, because I read that it was an easy beginner’s machine. These were being produced in the 1990s, and production stopped in England in 2015. It is a very basic setup, but I wanted it to make custom pieces for my youngest, who has a hard time with off-the-rack clothing.

Photo description: inside the incredible sweater machine box, with original skein of yarn

I decided to use the Singer treadle table to set up the machine because the solid wood top was the right thickness and the narrow depth looked like the tables in the demonstration videos. Someone kindly transferred the VHS to YouTube, so I was able to watch it (90s flashback, wow).

Photo description: the incredible sweater machine set up on a narrow wood plank screwed to a cast iron treadle base

Reading the manual and watching the video helped me get started quite quickly. I made the first square in about a half hour, including backstitching the live edges.

Photo description: 50 stitches and 72 rows made on the incredible sweater machine
Photo description: square of knitted fabric with back stitched hems and removed from the machine

I later did weave in the ends, but was quite impressed with how well the simple machine works.

And how did I not know about backstitching the final row of knitting?!? I need to try it with ribbing next. So stretchy and neat.

Adding a top

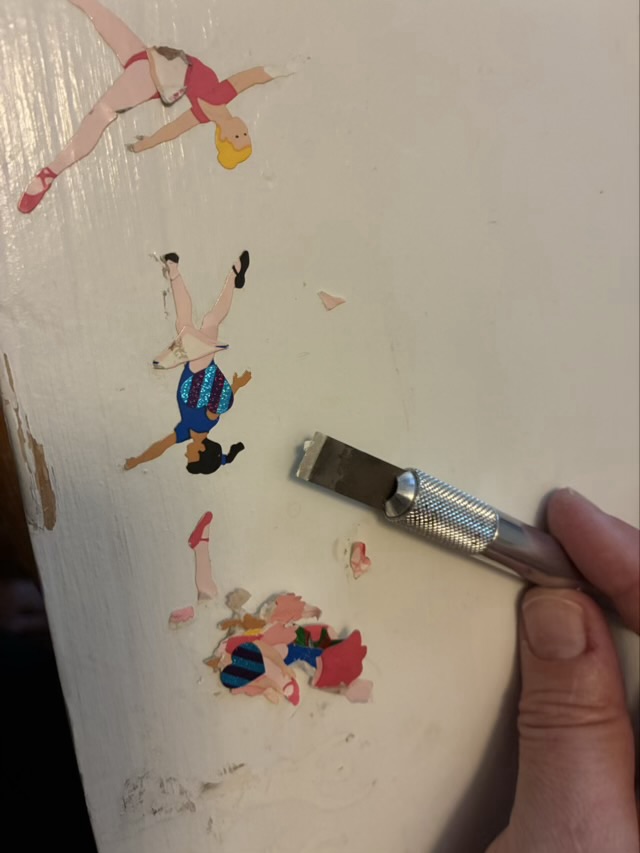
When my youngest was little, I made a little table/bench from pine with screw-on wood legs for her as a play surface. I painted it white, but she festooned it with stickers of ballerinas. The little table was outgrown many, many years ago, and the disassembled pieces have been sitting in my craft room. I decided to use the wood slab as a mockup top for my Singer treadle base. I cleaned off the stickers with a flat craft knife (they were the horrible kind that comes off in tiny pieces if pulled).

Photo description: scraping off 14-year-old stickers from a painted board

I cleaned the residue up with a Magic Eraser, and removed the brackets for the legs. Then I screwed the treadle base to the board.

Photo description: cast iron treadle base set on a painted pine plank

It isn’t fancy, but the pine will be easy to saw holes in for the drive band to come through. The yarn winder design is still in the thoughtful stage, but I’ve had a couple breakthrough ideas that may work out well with the tools and skills I have.

Crop Circles

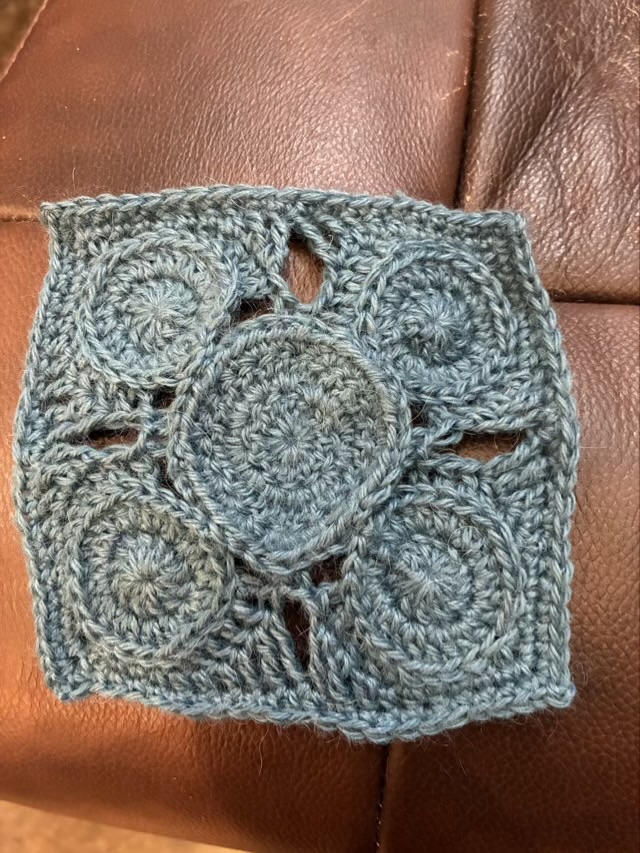
Here is another square done from the book Granny Square Flair by Shelley Husband.

Photo description: crocheted square made from alpaca yarn, pattern name “Crop Circles”, not blocked

How long did it take you to notice that the center circle is showing the wrong side? I didn’t notice until all four outer circles were stitched in and I had started the connecting stitches. Sigh. I’ll put it in an obscured spot in the final garment. Or call it a design choice.

Lotus fiber basket

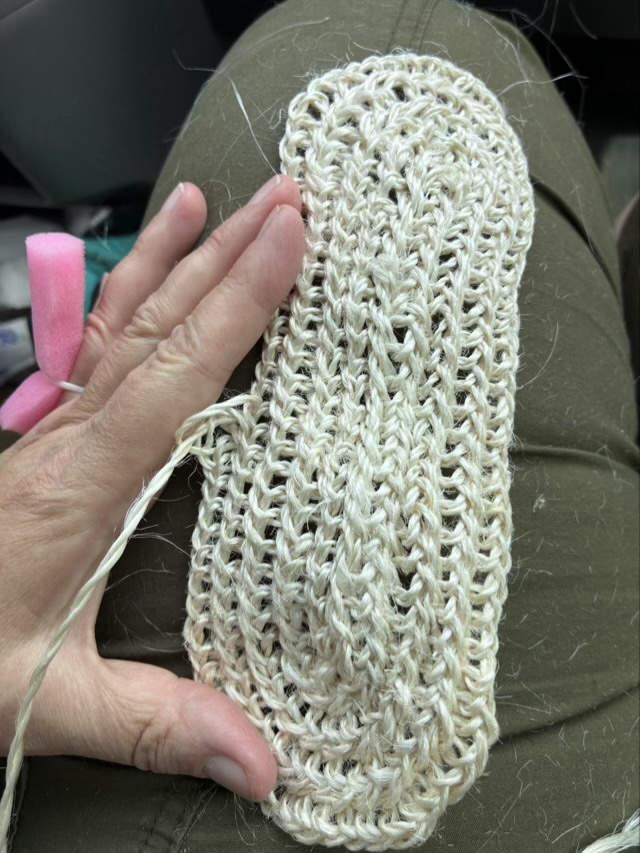
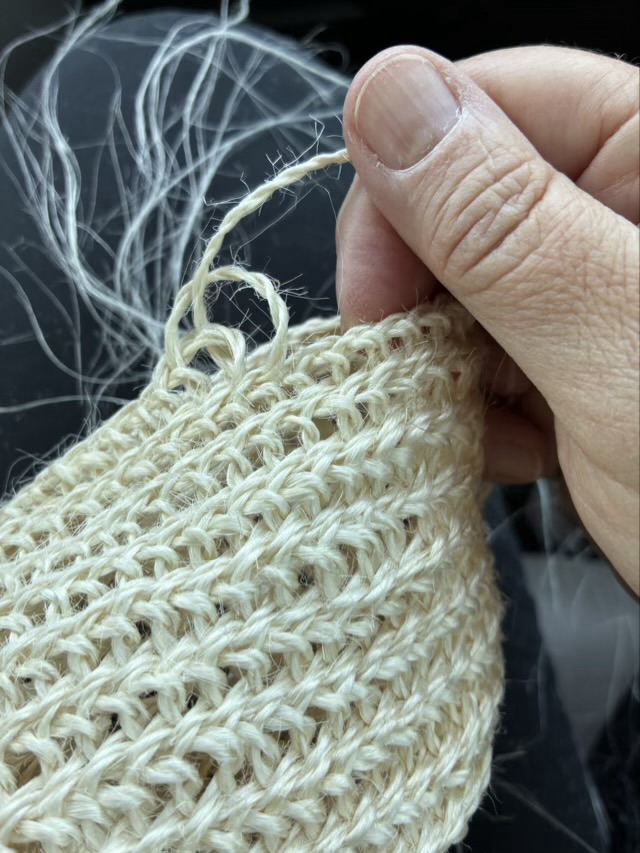
On our five-day road trip I spent time in the car twining and nålbinding a small oval basket from the lotus fiber that I hackled before we left. Once I had an oval shape for the base by adding increases only to the curves, I stopped increasing to build the walls.

Photo description: nålbound oval made from lotus fiber and an Oslo stitch , small section of sponge tucked into my ring because damp fingers twine plant material better
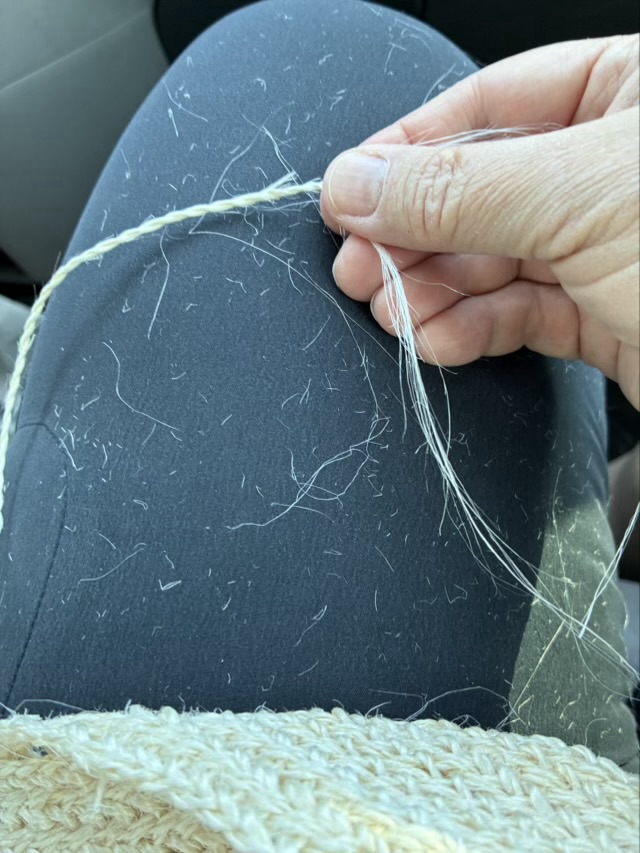
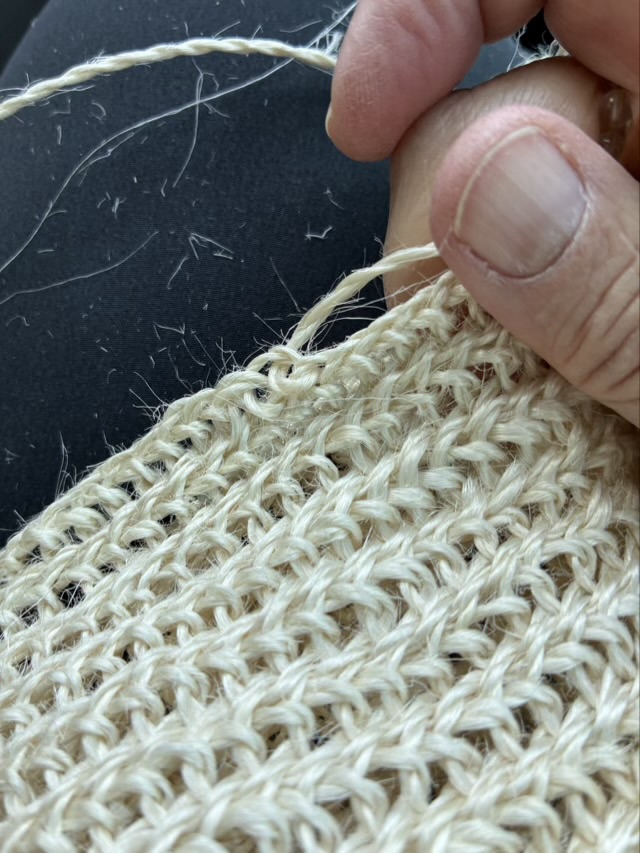
Photo description: tiny lotus fiber fragments everywhere as I twine

Even though I hackled the fiber and removed many of the shorter fibers, the lotus had more and there bits everywhere. The fibers are hair-like and itchy. Luckily I keep a lint roller in the car because I had to use it before every stop.

Photo description: final row before tightening the stitches
Photo description: final row after tightening the last three stitches and adding a couple simple loops to taper it down

To finish the basket I wrapped the twine around the top rim twice to give the edge more strength.

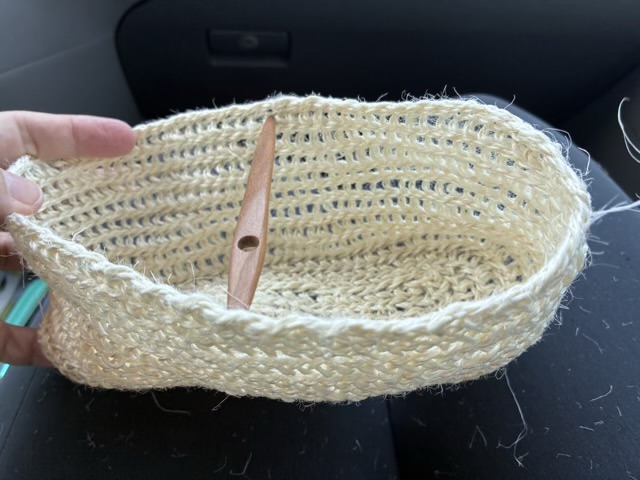
Photo description: finished basket with the cherry wool nål I used for stitching

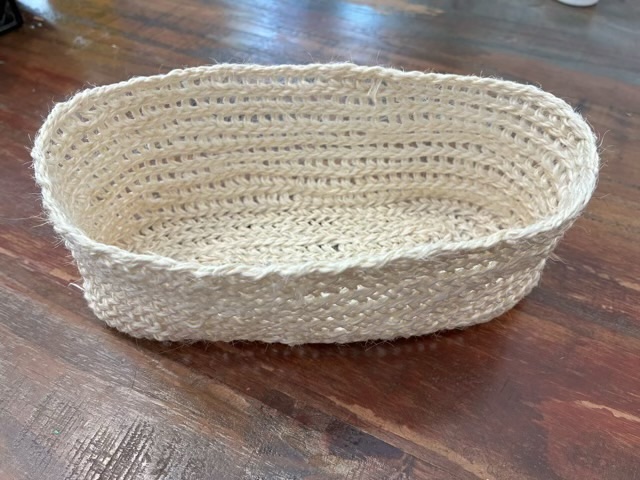
The basket had a bias twist and was a little wonky, but sturdier than I expected.

Photo description: the basket twisted without anything to hold it open

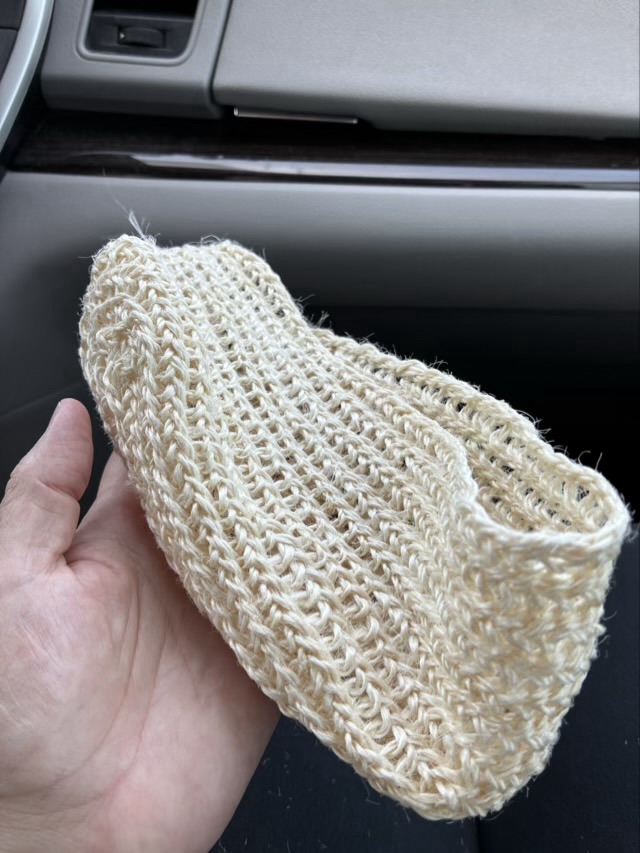
When we got home, I gave the basket a plain water soak and the twist relaxed, making quite a nice little container once it was dry.

Photo description: finished basket after blocking

This project took me roughly 18 hours, but it was very satisfying to twine for a while then stitch for a while. I was originally thinking to make this into a base for a project bag, but since it holds shape, I think I will keep it as a small basket.