Nylon dish scrubbies

I have been experimenting with nylon tulle fabric (fine mesh fabric, usually in the bridal section). My sewing machine cleaning instructions include using this kind of fabric to gently clean screw threads. If it can handle that kind of work, scrubbing dishes without scratching should be a breeze. I ordered 15 yards, and chose the gold color. I tried cutting narrow strips, but found that sections about 6-7” inches wide worked well to crochet bulky scrubbies. I used leather shears to cut off a section of the bolt. (I’ve since found out that tulle comes in 6” widths in the ribbon section, so we’re going to store that info away for later.)
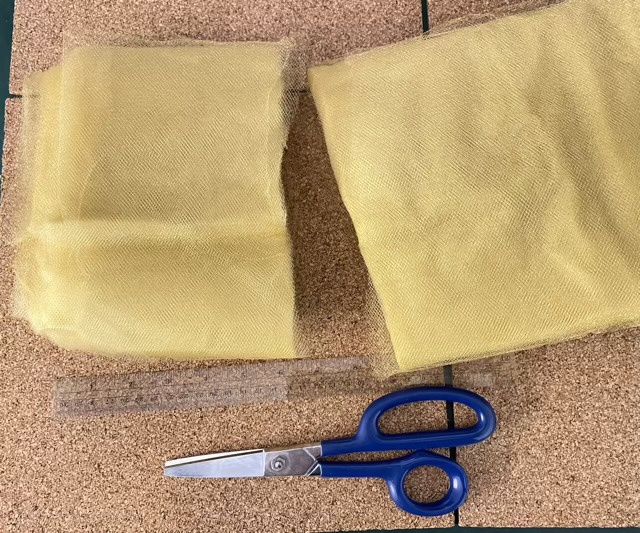
Photo description: Gold colored nylon tulle fabric folded in bolt form, with 7” cut off one end with leather shears, ruler in front for scale.

The cut strip was double layered, because that is the way fabric is laid in a bolt. To make the material manageable, I wound it nostepinne style on a dowel.

Photo description: Two balls made by wrapping nylon tulle strips around a dowel at a 45 degree angle.

I tried various methods to make the scrubbies, but came back to the basic crochet half-double stitch round. For my skill set, that is the neatest (as in tidy and well formed).

Photo description: Stack of 9 circular crocheted scrubbies, sitting on a table.

To make these, I use a size M hook and start with a magic circle, crochet 8 Half-Double Crochet (hdc) stitches, pull the end tight and slip stitch (sl st) into the first hdc. The second row starts with two chain (ch) stitches, then has two hdc in each hdc from row 1. I crochet the end in as I go. Sl st to beginning the of the row. The last row (yup, just three rounds) starts with 2ch, then 1hdc in the previous hdc, 2hdc in the next, repeat around. Cut material, pull through last stitch, join to first stitch and weave in the end. Easy peasy and fast.

Cat basket

Although it would be nice to crochet a custom lining for each round basket I find, sometimes I just fold an old towel in half and toss it over. This works great for Izzy, but for seven-month-old Thor, it is too tempting.

Photo description: Gray tabby behind an upturned round basket with a towel spilled out.

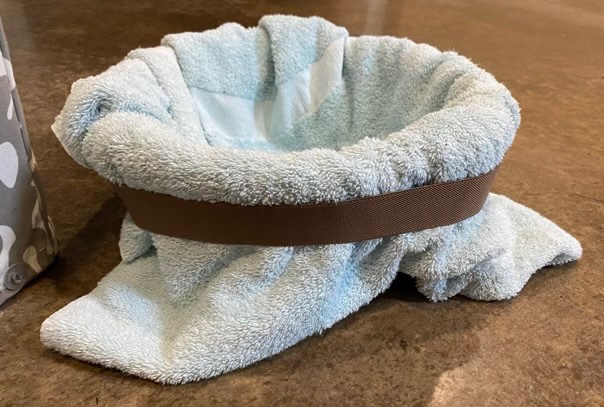
To keep the towel in place and not subject to kitten wiles, I sewed together the ends of a piece of wide elastic to make a stretchy band that goes around the towel and basket.

Photo description: Same basket, same towel, but with a two inch elastic strap around the circumference, holding the towel in the basket.

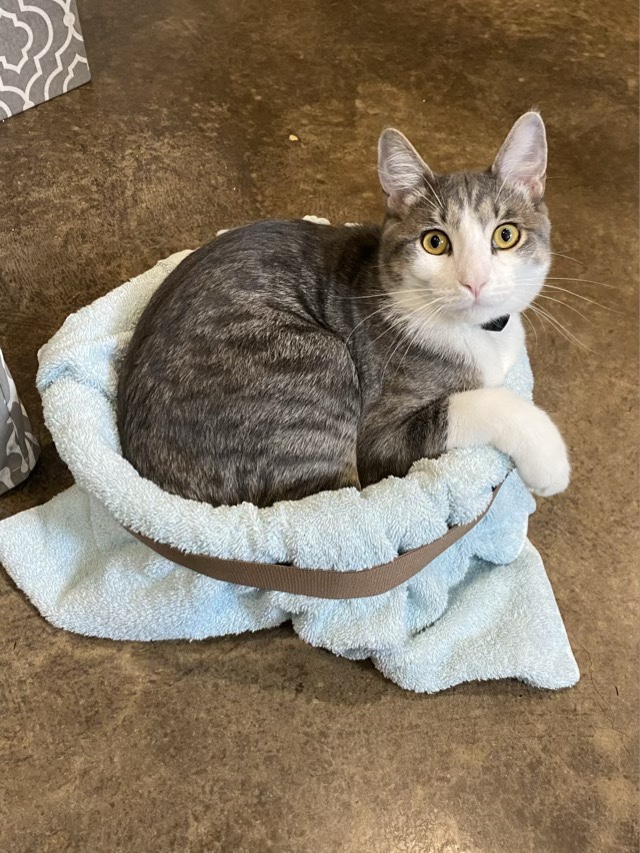
The securing of the towel meets with both cat’s approval.

Photo description: Gray tabby cat filling up the towel lined basket, looking at the camera
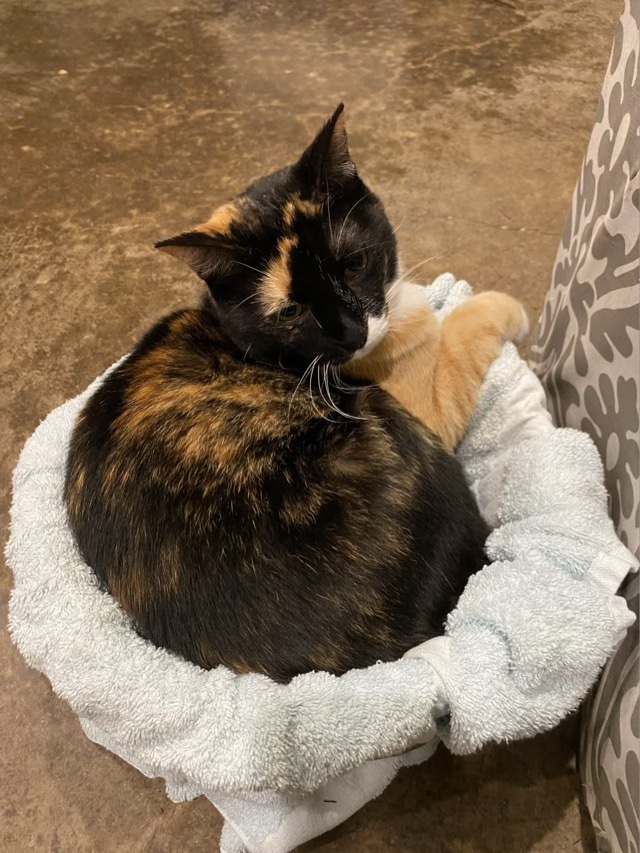
Photo description: Calico cat sitting in the same basket, later.

In my opinion the basket is a little small, but the cats like it cozy. Yes, they are about the same size now, and Thor is still growing.

Cat’s in the cradle

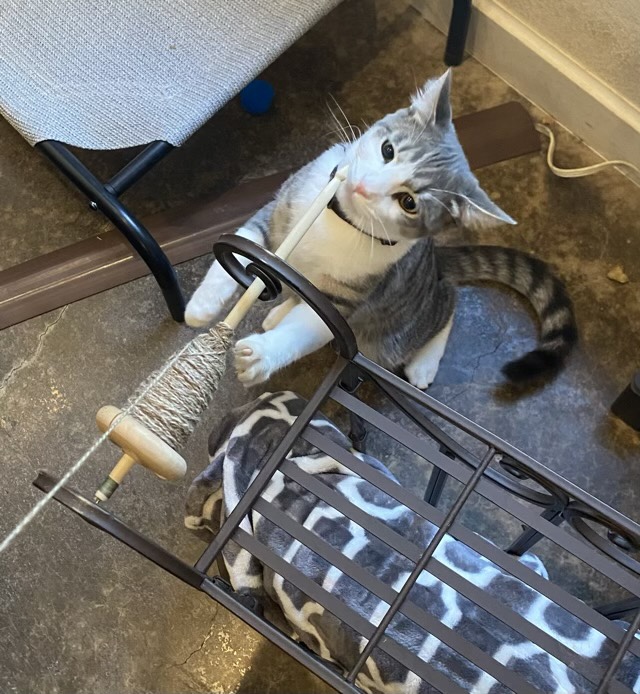
Ok, not a baby cradle, but the cat is definitely interested in what is going on when my spindle is in the makeshift cradle formed by an upside down side table. I put my spindle there because it makes it easier to wind the yarn onto my niddy noddy. As I unwind the yarn, the spindle skips and jumps and makes interesting scritchy noises against the metal.

Photo description: Wooden drop spindle set into the curved legs of an upside down metal side table. Gray tabby sniffing the end of the spindle with one claw caught in the yarn.

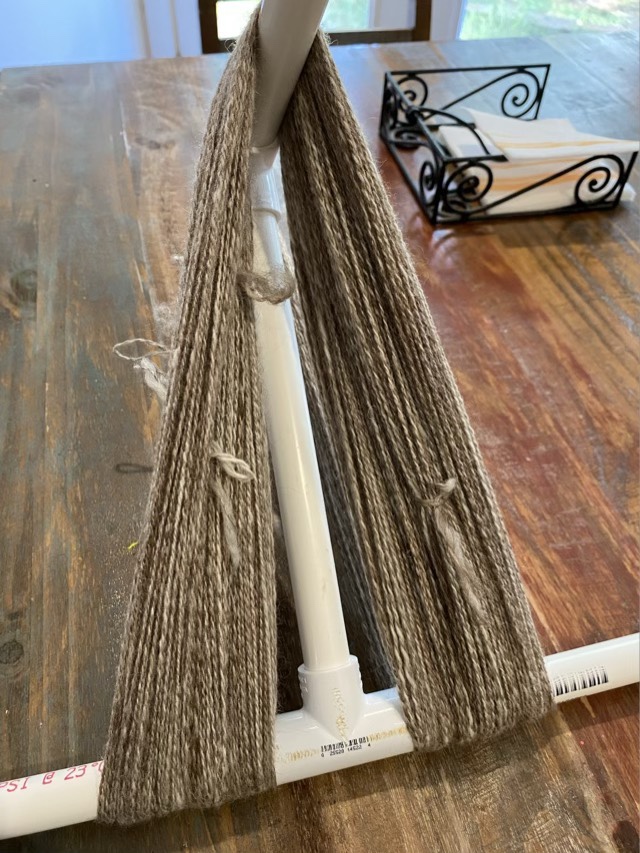
Despite the extra “assistance,” I did manage to get all the yarn onto my niddy noddy. This is the multi-fiber blend from Anniewhere. I’ve wet down the fibers and set them to dry out of the cat’s reach.

Photo description: Several bundles of 2-ply yarn wrapped onto a PVC niddy noddy.

Cats and fiber arts really don’t mix, but it is remarkable how often they do anyway.

Ukulele strap part 2

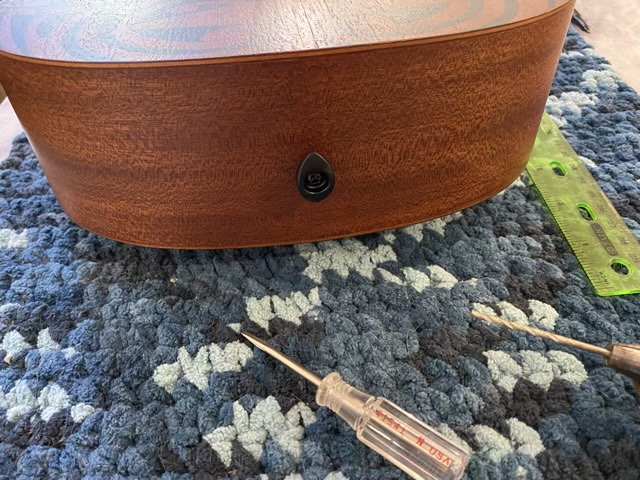
My ukulele did not come with strap buttons, so I found some elliptical ones from D’Addario and drilled pilot holes at the base (there is a block of wood inside to support the screw), and the back of the neck.

Photo description: Elliptical strap button installed on the bottom of a tenor ukulele
Photo description: Elliptical strap button installed on the base of the neck of a tenor ukulele

I trimmed the ends of my woven band (see yesterday’s post), and treated them with white glue to make them stable.

Photo description: Both ends of a tablet woven strap treated with white glue (shown on a post-it note) using a brush (shown).

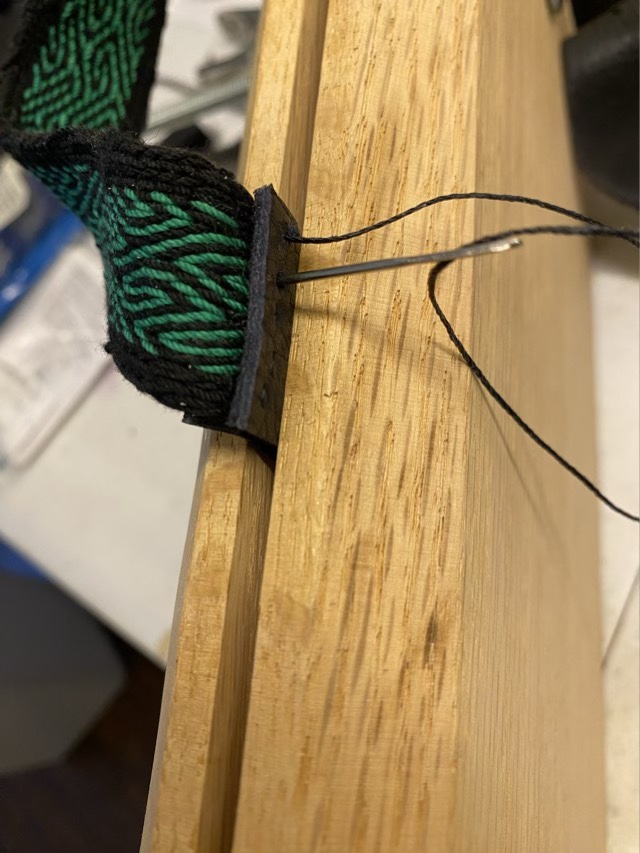
I found two metal slide buckles at the craft store and used one as intended, sewing on end of the strap to the middle bar and threading the other end over it. The other buckle I modified by taking out the middle bar and using as a ring in the fold of the strap. In my leather stash I had an old black belt. The leather was thick but flexible, and great for making the end of my straps. I folded, cut and carved tear drop shaped holes in the belt for the ends of the strap. One end I sewed on using waxed thread. The other I riveted together.

Photo description: Wood clamp holding the leather end and the woven end together so I could sew using the holes I punched into the leather.
Photo description: Finished strap with leather ends and metal slides
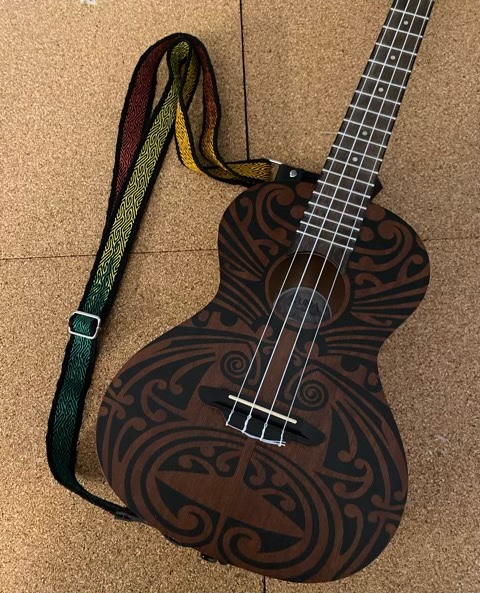
Photo description: Strap installed on the tenor ukulele.

I’m rather excited about having my ukulele on a strap since it makes it easier to hold at a good position for both my hands. I’m off to practice!

Ukulele strap part 1

I decided my ukulele needed a strap. Maybe it was mostly an excuse to design a new card woven pattern, maybe it was to use up cotton crochet thread, most likely I decided to make it myself because I don’t have enough works in progress.

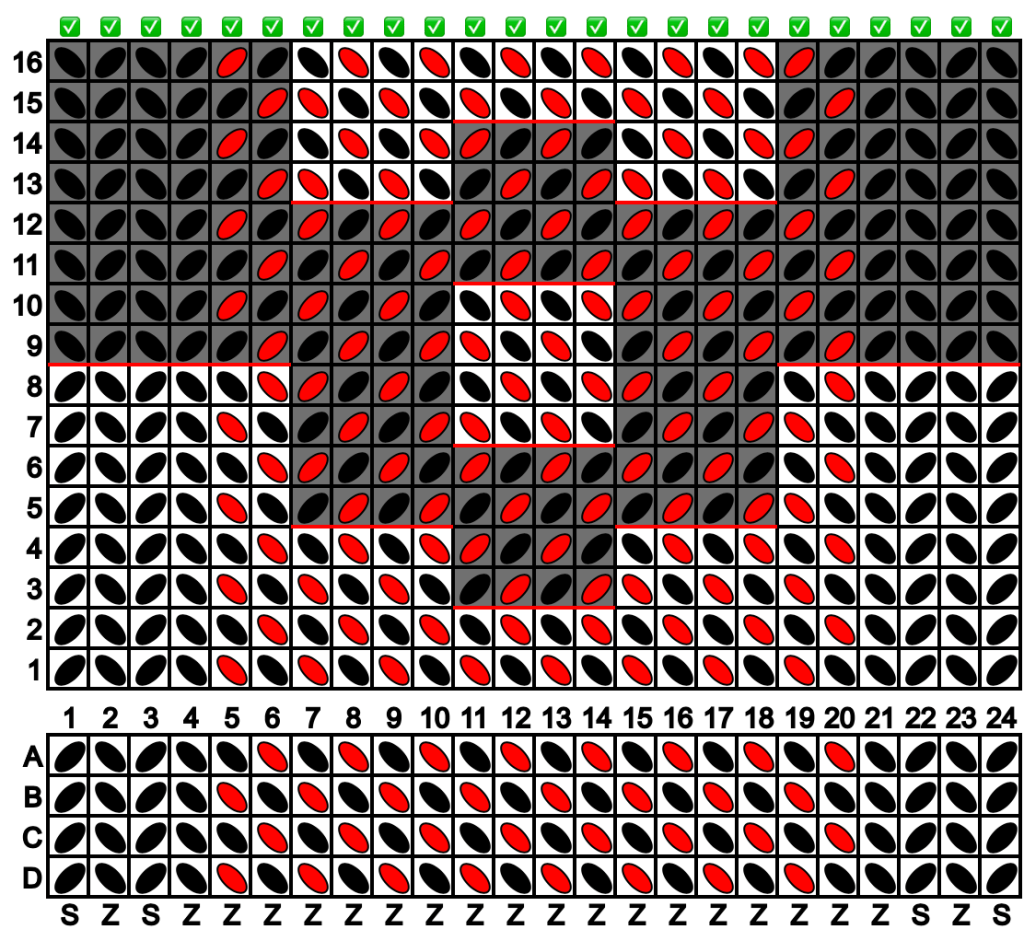
I used this tablet weaving designer, and came up with this pattern.

Photo description: Tablet weaving pattern diagram generated in Tablet Weaving Draft Designer v1.5.0. Diagram shows how to setup the cards in the tablet, and which way to turn each card for each pass of the weft thread.

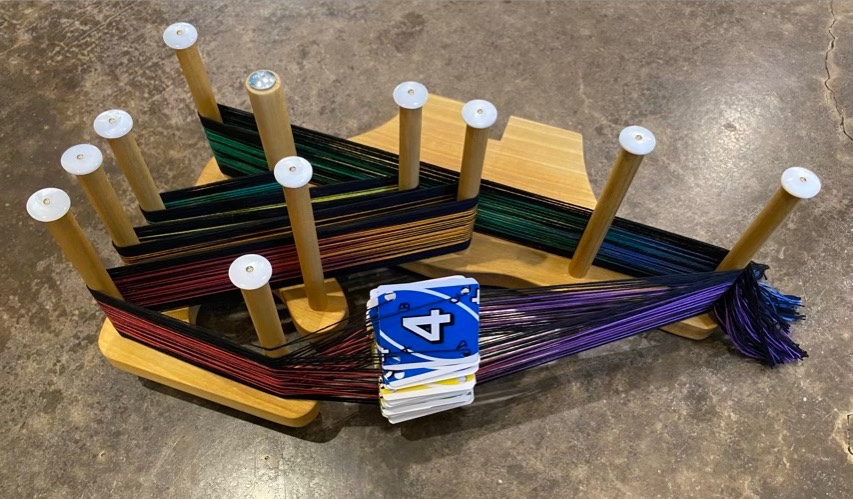
I warped my loom with #10 cotton crochet thread in black and rainbow. The rainbow warps I aligned by color. It was quite serendipitous that a color repeat in the thread was just a little longer than my warp length, so I could have all the colors, and very little waste.

Photo description: Handmade Inkle loom warped with black and rainbow thread with weaving cards made from an Uno deck.

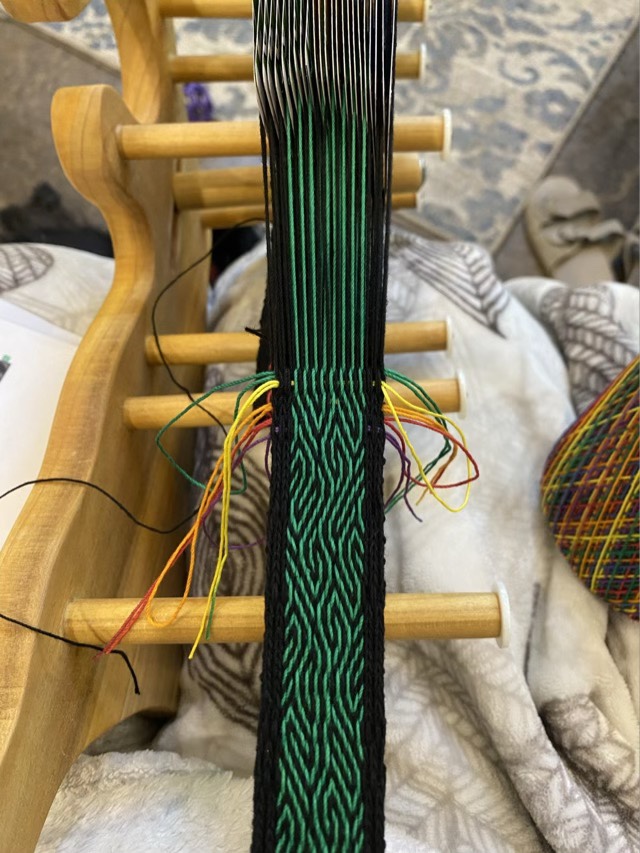
I used the black thread as the weft, and started with a few passes held straight with lengths of 18 gauge wire, then doubled the weft back on itself for several rows. To end, I used a loop method to draw the weft back on itself to help lock the weaving in place.

Photo description: Weaving in progress showing a wavy green and black pattern with solid black edges and rainbow colored loops along the weft pass to use to draw the weft backwards.

I love this pattern. It is balanced so the twist does not build up in the warp, except when I make a mistake. Even when I miss a turn or double a turn, it still looks cool, and it is double sided! Win! I love the middle, but the edges vex me because they are not even (an artifact of the balanced weave). I may try a plain woven edge next time around (my youngest has requested one for her uke.)

Photo description: Finished woven band with color changes along the spectrum in the same wavy pattern.

Now to make it useful in addition to decorative.