Every year I make bookmarks for my youngest’s teachers. The teachers love them, and my youngest gets enthused about ideas. This time she wanted herself flying through the sky, so we took her picture laying on a bench, and I Photoshopped her onto a sky with fluffy clouds (since she chose to wear her fluffy cloud sky shirt). But what to do for the tassel? I went digging through my stash, looking for white felt, but instead found some poly batting. I could work with that. To make the clouds, I cut out a oblong of batting, then melted the edges with a candle flame to reinforce the edges and make it more cloud-like.
Melting the edges of poly battingPoly batting “clouds”Bookmark with cloud tassel
I attached the “clouds” to the bookmarks with a length of pearlized cotton. For this blog, for safety sake, I blurred out her name and face. The bookmarks that went to the teachers were not blurred!
I found another thing to do with my woven bands: bracelets! I chose to sew leather ends on to reduce bulk, and I had the materials.
Materials to make the bracelet
I cut a strip of goat leather and stained it dark brown, then sealed it with an acrylic clear coat. I cut two smaller rectangles from the finished leather, cut a length of leather cord, sealed the ends of the woven strip with clear glue, selected a shell button, and sewed using waxed nylon cord.
Attaching the eyelet
To form the eyelet for the button hole, I folded the leather cord in half, then bent the ends outward at a 90 degree angle. I secured it to the end of the woven band with waxed cord, then cut off the excess. To cover the end, I cut a slit in one leather rectangle to slide over the eyelet, then sewed the leather to the band. The nylon thread was thicker than I wanted visible, so I separated the three strands and just sewed with one.
Sewing the leather using a clamp
My wooden book clamp serves well as a leather stitching aid. I used wax paper to keep the newly finished leather from sticking to the wood. (I recommend waiting 24 hours before sewing, but I was impatient.)
Finished button hole end
For the button end, I sewed the button offset on the other leather rectangle, using cord scraps to space the button off the leather. If the button is sewn tight to the surface, there isn’t enough room for the eyelet.
Button sewn using a cord for a spacerButton end sewn using a wooden clampFinished hand sewn leather button clasp
I’m pleased with the finished bracelet. Although I would have preferred the leather ends to butt together, the gap actually makes the bracelet more comfortable to wear by giving more flex. The bracelet is easy to button one handed, and is light.
I’ve been pinning many pictures of things I can do with my Inkle loom woven straps. So many things, but what caught my attention this time were wrist straps. Most of the articles talk about attaching keys, but I also saw wrist straps used for walking canes, cameras, and small bags. I also saw a method for securing the end of the cut woven strap with clear flexible glue. I used Modge Podge, which worked well painted on the ends and allowed to dry.
Securing cut ends by painting on clear glue
There is metal clamp hardware that make the creation of a wrist strap quicker, but I preferred the sewn leather direction. I noticed that leather makers use a wooden clamp that is similar to my bookbinding clamps. My clamp is larger, but it worked well to hold the pieces together while I stitched. I used a single ply of waxed nylon thread to sew a loop of leather to the ends of the strap.
Stitching leather using a book clamp
Rather than a D ring, I used a split ring and a toggle clasp because these can be removed if the strap needs to be modified with different attachments.
Wrist strap made from an Inkle loom woven strap and leather
I liked how this one came out, so I made more.
Hand woven, hand sewn, cotton and leather wrist straps
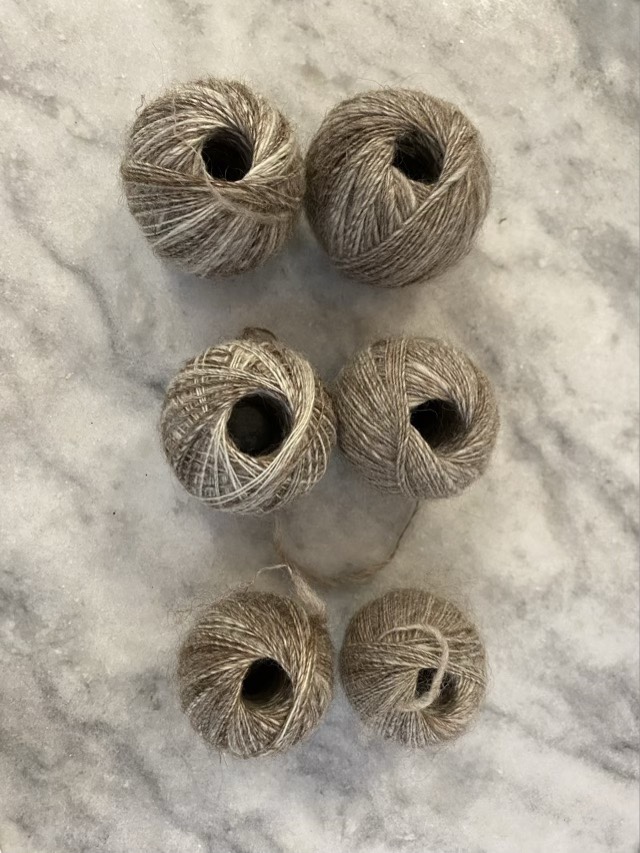
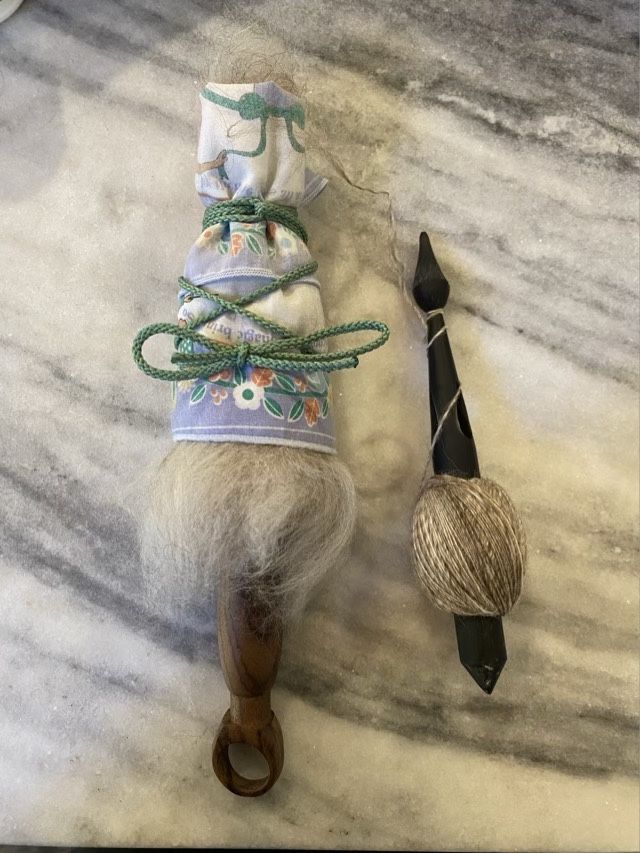
I am delving into the fiber samples my sister gave me, starting with hemp. I tried spinning the hemp as I would wool, with a drop spindle and dry. The fly aways were epic. Since I had luck spinning flax roving using a bit of moisture from a sponge, I tried that method with the hemp. It meant I had to transfer what I had spun to a long shaft drop spindle (wrapping the yarn along the shaft at a low angle reduces the stress on the fibers).
Moving the spinning operation from a single spindle to a spindle and distaff setup
Rather than spinning directly from the roving, I separated bits of roving and laid them on a rectangle of fabric (all those old masks came in handy), taking care to lay them in the same orientation. I then rolled the fabric around the distaff and tied it loosely with some cord.
Dressing the distaff with hemp by laying down the fiber on a clothSponge bracelet, dressed distaff, top whorl drop spindle
As I spin, I wet my fingers on the sponge before gripping the fibers to draft. It helped tame the fly aways and gave me a smoother spin.
I’ve been slowly progressing on my brioche rainbow scarf project. I’ve made it down to where the colored yarns need to be rewound because as I pulled from the center, the yarn was getting tangled. Since this is a waiting-in-the-car project, I rolled up a park map to use as a nostepinne to rewind each color then pop it back in the split pool noodle (which really works well to hold all the colors). I still have many hours of work left, but the end is nearing. It is funny how I used to consider scarves quick and easy projects.