Peachy keychains

I recently created a PDF pattern for a local yarn shop. It is the owner’s pattern, but they needed it taken from written shorthand to a sharable PDF. It is a cute little peachy amigurumi, and in testing the pattern, I made up 6 little peaches.

Peach amigurumi

The pattern is by Anniewhere at NerdCraft. I’m very excited about the wool yarn I used for the body of the peach, because it was locally spun and dyed by Texas Prairie Fiber Co. I love using locally produced supplies! The leaves I made from my own handspun yarn, that I spun from Blue Faced Leicester and silk blended roving dyed by Frabjous Fibers. This turned out to be quite the collaborative project.
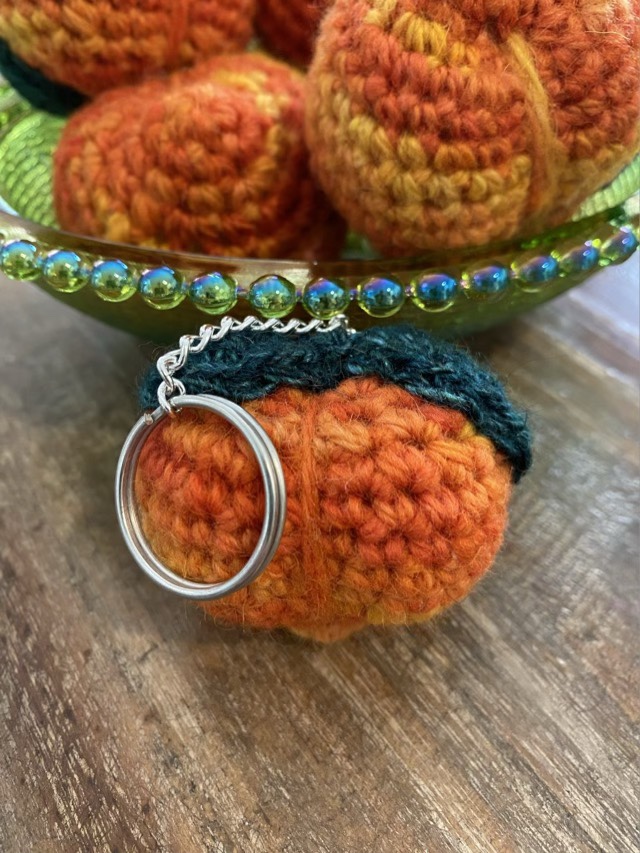
Keychain peach amigurumi

I did make each one into a keychain by sewing on some chain and attaching a split ring. I used hand-spun alpaca scraps from a naturally brown alpaca (Aimee) to sew on the chain. So each peach has a little brown stem.
Woven hat band

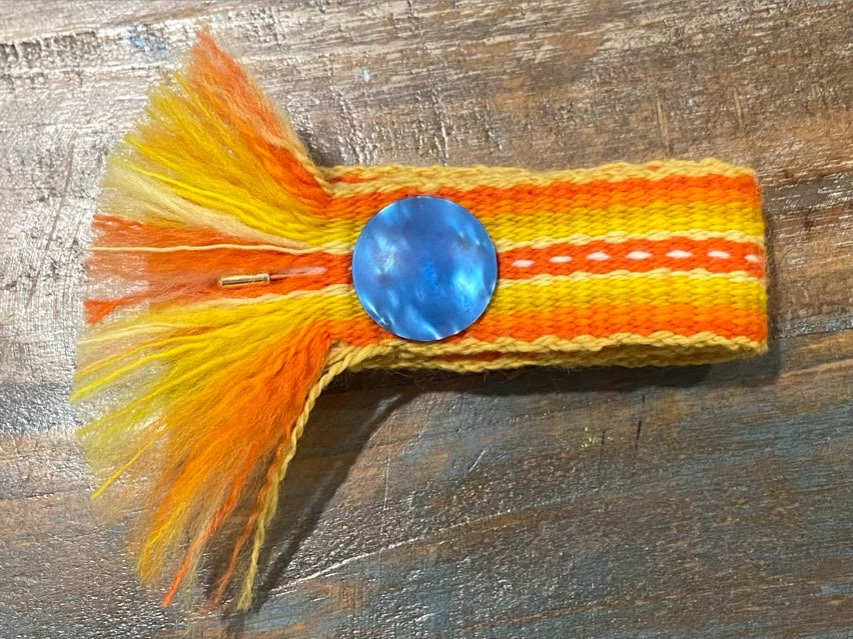
For my Dad, I took an end section of my Inkle woven band (post from yesterday) and made it into an adjustable hat band.

Woven hat band

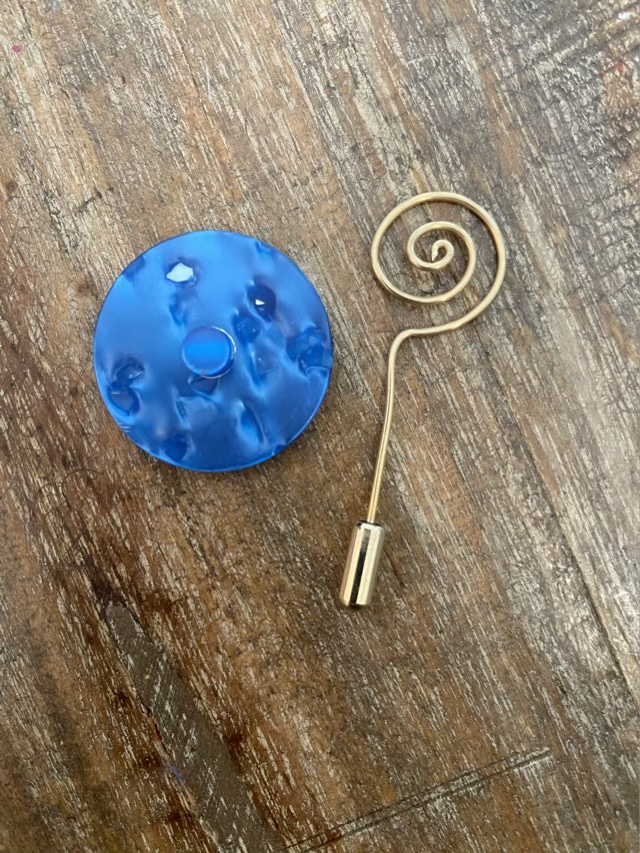
I sewed where I wanted to put the end before cutting it, then sewed it over again to catch all the ends inside the seam. For the pin, I used a shanked button from my button stash. I believe this one is vintage, but sometimes my buttons get mixed. To make a button into a pin, I use a spiral wire with the end sharpened.

Back of button and handmade pin converter
Button installed on pin converter

I brushed out the fringe on the woven band and shaped it to mimic a feather. The weaving is doubled back so won’t unravel, and I think the spray of yarn adds a bit of flare to the band (although it will probably have to be combed out straight occasionally). To set the band size, the pin holds the ends of the band together.

Fringe and pin

Weaving handspun

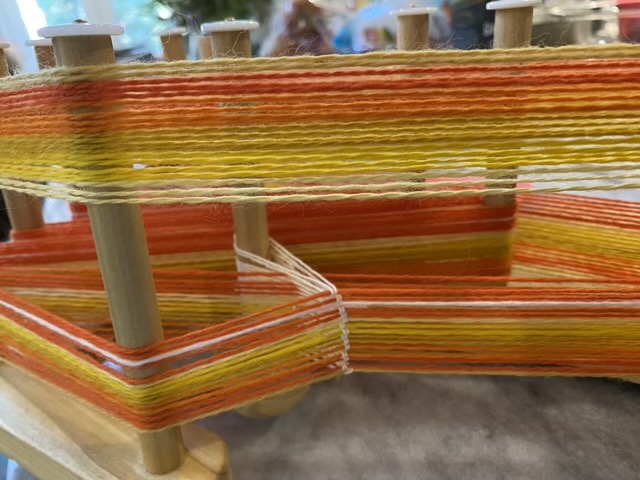
After spinning all my merino wool roving, I used it to warp my inkle loom. This is my first time weaving with my own hand-spun yarn.

Inkle loom half warped with hand-spun yarn

I did learn to review instructions before starting, I thought I could warp the loom, then put on the heddles, but I forgot the warp path for non-heddled yarn is different. I had to go back and untie and retie many warp threads. Lesson learned.

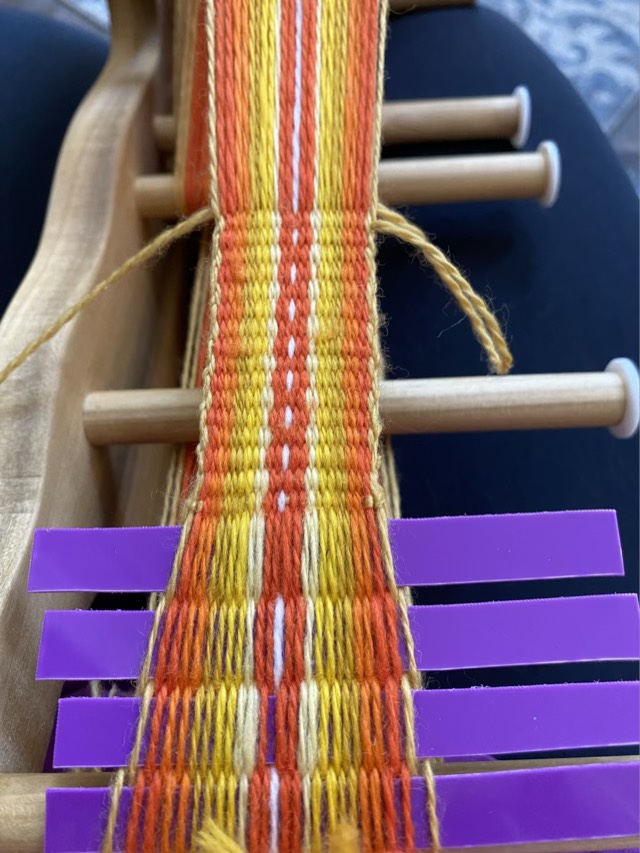
Weaving started using recycled plastic strips

I used strips of plastic cut from an empty laundry container to start the weaving and keep it straight. This also saves some unwoven warp to keep as fringe in the finished weaving.

Helper (not)

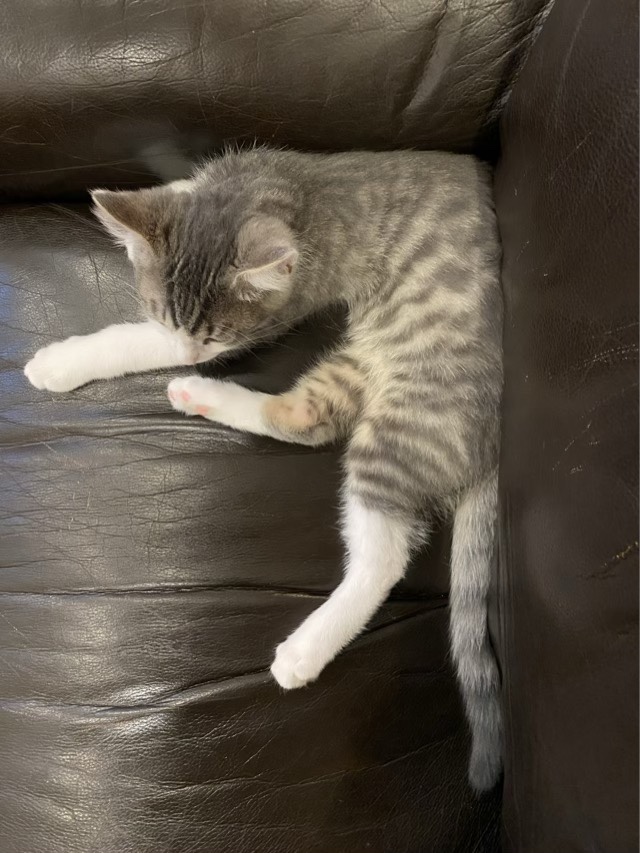
Weaving went slowly because I couldn’t progress while the kitten was awake. He wanted to help.

Wool build up on heddle strings

Another challenge was the halo on my wool. The little fibers that stray out of the spun yarn like to stick together, especially when passing other little fibers on other threads. Oy. I found if I went slower and took time to separate the warp threads when I changed the shed, things went smoother. The felted wads on heddle strings are a testament to how much wool likes to felt.

Finished band

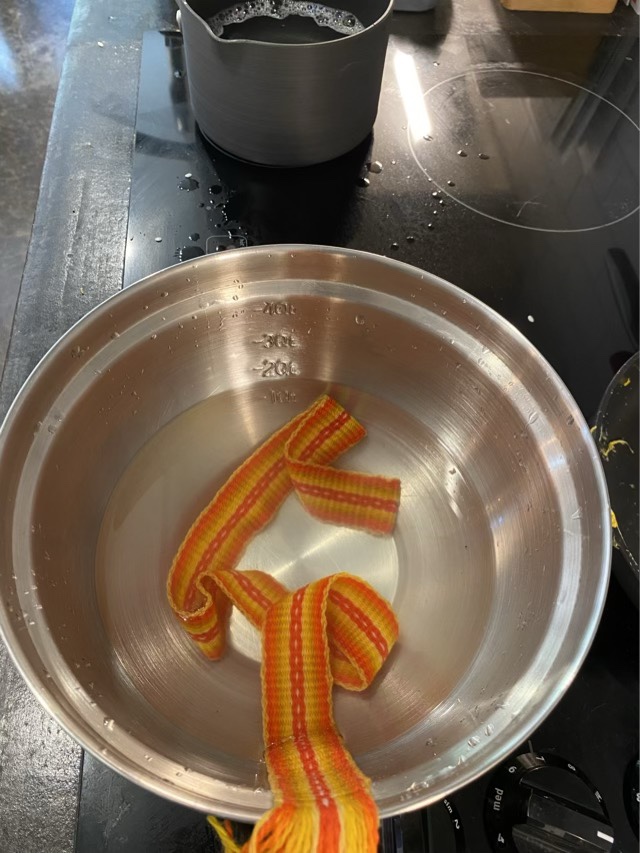
I gave the band a light felting, just by taking it back and forth from hot water to cold water. I then laid it out to dry.

Gently felting the band

Happy Father’s Day to all those that give stability and guidance. Tomorrow I’ll share what I made for my Dad.

Chew this

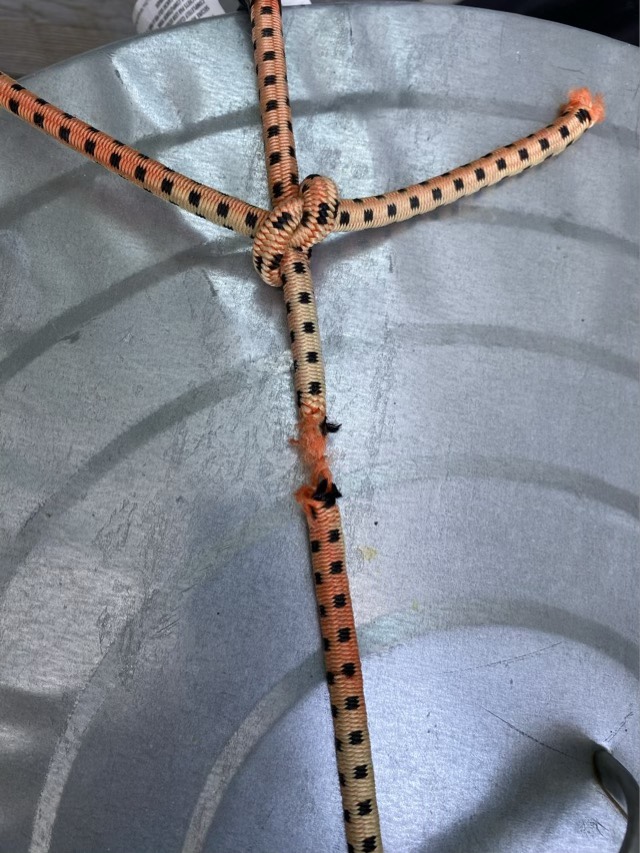
So the chewing squirrel has continued to break sections off the bungee cord holding down the lid of the metal can where I store the squirrel food.

Squirrel chewed bungee

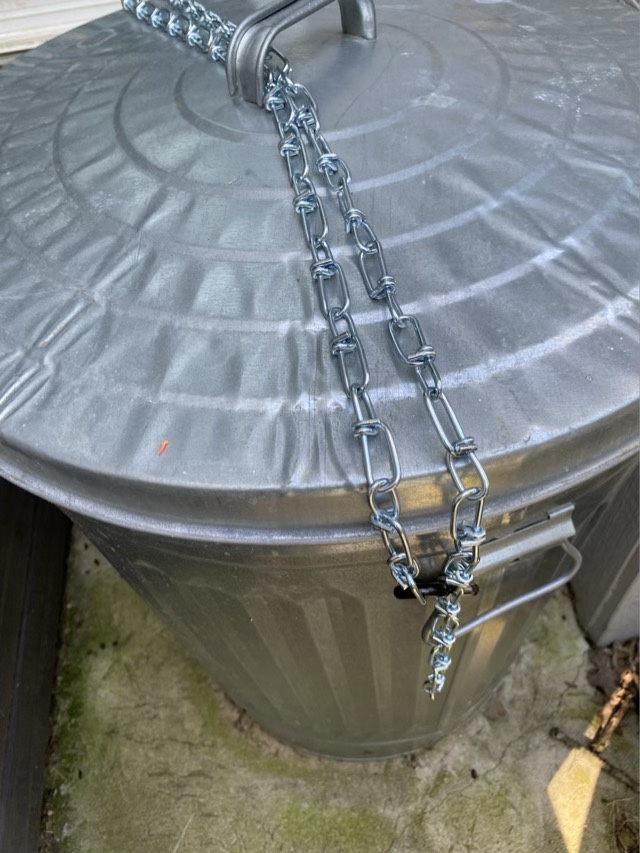
Time for a new tactic. I went to the hardware store and bought a length of chain. I replaced the chewable bungee material with metal.

Metal can lid secured with double loop chain

I over estimated the amount of chain I needed, but that’s ok, because the chewer is also working on the knot in the rope that holds up the squirrel feeder.