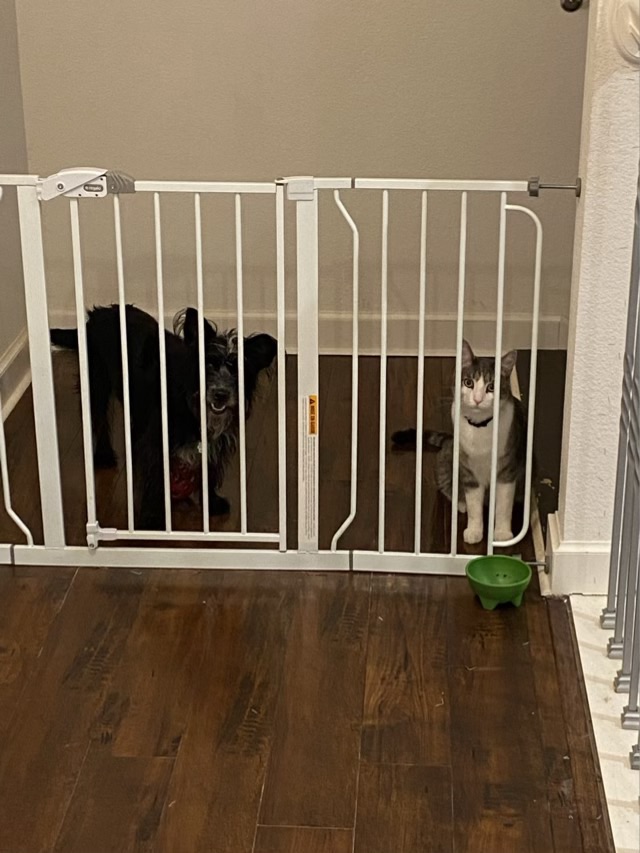
Photo description: white metal gate across the end of a hallway, with a small black dog and a large gray tabby staring through the bars. Empty cat dish on the near side.
The ironic thing about this photo is that I have seen both Missy the dog and Thor the cat jump higher than that gate in other situations. Our other two cats can jump over, but Thor doesn’t even try. The gate is there to keep our dogs out of the kitty litter and cat food. Now it also serves as a place for the female cats to have some time away from the playfully annoying young male cat.
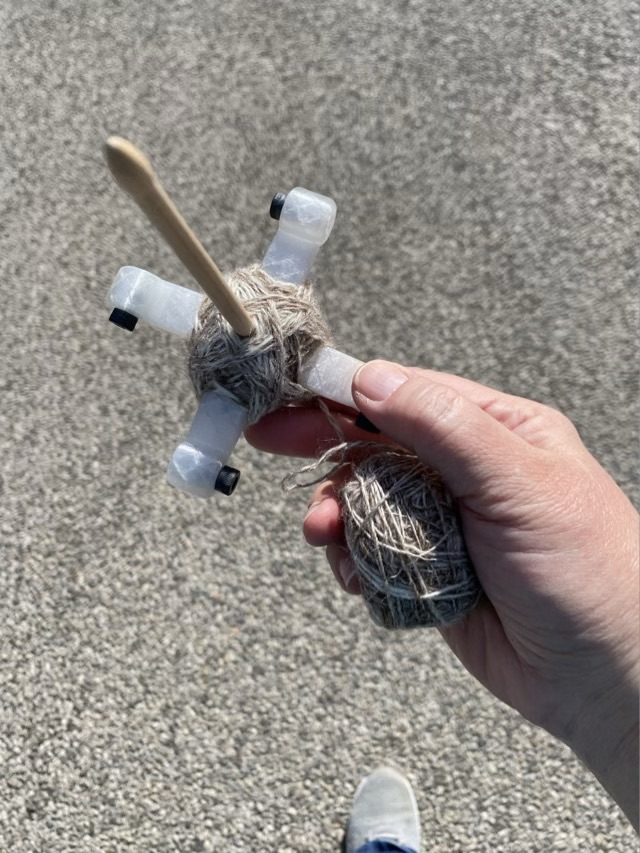
Turkish spindle yarn wrapping finally clicked with me. I’ve been following the “over two, under one” guidance for wrapping the turtle of yarn around the arms of the spindle, and I finally saw the pattern begin to emerge and was then able to follow along.
Photo description: 3D printed Turkish style spindle with a geometrically wrapped turtle of yarn, with a center-pull turtle in the palm of my hand as I walk the neighborhood.
The key, for me, was on which side of the previous wrap of yarn to put the new wrap of yarn. To start a new layer, the “two over” strand goes right next to the shaft, and the “one under” goes on the outside of the yarn under the spindle arm. As I wrap, the yarn goes outside the wraps next to the shaft, but inside the wrap under the arm. Ah ha. This method is slow, but satisfying; a good meditative practice.
Even though my previous attempts at a geometrically balanced turtle were not successful, they still worked beautifully as center-pull balls of yarn. In the picture above I was making a two-ply yarn from the center and outside strand of one turtle. So whether or not the ball of yarn is messy, it still does its job.
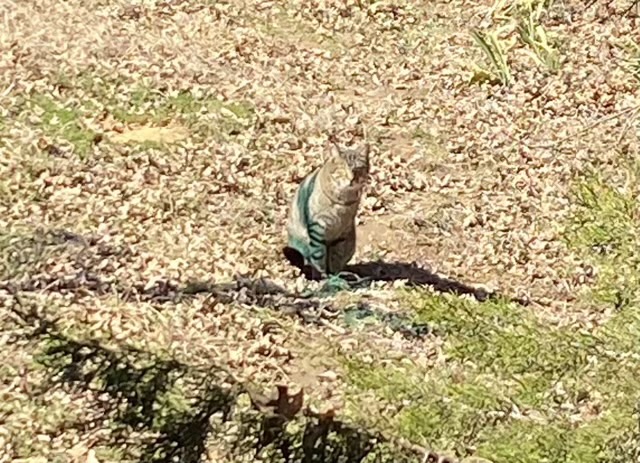
Photo description: terrible digital zoom of a tabby cat in a meadow, with large teal colored sections of fur.
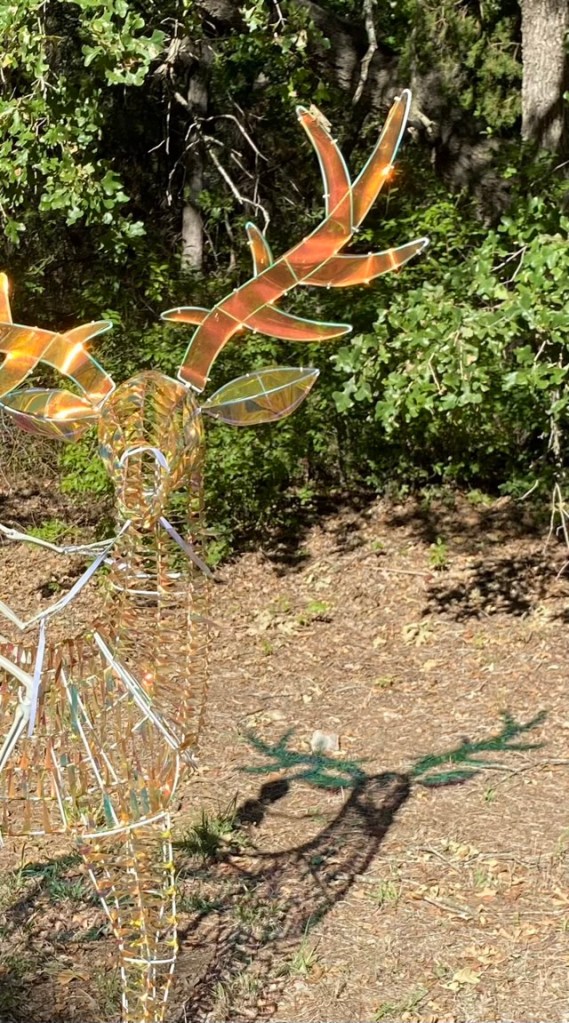
I was out brushing Mr Tom the long-haired white cat, when I looked up to see his colony mate, who we call Garfield’s brother, with some very unusual coloring. I thought maybe he somehow tipped a dye pot somewhere, but no, he was sitting in the shadow of my wire deer. The iridescent plastic in the deer’s antlers cast a teal-colored shadow.
Photo description: wire deer showing the teal antler shadow.
The picture is terrible, but was all I could manage. This cat is very skittish.
I have finished single spinning the bonus box of blended fiber from Anniewhere. I put the box somewhere safe, forgot where that was, but found it before I made anything from the rest of the fiber; I’ll take that kind of luck.
Photo description: two haphazard turtle-style cops of single spun yarn next to a disassembled 3D printed Turkish spindle.
I really like this Turkish spindle. The arms were 3D printed with flexible filament, and I dropped it several times on my walk with no ill effects. It is not my design, but one I purchased at a fiber festival.
I’m still quite envious of the perfectly wrapped Turkish spindles I’ve seen on spinners’ posts. Mine look like birds nests. The advice I keep reading is to wrap the yarn over two arms, and under one. I did that. I’ll keep trying, though, maybe it will click.
Photo description: closeup of a Thanksgiving cactus leaf with three small pink knobs emerging from the end. Another single bud visible in the background.
I’m quite excited to see it in full bloom. I have had a realization on the cactus’ blooms. I have read that in order to get a Thanksgiving cactus, or a Christmas cactus (related, but different species), to bloom, you need to water it less and put it in a cold (50 degrees F or so) environment. I noticed that my cactus gets buds on the window side, so I frequently turn it around. Our ambient temperature in the house is around 70-72, but the plant hangs in the catio access window, which is usually open, and the leaves touch the window, which is considerably colder despite being double pane. I also only water twice a week, year-round. Mystery solved, but I’m still glad it is a happy cactus. If blooming indicates well-being in cactus, that is. Hm.