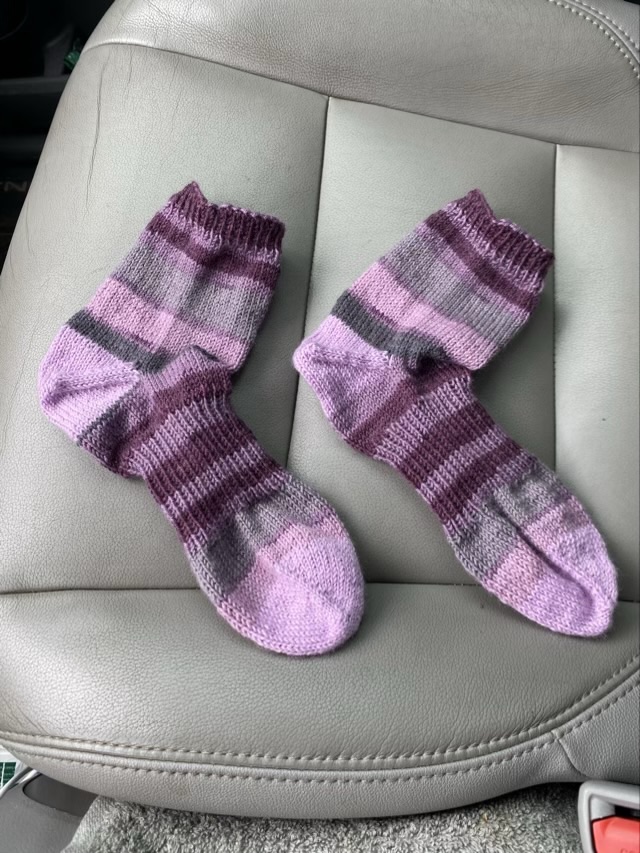
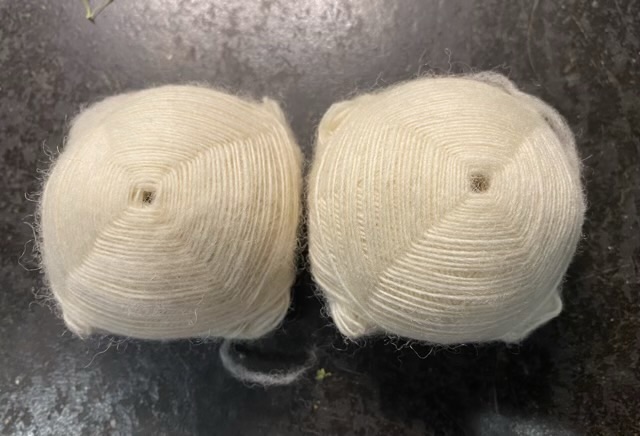
Striped socks

I finished a pair of socks in three months! This is much better than the year and a half for the last pair. It must be noted that I can only knit for about 15 minutes before I get distracted; I am not a power knitter. I usually knit as a time filler between other activities.

Photo description: newly finished toe-up striped purple socks with ribbed arch knitted from Cascade Yarns self striping yarn, toe and heel from Cascade solid color yarn

I knitted these by feel and measurements, rather by row, and that also helped save me time. The ribbed arch is a personal preference that I added to the basic sock instructions.

Photo description: socks on feet, ribbing is right on the arch

That the socks match almost perfectly is pure serendipity. Or fabulous planning by the yarn manufacturer. I split the skein of yarn in two by winding one cake until I reached half the weight, then wound the second cake of yarn. I knitted from the center of each yarn cake, one per sock. I used a coordinating solid color for the toes and heel to avoid disrupting the stripe pattern. To be honest, I’m a little sad that they match so well, I rather like coordinated mismatched socks. Hm.

Spin walks

School is back in session, so I’ve started up my spin walks again. Really it is a matter of the temperature coming down and walks being pleasant in the morning, instead of a hot sticky mess.

Photo description: spinning Southdown wool on a 3D printed Turkish style spindle while walking a city park

I found two drop spindle projects in progress when I went to pick up my spindle. Hm. I decided to start with the Southdown, because this little Turkish style spindle is one of my favorites. If I drop it, the rubberized arms bounce, and the yarn is protected from contact with the ground due to the jacks like shape of the arms and shaft.

Great wheel

Photo description: 1800s Great Wheel at Man House in Mansfield, TX, yarn weasel in back corner, basket of raw cotton (bottom right)

Y’all, I get to demonstrate spinning on a great wheel, also known as a walking wheel, in October. I recently took a drive out to meet the wheel and see if I could spin with her. We are compatible. I took some Teeswater wool roving to give her a spin, and she has been kept in good working order. There is a little slip in her drive band, but I have permission from the museum to use beeswax if necessary. She has an accelerator head, so was probably used mostly to spin cotton, especially since they were growing cotton in that area in the 1800s. I will take two kinds of local grown cotton sliver to spin in the demonstration. I’m so excited.

Photo description: close up of the spindle head showing the cotton drive bands, accelerator head, and spindle with 15 minutes worth of spun Teeswater wool, and a cork on the spindle tip for safety

The wheel is potentially 200 years old, or at least approaching her 200th birthday. It is a humbling experience and an honor to spin with her.

Throwback Thursday: Basket weave crochet

In February 2015 I finished a crochet project for my Dad that has a basket weave looking texture for a hat and scarf.

Photo description: black scarf and hat crocheted with black wool yarn

The technique uses front post and back post double crochet stitches in sets of three. It is actually an easy texture to achieve, but I recommend not using black yarn while trying to learn to count the stitches and rows. Also, size up any wool hats, as wear causes light felting, which shrinks the hat.

Calculating yardage

I’ve wound my handspun 3-ply Jacob’s wool yarn into center pull balls. But how much do I really have?

Photo description: two cakes of yarn and two center pull balls of yarn in different shades

Hand woven magazine published an article about yarn balances. I followed their instructions to make a balance and used acrylic yarn of a known weight per yard.

Photo description: yarn balance with known acrylic yarn on the left and unknown yarn on the right

Because of my scientific background, I have to do my math by using the factor-label method (here is an explanatory video). I know that the yarn on the left is 142 grams per 241 meters, so my 120 cm weighs 0.071g, a weight I would not be able to measure with a kitchen scale. My hand-spun yarn that balances measures 97 cm. I now have the weight per length and can calculate yardage. (Oh yes, I completely mix my metric and standard measurements, but as long as all the labels cancel properly, we’re golden.)

Photo description: scratch pad with hand written yarn math for all four shades of yarn

To see how accurate the calculations are, I measured the lightest ball of yarn by laying out a yard with tape on a counter. I measured 29 yards. I put a section of the yarn on the balance, did my calculations and predicted 33 yards. This is a 12% difference in weight, which I find an acceptable margin for error. When planning a pattern, you should have at least 10% more yarn than what is called for. In the case of my hand spun yarn, I will pick a pattern that needs at least 12% less than 530 yards I have.

Photo description: silver ball of yarn with scrap paper hand written math

This was an interesting exercise, and confirmed what I felt when looking at the yarn: it isn’t enough to make a vest. It may be enough the make a hat or two.