I cast on a new pair of socks the day after I finished the previous pair (that took me 13 months to knit). This time, though, I’m using self striping yarn, and an after thought heel to minimize fuss. I knit the toes individually with a solid color yarn, then I set them up on two circular needles and joined in the self striping yarn. Now all I have to do is knit, well, and some purls since I want some ribbing on the arch and top. When I get to the heel, I’ll knit in a piece of scrap yarn, then finish the sock. The heels will be last and knit individually.
Photo description: two striped purple socks partially knitted on two circular needles
I’m already making better progress, and I avoid the project less (although I’m not completely all in, I do have a few other projects in process.)
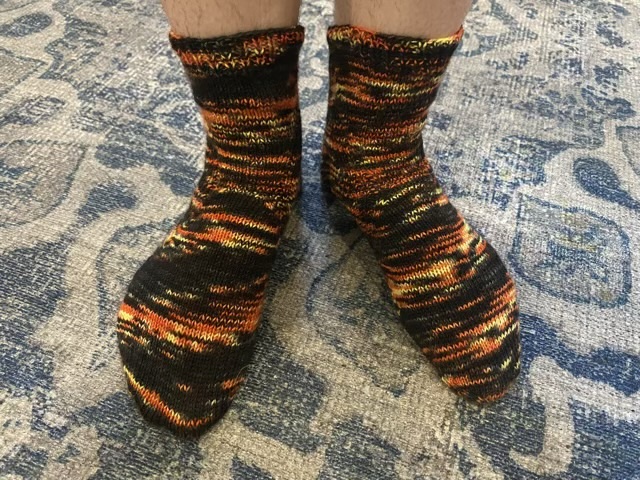
I cast these socks on in April, 2024. I called them finished 13 months later. My eldest graciously said they could end below the calf (phew).
Photo description: crew length black, orange, and yellow hand knit socks shown on feet
The Singularity pattern by Jeny Staiman is amazing. The instructions laid out in a spreadsheet format are so much easier to follow and mark off than traditional written instructions. The pattern itself is elegant. My issue was personal: I chose mostly black yarn, knitted with black needles, and am not a fan of following a pattern line by line. I would rather have a general idea and knit for many rows, or maybe have a repeating pattern that I can memorize. It is a shame that the yarn also doesn’t show off the pattern. You can’t see the beautiful sweep and contours created by all those paired increases and decreases.
I have cast on a new pair of socks using a different sock method. This set shouldn’t take me over a year to finish (fingers crossed, but not while knitting.)
I finally made myself a twining loom, after returning my neighbor’s to her. I tried other shorter methods, but having the warp hang freely makes it so much easier to twine.
Photo description: bag twining loom made from 1×4” boards and two 7/16”dowels
The boards were in my scrap pile and 18.5” long. I used my band saw to cut one board down to 1.3”, then clamped them together and drilled seven 7/16” holes, four on one side, three on the other so I could always tell how the boards line up. The wider board on the bottom gives stability. The multiple holes give me options on bag width. Ironically, the dowels have a slight bend, and line up with nonparallel holes. Hm.
Photo description: twining two colors around free hanging warp threads in twos
My eldest gifted me some pretty green wool blend yarn for Mother’s Day, so I thought it best to make something for myself. I can never have too many project bags, and I like twining, so I just needed a loom. I had some synthetic rug yarn in my stash that was a pretty rich brown, so I used that for the warp to maximize the variegated green yarn available for the twined weft.
This will not be a quick project, but it will still be an enjoyable one.
I have finished my twined bag. Yes, I was obsessed with making it and spent three days working on it. (Should I have been doing other things? Oh yes, but this was fun.)
I experimented with the weave as I progressed, not only doing stripes, but changing twist direction and number of twists between warp threads to control which color was on top, using this project as sampler.
Photo description: body of a twined bag made with natural jute and hand spun orange and white wool showing different styled stripes
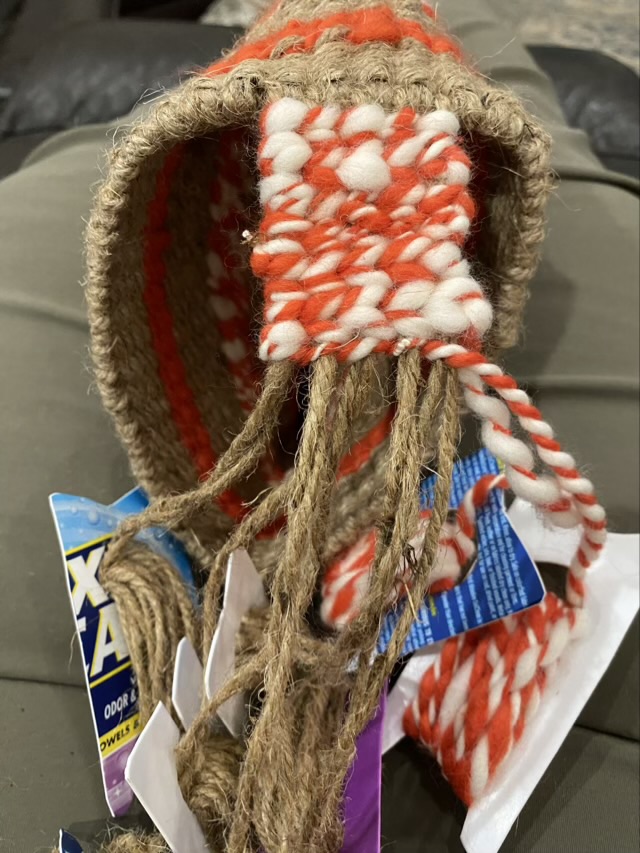
To make the strap, I threaded long strands of jute through the top edge of the bag, then used more hand-spun wool to cover the jute, reversing twine direction on each row, so as not to introduce bias twist in the final strap.
Photo description: starting the strap, with the excess yarn wrapped onto recycled plastic bobbins
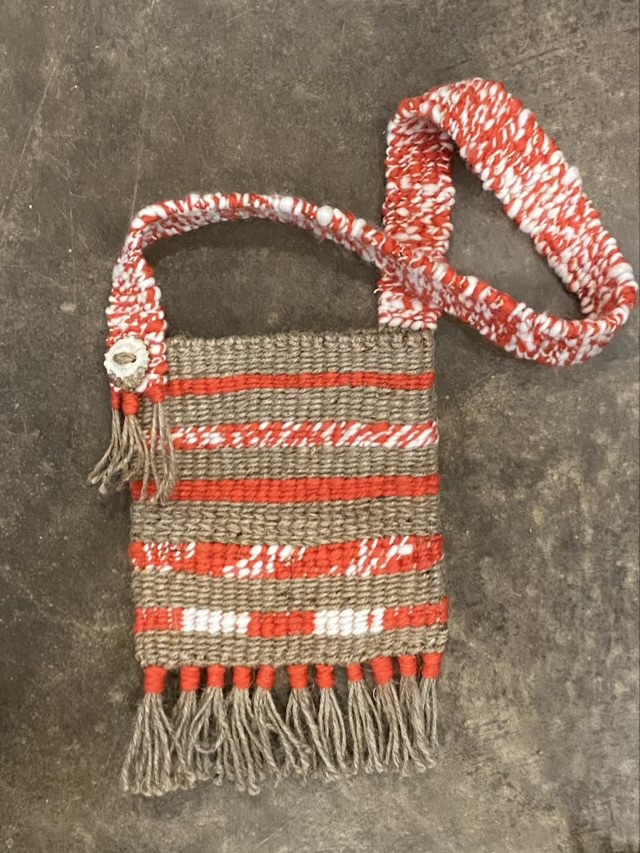
I felt the other end of the strap needed some adornment, so I cut a slice of antler and drilled two holes to make a decorative button. It is sewn on, not functional, but I think it came out nice and coordinates well with the natural jute.
Photo description: antler decorative button attached at the other end of the strap.
I finished the bottom end of the bag and the end of the strap with tassels lashed with wool.
Photo description: finished twined shoulder bag made with jute, wool, and antler
I absolutely love this weaving technique. Want to learn more about twining a bag? There is an excellent book called “Twined Bags: A Historic finger weaving craft of the Native Americans” available from Livingston Press, written by Monica Newman Moore.
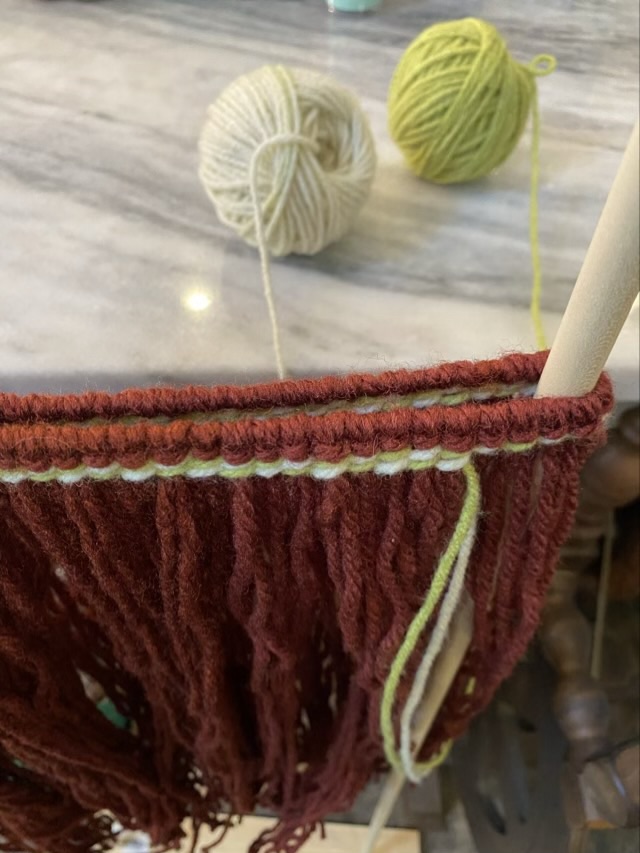
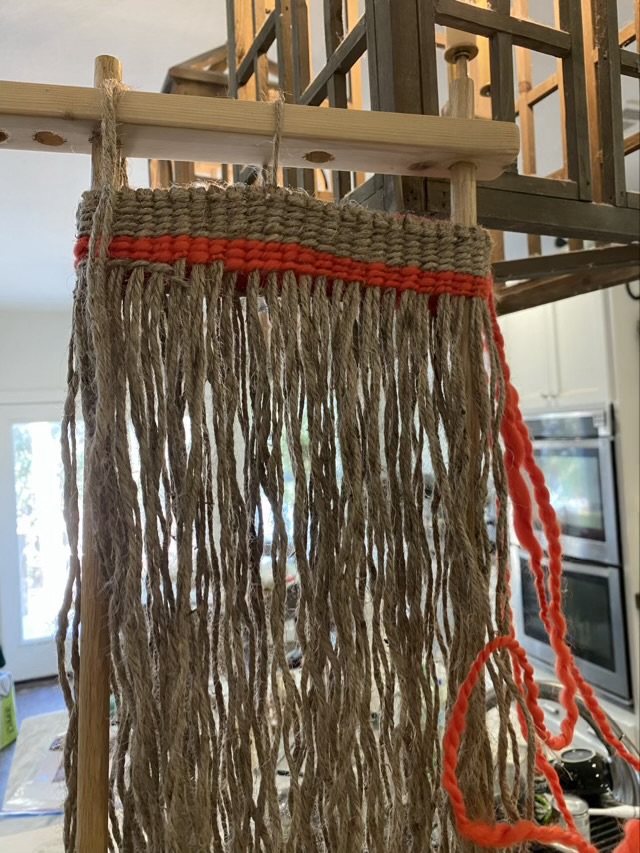
I have a crafting friend who taught me to twine a bag! I’m borrowing her wood frame, made by her husband, and using jute twine and her hand spun wool. Below is the picture of the progress I made on our crafting morning.
Photo description: wood loom with jute twine and orange hand spun wool twined around the upright poles of the loom with one stripe of natural jute and one stripe of orange finished
The warp is attached with larks head knots to a circle of jute at the top of the frame. Two longer strands are then twined around two hanging threads at a time, with one twist between each pair of warp threads. I love the open ended warp technique; it is so much easier to twine than on a loom where both ends of the warp are fixed in place. I also love twining, but to this point have only made cordage. This is the next step in my twining journey.
Twining is found historically around the world, and this type of twining with the open ended warp was used by Native Americans.
My friend also has a great book called “Twined Bags: A Historic finger weaving craft of the Native Americans” available from Livingston Press, written and signed by Monica Newman Moore. It is a very comprehensive book with instructions on the basic twining as well as tips on patterns.