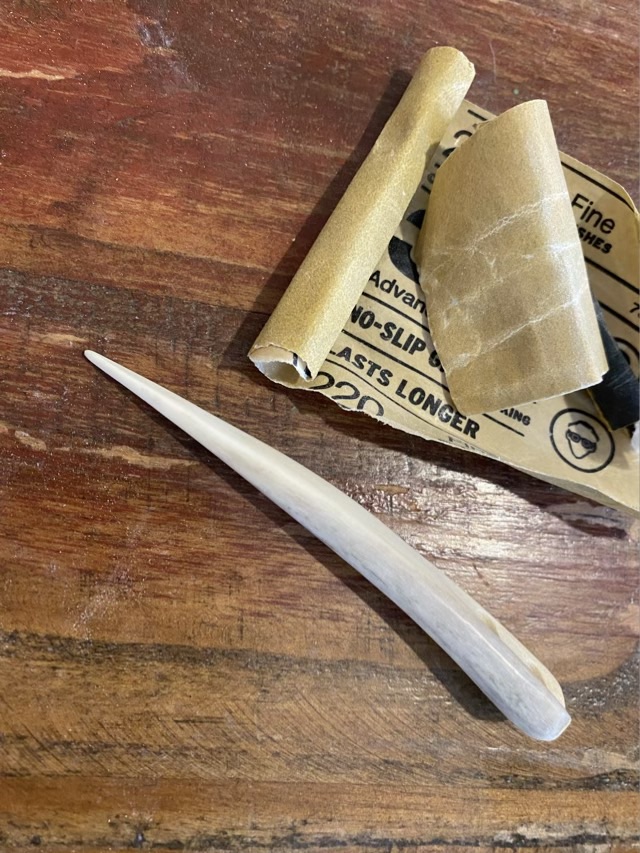
I have made my first nål for nålbinding out of antler bone! I have made several out of wood, and was hesitant about bone, but it turns out it is easy to work. I do wear a dust mask at all times because I don’t want that bone dust in my lungs. I like how well it buffs to a shine without applying a finish coat.
Photo description: thick bone needle with two holes on a table with scraps of sandpaper.Photo description: side view of the same nål, showing the natural curve from the antler tip.
This nål came out a little thicker than I care for, so I’m going to experiment with some other methods of construction. I just sanded this one down to shape; for the next one I’ll try cutting it lengthwise then sanding down, and I will try a different curve.
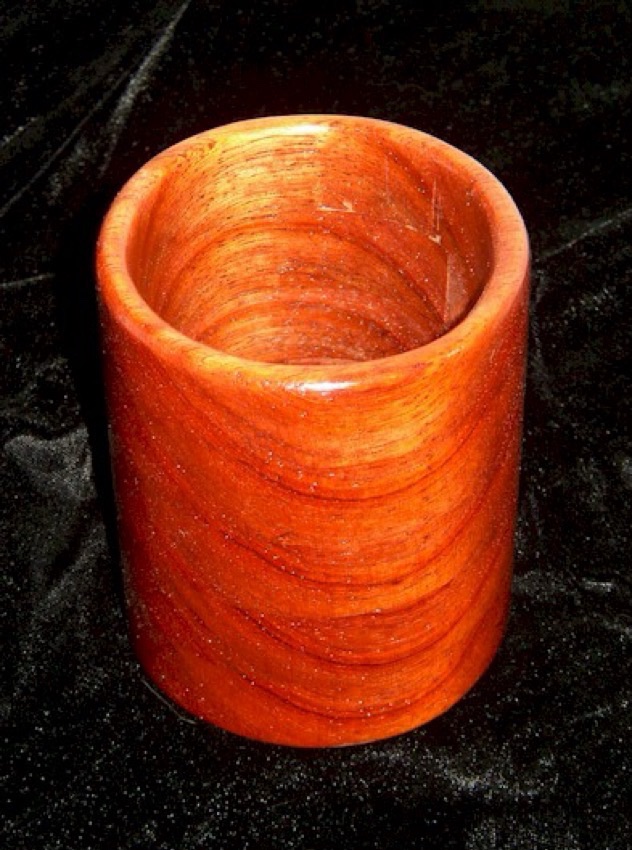
Here is a throwback from 2003 of a wooden cup I made by stacking rings of cut wood. I didn’t have a lathe, but did have a scroll saw, so made a solid circle for the base, and matching rings for the sides. I glued the stack together and clamped it, then hand sanded it before sealing the wood (I was very into urethane finish at the time, so that is probably what I used).
Photo description: Wood cup made in 2003 on a black velvet background.
I was also fond of photographing items on black velvet, which makes me cringe a bit now. I do like the way the wood growth rings line up to make a wave. It was intended as a pencil holder, which I believe it does admirably.
The fold down benches that I installed in the chicken coop are still high on my recommended list. I used 2x4s, heavy duty hinges, two lengths of chain with lockable links, screw eyes, and a hook and eye to keep it in the upright position. It folds up so the chickens can’t poop on the surface, but is easy to fold down. It makes a great work bench for filling water, and is fantastic when I need to sit when I’m not feeling well but still need to tend the chickens.
Photo description: Fold down bench held up with chain, with an empty large poultry waterer and two chickens looking for grubblies underneath.
I saw the viral video of someone making an i-cord using three latch hooks, and saw the subsequent string of videos of people showing how to make them. I have seen 3D printed ones, and tools with the base made out of oven hardened clay. I like woodwork, so decided to make one.
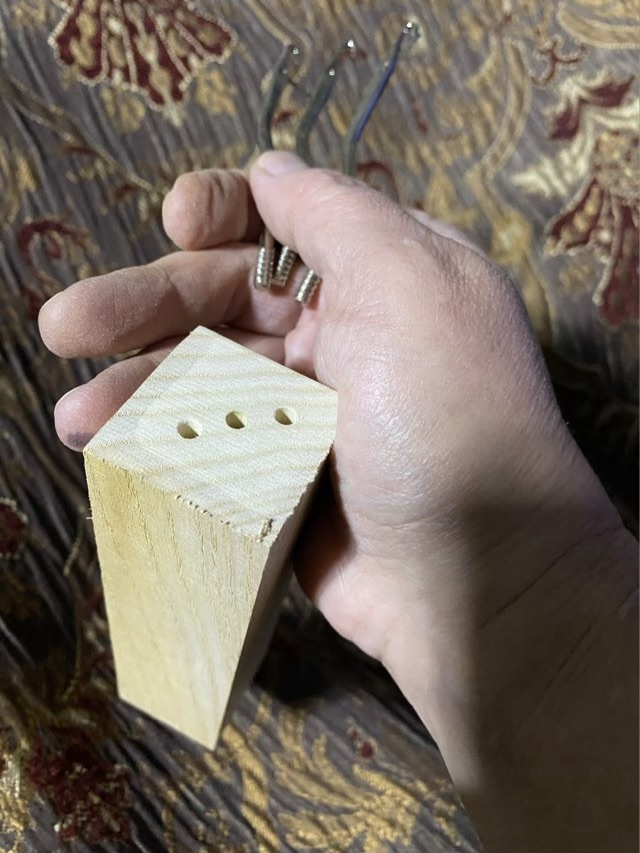
I purchased inexpensive latch hooks intended for rug hooking and broke the metal hook out of the wooden handles. I then made my own wooden handle out of a scrap of 2×2 hickory wood.
Photo description: three holes drilled at the diagonal in a 2×2 chunk of hickory hard wood, with the hooks free of their old handles and held in my hand.
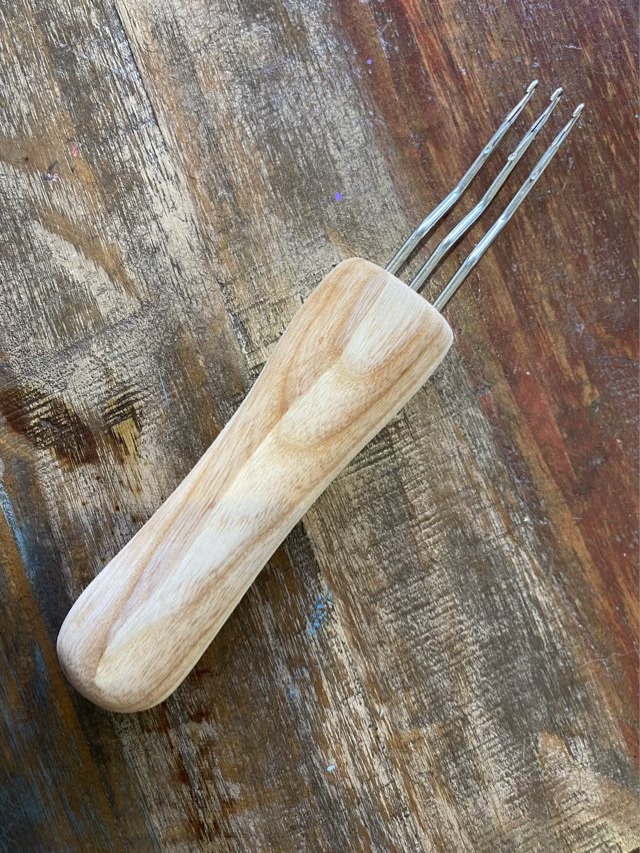
After drilling the holes, I shaped the handle using an oscillating spindle sander with the largest sanding tube with a medium grit. When I had the shape to my liking, I hand sanded with finer and finer grit, getting down to 400. I glued in the hooks using wood glue.
Photo description: shaped hickory handle with three latch hooks in parallel.
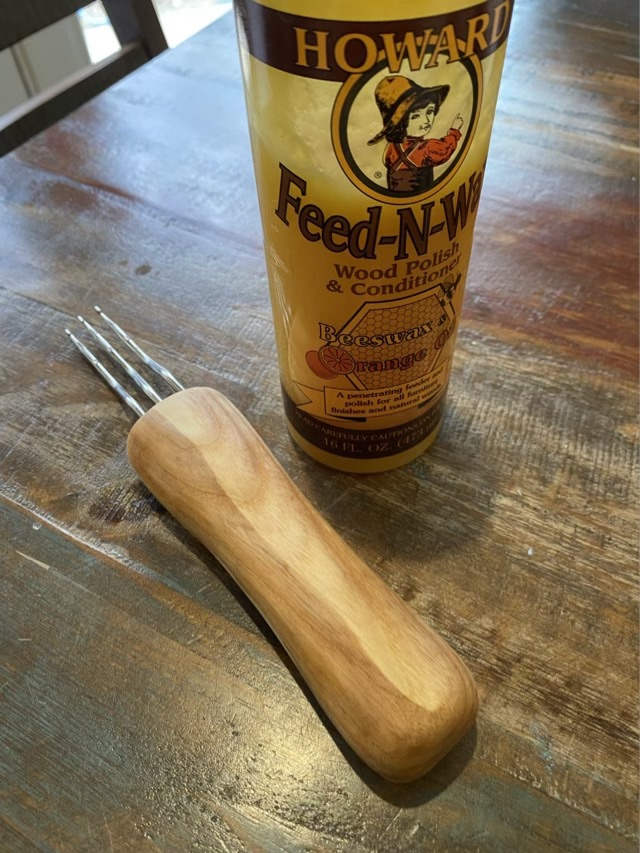
To finish, I used Howard’s Feed-N-Wax, which, I was pleased to read, could be used on finished or unfinished wood.
Photo description: three hook cord tool finished with two coats of Howard Feed-N-Wax sitting next to the bottle.
Waiting for the finish to cure is the hardest part. I’m looking forward to testing!
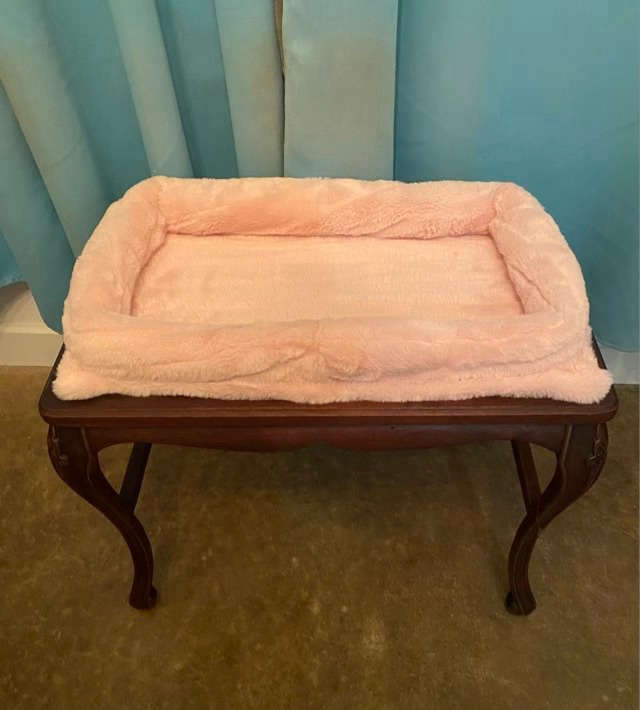
Ok, so this is probably the silliest I’ve ever made, and that’s saying something. I repaired the broken leg in an old side table that had been used as a bench (yesterday’s post), and rather than tempt fate by putting a solid top back on, I made it into a cat hammock.
Photo description: elegant wood table with curved legs with a light pink fuzzy padded edge cat hammock attached.
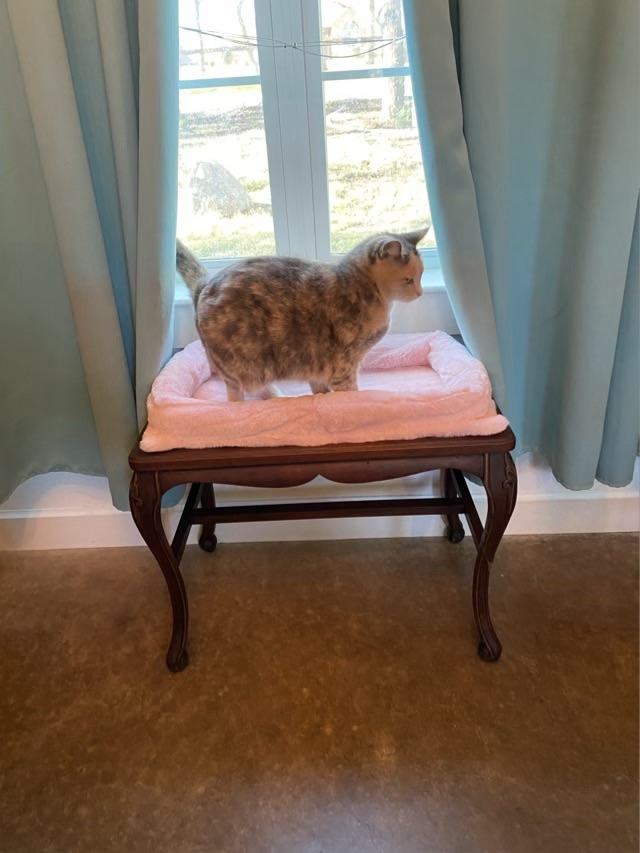
I had a pink fuzzy blanket that had already been cut into for another project (we couldn’t find the fabric by the yard, so bought a blanket), and sewed a two sided mat. I stapled the mat down to the table top, over the central opening. I then sewed a long tube of the fabric, stuffed it with polyfil and sewed that down on the mat. It is quite the sight. The cats are not too sure of it, so I put it beneath the front window where it will get some sunlight. I’ve sequentially put all three cats on the bed; all have rejected it. I’ll give it some time.
Photo description: Thor the gray tabby standing on the new fancy cat bed.Photo description: Sophie the dilute calico standing on the new fancy cat bed.Photo description: Izzy the calico sitting on the new fancy cat bed. After the photo she moved up to the window sill.