The pyrography pen is out, all things must be adorned.
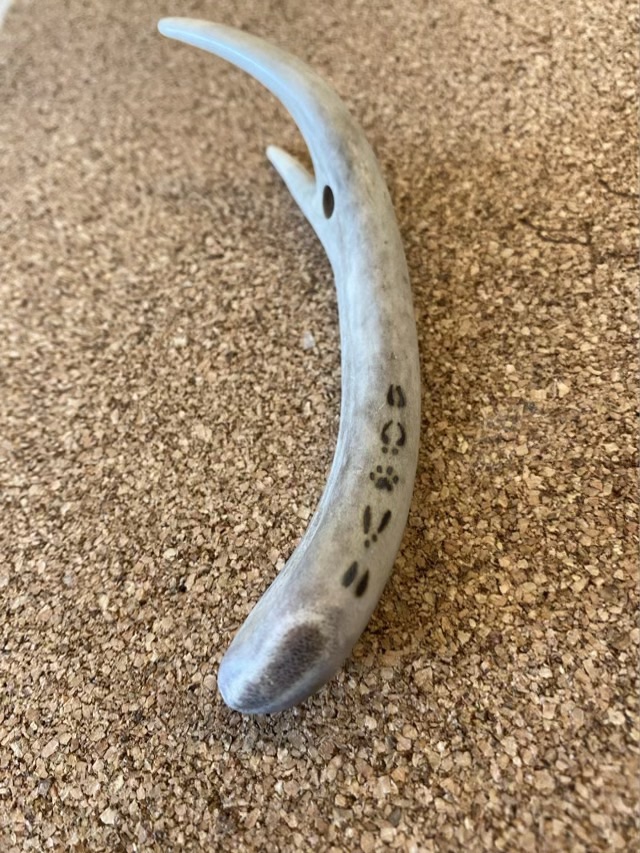
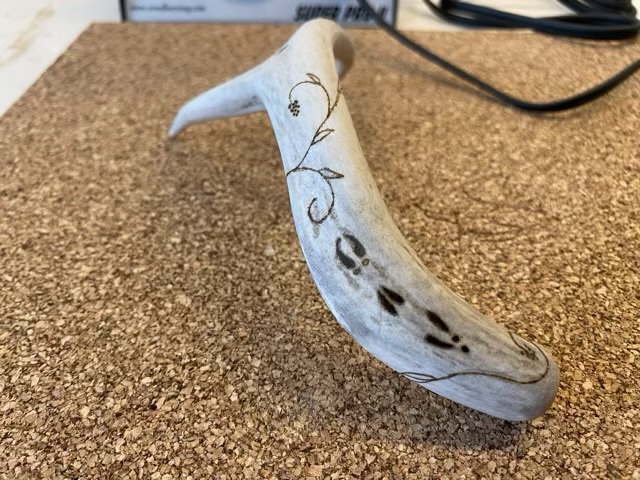
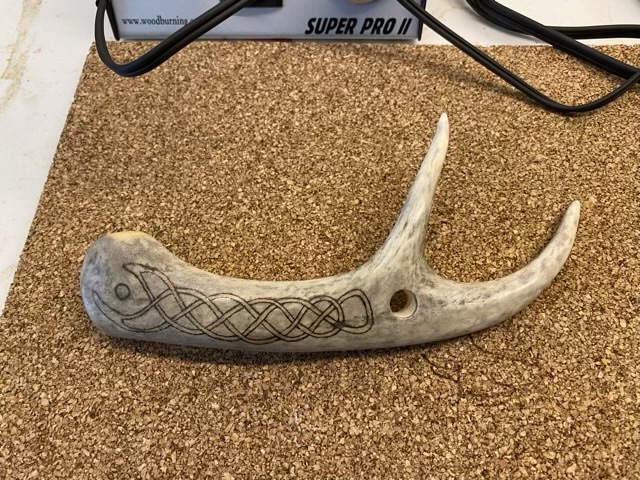


The pyrography pen is out, all things must be adorned.
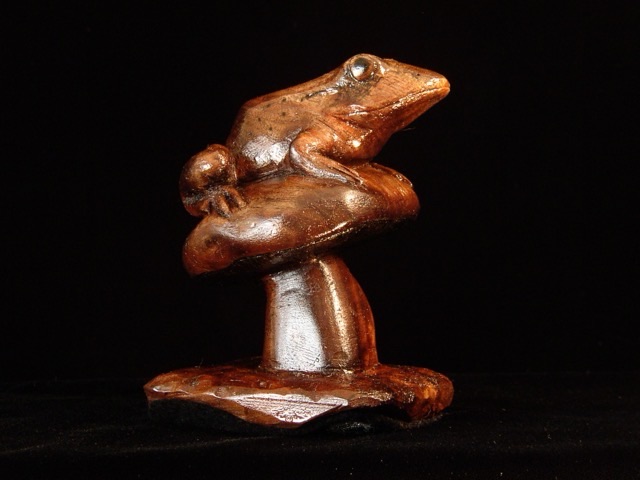
Here is a throwback to August of 2004, when I was getting ambitious with my wood carving. I had made a polymer clay model, then used that as a reference to carve the wood. I don’t remember which wood I used, but it looks like it might be walnut. That would be the time that I realized I was not only allergic to walnuts, but to walnut wood and oils as well (makes sense now, was quite devastating then). I like clear coats, and have steered away from wood stain for many years, so the dark surface of the wood is likely not stained. The darkened eye and frog skin markings were pyrography done with an old soldering iron.
When we first moved to our house, there was a large wood workbench on the back porch, salvaged from an old workshop. Since it had been left out in the elements, many of the parts were warped and cracked. I disassembled the bench and reused the parts for projects around the house. One of those projects was a cat food cabinet made from two drawers and part of the workbench top. I turned the drawers sideways to make the sides of the cabinet, put on a top with back splash, and made a door with hinges. The wood I used for the door had a large split, which I reinforced with braces on the back and an old leather belt nailed to the front.


The problem with the wood top is that it was not smooth, so was hard to clean. To fix this, I added laminate adhesive tiles to the top, then gave the rest of the wood a boost with a rub down with Howard’s Feed-n-Wax.
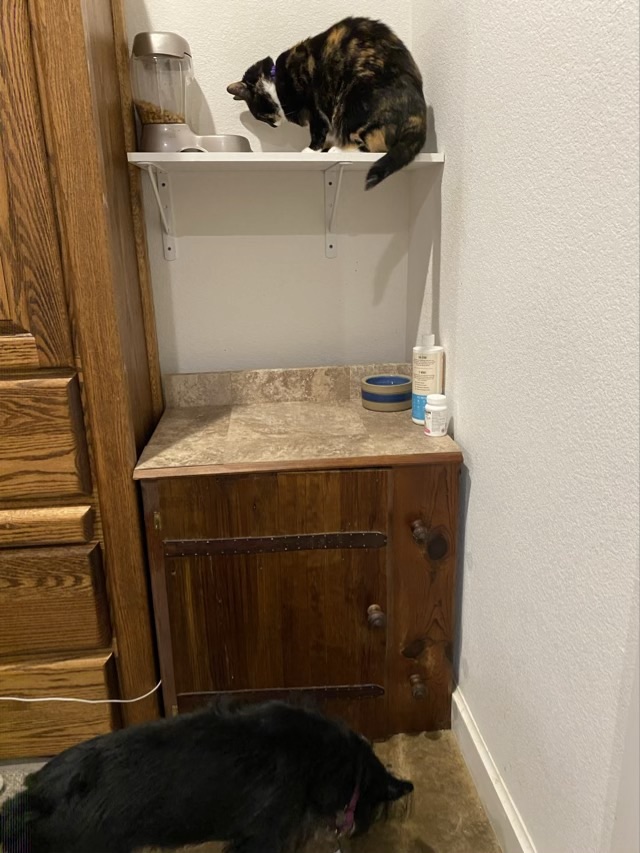
It took a bit of time for the cats to figure out that the new surface was stable, and Thor would rather his wet food bowl be put elsewhere, but the surface is so much easier to clean now.
Here is a different version of a row counter for knitting. I used flat round wood beads and copper wire to make a chain with larger loops to accommodate larger needles. I then used a wood burner to number each bead; it is actually easier to wood burn the assembled chain rather than individual beads. To mark the tens, I used a copper lobster claw clasp with a copper clay leaf (that I made many, many years ago and has been waiting for a project). I find the lobster claw easier to deal with than a melody clip.

I ordered replacement hooks for a knitting machine, which are essentially latch hooks without a handle. I made handles from flame maple and deer antler horn and mounted three hooks in each handle using epoxy in holes I drilled with a drill press.
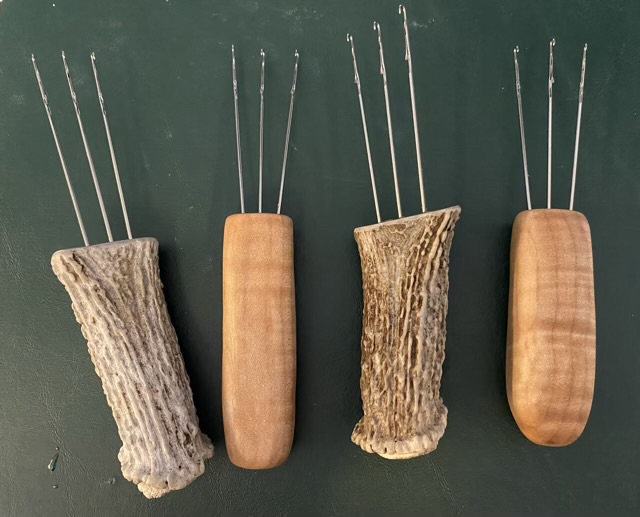
I sealed the flame maple with Howard’s Feed and Wax (I think I’ve mentioned before how much I love this stuff!)
They work! I spread the tines a little more on these, which gives a more flexible i-cord than my first i-cord maker.

