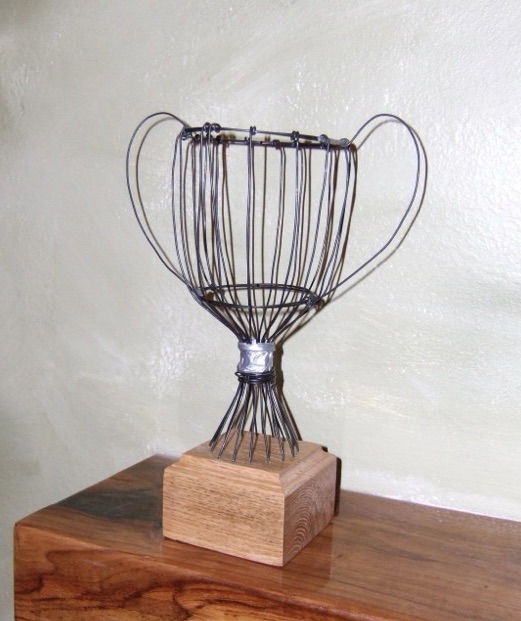
I’ve needed a hat stand for awhile now, mostly to block hats after I wash them. I decided to make one using a pretty block of spalted tamarind and some hanger wire so I could use it at the craft fair where I was selling all those hats I’ve made.
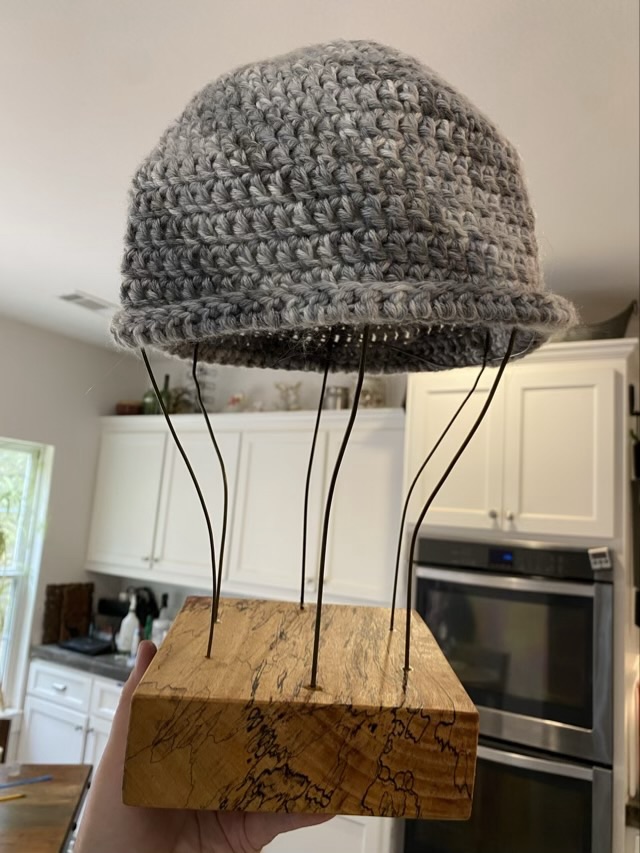
I wanted to just have the thick wire so that I could adjust the size based on the hat, but the hat looked a little strange with only vertical support. I added a spiral of aluminum wire, which helps the hat, but looks strange without the hat. Hm. It worked fine at the fair, but I will continue to fiddle with the form.