My newly purchased book and my loom to practice the new things I’m learning!
I’ve been happily pouring over my new book “The Art of Tapestry Weaving” by Rebecca Mezoff. I’ve been following her blog for awhile and it was there I saw the upcoming release and so pre-ordered it. I had every intention of reading it cover to cover then go back to weaving. It lasted one chapter before I was too excited and had to warp my loom and try what I was reading about. But, being me, I’m not starting with a tapestry, I’m making dish clothes, because again, even an imperfect dish cloth is useful. Oh the ideas I have for weaving alpaca though!! But first cotton, and the loom I own. (Then later make my own with bits and bobs from the hardware store. She has instructions on that in the book too! Joy!)
When learning a new craft, the initial pieces are usually… well, let’s just say wonky. The value in these works is what we learn from making them, even if they aren’t aesthetically pleasing. Although I wasn’t enamored with weaving at the beginning (as I completely was with spinning), it is apparently going to wiggle its way into my life because I can’t get it out of my mind. I do not have the money or floor space for a large fancy loom, or even a medium one, but I do have many sticks. I found references to back strap looms, which are used throughout the world to make intricate and beautiful textiles. With sticks. And string.
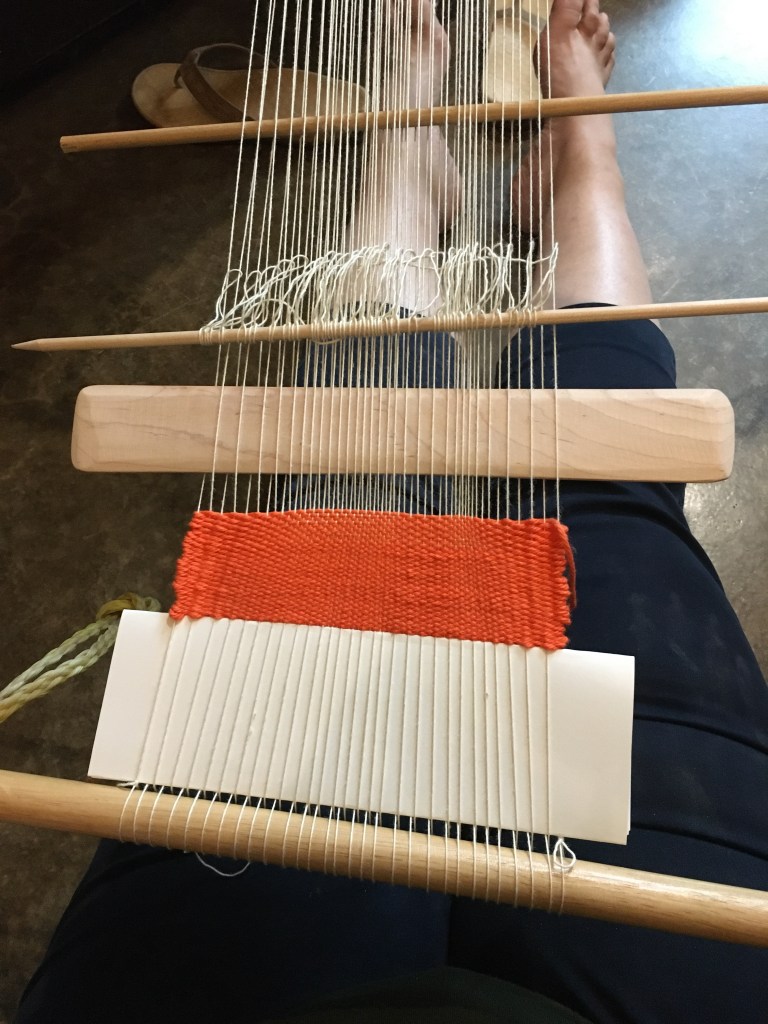
Initial test setup of a back strap loom
The back strap goes around the weaver’s hips, and the other end is secured to a stationary object, or the weaver’s feet. I had some dowels taken from a recycled toy rack, and some nylon rope in the garage, so I grabbed those, then gathered smaller dowels in my craft room, a piece of fabric for a back strap, and yarn. The only thing I made was a beater stick, which I cut from some 1/8” maple I had in my wood bin.
Attempted weaving, very wonky
My first attempt was confounding. I use online resources, videos, and pictures, and I’m not sure why my middle is tight and the edges are loose. What I did learn, though, is how to make a continuous string heddle stick, which lifts opposite warp threads than the shed stick, and makes weaving much faster as you don’t have to pick up warp threads on the back pass each time. This knowledge was completely worth the wonkiness. I decided to try again.
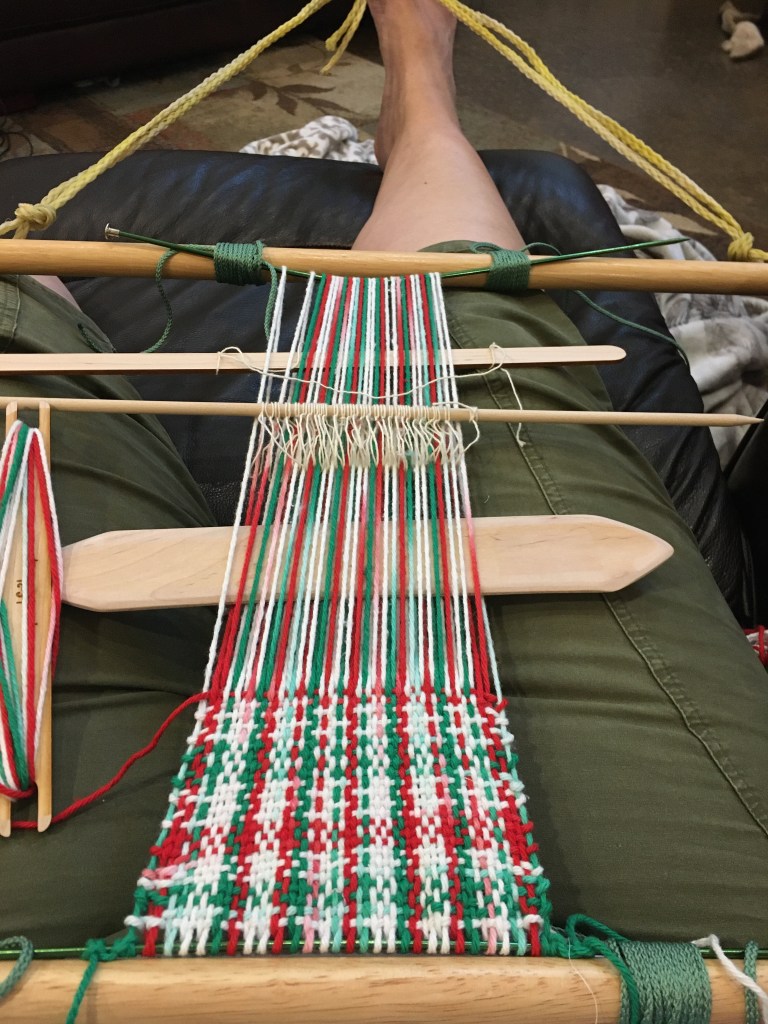
Second attempt at weaving with a back strap loom
With my second attempt I set up the warp with the same yarn as I wanted for the weft, and I used my foot for tension. (Because I am not used to sitting on the floor and it hurts, setting up this way lets me sit in my recliner. Cushy!) I also refined my sticks and used some knitting needles to hold the warp. What I learned this time was that the knitting needles are aluminium, not steel as suggested in the tutorial, and my tension may be a problem as I bent the needle on the far end. Oops. I also learned that all yarn is not created equal. The string I used for the warp and heddle the first time slid back and forth just fine. Sliding the heddle string along this different warp yarn felted the heddle and the warp together, making it inoperable.
Heddle string and warp yarn felted together
I shall try again, maybe after looking at some more pictures and videos.
For Father’s Day I decided to weave my Dad a small tapestry with wool. I looked at the yarn I had available and decided I had the colors for a dog nose and tongue (yes, really). I wanted large blocks of color that didn’t need excessive detail, so a super closeup fit the bill.
Weaving the shapes upside down
I warped the loom with thin cotton, and used store bought black and pink merino wool and my own spindle spun orange wool (mostly merino) for the weft. I wove upside down because I figured that would be easier with the shapes I wanted. I did make a sketch and used that behind the weaving as my guide.
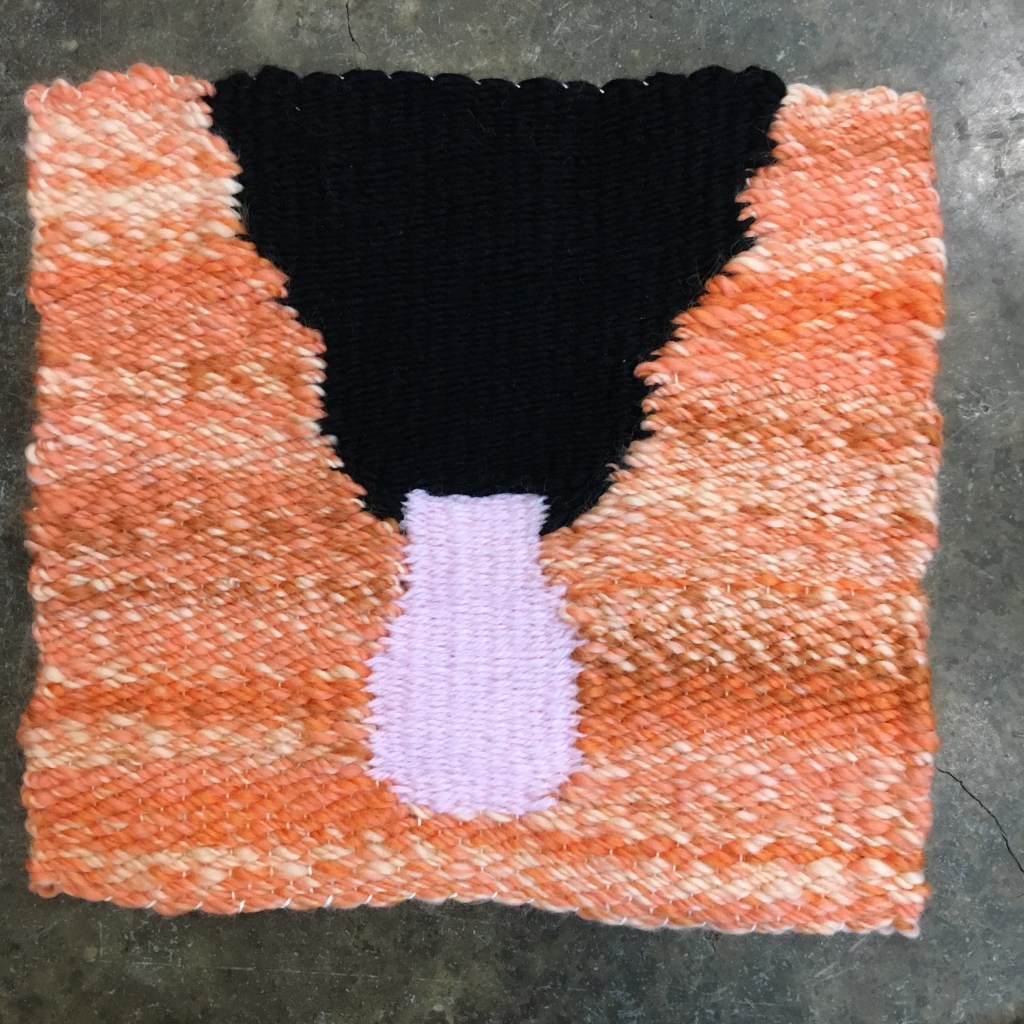
Woven base colors finished and removed from the loom
I found it easier to weave in the ends as I went. I finished with the fringeless method of pulling the weft through the work then weaving in. Although the shapes were recognizable as a tongue, probably a dog’s, I decided to add some embroidery to help define the shapes. I used a digital art program to sketch and refine the ideas before I attempted thread.
Digital sketch on photo of tapestry
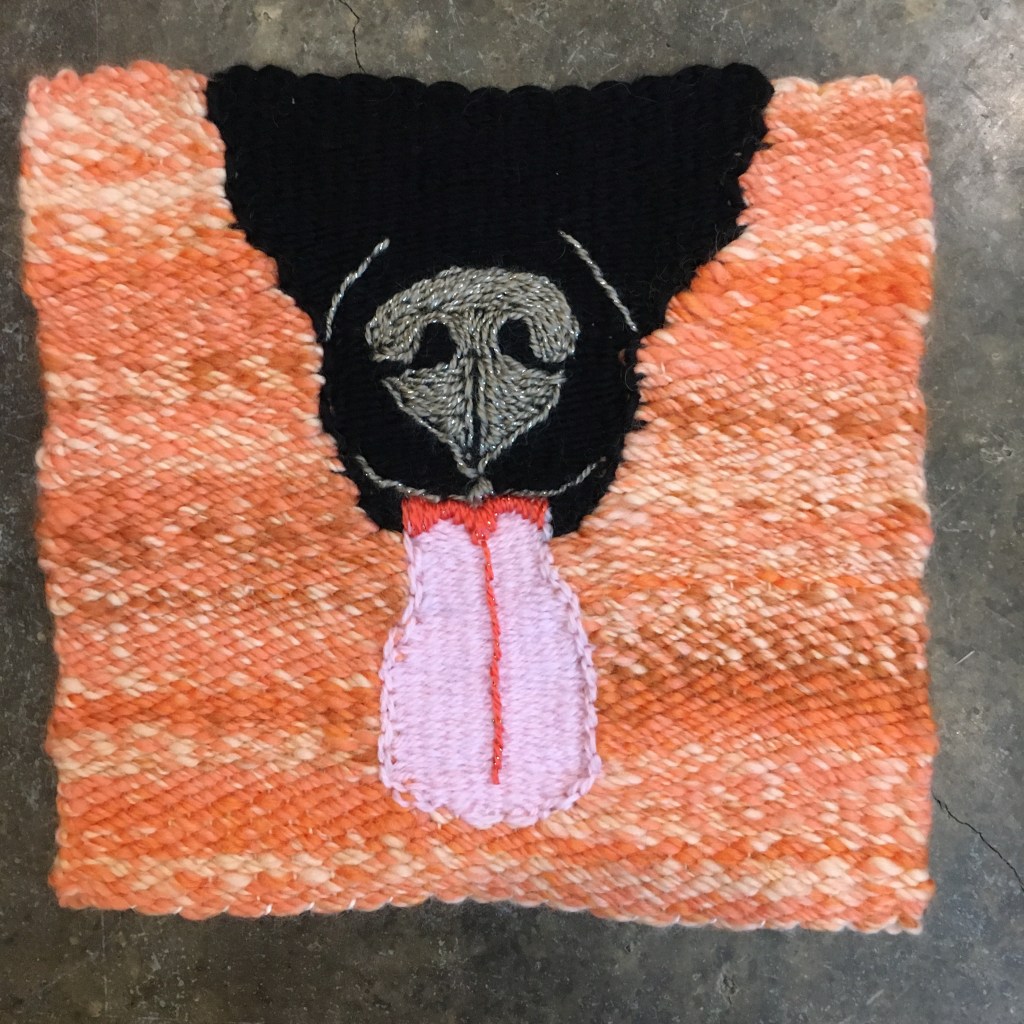
I used the pink and black to outline and smooth out the blocks of color, then used a sparkly gray acrylic for the nose. I found the stem stitch served best. Definition on the tongue was made with a coral colored yarn.
Embroidered tapestry
To display the tapestry, I chose to mount it on a fabric covered frame. I had a pre-stretched cotton covered frame, to which I stapled thin batting, then a rough cotton fabric (of all the fabric in my stash, I like the texture of this best). I sewed the tapestry to the fabric using a curved needle and cotton thread. As I sewed I was able to even out the edges at least a little! I did label the back and attach hanging wire as well. The title of the piece is “Doggie Kisses”.
Mounted small tapestry
I may consider more small embroidered tapestries in the future. The process of making and even mounting this one was quite enjoyable!
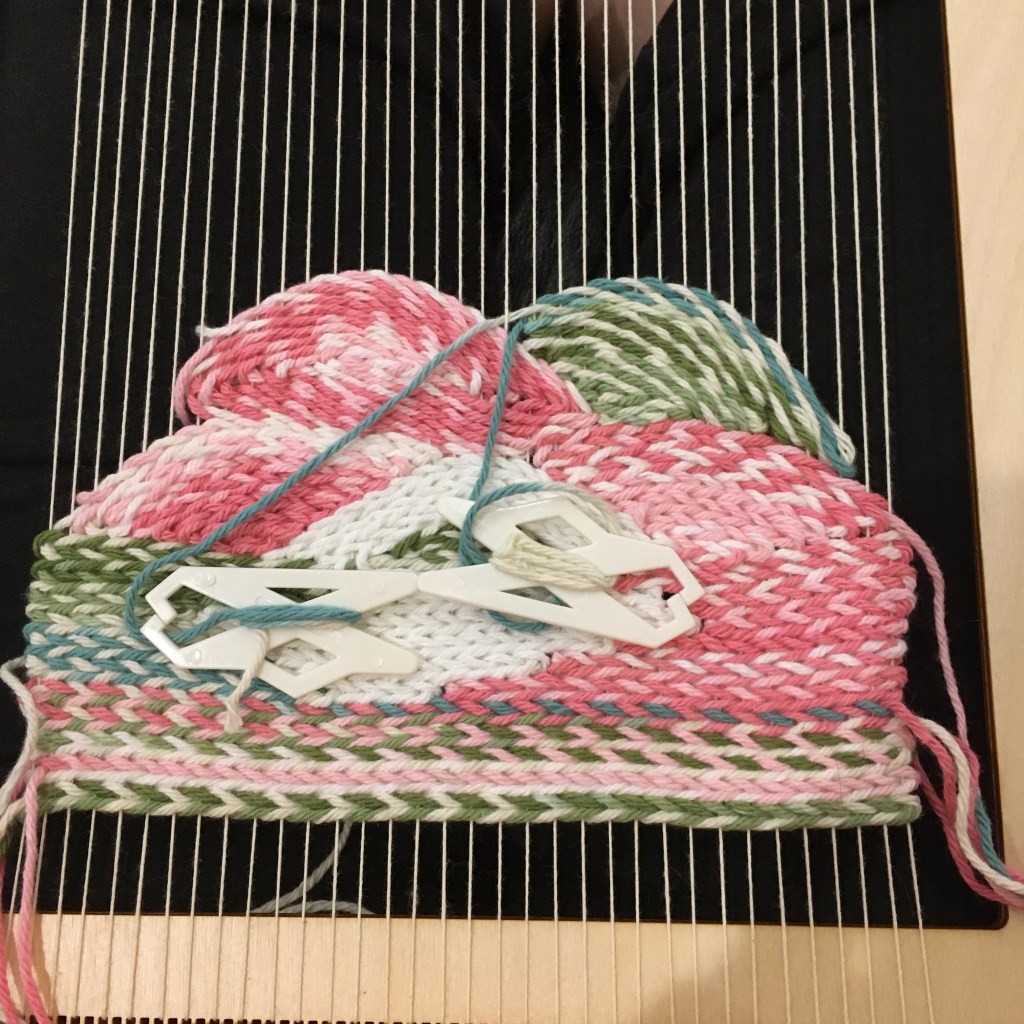
I saw some pins on Pinterest on twining yarn around the warp threads and the string was sitting there, and the frame was sitting there, and shouldn’t I just try it? I started out going back and forth, then decided to try some random blocks of color, then since it is a washcloth anyway, tried some spirals and arcs.
Twining while weaving
I liked doing the arcs the best, especially the top white central arc, as the S twist of the twining went well with the S twist on the yarn. I don’t care for the knit look (that results from doing a S twist on one row, and a Z twist on the next), not only does it look knit, it is very stretchy in an unpleasing way for a wash cloth. The warp threads were very easy to pull through, though.
Finished twining experiment
I do like that the twining covers the weft threads on the back of the work as well as the front. I also like weaving in the ends in the middle and of the work, rather than the edges. On this piece, I only wove the ends in one way, rather than going back and forth three times as I’ve done previously, so it will be interesting to see if the ends work loose.
In searching for materials to make tassels the other day, I found an old ball of thin cotton yarn that I either inherited or picked up in a grab bag at a garage sale. It worked very nicely for the tassels I wanted. Then I noticed that it looked very much like the thread used in the weaving pictures, so of course I had to use it to warp my little loom and try weaving on it!
Purl & Loop weaving loom with found cotton warp threads
I used each peg on the loom with the found yarn. I couldn’t pack the yarn tight enough on a plain weave to cover the threads, but I figured out the Linen weave, and it covered the warp threads well. I also discovered that I can’t do the Linen weave during cocktail hour. Oops. At least it is a washcloth and still useful even if it is wonky.
Pulling the warp threads through the weaving
Pulling the warp threads through the work for the fringeless finishing method was easier too, but I don’t care for the look of the warp threads on the edge. I also tried weaving in the ends all along the selvage to strengthen it, but that needs either a rethink, or more practice.
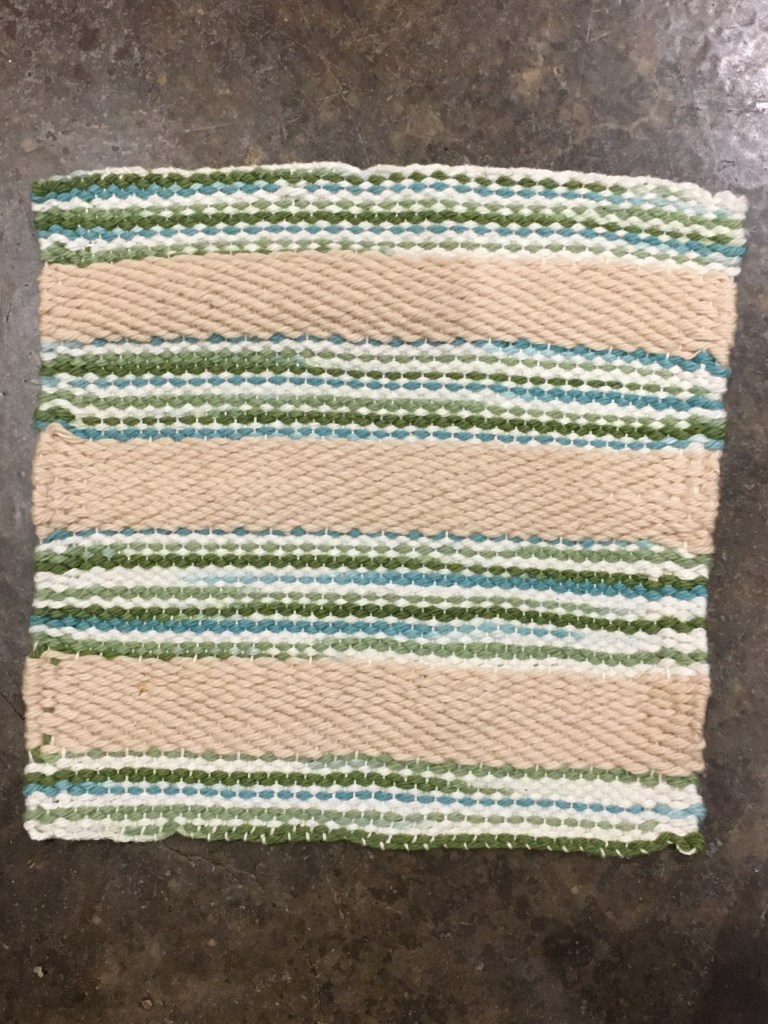
Finished washcloth, still wonky, but practice is helping.