Wrist strap

I’ve been pinning many pictures of things I can do with my Inkle loom woven straps. So many things, but what caught my attention this time were wrist straps. Most of the articles talk about attaching keys, but I also saw wrist straps used for walking canes, cameras, and small bags. I also saw a method for securing the end of the cut woven strap with clear flexible glue. I used Modge Podge, which worked well painted on the ends and allowed to dry.
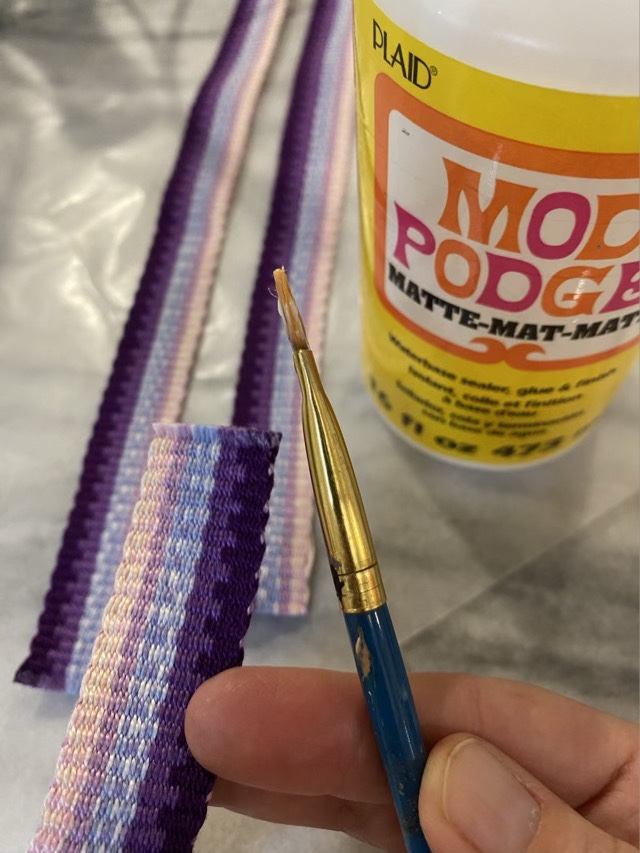
Securing cut ends by painting on clear glue

There is metal clamp hardware that make the creation of a wrist strap quicker, but I preferred the sewn leather direction. I noticed that leather makers use a wooden clamp that is similar to my bookbinding clamps. My clamp is larger, but it worked well to hold the pieces together while I stitched. I used a single ply of waxed nylon thread to sew a loop of leather to the ends of the strap.

Stitching leather using a book clamp

Rather than a D ring, I used a split ring and a toggle clasp because these can be removed if the strap needs to be modified with different attachments.
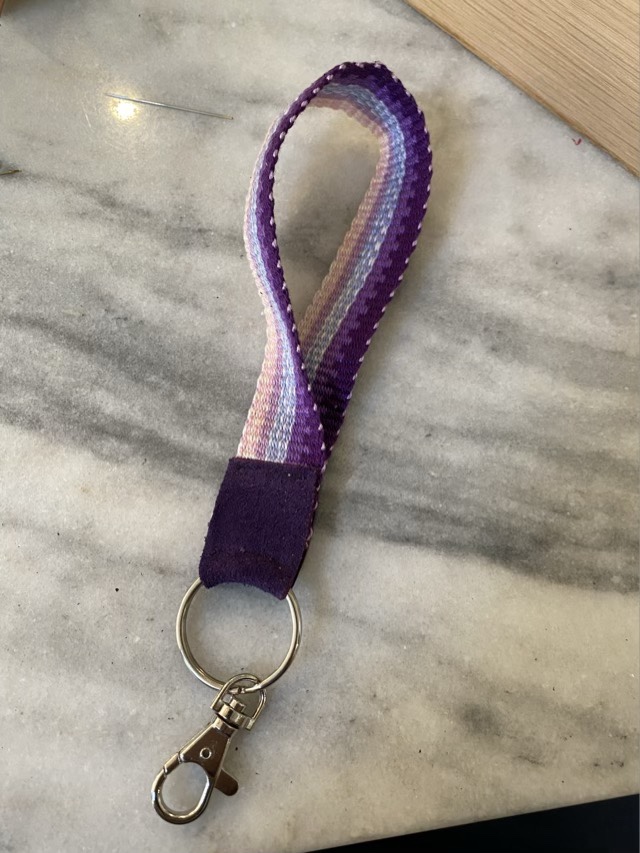
Wrist strap made from an Inkle loom woven strap and leather

I liked how this one came out, so I made more.
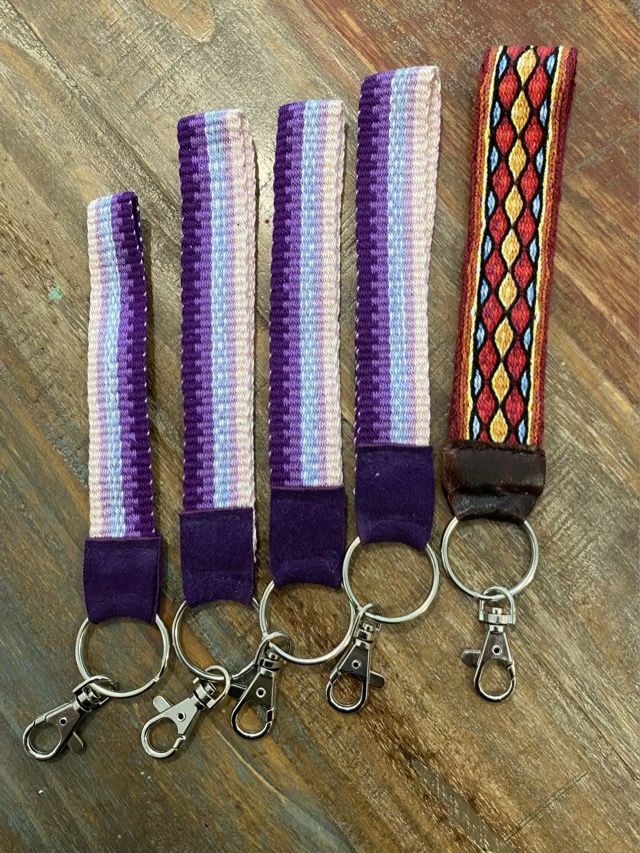
Hand woven, hand sewn, cotton and leather wrist straps

Nod to fiber arts

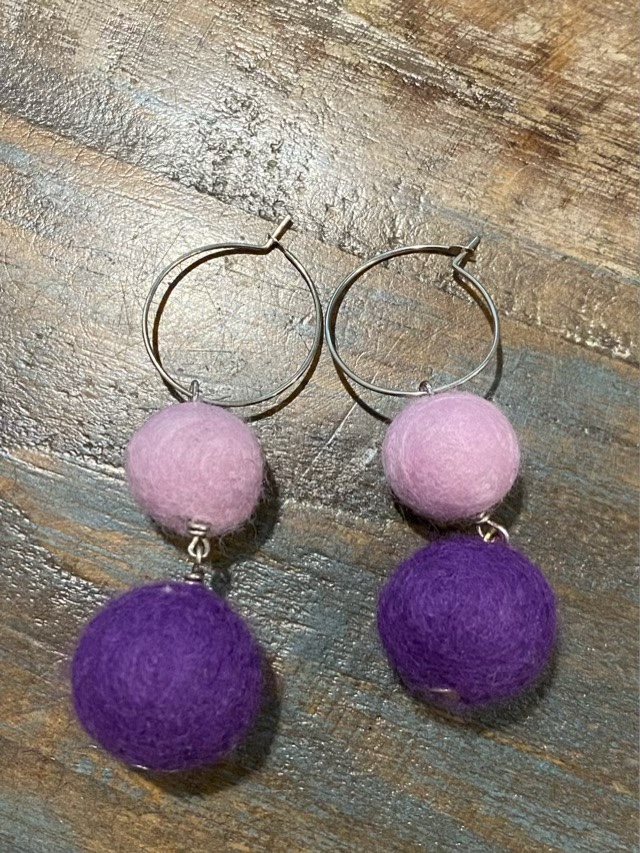
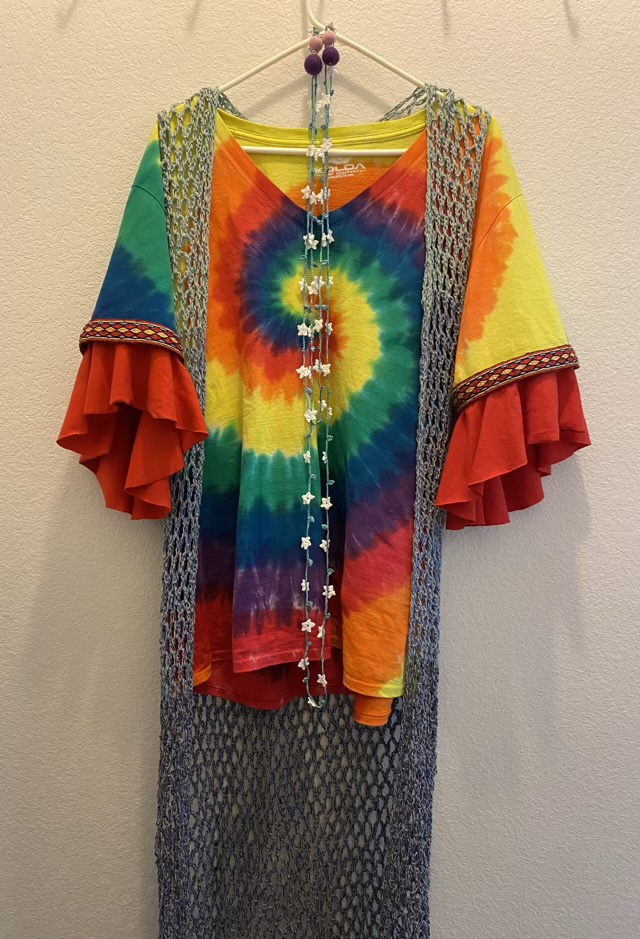
I put together a 60s themed outfit with a nod to the fiber arts. I crocheted a duster vest and flower garland, wove a band and added bell sleeves to a tie-dyed t-shirt (I did not dye the shirt, dye and I are still not on speaking terms), and assembled some felted wool ball earrings! (My mom made and gave me the felted beads.)

Bell sleeves made from t-shirt material
Felted ball earrings
60s Outfit (minus bell-bottom jeans)

When I do bell sleeves next, I will make them longer and without the off-set center hole. These look great on the hanger, but were awkward when worn, except when doing jazz hands, then they worked. Since I can’t do jazz hands all the time (although that would be quite the arm workout), I picked out the seams for the added sleeves after the debut. I can see peasant blouses with woven trim and bell sleeves on my crafting horizon.

Shuttle

I still haven’t found my weaving shuttle. Hm. So I made one. I’d seen some trapezoidal shuttles on Pinterest, so grabbed a small thin wood sheet and cut a shape using a coping saw. The shape isn’t sellable perfect, but it works quite well, once I sanded it down.

Handmade yarn shuttle

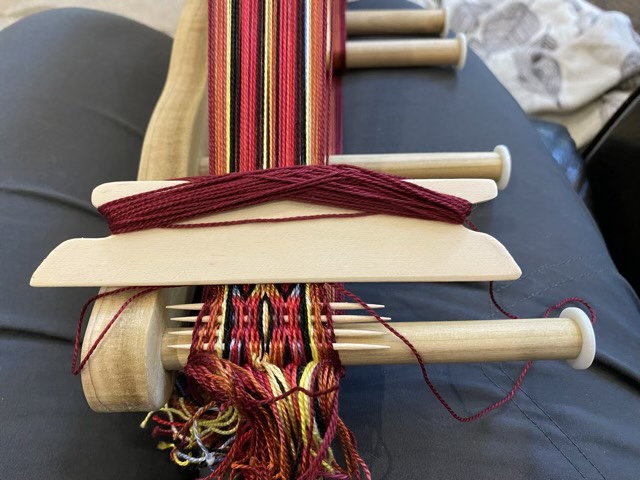
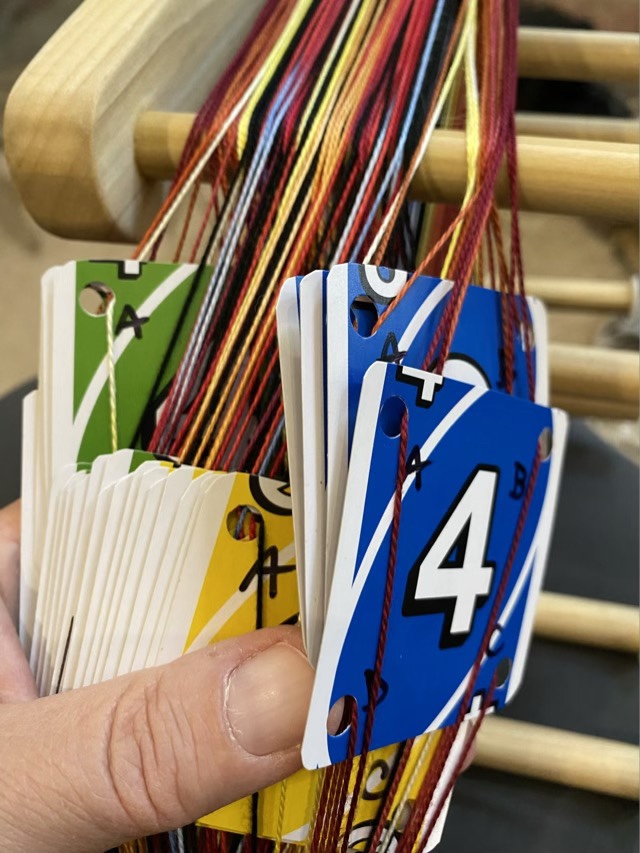
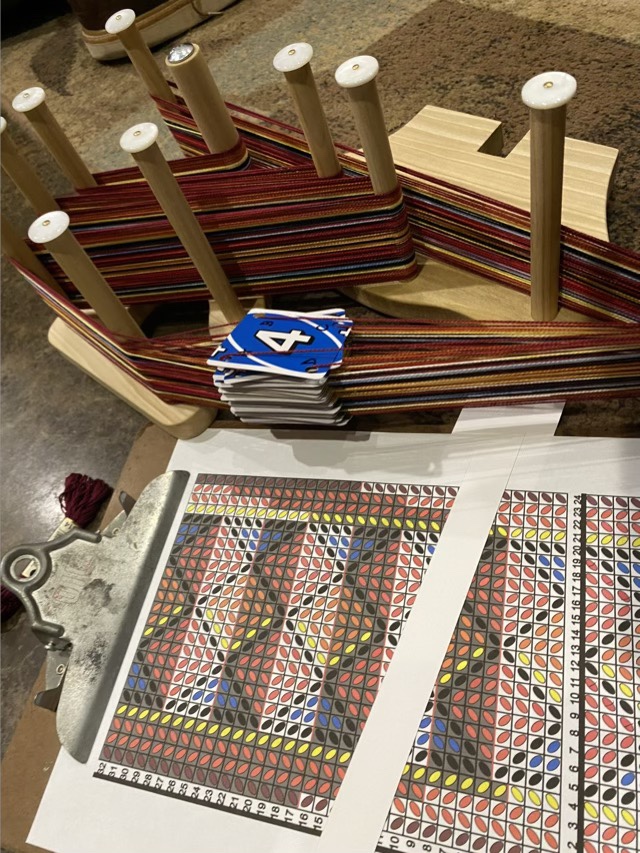
I was then able to weave my new band pattern. It was quite cool to see the muddy mess of warp threads focus into a distinct pattern as I wove. The main experiment in this round was to see if staggering the turnarounds on the edges made the transitions smoother. They do, but it still isn’t as nice as having the edges a consistent direction, but I didn’t have to deal with warp twist. I did discover that I could tell where I was in my pattern by when the “A”s lined up. Every fourth turn, the cards line up, and since the pattern is based in 4, it meant I only had to move my pattern marker every fourth line. I need multiple cues to remember where I am in a pattern; sometimes I forget to move my marker.

“A”s lined up at the end of a set of turns (note there is also no twist in the warp)
Pattern emerging from the warp threads
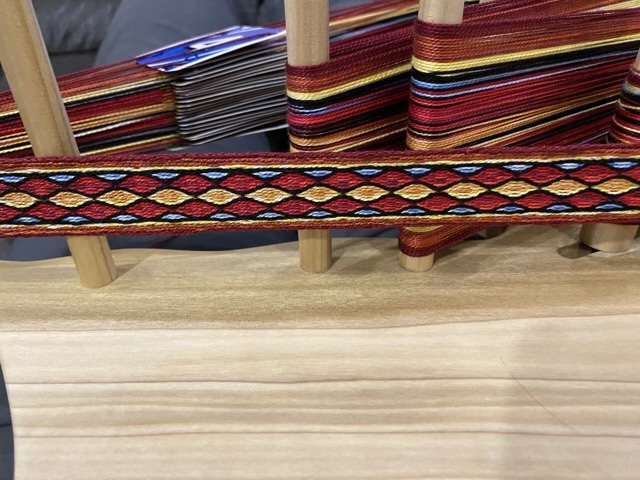
Finished band
Corrected pattern

I did discover my original pattern had errors, which I fixed as I wove. I went back to the pattern editor and updated it as shown above. I also really like weaving with variegated yarn, it gives added depth to the pattern.

Designing a tablet weave

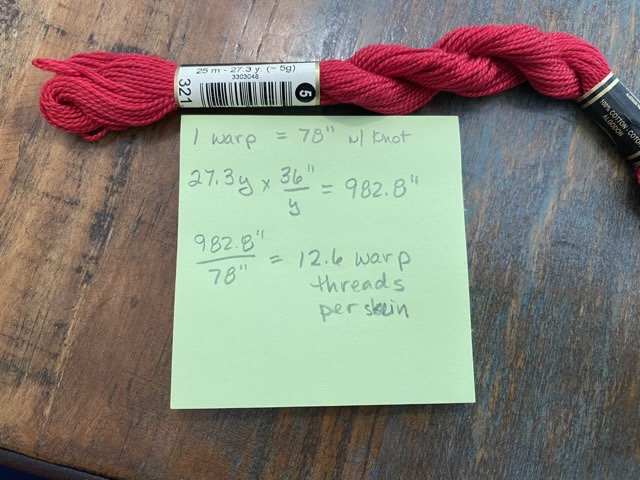
My inkle loom calls out again, and I have a stash of pearlized cotton that needs to be used. My craft supplies are very demanding. I measured the warp space on my loom and did some calculations to see how many warps I could make with one skein.

Length calculations

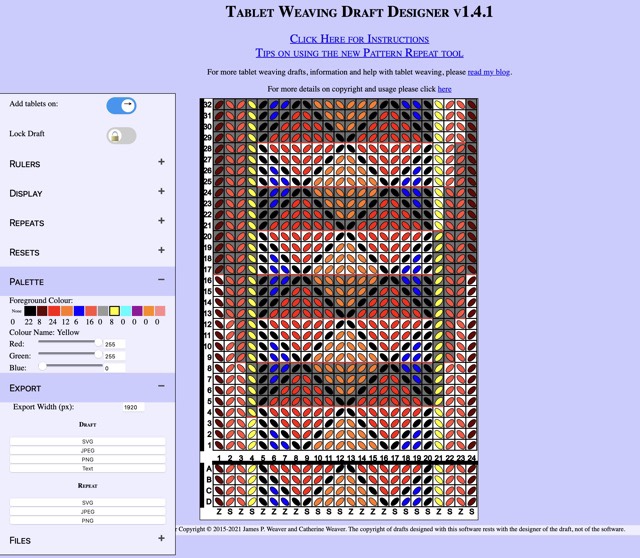
It turns out there are several websites that have apps for designing tablet weave patterns. Neat. I tried the first one on the list, found it intuitive, and designed a pattern that I could make using what was in my stash.

Screen shot of “Tablet Weaving Draft Designer” app
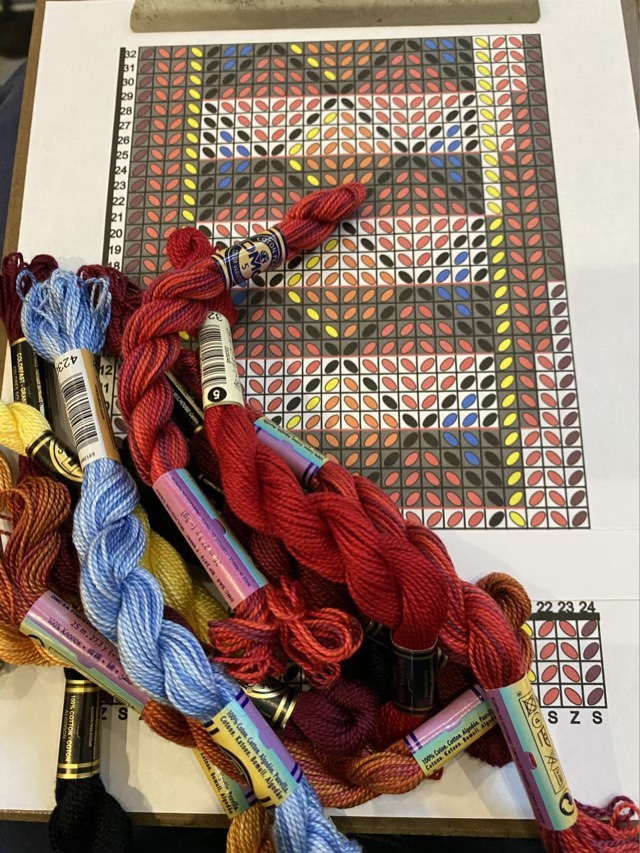
Printed pattern with skein colors

Warping the loom takes a couple hours, but taking time in this step is well worth the effort. The diagram I printed was easy to follow to set up my cards.

Warp completed

I cut a strip of card stock with two long slits that fit over my pattern so I could keep track of my rows. I’m all ready to start weaving! Except, where is my shuttle? No seriously, I can’t find it. I probably put it somewhere safe again. Hm.

Inkle loom with string heddles

My inkle loom cried out for a new project as soon as I released the first project from tension. I complied, this time using it as designed by making string heddles and doing a plain weave.

Warp setup with string heddles

String heddles are loops of thread that hold a single warp yarn. Applied to every other warp, it makes it easier to change the shed (which set of alternate warp yarns are on top). This makes weaving to faster, since the alternative is to pick up every other strand on every pass. Here is a video showing the changing of the shed on this loom setup.

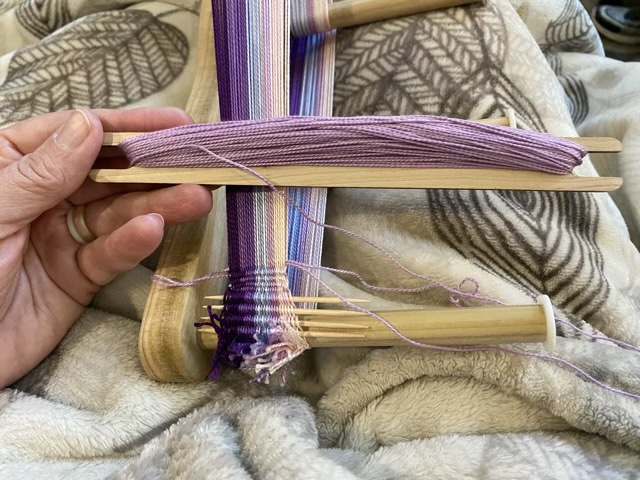
Getting started weaving with toothpicks

I started this weaving by laying toothpicks in the shed. I wanted to maximize the woven length, but still get an even start. The tooth picks were brittle, so I may look for a different thin starting material next time. I also wrapped the weft thread in a different manner, crisscrossing around one long edge, rather than wrapping in the middle. I see why people choose this: the profile of the wrapped yarn is thinner, and it frees up one edge to more effectively beat down the warp.

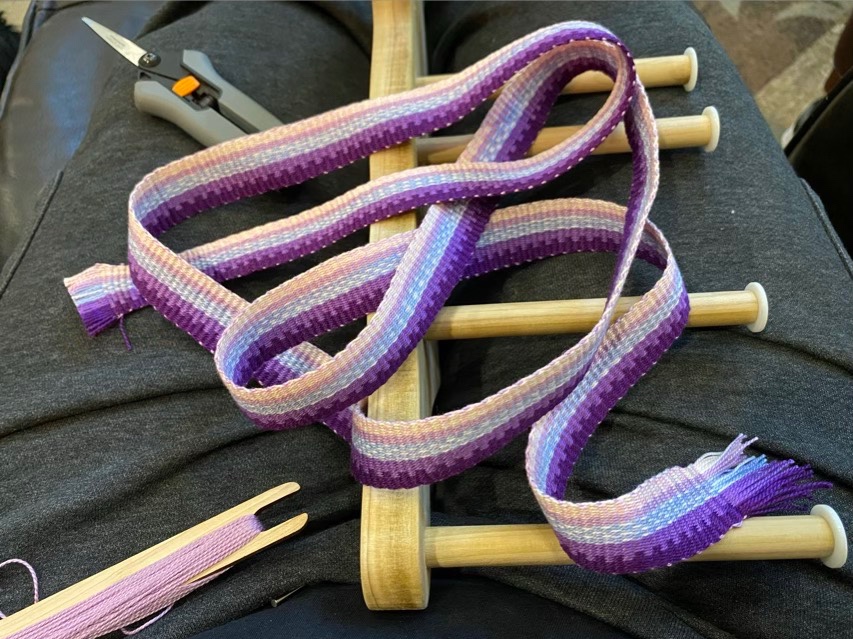
Finished weaving

I used pearlized cotton for this weaving and it didn’t need to be pressed after it came off the loom. Weaving went much faster than my tablet weaving, but the band is thinner. It is still sturdy, and quite attractive both visually and in texture.

Start (left) and finished (right) ends

I’m still working on my tension. This time my tension was tighter at the beginning than the end. Oh dear, I’ll have to start another project and keep weaving to practice. Twist my arm.