When working with flax or plant fibers in general, it helps to have a little moisture. When I first started twining my flax bag on a car trip, I was using saliva. Traveling and licking fingers didn’t seem like a prudent plan, so on the next trip I made a sponge ring by cutting off the end of an inexpensive curler and trimming the hole with scissors.
Photo description: sponge ring to use to wet fingertips as I twine flax, made from a hair curler
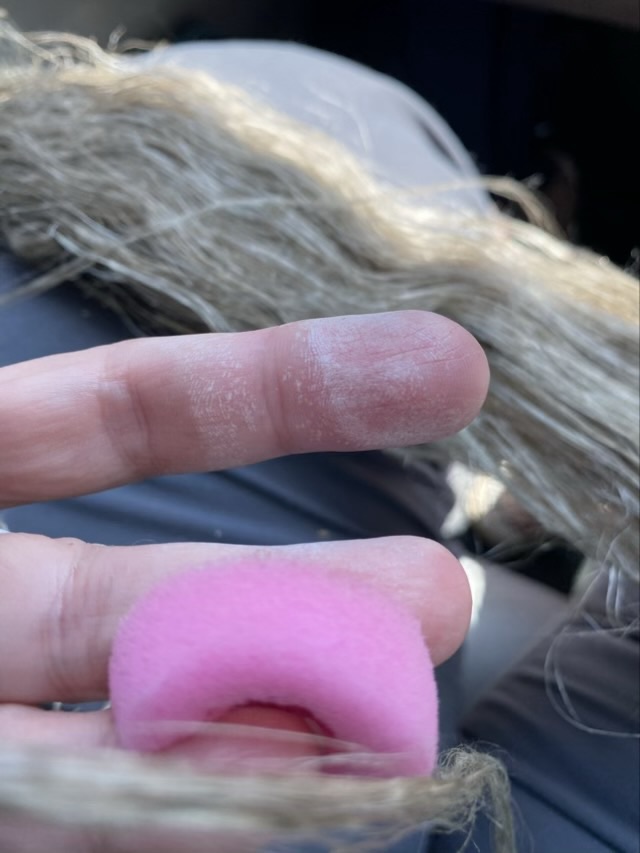
As I twined, I noticed the skin on my finger was turning white. Weird.
Photo description: white marks on my finger
I looked again at the small spray bottle I grabbed as I madly packed for the trip. It wasn’t labeled “H2O”, it was marked “H2O2”. I had been moistening my finger with hydrogen peroxide. At least it was sanitized. Sheesh.
Photo description: small spray bottle with pink sponge ring and “H2O2” written in Sharpie ink
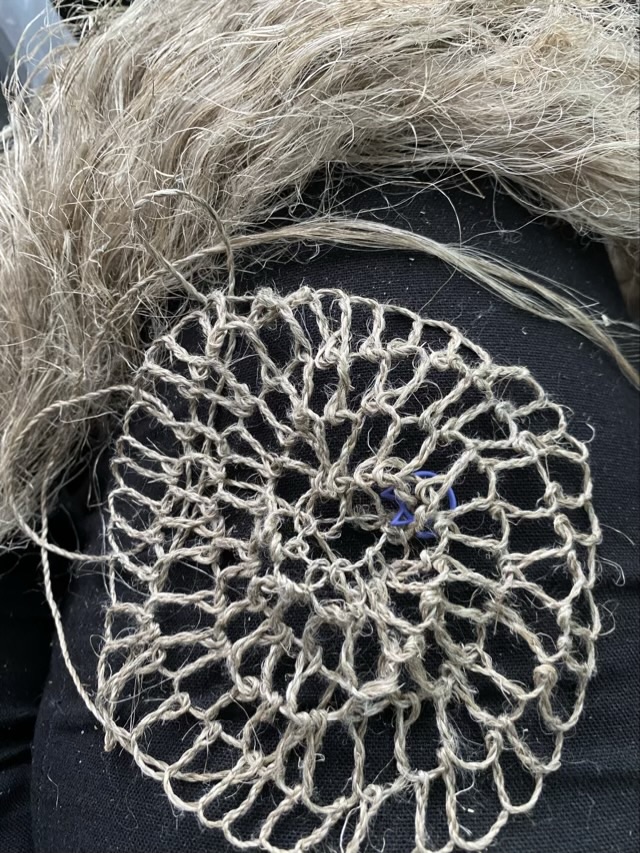
I’ve started a new project using the processed flax fiber from Sally Pointer’s twine kit. I’m making a twisted loop bag and twining the cordage for it as I go.
Photo description: two strand twined cordage made from flax fiber (in the background)Photo description: the start of a twisted loop bag made of flax cordage, approximately six hours of worktime
I started the project as a car riding diversion. I like the twining because I can do it mostly without looking, which allows me to watch the scenery going by.
I learned to twine with a Z twist, which is opposite of the S twist that Sally Pointer demonstrates for beginners. This is fine, but when I went to start the twisted loops for the bag, the technique makes Z twists for each loop. I thought my bag would be happier (less twisty) if I made S twists to balance the Z cordage, so had to adjust the way I made loops by going in the opposite way from the video. It took some brain power, and I’m going to have to be careful going forward to keep the same stitch direction, but I think it will be worth it.
I’m not using a needle for this project, just flax and my hands. I started with a nalbinding needle, but it kept slipping off, which was irritating, but the newly made flax cordage is stiff enough that if I fold the end, it is easy to thread through the loops.
Last thought on this post: flax cordage is strong. The line I’m making is fairly thin, about four-five strands doubled, but I cannot break it with my hands.
I went to rinse and block my small twined cotton bag and was a little shocked when it held water. It wasn’t completely water tight, there was a slow drip, but it didn’t absorb water like I expect cotton to do. My hypothesis is that because I hadn’t washed it at all to this point, there may be some natural water resistance on cotton bolls. Not enough to keep the harvest safe from rain (as this cotton farmer describes), but some. Or the twining is tight enough and thick enough to resist the water for a short time.
Photo description: small twined cotton bag holding water over a sink
I finally made myself a twining loom, after returning my neighbor’s to her. I tried other shorter methods, but having the warp hang freely makes it so much easier to twine.
Photo description: bag twining loom made from 1×4” boards and two 7/16”dowels
The boards were in my scrap pile and 18.5” long. I used my band saw to cut one board down to 1.3”, then clamped them together and drilled seven 7/16” holes, four on one side, three on the other so I could always tell how the boards line up. The wider board on the bottom gives stability. The multiple holes give me options on bag width. Ironically, the dowels have a slight bend, and line up with nonparallel holes. Hm.
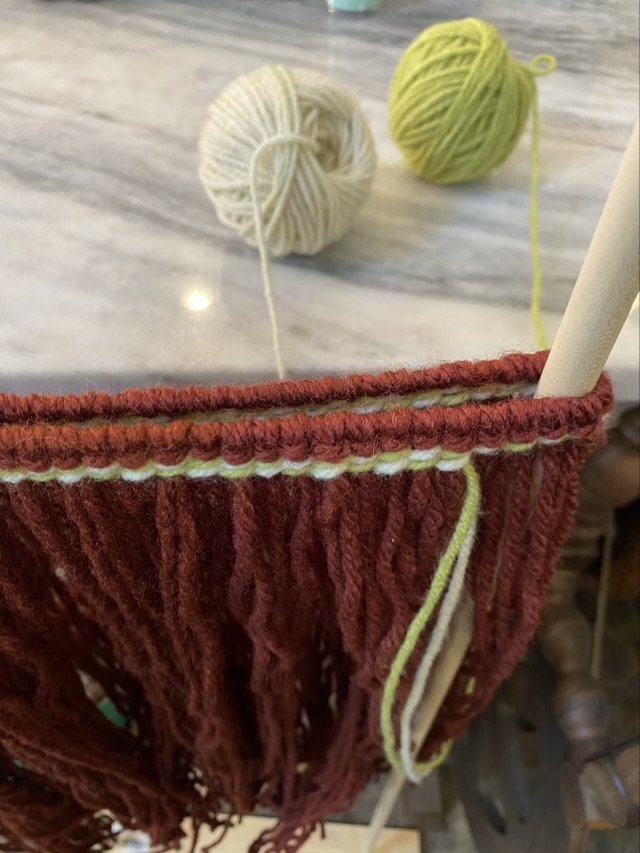
Photo description: twining two colors around free hanging warp threads in twos
My eldest gifted me some pretty green wool blend yarn for Mother’s Day, so I thought it best to make something for myself. I can never have too many project bags, and I like twining, so I just needed a loom. I had some synthetic rug yarn in my stash that was a pretty rich brown, so I used that for the warp to maximize the variegated green yarn available for the twined weft.
This will not be a quick project, but it will still be an enjoyable one.
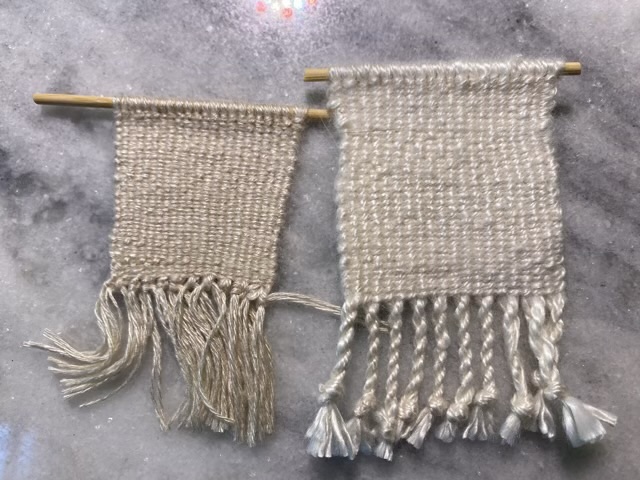
I was struggling with the sides of my twined weaving coming in and not staying straight. My neighbor, who is an accomplished Cherokee weaver, and who taught me how to twine bags, suggested that I flip the work for each row. I had been working from just one side, going right to left, then left to right. For my rose fiber swatch I followed her advice.
Photo description: left twined weaving made with hand spun mint infused cellulose, right side twined weaving hand spun rose fiber
Flipping the fabric worked, the sides of my swatch are better than my previous attempts. They aren’t perfect, but my skills are improving. It is those little tips and insights that make learning from accomplished crafters so valuable. YouTube is great for general knowledge and diving down rabbit holes, but the knowledge we can gain when working with another crafter is invaluable.