Washing alpaca fleece

So excited! I’m getting into the alpaca fleece that I bought from a local alpaca farm over a month ago. I followed the instructions in Mary Egbert’s book “The Art of Washing Wool, Mohair, & Alpaca” and washed an armful of each color.
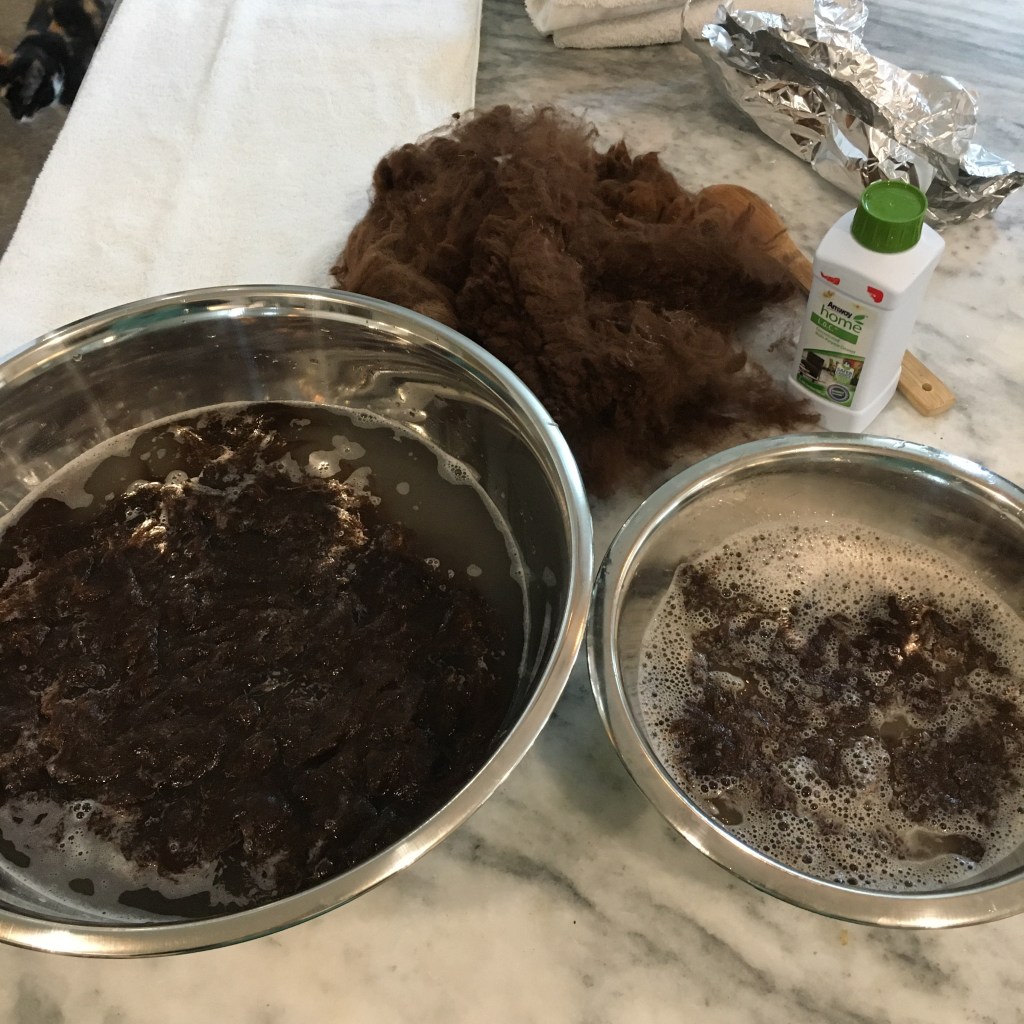
Raw fleece (from Aimee the alpaca) above, wash bin on right, rinse bin on left, drying towel behind, cat photo bomb

I used a capful of Amway LOC soap in the wash bowl, and let the fibers soak for a few minutes. Since alpaca fiber doesn’t have lanolin I didn’t have to be as diligent with keeping the temperature consistently hot. I used hot water from the tap for both the wash and the rinse. I gently squeezed out the soapy water before putting the fiber in the rinse bowl, let it sit, then gently squeezed out the rinse water and rolled the fiber in a towel to remove most of the water.
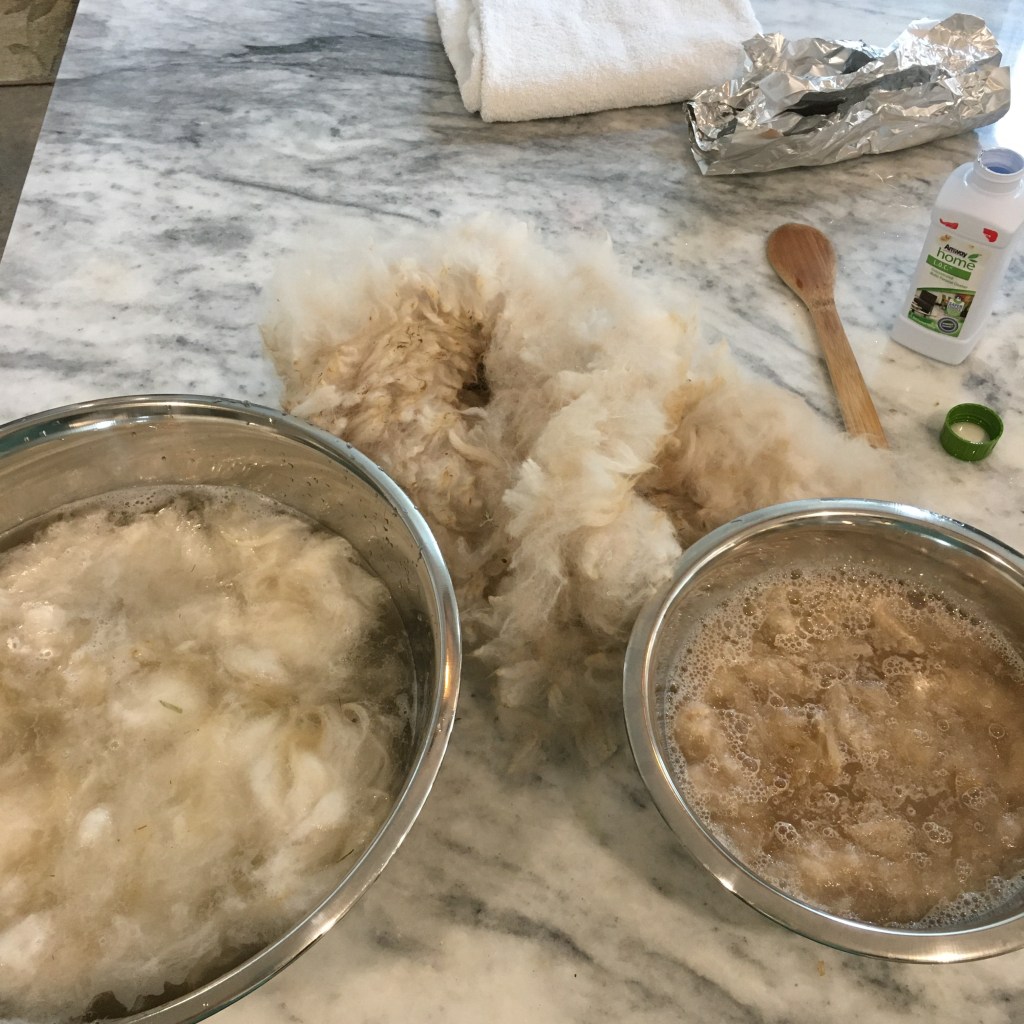
Sugar Plum’s fleece raw center, wash right, rinse left

The alpaca fleeces seemed relatively clean to start, but as you can see in the picture of Sugar Plum’s fleece above, there was still a fair amount of dirt in there! Which is to be expected, since alpacas like rolling in dirt.
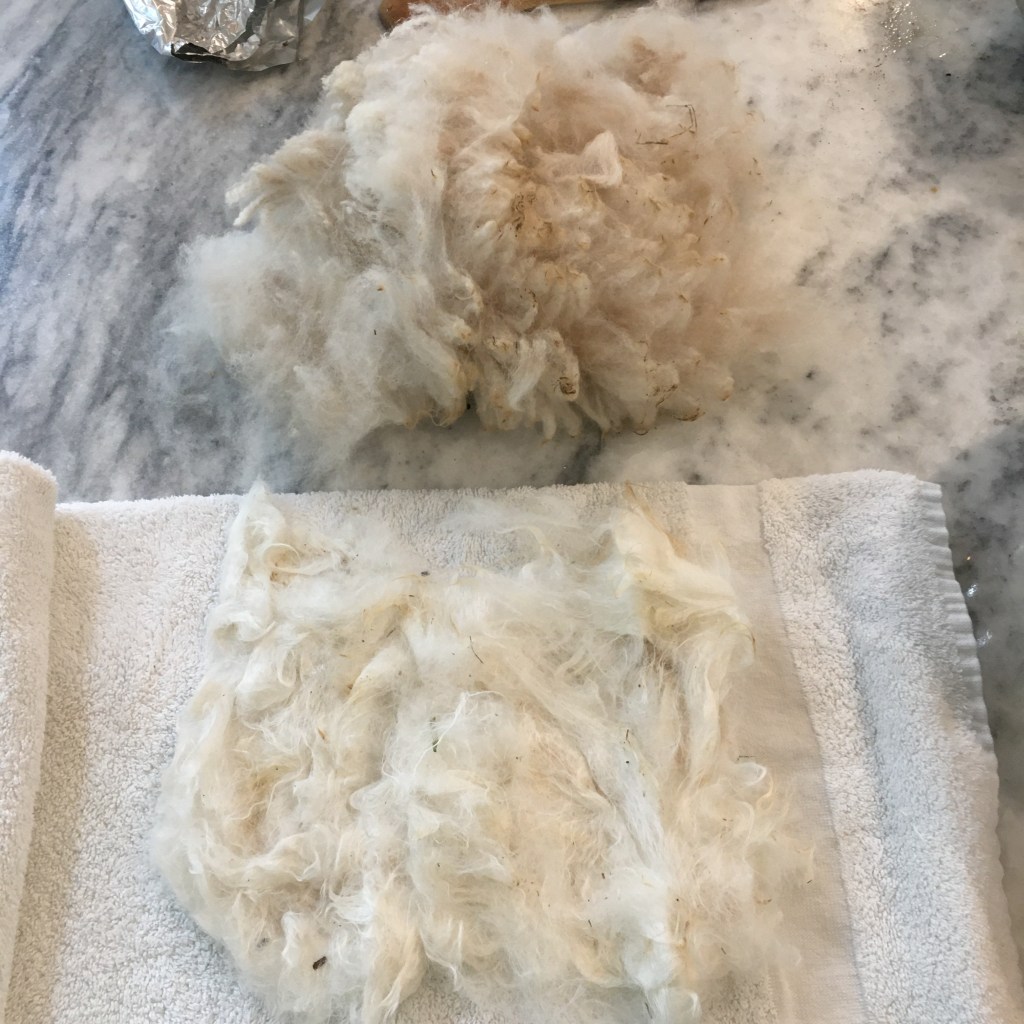
Raw fleece above, washed fleece below

I bought a dark brown (Aimee’s), a fawn (Donnabella’s), and a cream (Sugar Plum’s) blanket fleece. The most dramatic difference was in Sugar Plum’s fleece wash. The cleaned fleece was nearly as white as my towel!
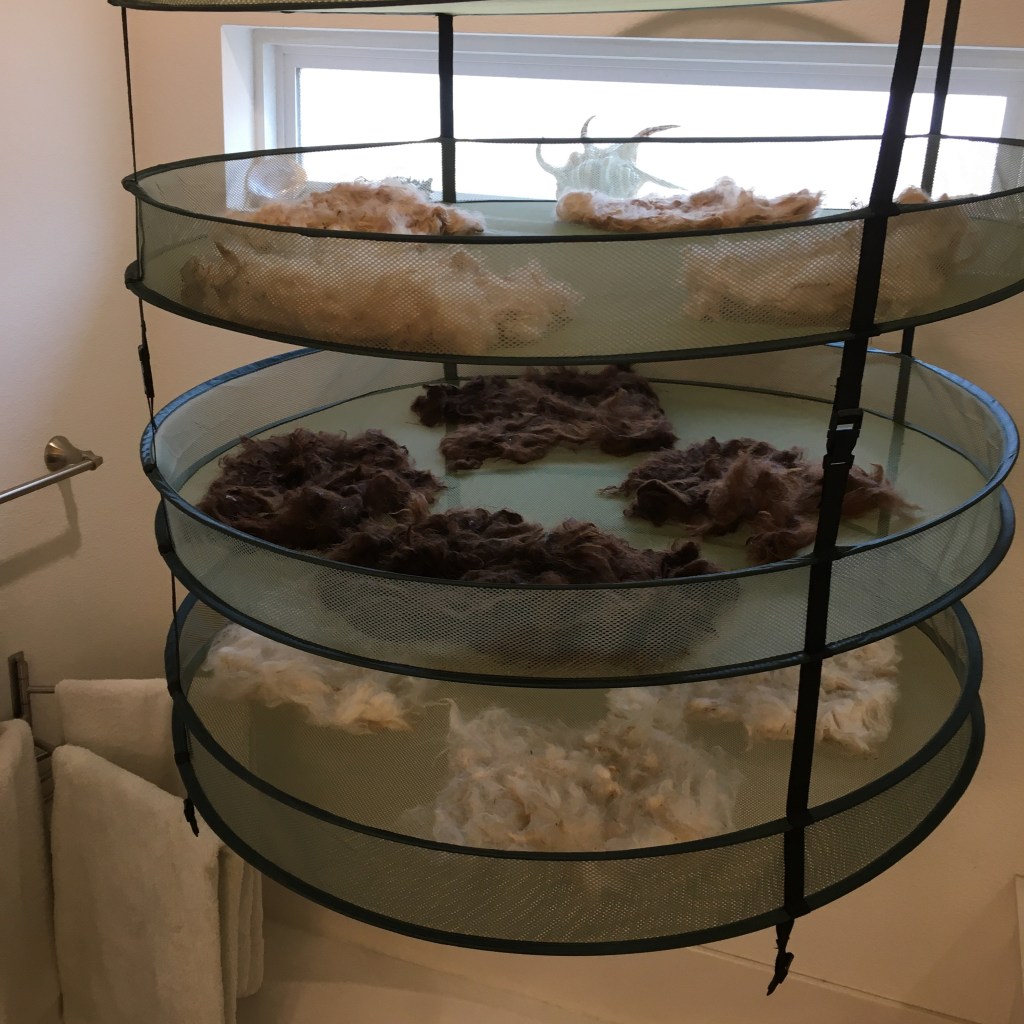
New drying rack with freshly washed alpaca fleece

I installed a new drying rack in the bathroom over the tub. This pop out hanging tray system can have six layers! Lots of space for drying fiber! After washing and rinsing, I put all my fiber here to dry. Carding comes next!

Rainbow cloche

I crocheted up the rainbow yarn! Rinsing the single ply on the niddy noddy worked great to set the yarn. At just over 50 grams, there was not enough to make an adult sized hat, so… I spiral striped it with black. It came out well!

Crocheted rainbow cloche style hat

Even though my spinning still has thick and thin places, the crochet looks nice. I did remove some of the thinnest spots, especially along the edge.

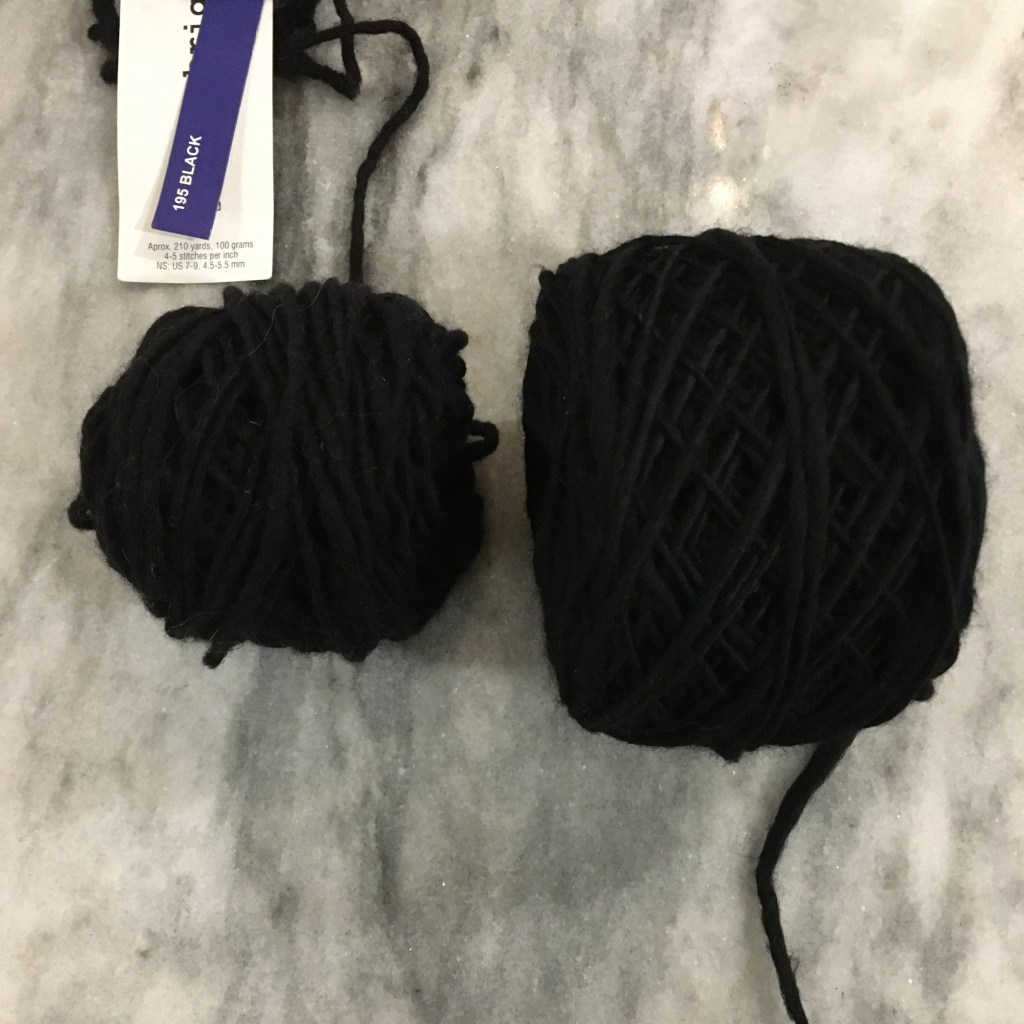
Commercial spun yarn on left, my spindle spun on right

Though honestly, the practice is helping. I found a left-over bit of merino wool I had purchased years ago, and the yarn I made is comparable. Neat.

Spinning Rainbows

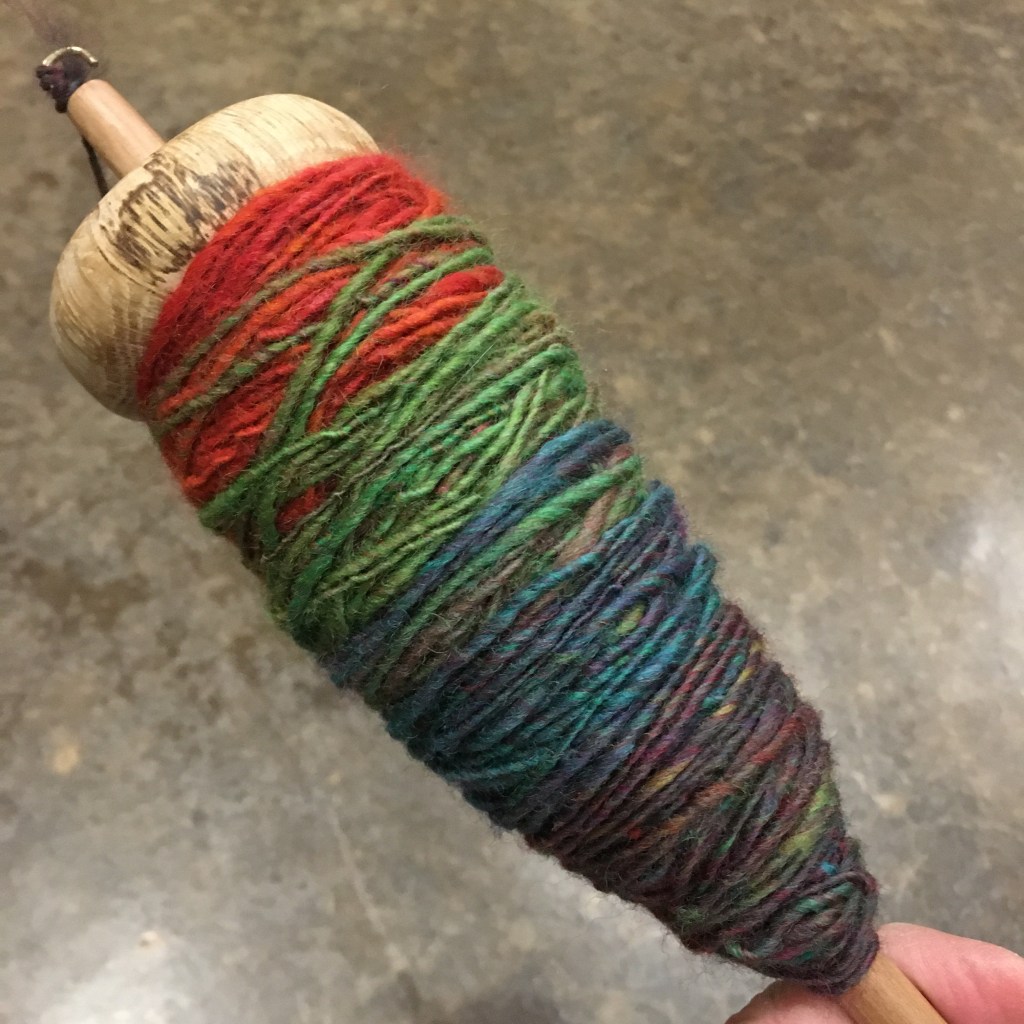
I spun up my rainbow rolags! The big fluffy rolags were nice to spin; the fibers pulled out smoothly and the color variation came out well. (And it was very pretty on the spindle!)

Spindle spun rainbow yarn

I strung the finished single on the PVC niddy noddy, rinsed it in cold water, and let it dry. The yarn seems to have set well.

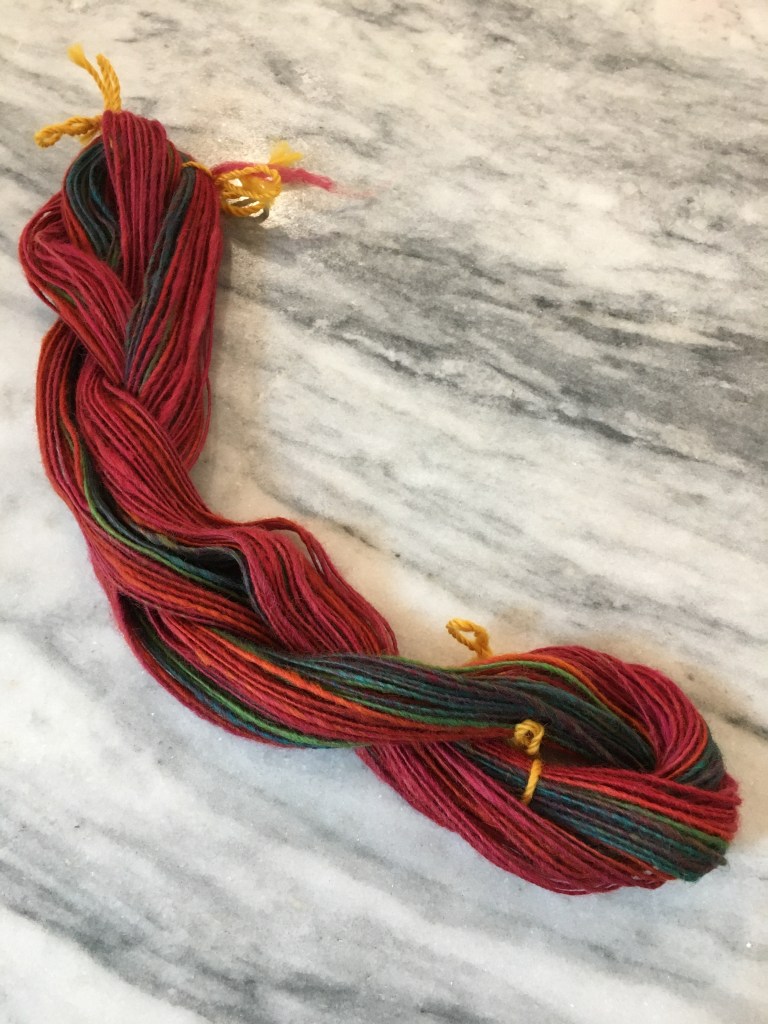
Rainbow hank

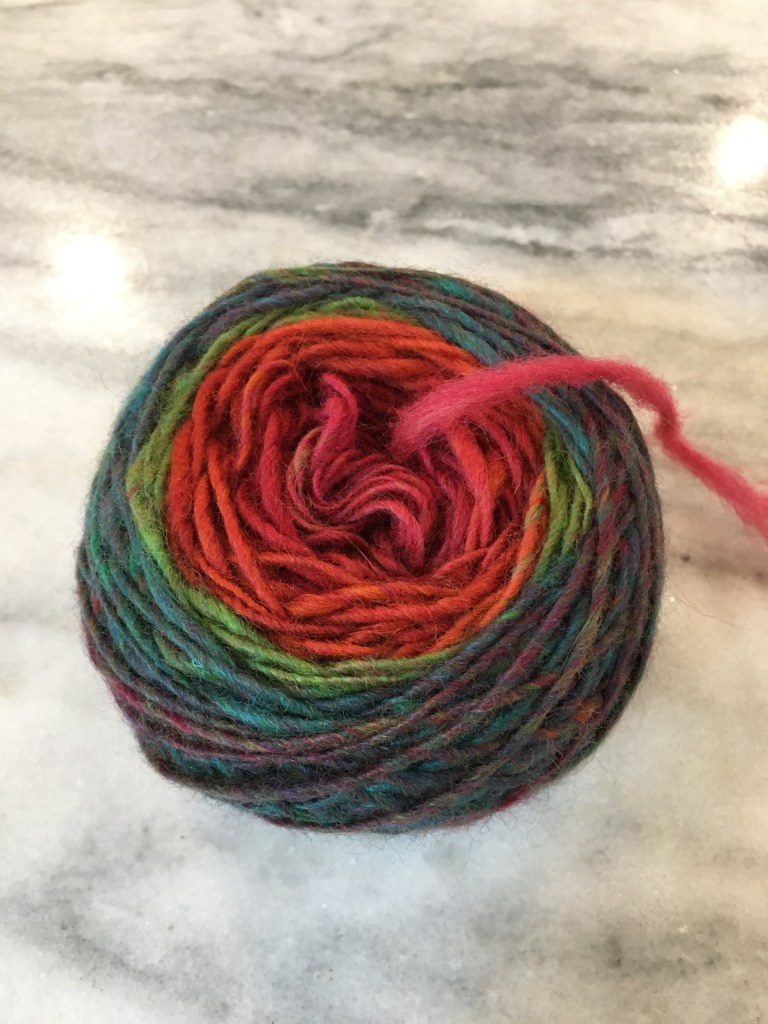
I took the rainbow hank off the niddy noddy and used my swift and wool winder to make a rainbow cake.

The resulting yarn cake is 53g and about 78 yards. Not enough to make a hat. Hmm. But I have some ideas…

Hank to cake

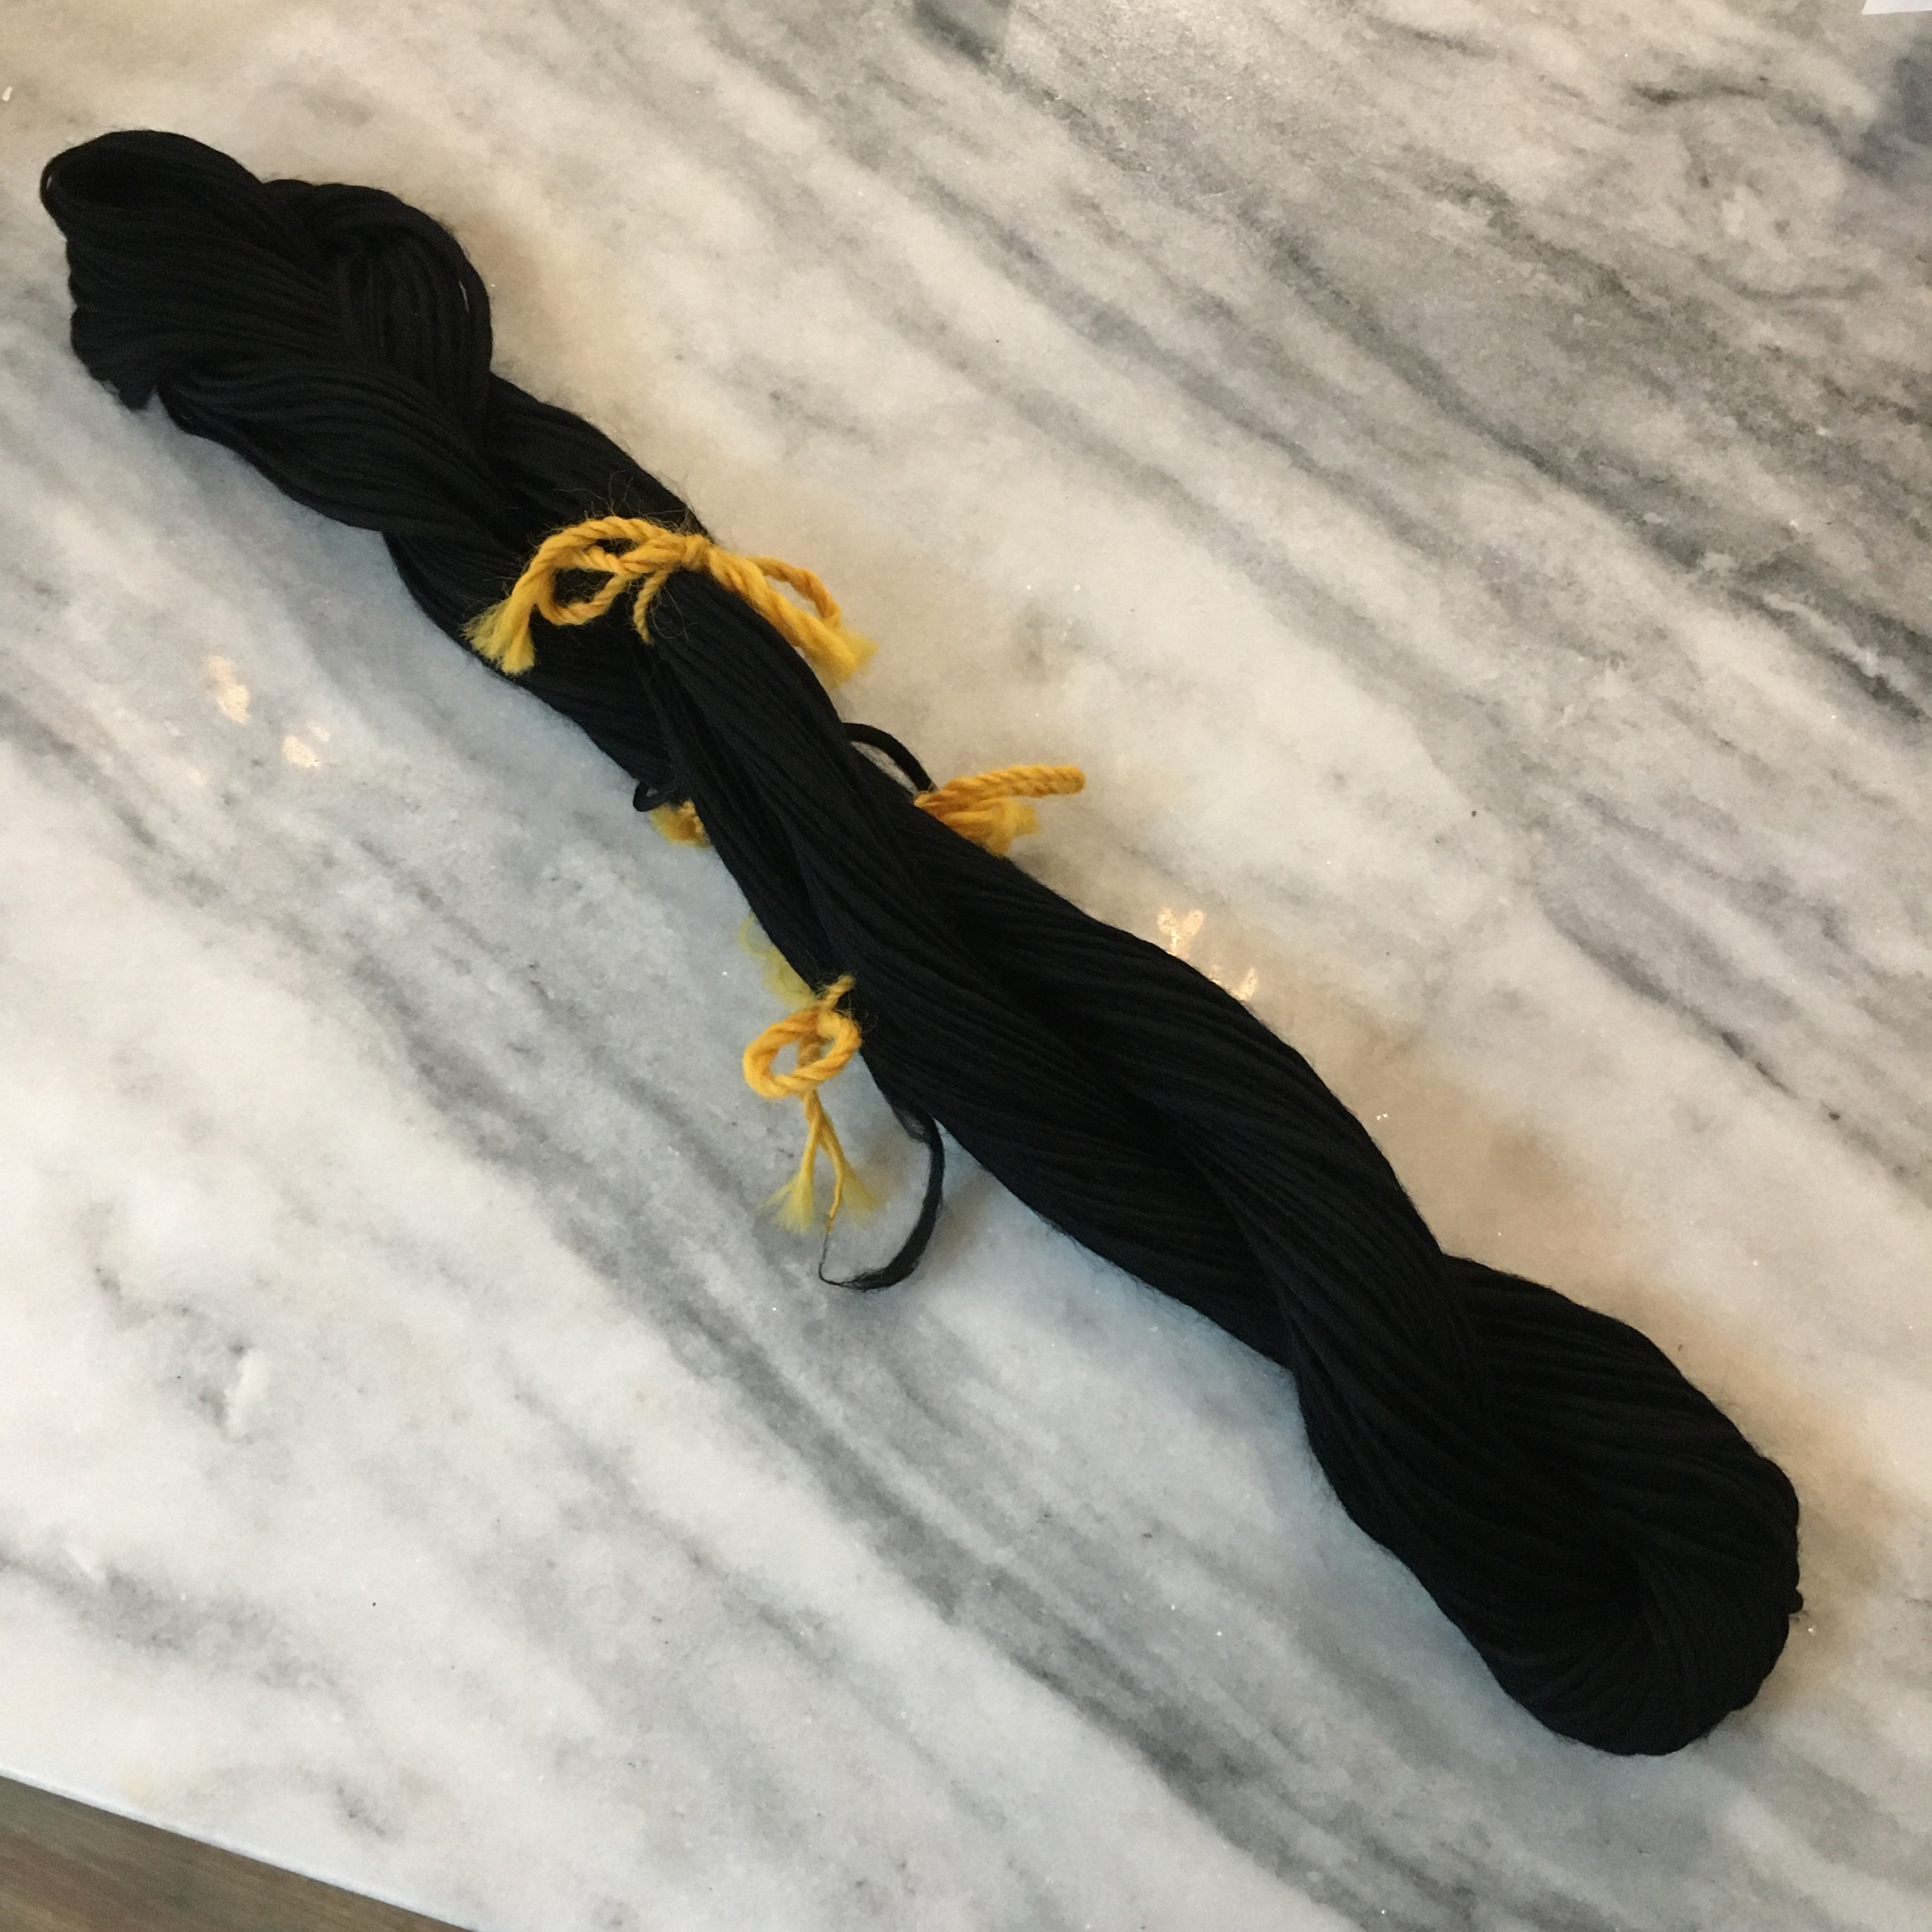
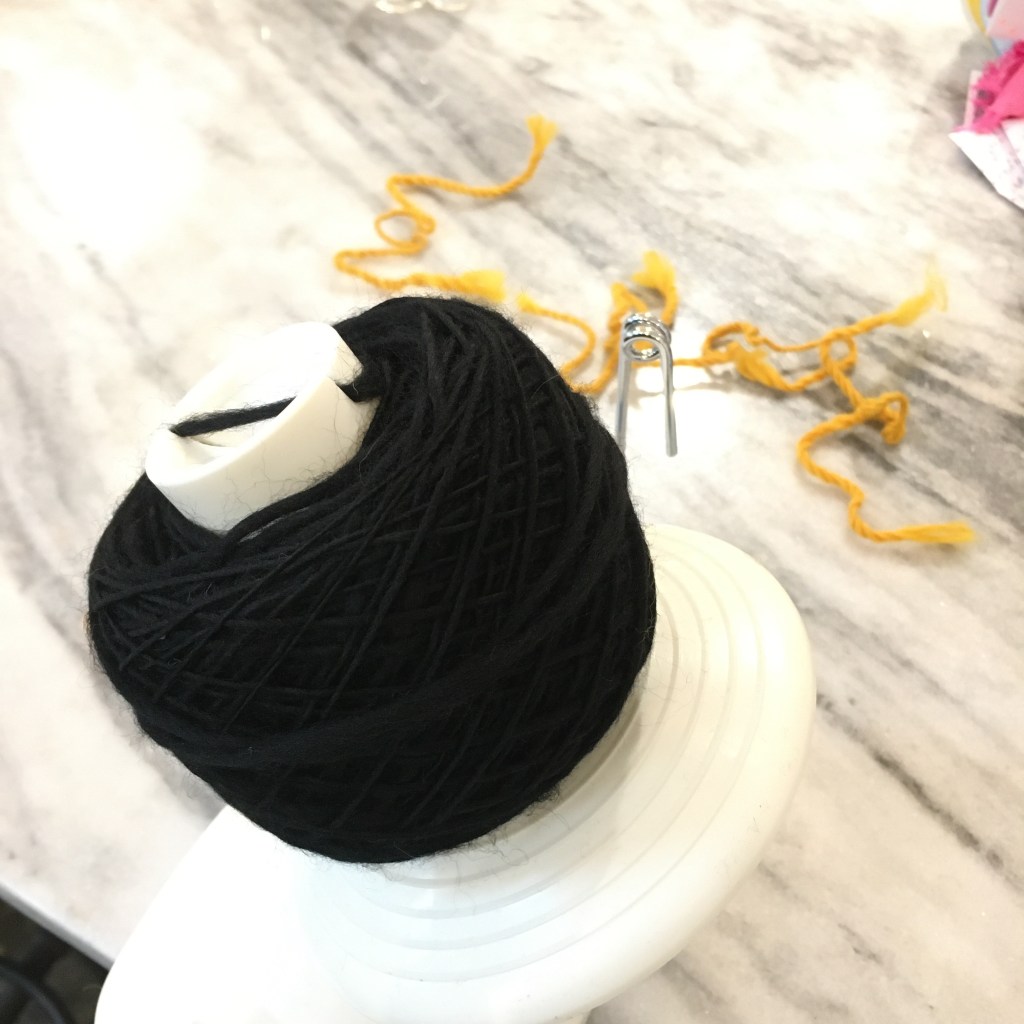
Hank of black merino wool single ply yarn

Last we left it, my single ply black wool merino yarn was drying on the niddy noddy. Oh that works!! It took less time to dry, and it came off the niddy noddy easily (the caps were too tight, but I could get one arm off the niddy noddy easily). The yarn is balanced (which means it doesn’t get twisty), and seems strong (although I really do need to work getting an even thickness, but that should come with practice).

Yarn on wool winder

It is a little bitty cake (just 53 grams), but since it was a proof of concept experiment, that is fine.

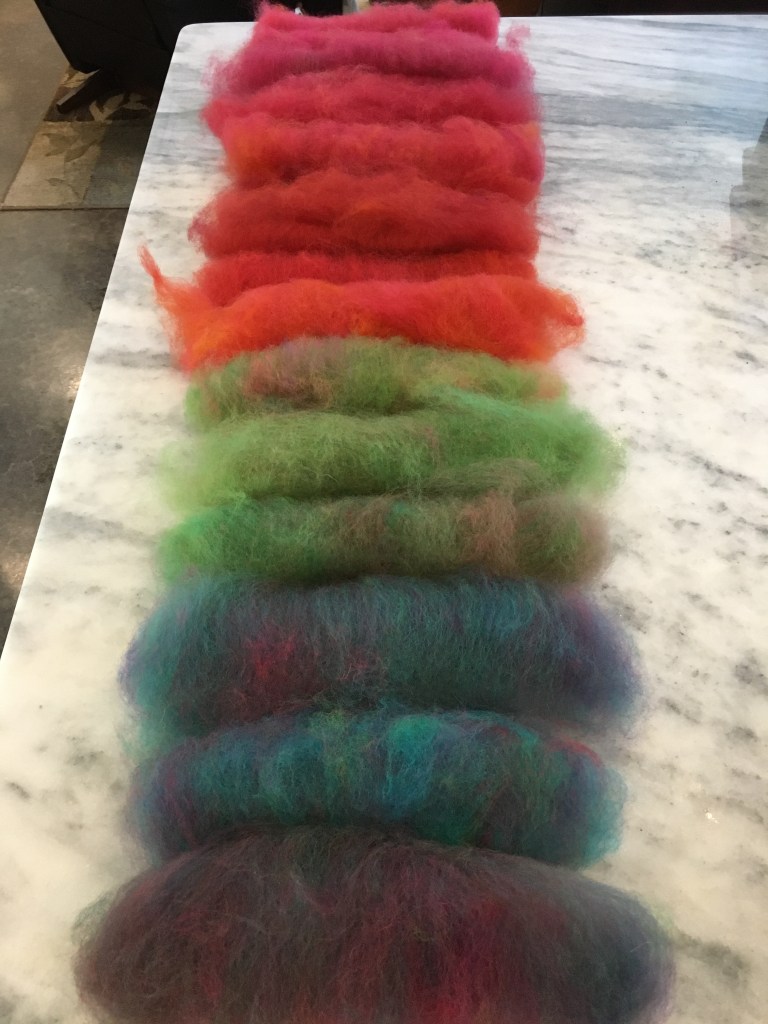
Rainbow rolags

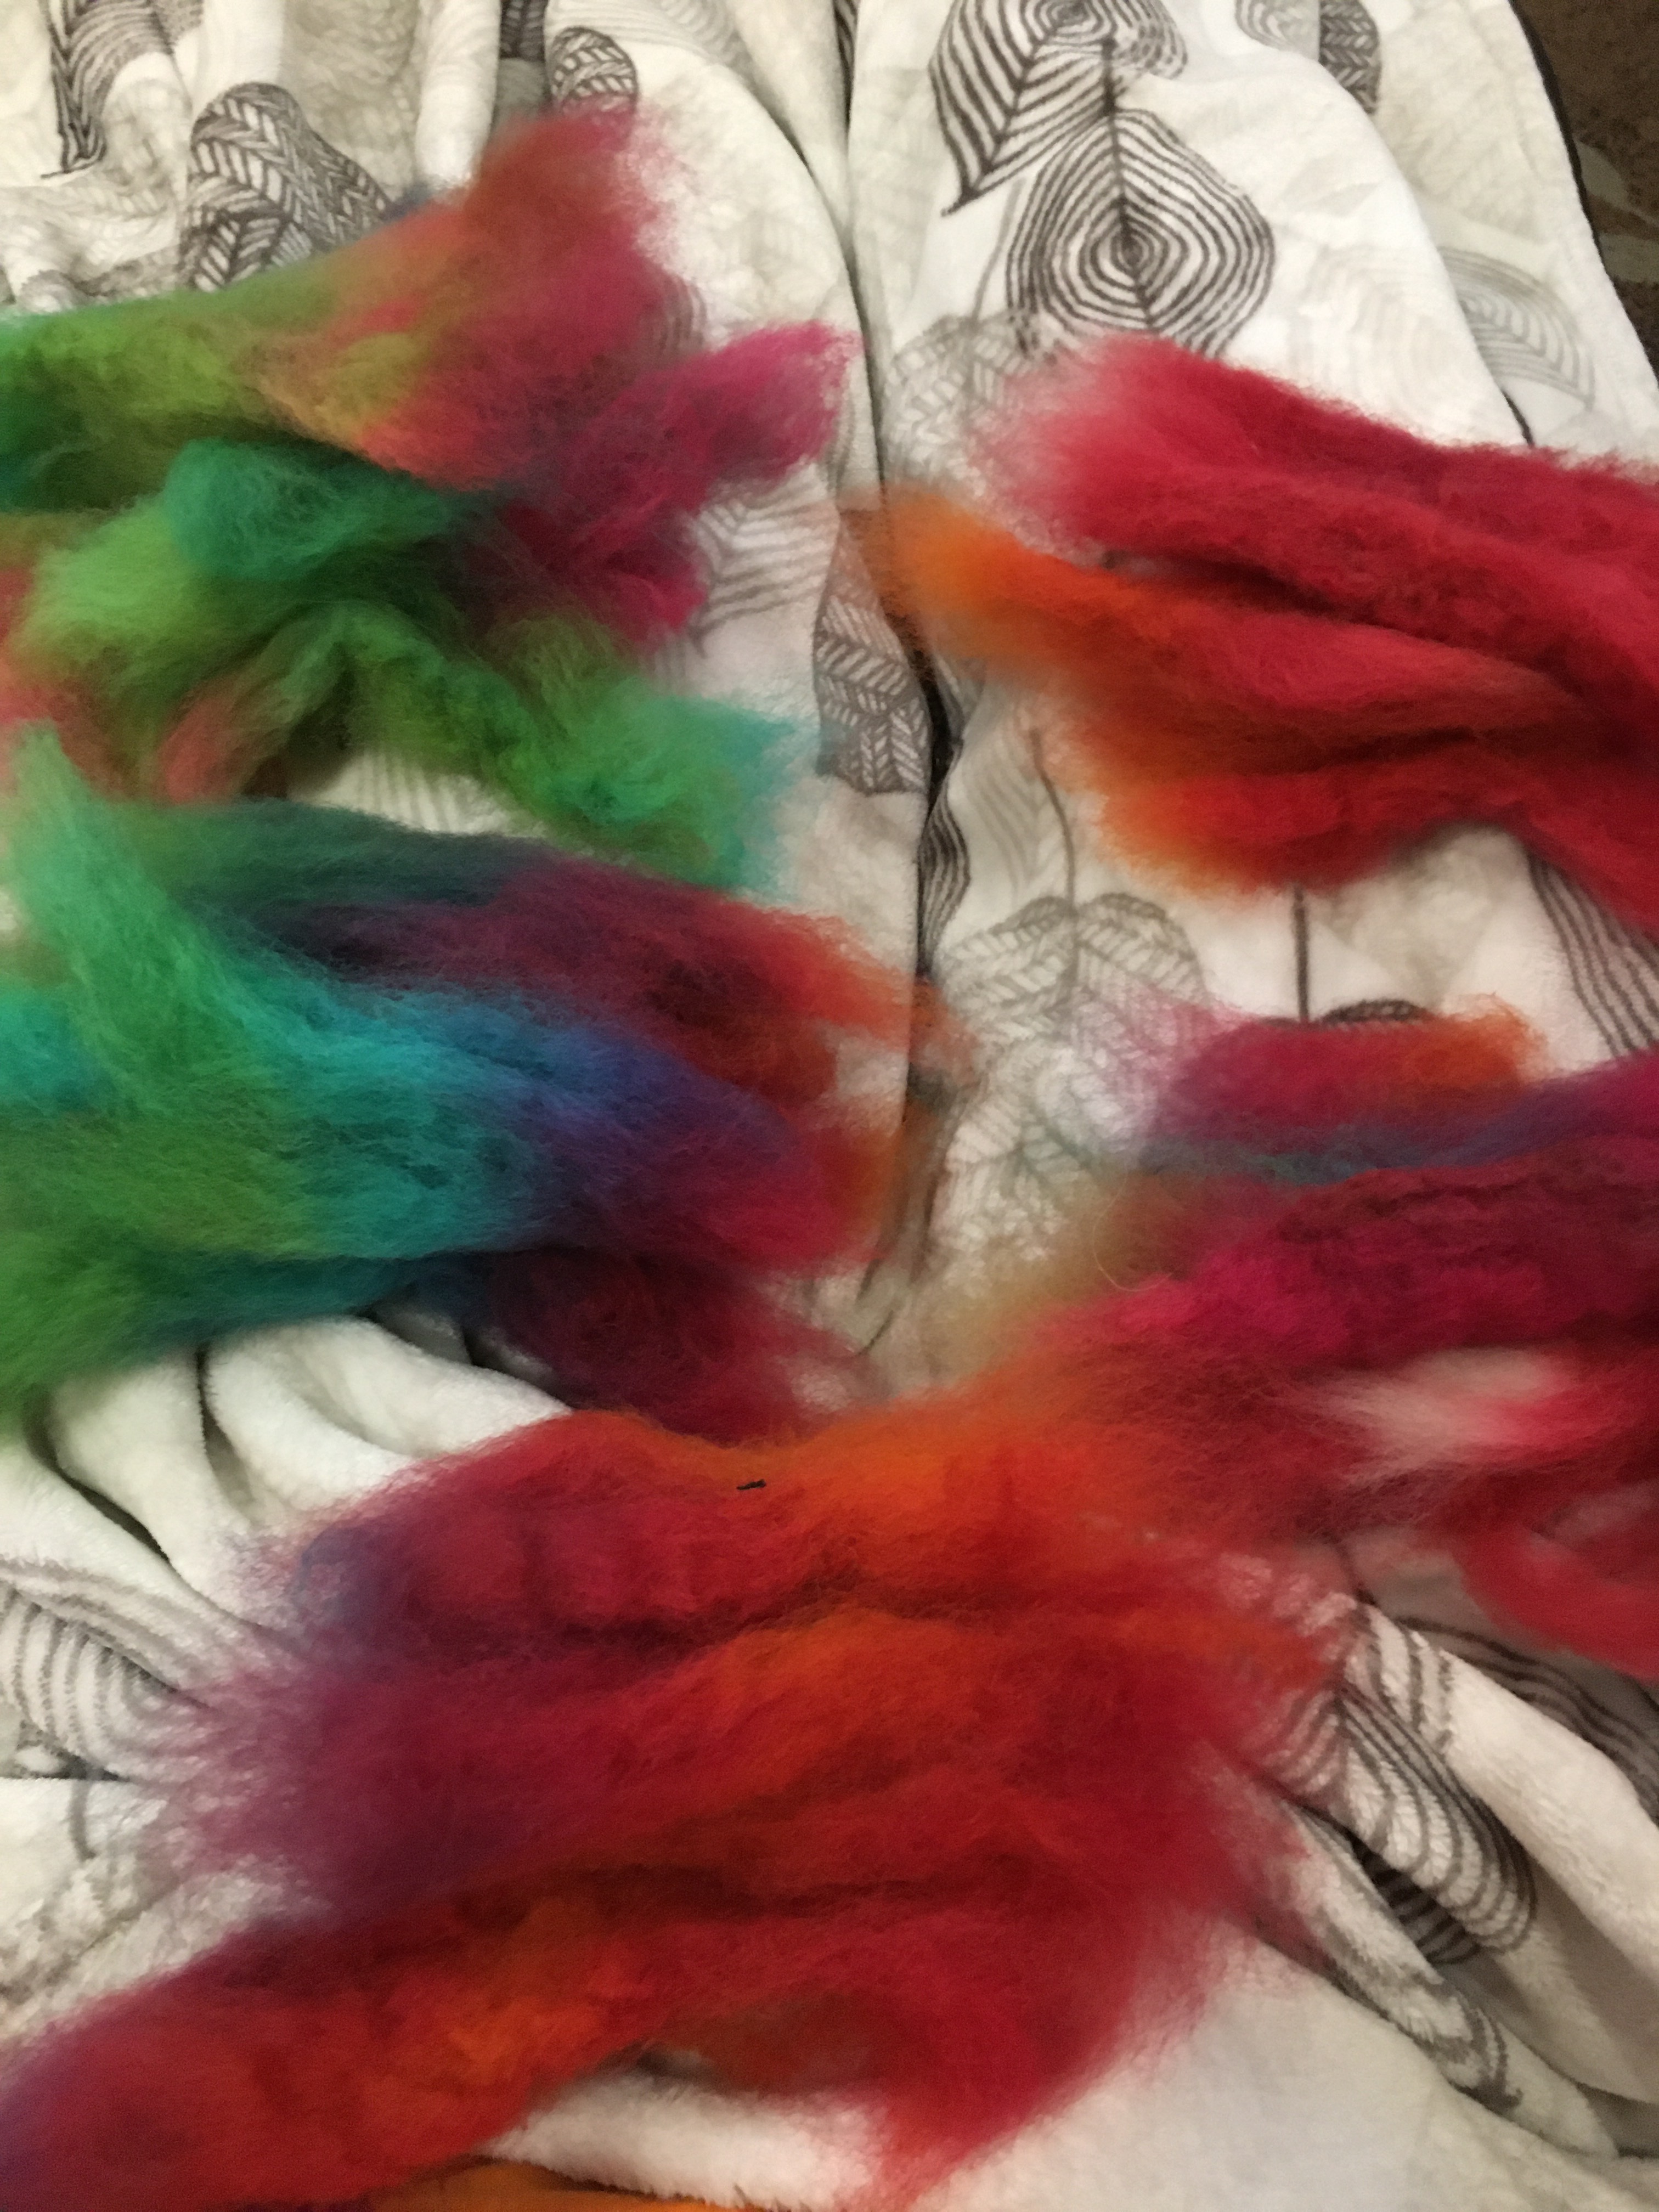
I’m practicing with my wool carders! Carders are wooden paddles with wire bristles, like a large brush. You use them in pairs to prepare fiber for spinning. I have a beautiful bundle of rainbow colored merino wool roving my Mom gave to me, dyed in a repeat pattern. I decided to pull the colors apart and make a continuous rainbow yarn. This gives me a chance to not only use the carders, but to practice blending colors as well.

Pulled apart sections of roving, sorted by color

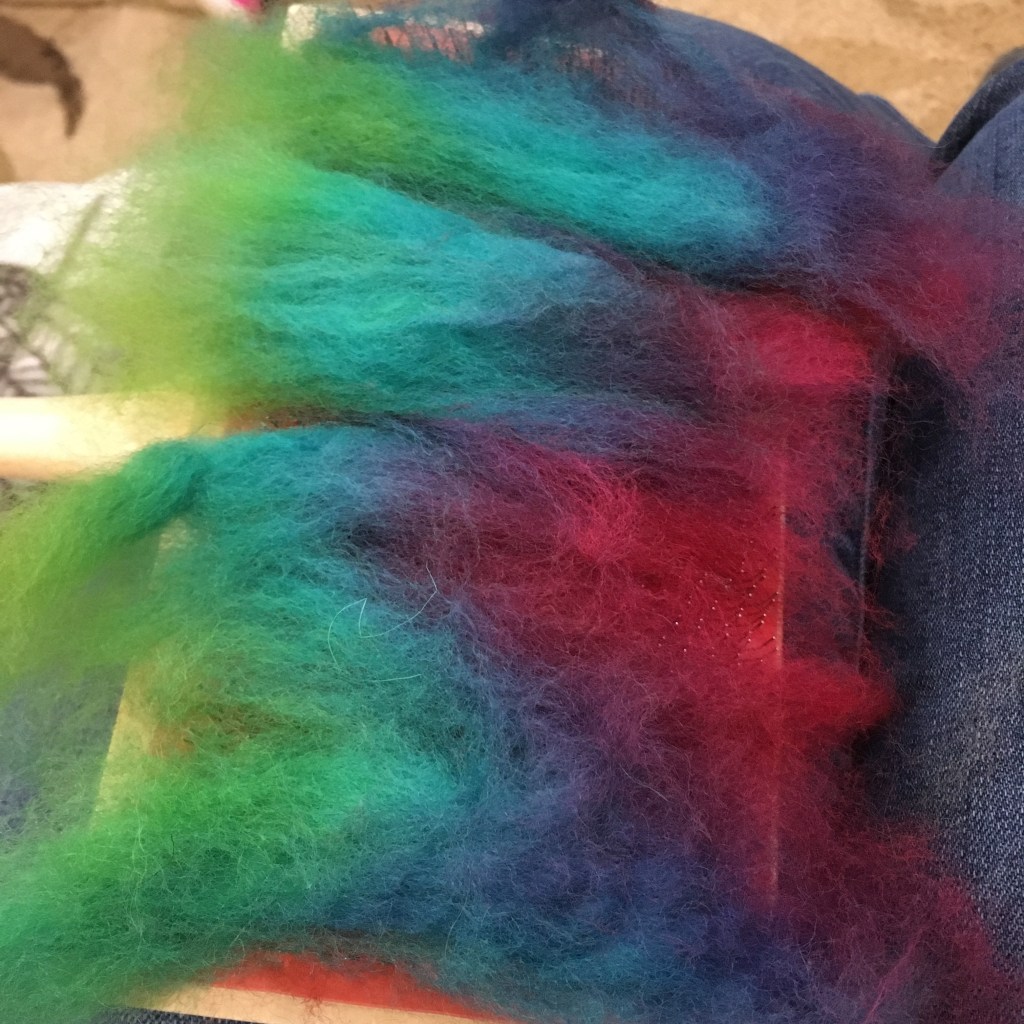
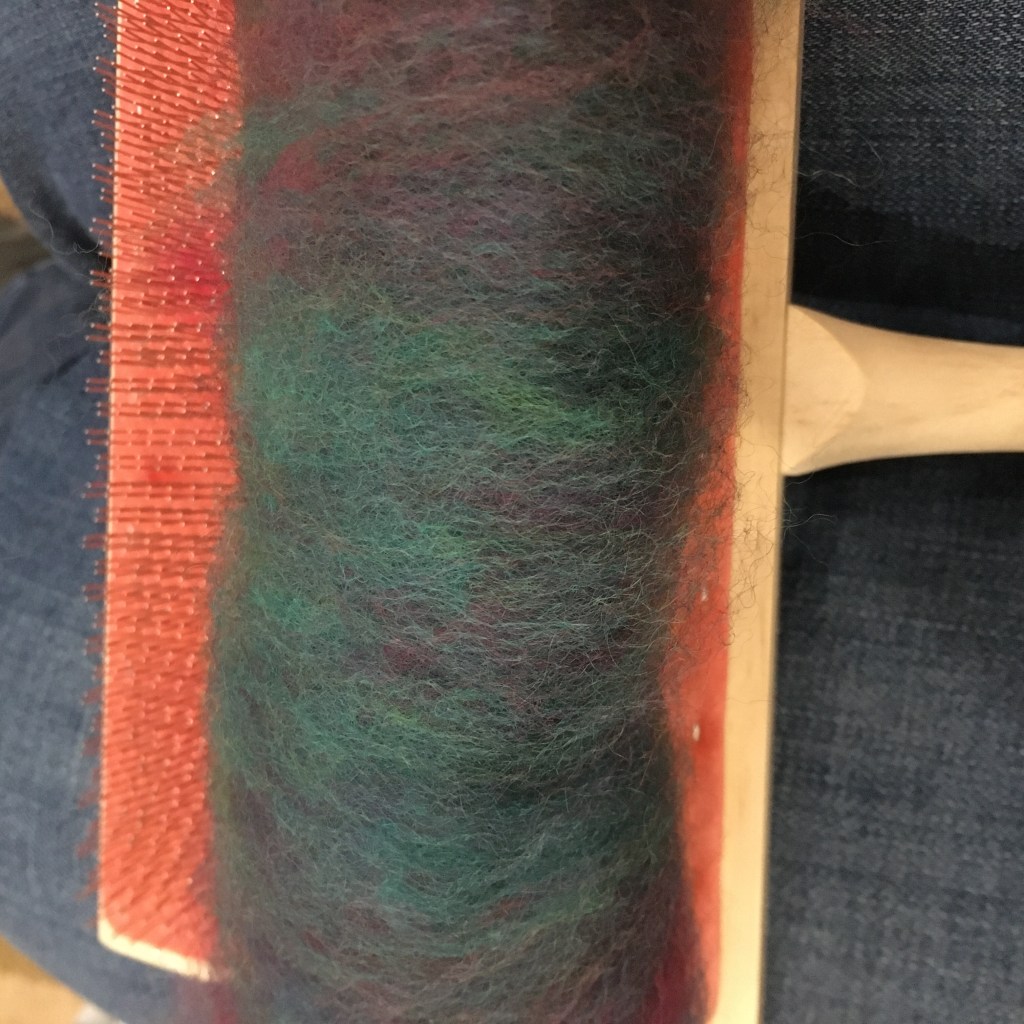
To blend the colors, I loaded the carder and tried to spread out the color to reduce streaks. Since the staple length (the length of the hair) is longer than the sections of color, most individual fibers have more than one color so it was impossible to completely separate colors and maintain the integrity of the fiber. It worked out well, though, because after carding I ended up with nice blended colors! I carded each section three or four times before rolling the fiber up to make a rolag.

Wool loaded on one carder

There is an art to carding fiber. Most of the instructions I’ve read stress not letting the wire bristles touch. I didn’t understand that at first. Then as I worked with the carders I saw that as you draw one brush across the other, the fibers pull out. It is possible to brush the fibers to pull them out and lift them from the other carder without touching bristles and without burying the fiber into the bristles. I’m still working on the technique!

Carded rainbow wool

Once I had the colors blended sufficiently, I rolled the bat of fiber up, making a rolag.

Rainbow rolags

I’m really pleased with the color blending. Now it is time to spin!