Combing alpaca

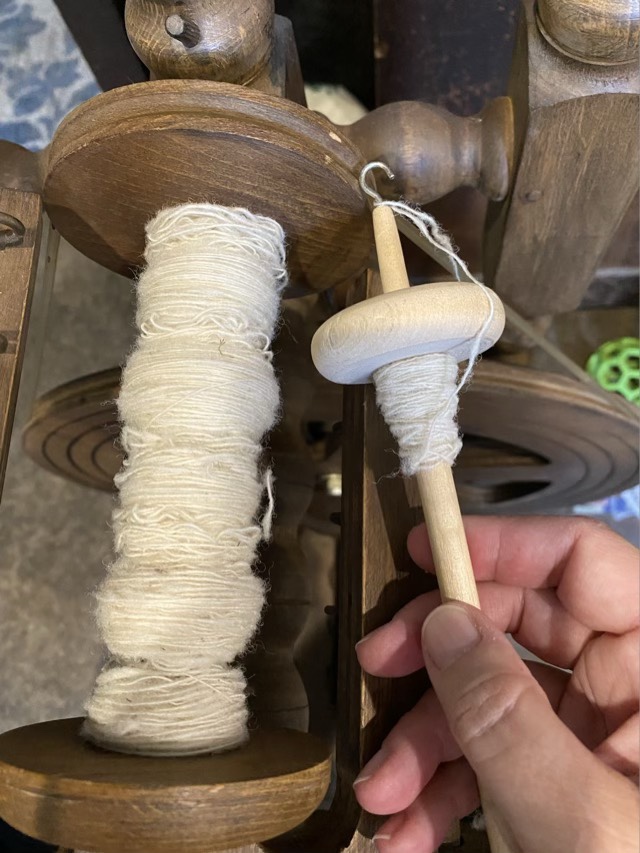
I decided to try my new wool combs with the alpaca fleece that I washed and dried a year ago. I love them! Combing removes so much more vegetable matter and short cuts than carding. The fibers pulled off the comb are light and airy and beautifully aligned. I do get much more waste; I’m putting that in a bag to put out for nesting material for the squirrels and birds. I was going to comb all the fibers then spin, but the preparation was so fluffy I just had to spin it right away and not risk compaction in storage.
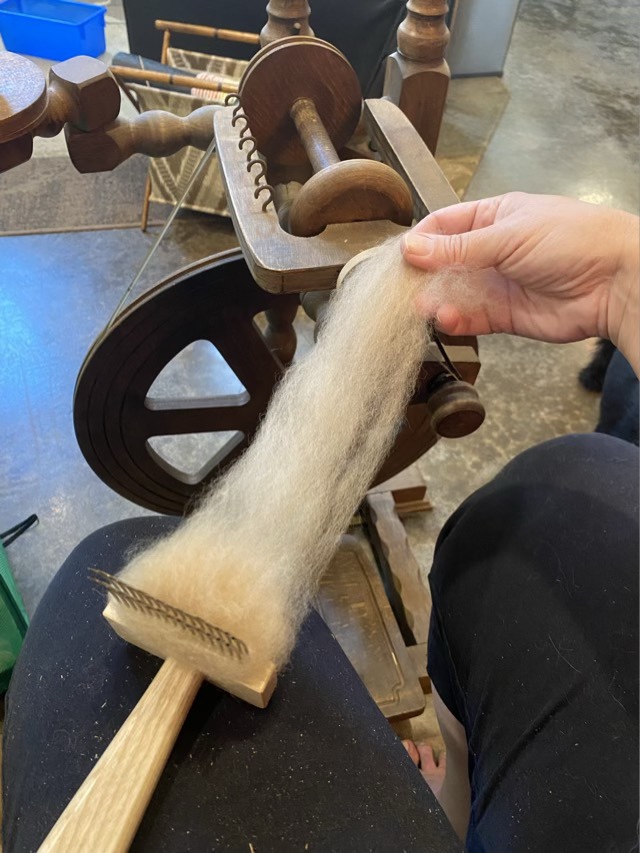
Pulling combed alpaca off a comb

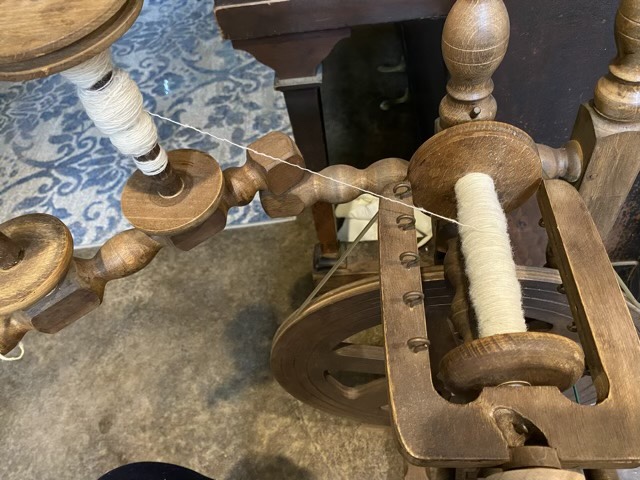
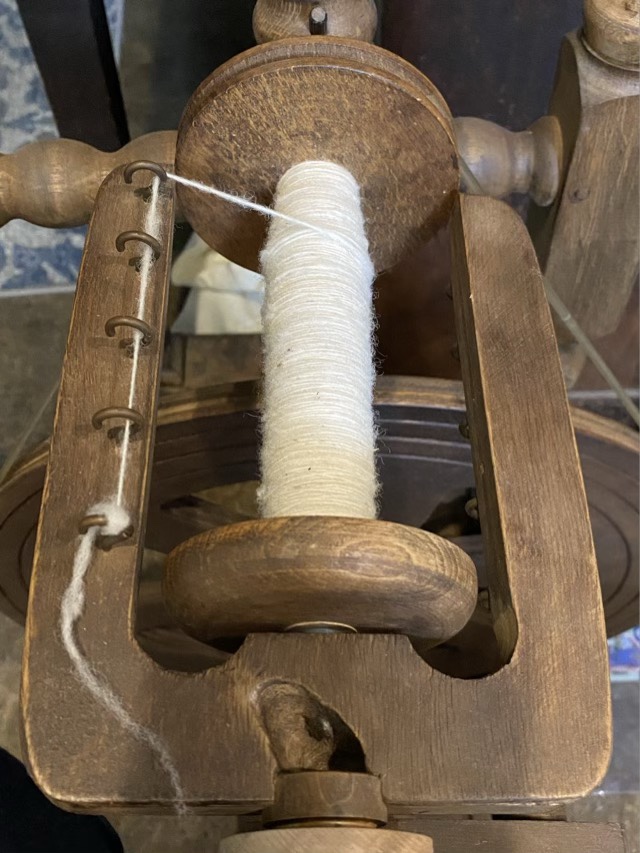
I tried spinning directly off the comb, but my skills are not that advanced yet, so I pulled off the fiber then spun on my vintage Befra Willy wheel. I now see how the yarn on a Irish tension wheel (flyer is slowed down) has to be thicker. There is more strain on the yarn and thinner yarns snap. I’m still pleased with the thickness of the yarn for multipurpose projects, but this will not be lace yarn.
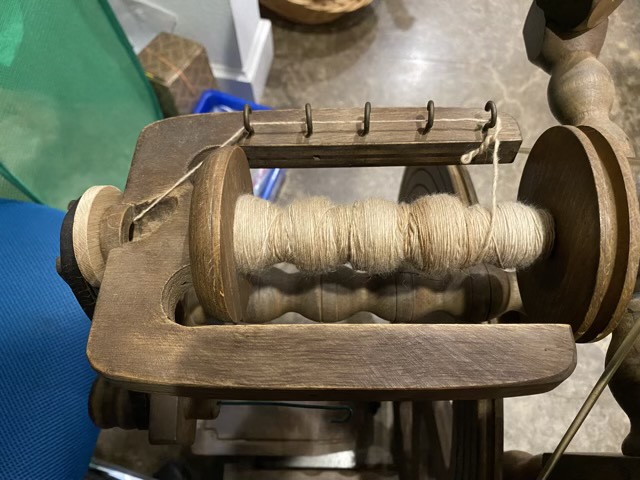
Spun alpaca fiber on the bobbin of a Befra Willy wheel

Mohair

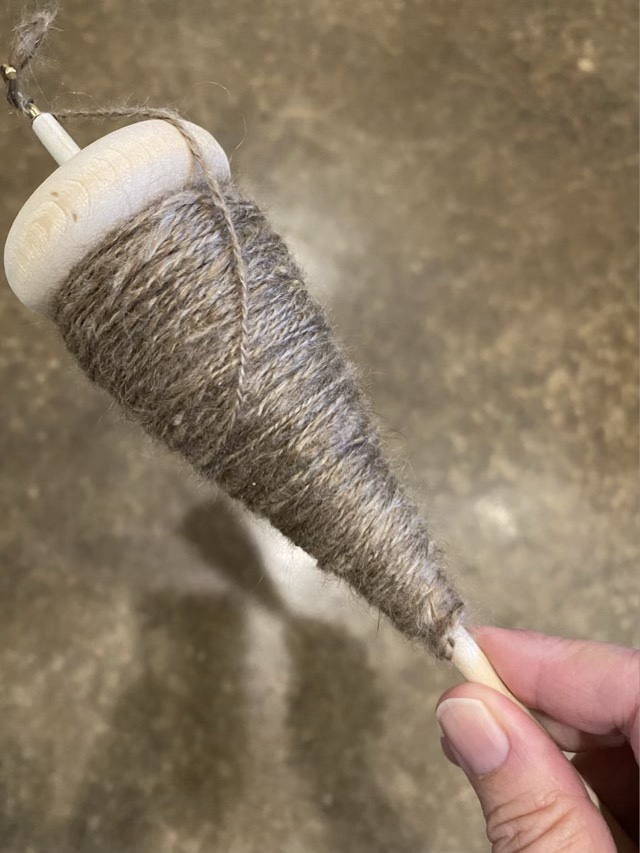
I’ve spun up my mohair from Rutabega the Angora goat, then plied it using a drop spindle.

2-ply hand-spun un-dyed mohair

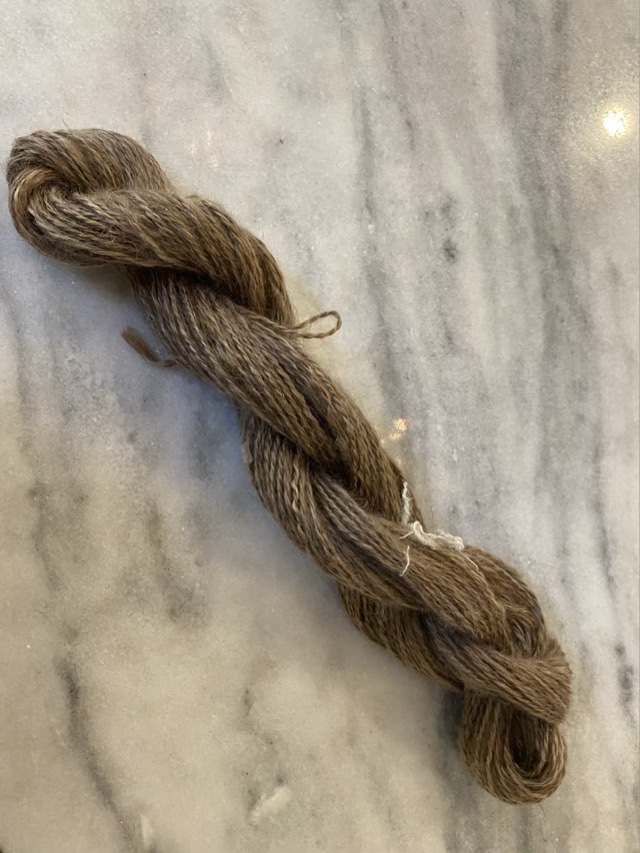
I transferred the yarn to my PVC niddy noddy, wet it down and let it dry. I then had a hank of spun mohair.

2-ply mohair hank

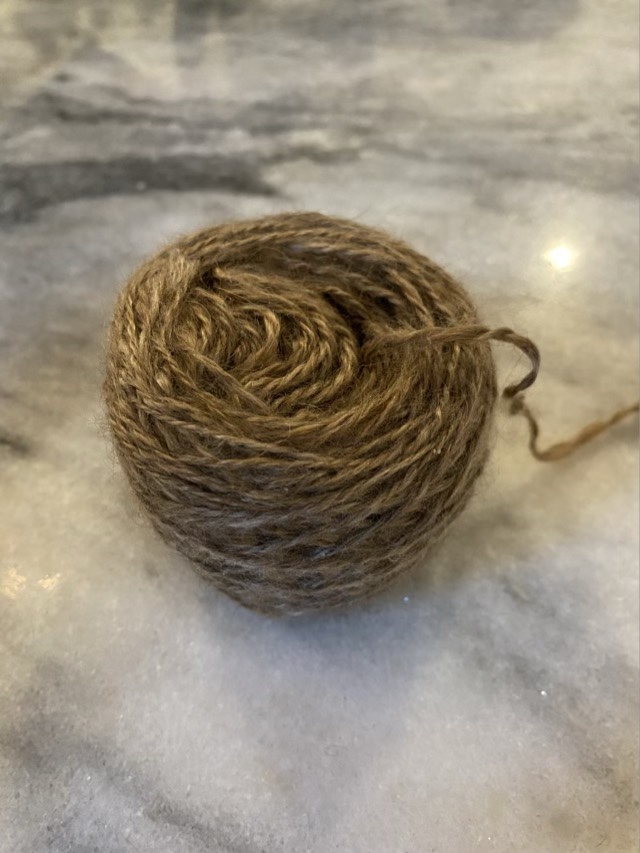
Since working from a hank is a recipe for tangles unless you keep it stretched out on a swift, I then used my swift and ball winder to make a yarn cake. The inside of my cake went askew; I think I might have had too much tension as I wound.

2-ply mohair yarn cake

I am now ready to make swatches for my fiber page!

My First Fiber Fest

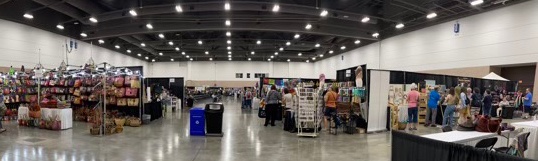
“What?” you say, “you have never been to a fiber festival? How is that possible?” Well, you might not say it, but the woman in the elevator did. I must say that she said it after cheering that it was my first visit. Yes, I have been working with yarn for around 40 years, but I only took up spinning just before the pandemic, and during the pandemic all the festivals were shut down. I have been searching out fibers to spin locally and online. Walking into a convention center with a huge room full of fiber was mind blowing.

Panoramic photo of the convention area, which really does not give justice to the amount of fiber that was really there

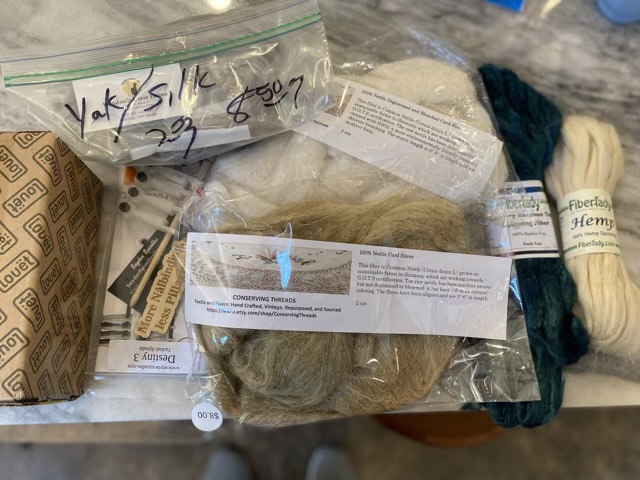
Probably 90% of the fibers at the festival were already spun and dyed, ready for the eager knitters that lined the aisles. But there were pockets of un-spun fiber in various preparations. I found bamboo, hemp, nettle, and yak (!) spinning fibers, all of which I have not yet attempted to spin. There were a few raw fleeces as well: mohair and Rambouillet. I caved on some white mohair (it was the first time the seller was offering raw fleece and it looked like she did a nice job skirting and labeling). Rambouillet is now on my wish list; I couldn’t quite face a whole fleece right now, but the processed yarn and blankets were divine.

Fiber Festival haul

I did find myself some wool combs, which appeared to be the last pair in the room. I also found an intriguing Turkish spindle 3D printed from flexible filament (more on those another day). The booths did cater mostly to the knitter, but there was representation for weavers, crocheters, felters, spinners, and there were even some nålbinding needles! After about an hour and a half, my brain shut down. It appears that I will have to work up my festival stamina!

The convention center was yarn bombed, which is fabulous

Winding

I filled my first spindle of Clun Forest wool while walking the neighborhood. Rather than ball up the singles, or put them on the niddy noddy just yet, I used my vintage spinning wheel to wind the yarn onto a bobbin. I used the hooks at first, but was not pleased with the way the yarn kinked between sections, and I was afraid the flyer was putting in more twist.

Single ply yarn wound from spindle to bobbin using hooks

I transferred the yarn to a different bobbin, and this time I locked down the flyer so it couldn’t add twist, and just let the wheel spin the bobbin. I didn’t use the hooks, but guided the yarn onto the bobbin with my hand position to make a smooth transition all along the bobbin.

Transferring yarn from bobbin to bobbin

The resulting wrap is much more pleasing to look at. My plan it to add on the singles as I spin them, then ply everything using the wheel.

Smoothly wound singles yarn

Building a fiber study page

As I spin through as many different fibers as I can get my hands on, I am creating a scrapbook page for each to build a reference book. This is how I build my pages.

Materials:

  • Two 12”x12” sheets of card stock
  • One 8.5”x11” sheet of card stock
  • One 2.5”x12” rectangle of end paper (fancy printed paper with some strength)
  • One 8 3/4” x 11 1/4” heat-sealed laminating pouch (sealed empty)
  • One 3”x5” index card
  • Two 3/16” inside diameter metal grommets
  • Paper brads
  • Hot glue
  • Thread

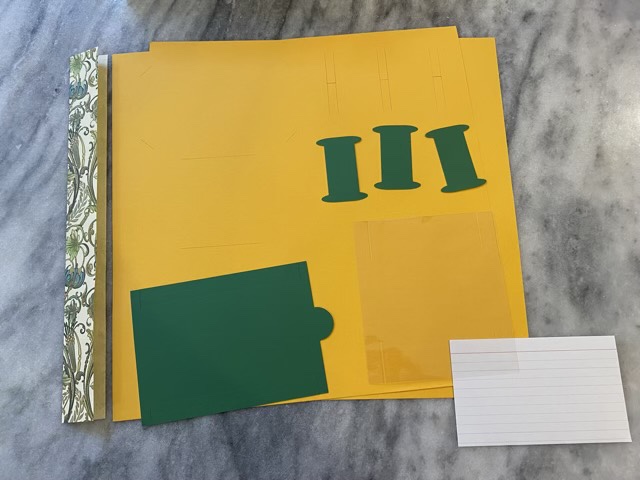
I use a Cricut electric cutter to score and cut my cardstock, but similar preparations can be done by hand with a craft knife. I make a 1/4” drawer, three “spools” from coordinating cardstock, a drawer sleeve from heat-sealed laminate, and cut one sheet of cardstock with slots to hold each element. Paper brads will hold the swatches onto the page. The Cricut project is available here: https://design.cricut.com/landing/project-detail/630799ca21506d2c4716a4c2

Cut, scored, and folded pieces ready for assembly
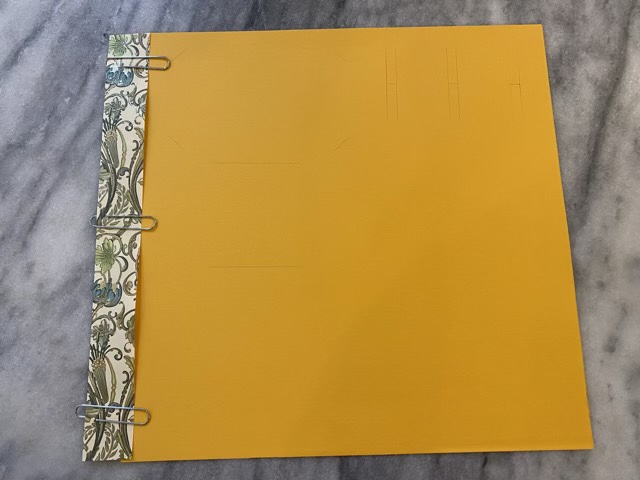
I use paper clips to align and hold the two large pieces of card stock and the folded end paper together with a 1/4” overlap. The back uncut sheet acts to protect the following page, and the end paper forms a spine to make the page large enough to fit in a standard photo book. Sewing, rather than gluing, provides a secure attachment for a longer length of time.
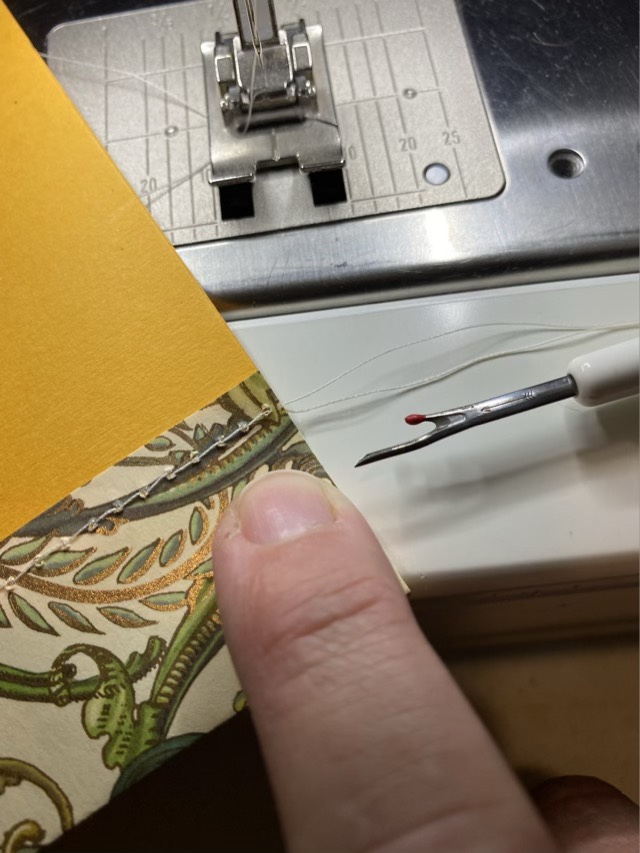
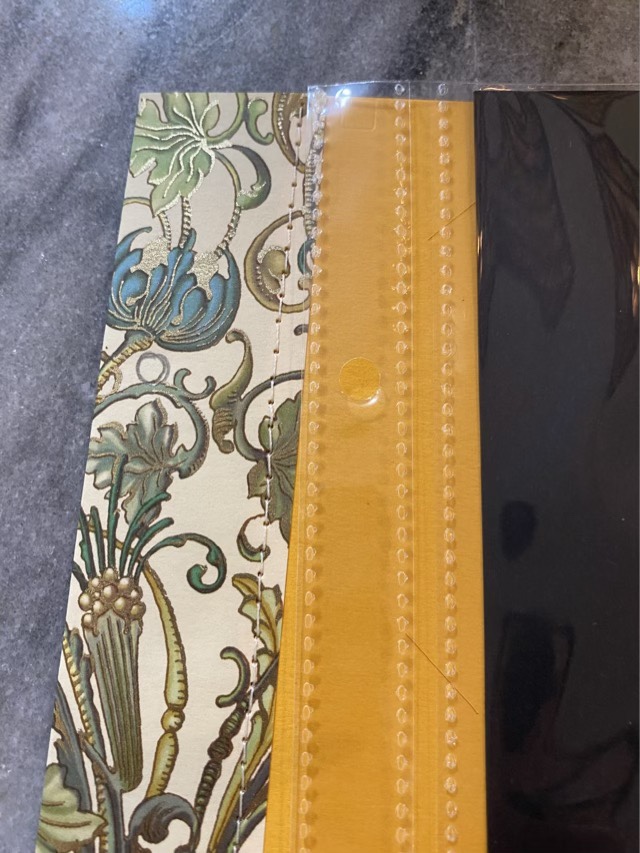
Using a straight stitch I sew the three layers of paper together.
I use a seam ripper to pull the threads to the inside of the layers.
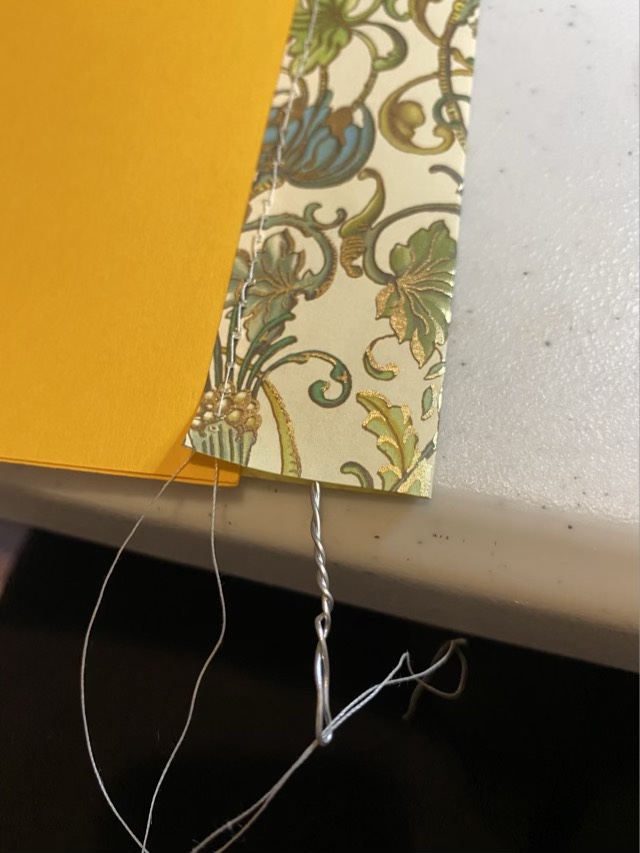
I knot the ends of the threads, then use a long piece of twisted wire to run the threads back inside the spine.
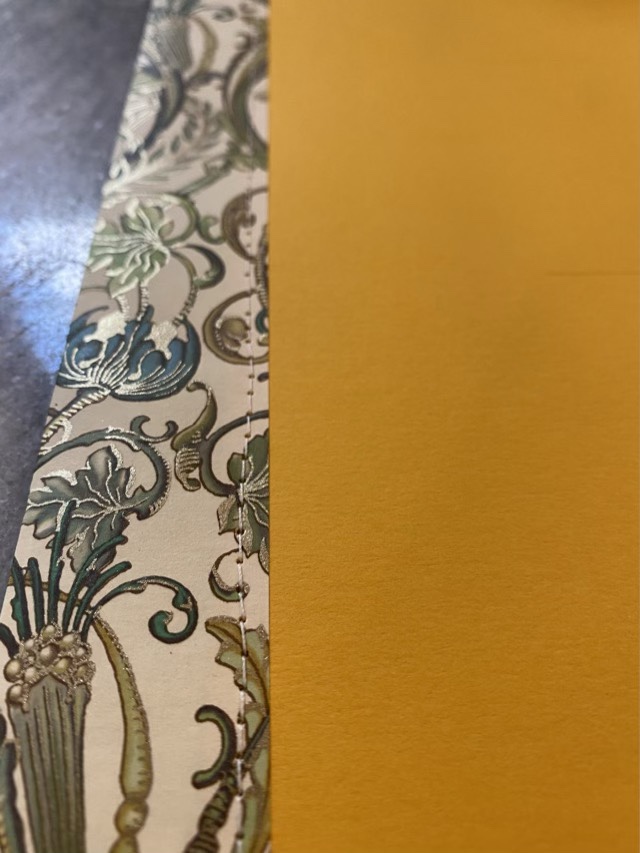
Finished seam.
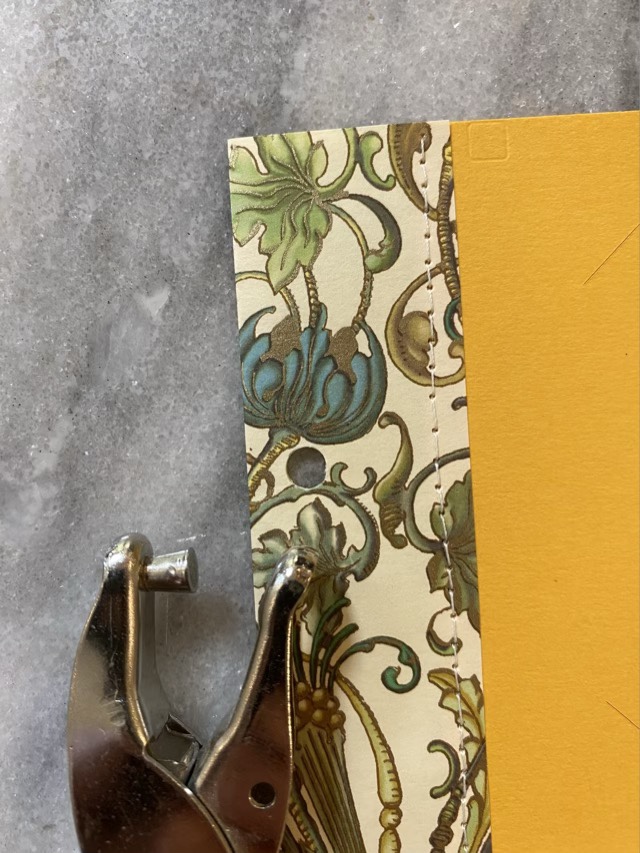
A page from the scrap books works well to mark where the holes should go on the spine.
I use a hole punch to cut the holes for the posts of my photo book.
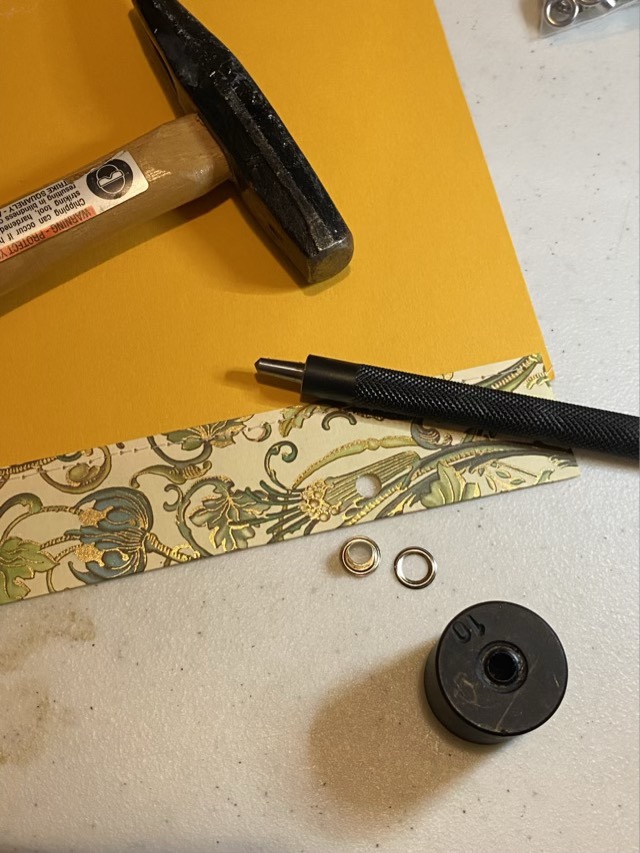
Two part metal grommets help reinforce the holes. These are easy to add with the right tools.
Set grommet.
A heat sealed laminate sheet is remarkably easy to fold. The drawer sleeve needs four creases to create a 1/4” high sleeve, then the tabs on the back fit into the slits on the card stock.
The folded card stock drawer benefits from the ridged hot glue to reinforce the sides. The drawer works without the adhesive, but is studier with it.
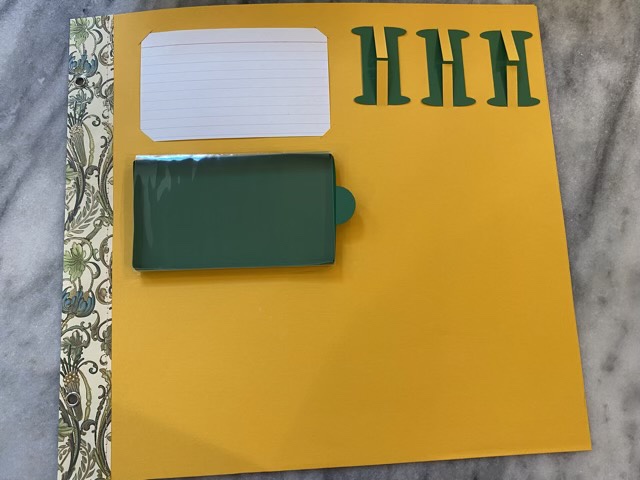
Assembled fiber study page. The spools are held with long tabs that can slide under the yarn once wrapped. Each spool has two slits one inch apart so the yarn’s wraps per inch is easy to see.
A second page with a different color scheme for a lighter colored yarn.

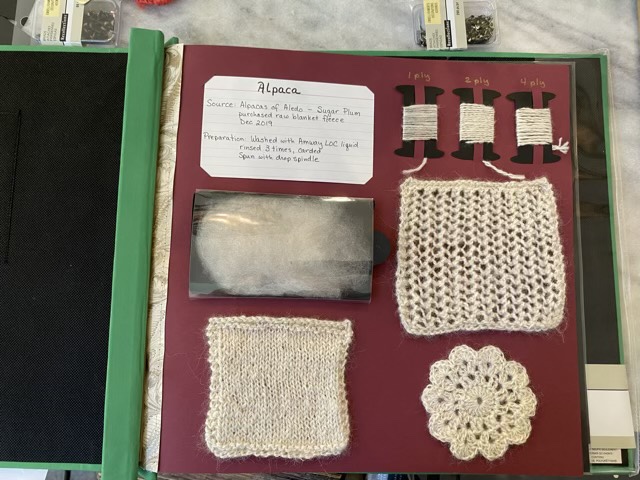
Descriptions of the yarn can go on the index card, unspun fiber can go in the drawer, spun yarn of different plies go on the spools, and knit, crochet, nålbinding, or weaving swatches can be attached with paper brads to the open areas.

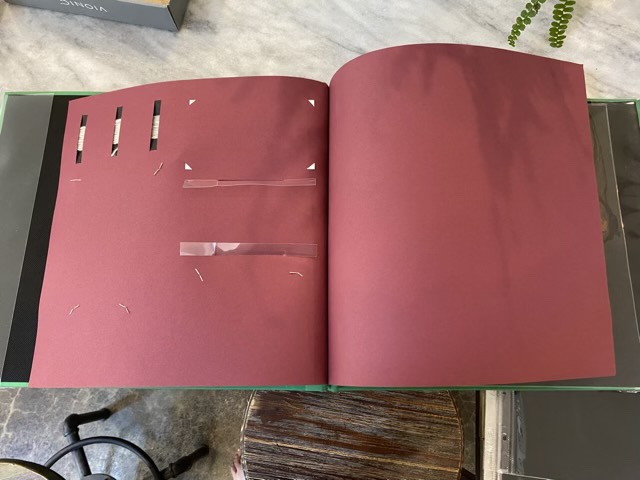
Back of a finished page showing the connections and the protective sheet.
Finished page with alpaca yarn installed in a scrapbook.