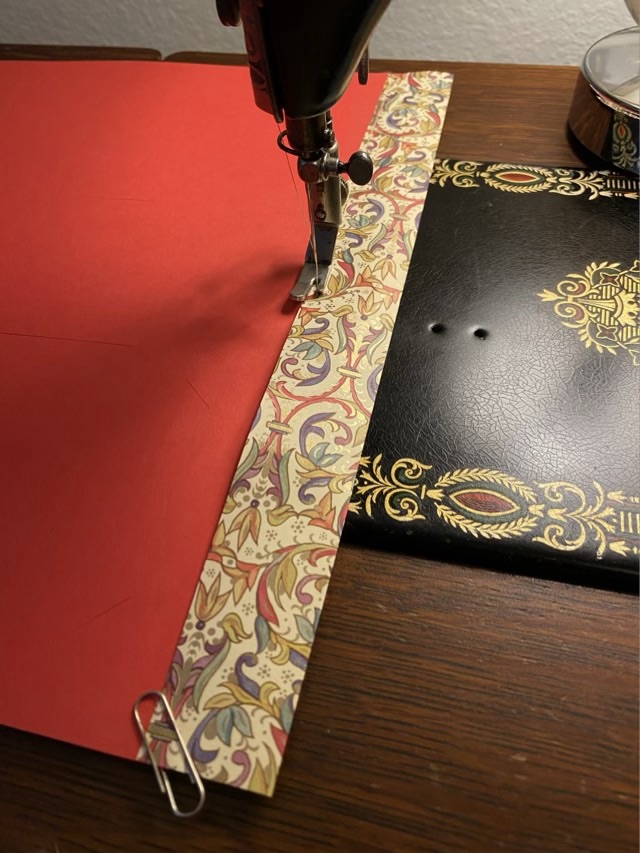
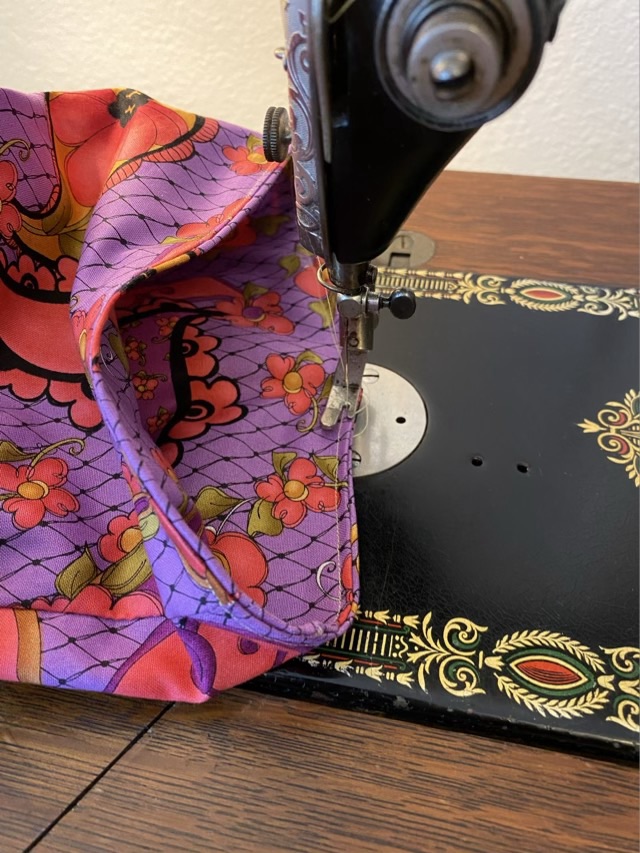
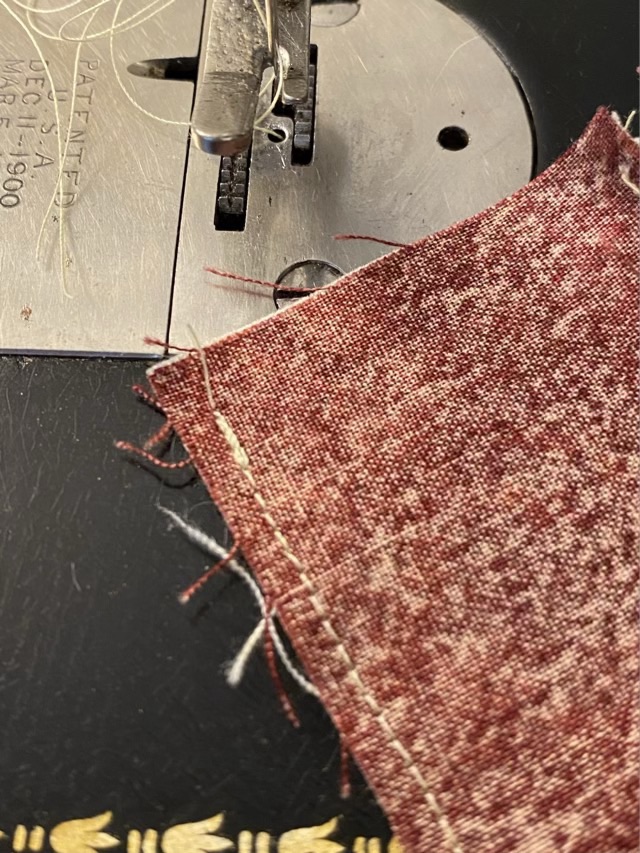
I recently learned another method for securing the start and end of a seam on a treadle sewing machine with no reverse. With this method, you make a few stitches, lift the foot, move the material to the beginning, and stitch over the first stitches.

This trick joins my bag with two other methods. There is the turn-the-whole-fabric way, where you turn the fabric 180 degrees around the needle in the down position, put the foot down, sew a few stitches, then plant the needle, lift the foot and turn the fabric back to the original position, lower the foot and keep sewing. Also there is the tiny stitch method, where the stitch length is set to near zero to start and end a seam, but lengthened in the middle. All three methods work well to make it harder for the stitches to pull out.
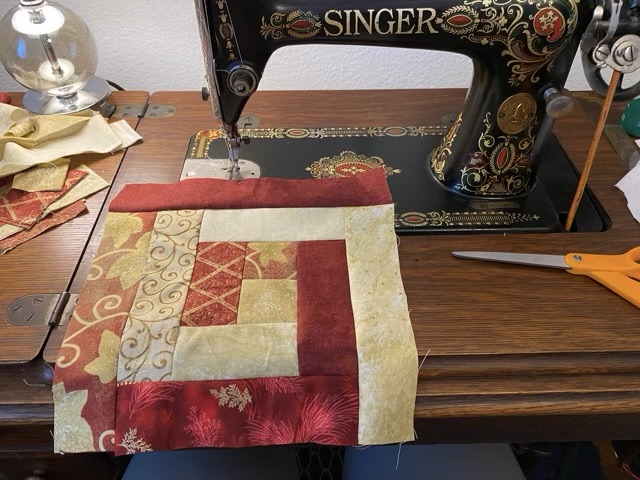
On more modern machines there is a reverse button that allows the sewing machine to stitch backwards. Treadling an antique machine backwards will at best break the thread, or worse, make a tangled mess of your bobbin.