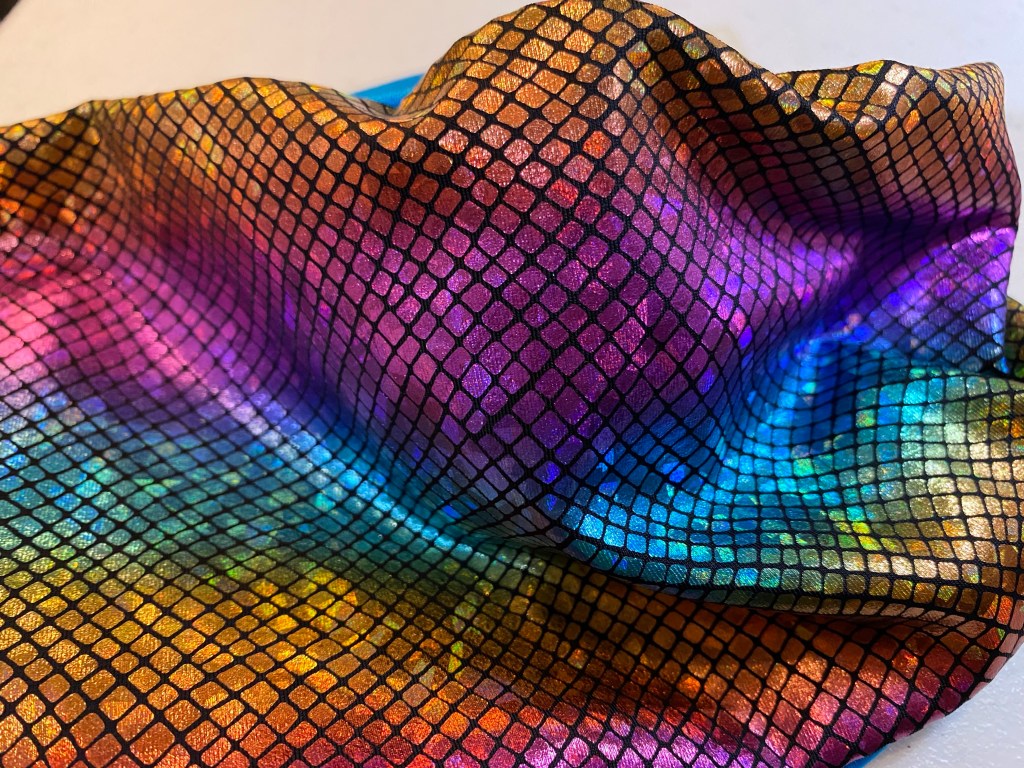
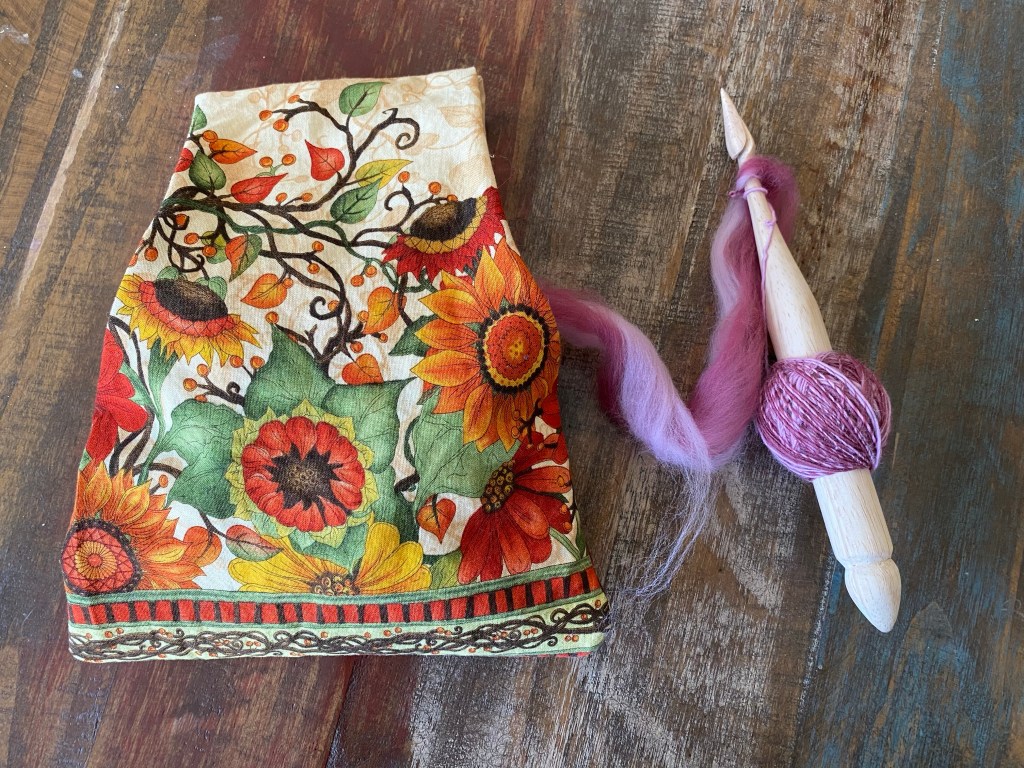
I have an ancient (probably vintage, possible antique, not ancient, but it has been handed down a few times) darning egg with a handle that sits in the bottom of my sewing box. I am making my youngest a new set of masks since she has grown and the old ones are getting a bit snug. She likes the gaiter style, but with a frame sewn in to make it easier to breathe. I use swim material because it dries quickly, and I double layer it. This time she requested material that was “pink and blue”, she is quite fond of the rainbow mermaid fabric I obtained! Because I didn’t want rainbow sparkles against her skin, I made the lining with plain blue fabric.
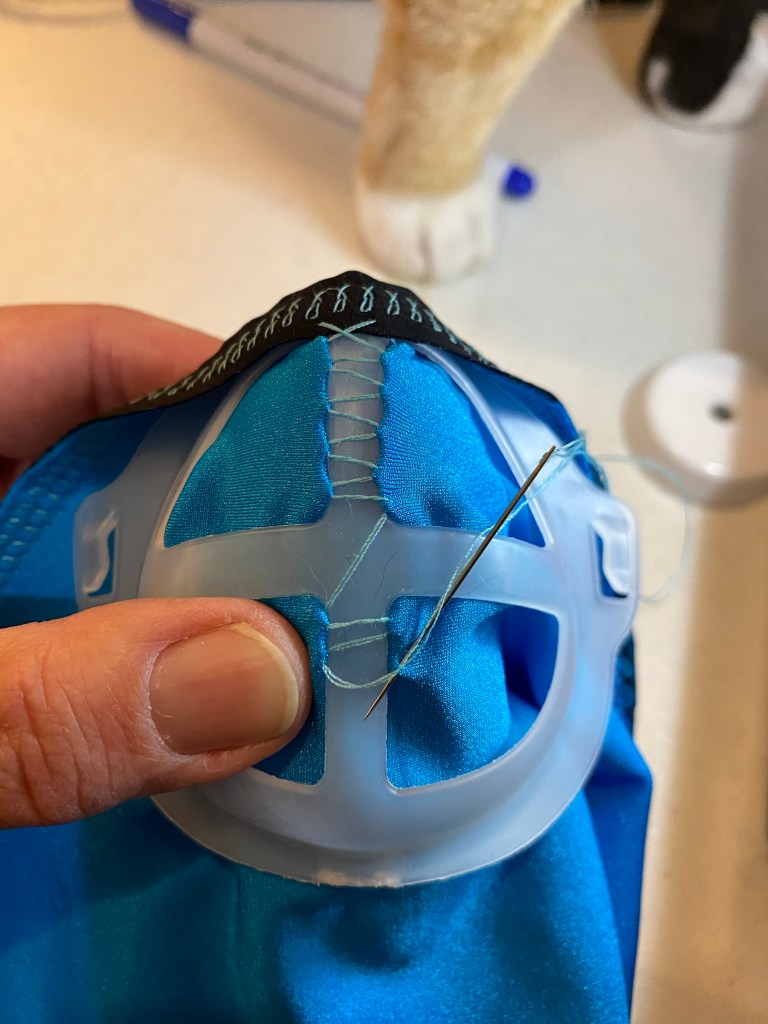
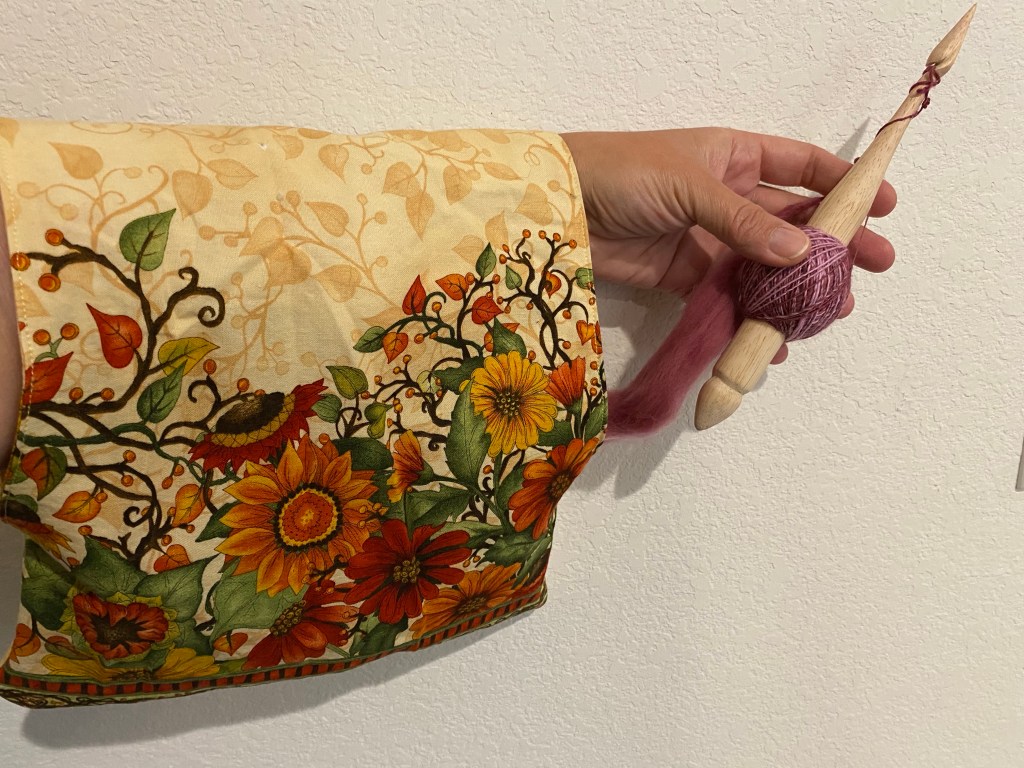
Here is where the darning egg comes in. Sewing the frame to the fabric is a bit tricky, but the smooth wooden tool fits nicely under the fabric and frame and makes it much easier to stitch. First I use the sewing machine with a jersey stitch to secure the top edge, then I hand sew in in the frame before machine sewing the bottom edge. I turn the mask right side out and sew the back seam.