Even I am not immune to project fear, which leads to bundles of yarn in various states of assembly moldering in a corner because I’m not sure what to do. My forever alpaca project has been that way for months (I started it over a year ago) because I had an inkling that I didn’t have enough to make a vest. I was right.
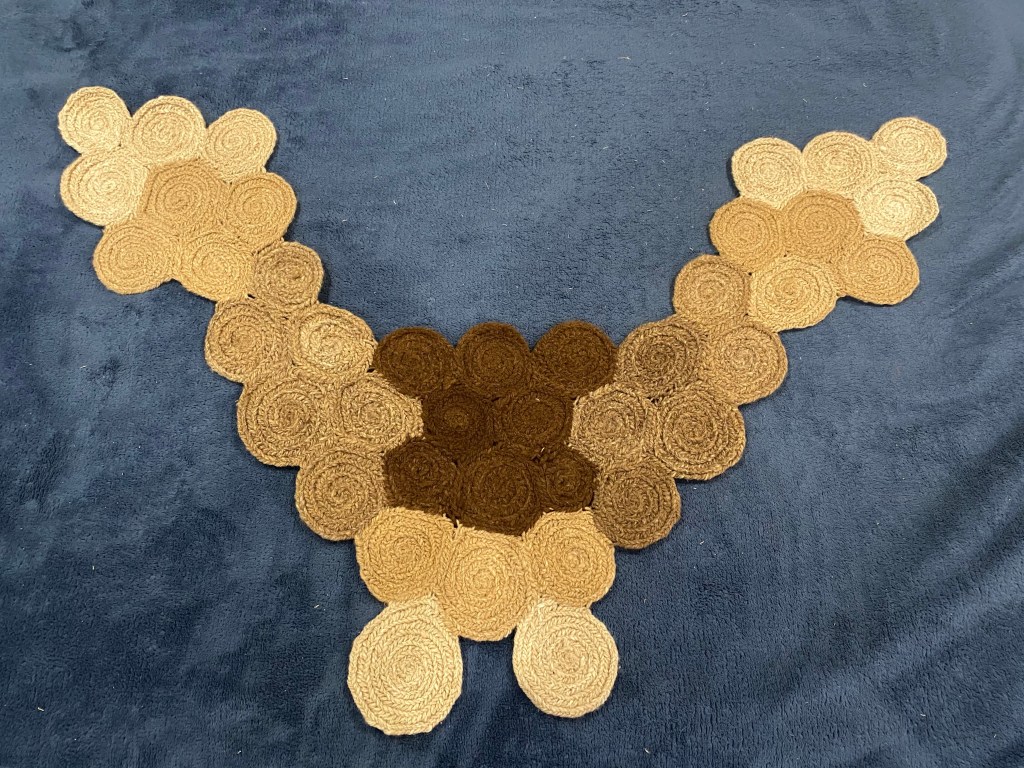
Nålbound spirals laid out on my favorite vest
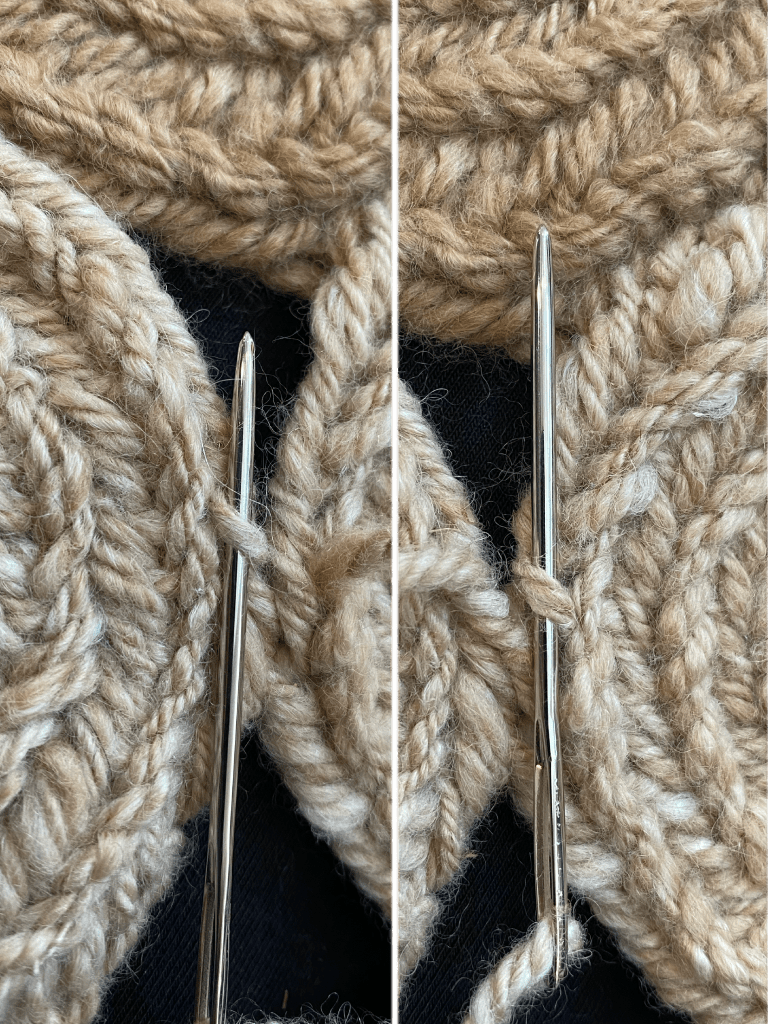
The idea was to lay out pieces on a vest that fit well, then sew the bits together to form a new vest. I’m not really wanting a bolo vest, and I spun all that fiber at one time, so I would be more consistent. I’m not sure I could spin it up the same now. So. Time for a new plan. I laid out the spirals in several different configurations, and when I had one I liked, took a picture and started sewing using the tails I left after nålbinding. To sew, I used a mattress type stitch, where the needle points the same direction for each stitch, just switching sides.
Two images showing stitching the circles together, picking up loops on the left and right respectively
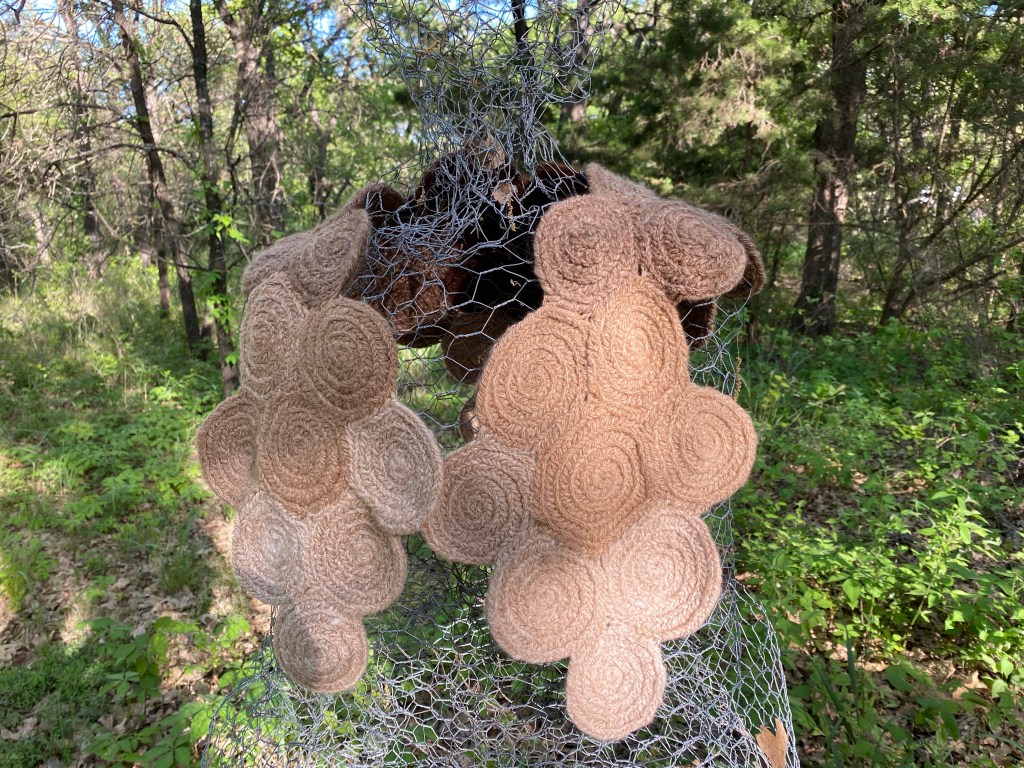
I was planning on a scarf, but when I did a test fit (as you do), I realized I could shape it more like a shawl or large collar.
Nålbound circles connectedBack of shawlFront of shawl
I also realized that I may still be able to turn it into a vest by adding a body section. Hmm.
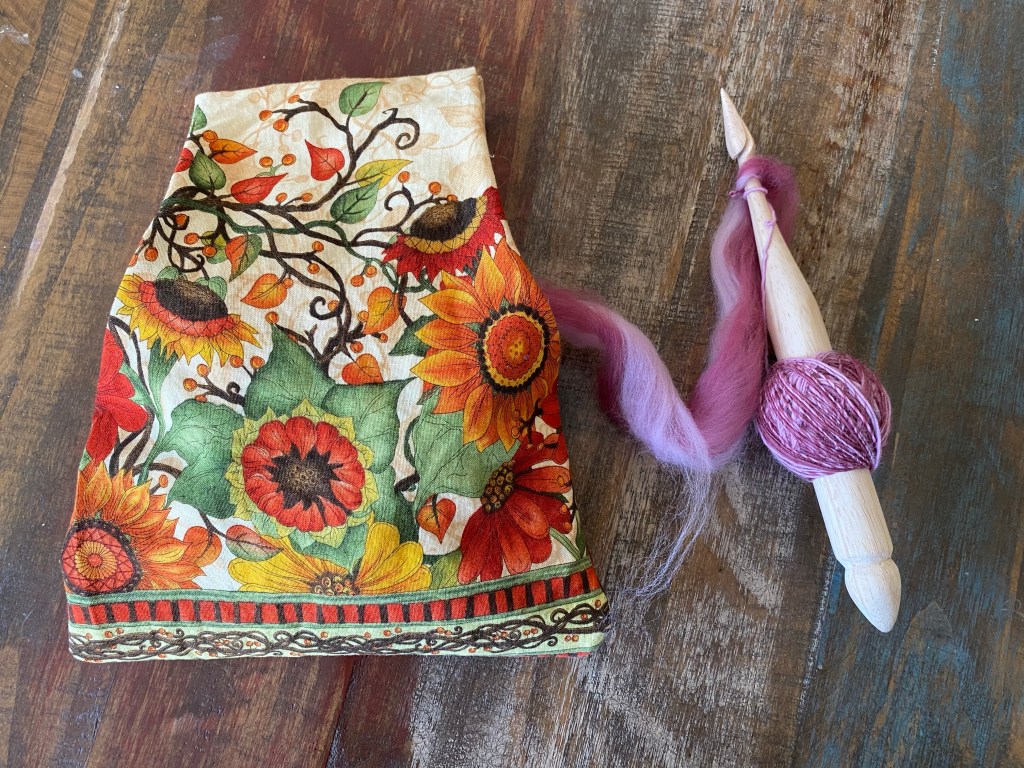
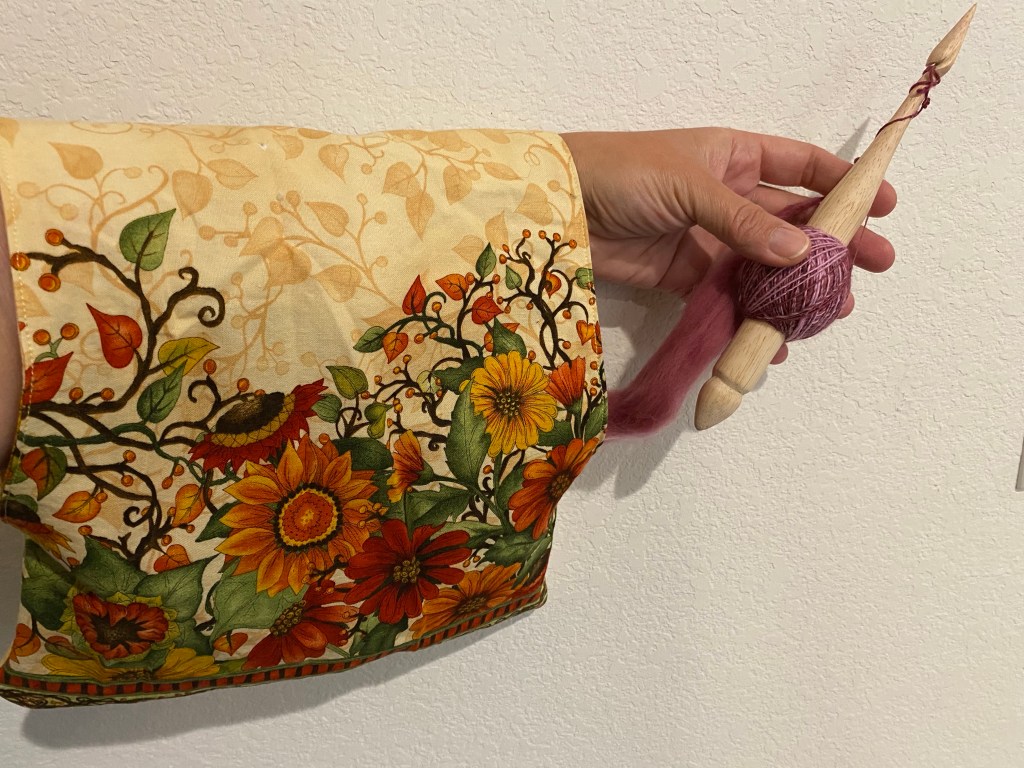
I have a small arm bag that I made to hold my crochet yarn while I work. It hangs on my arm, so my supplies are close and don’t get tangled. I thought I would try the bag for fiber management for spinning, but the bag is full of a current crochet project, so I made a new one! This is my favorite fabric. When I found it in the store years ago I bought the whole bolt. I have been slowly working through it for various projects, and each time I marvel at the colors and the composition. Since it has a thick border and the rest is a more subtle background vine, it works perfectly for a lined bag.
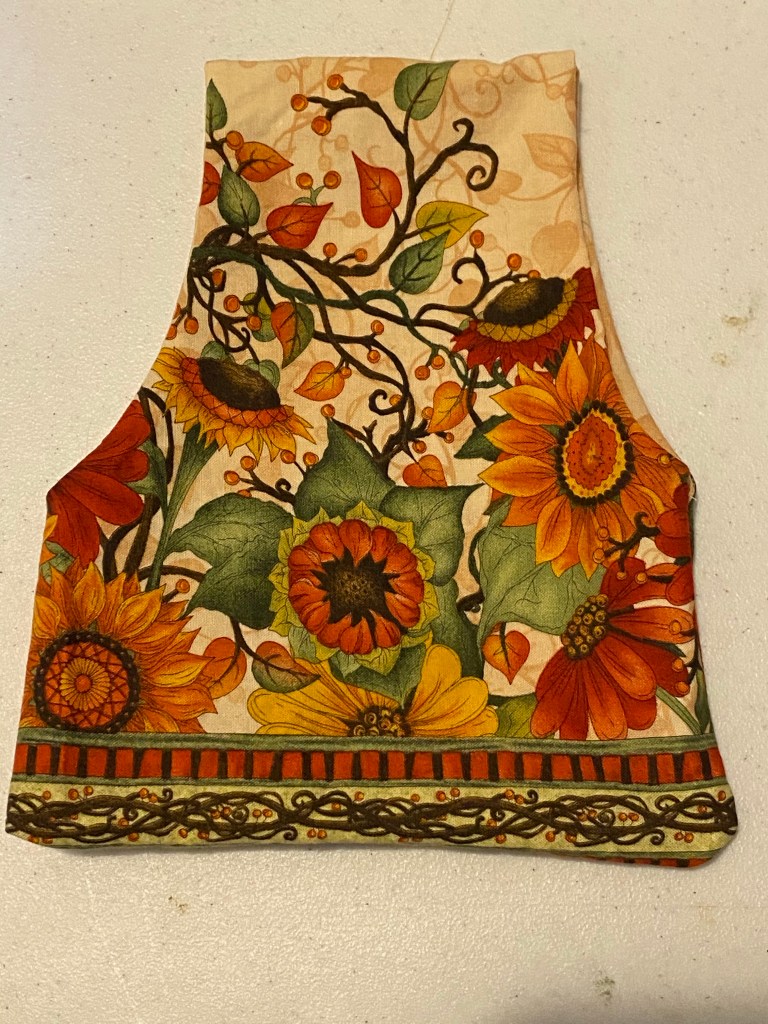
Small arm bag to hold fiber for drop spindle spinning
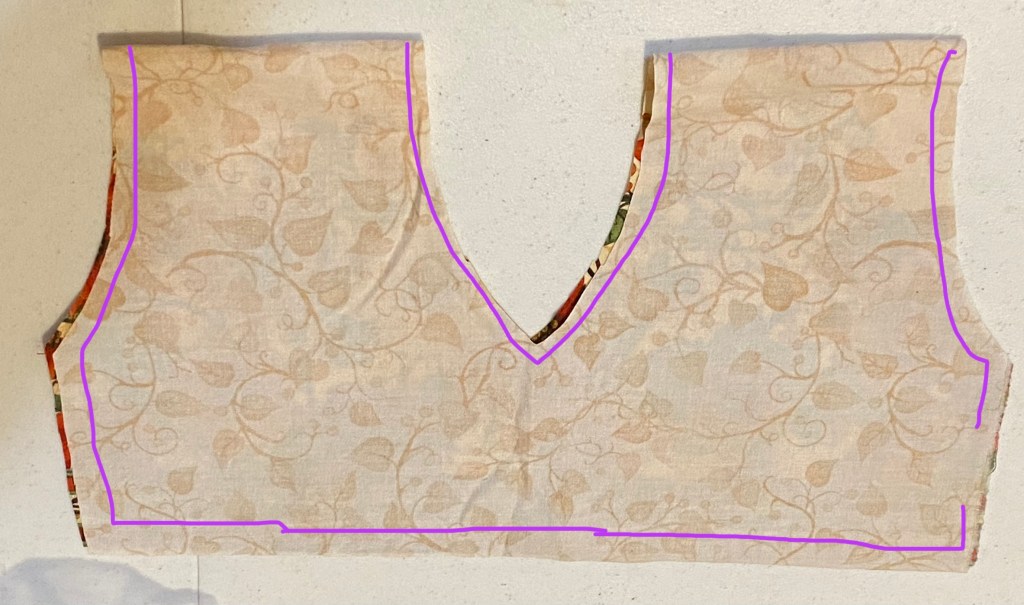
I started by folding my fabric to the height I wanted for the bag plus seam allowance (about 11”). With the folded fabric cut for height, I then cut the width double at 17” (to avoid one seam). I folded this piece in half and cut shallow arcs from about two thirds down, to the top, which makes a wide strap to hang on my forearm. I opened the side fold, then with right sides together sewed along the cut edges, leaving a space in one side to turn it right side out.
Purple lines indicate sewing path, with gap so the fabric can be turned right side out
I clipped corners and turned the piece right side out, then with the patterned sides together, sewed the bottom three sides and the top, leaving the arcs open. Another inside out and the bag is serviceable! A nice touch is to over sew around the arcs to keep the seam neat.
Serviceable small arm bagA larger version of the arm bag to hold more fiber! Shown in use.
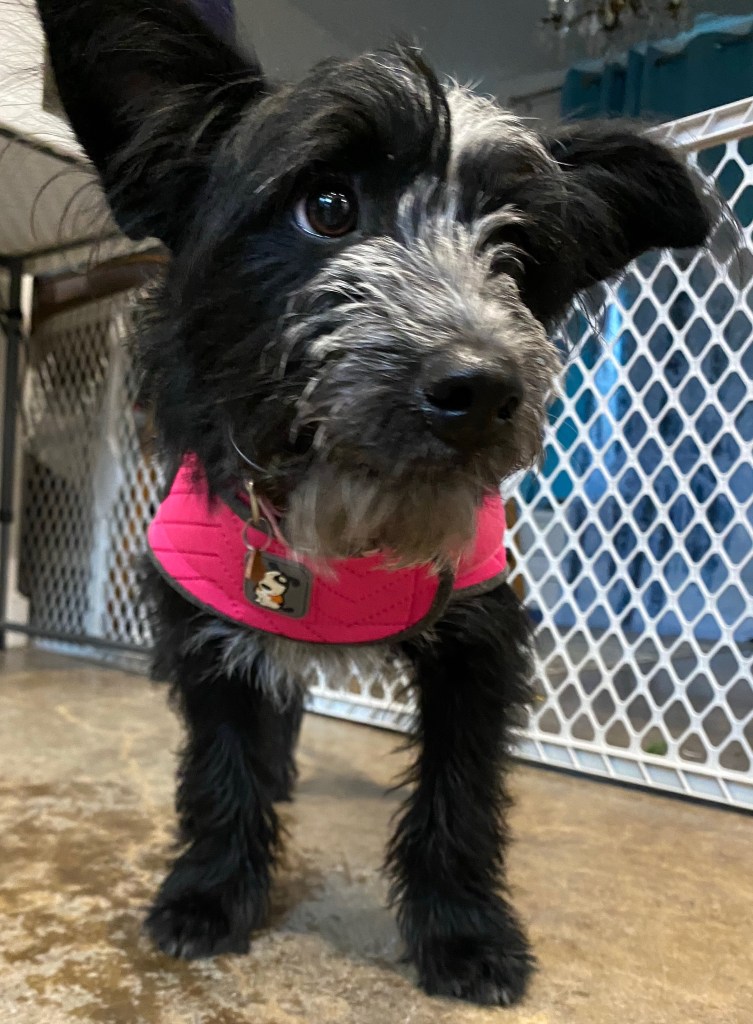
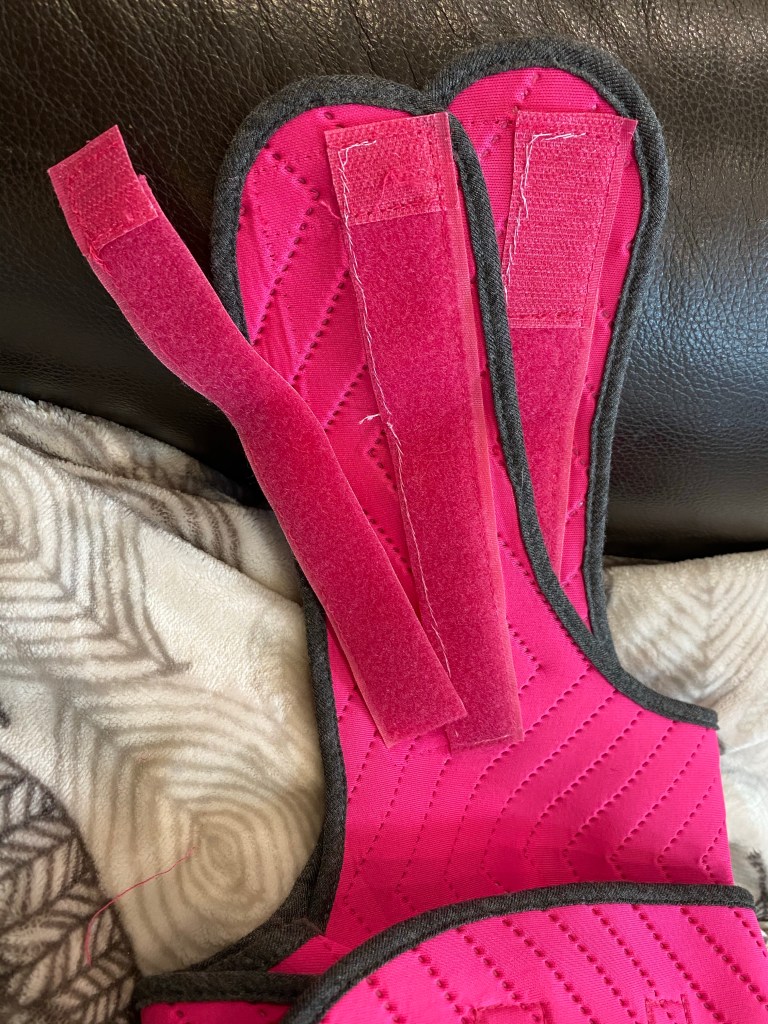
Little Missy’s isn’t quite comfortable in her Thunder shirt. The front strap has a very wide band of hook and loop that is quite stiff and when she is wearing it, she doesn’t like to lay down. So I unpicked half the stitches and cut the tape in half, then stitched it back together. I hand stitched it because it was a good excuse to sit and watch a show. First fitting after the sewing adjustment went well. We are going super slow on reintroducing car rides and other scary things. I’m taking an online course on dog reactivity, which has so much information that would have been good to know when we first had her, but at least I am learning now.
Missy in her Thunder shirt, pre-adjustment, showing how wide the chest strap is on herHook and loop tape reduced by half to increase comfort
What? I’m advocating the return of the mini skirt? That is very unlike me, what is going on?
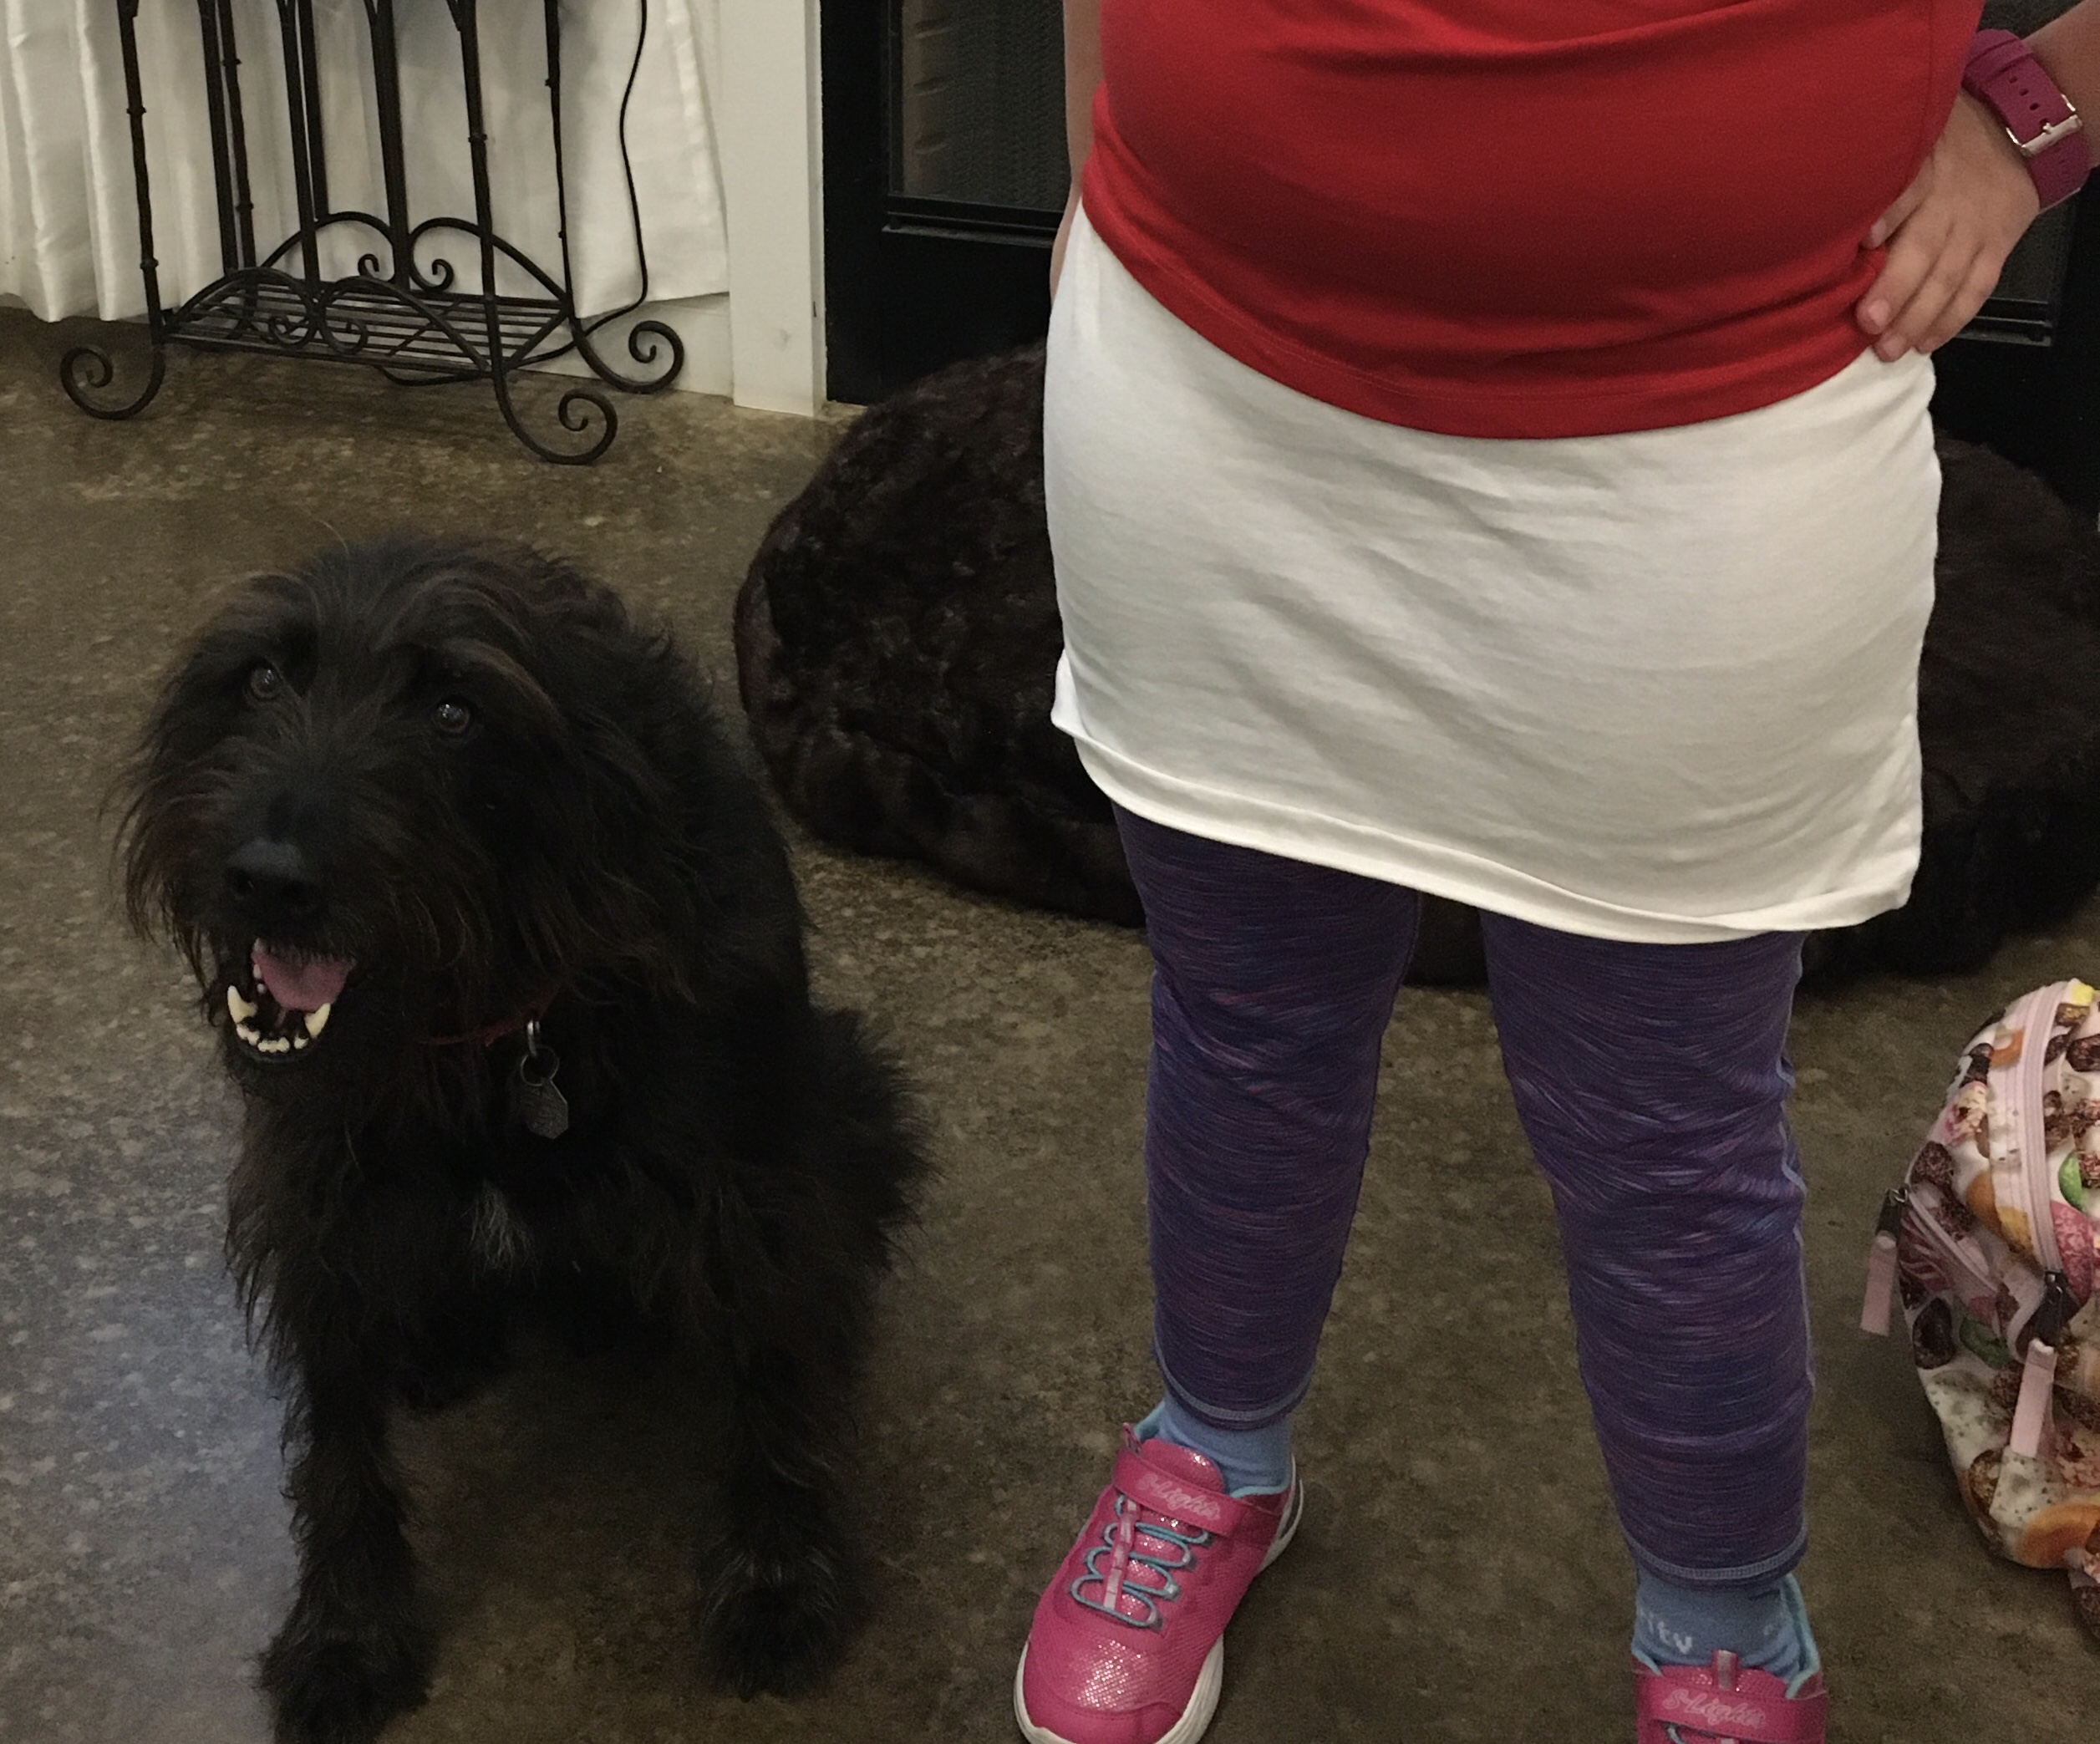
It is the legging craze. So comfy, with bright colors, no zippers or buttons, easy on and off. Leggings are a great option for my very flexible youngest, who struggles with tight jean buttons. But schools are not keen on leggings and t-shirts (and there are so many t-shirts with great messages!) So here is my solution: the mini skirt. In particular, a knit skirt made from material that flexes like leggings but covers past the fingertips like a tunic or dress.
The skirt my youngest is modeling (she insisted our dog be in the picture, and he is so cute) is made from the bottom of a t-shirt. Following the rules and repurposing? Win win. I sewed some soft elastic at the top to help it stay on. I am going to make her some in every color! She gets to wear her favorite leggings and t-shirts, and we follow the rules. So, I’m advocating a mini skirt return… with leggings.
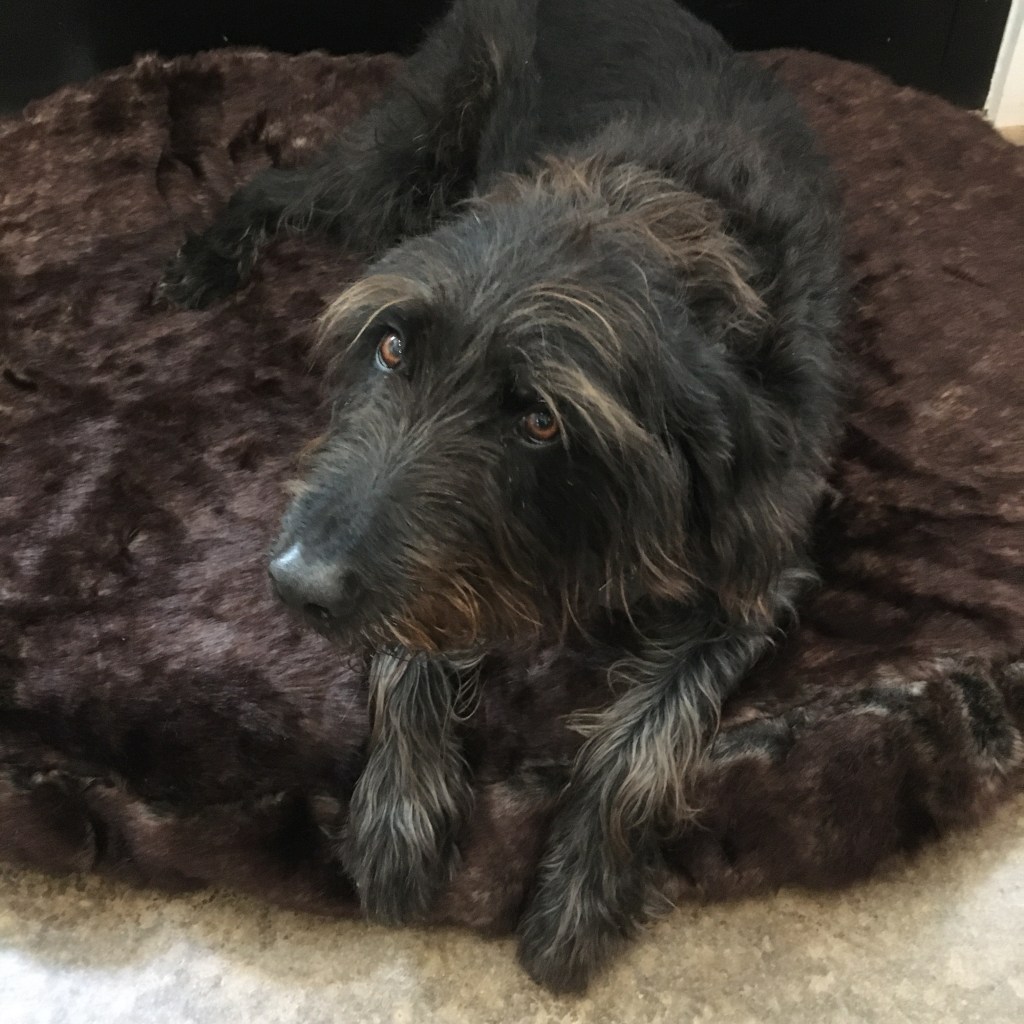
My puppy is getting old. He will be 7 this summer and it will be time to switch to senior food. Wha? I thought his middle aged bones might need a cushy bed. All previous cushy beds died a torn death, so he sleeps on a pile of blankets with no hems (he has a thing against hems and nibbles them off). He will still have blankets in his kennel, but when laying out in the living room with the family, I thought he needed something better than the concrete floor. We have tried the “chew proof” dog beds, but the thick canvas like material made too much noise for him (yes, I have prissy dog). I also didn’t want to spend much in case he rejected it. What I found on sale had a white fluffy top. All the fluffy soft quiet tops of reasonable price were white. I have a black dog. It only took a week to see the dog hair.
Black dog and white beds don’t mix well
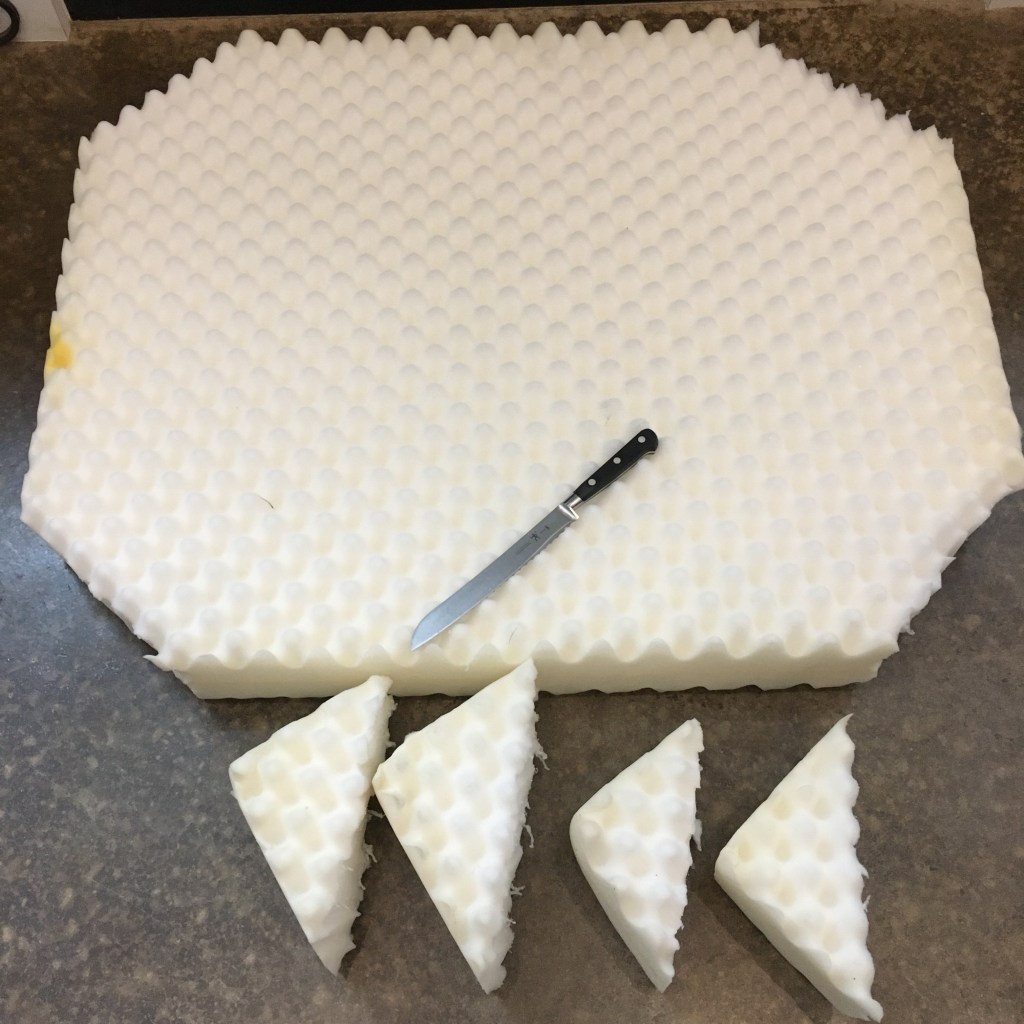
The good news is he likes it. So since he likes it, what do I do about that no longer white top? Recover it, of course. I found some beautiful fake fur fabric at the hobby store, and purchased some less expensive fleece for the bottom. Sewing square corners is not my favorite activity, so I trimmed the corners of the cushion (which is just two layers of egg crate foam glued together). Scissors couldn’t handle the thick foam, but a serrated knife slid through easily.
Trimmed corners on dog bed foam
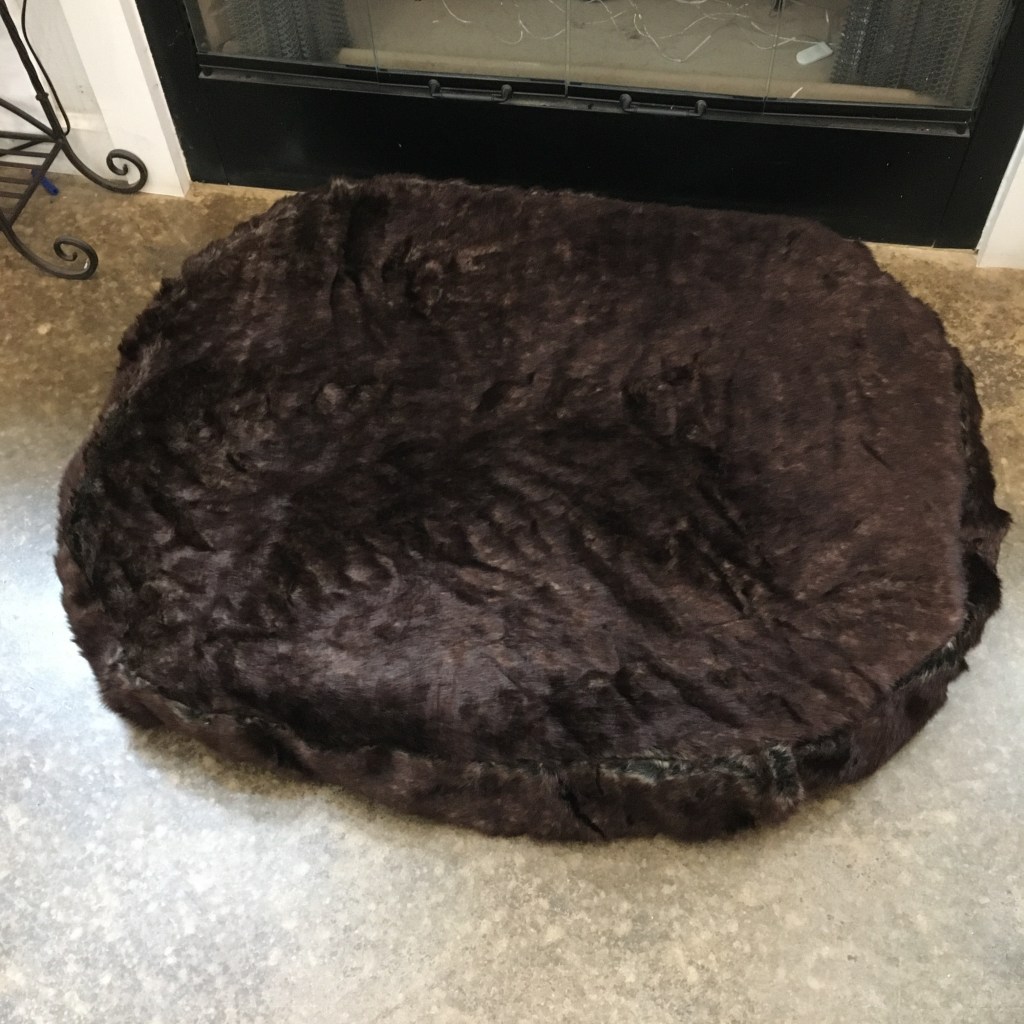
I also literally ripped out the zipper from the old cover and reused it for the new cover because I couldn’t find a zipper longer than 36” at the store. I did pick the stitches on the end of the zipper, but then it ripped out quite nicely (and much faster than using the seam ripper the whole length, ugh). I cut an oval out of the fake fur, and a matching oval out of the fleece, then cut strips for the sides. Sewing fake fur is a tricky business as the thick fur slides and doesn’t like to line up, but I finished sewing it and put it in the foam.
Recovered dog bed
I measured for 1” seams, but ended up with an average 1/2” seam, so the fit of the cover is loose. The fur is forgiving, though, so I think it still looks good. Not neat and crisp, but homey and comfy, which fits our style. And I spent less overall than the high end beds at the store. Phew!
He likes the bed, but doesn’t understand why I am taking a picture