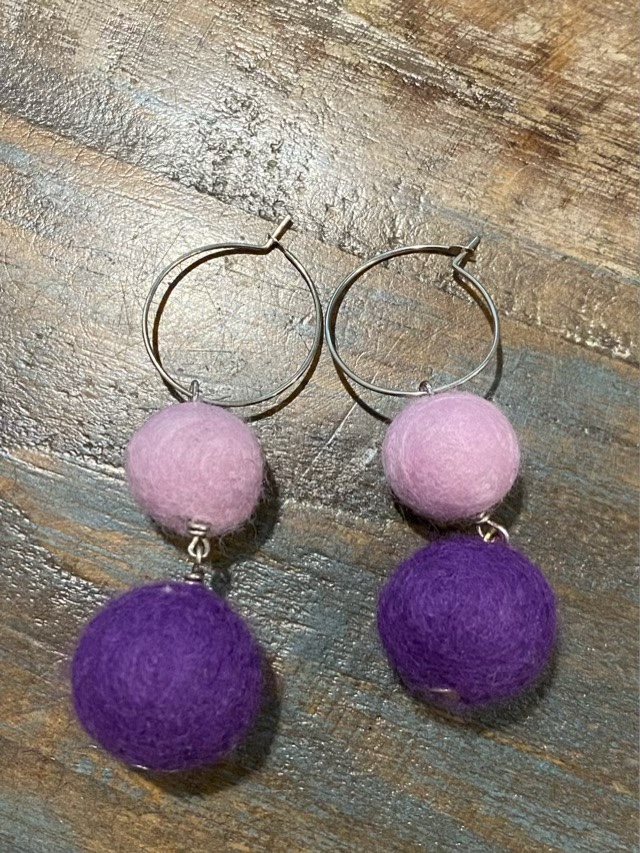
I put together a 60s themed outfit with a nod to the fiber arts. I crocheted a duster vest and flower garland, wove a band and added bell sleeves to a tie-dyed t-shirt (I did not dye the shirt, dye and I are still not on speaking terms), and assembled some felted wool ball earrings! (My mom made and gave me the felted beads.)

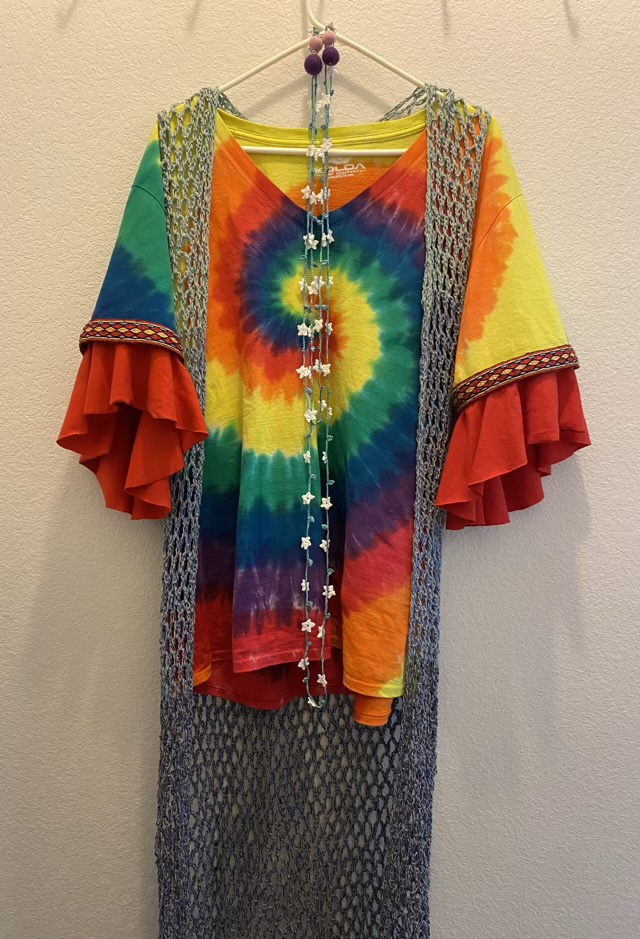
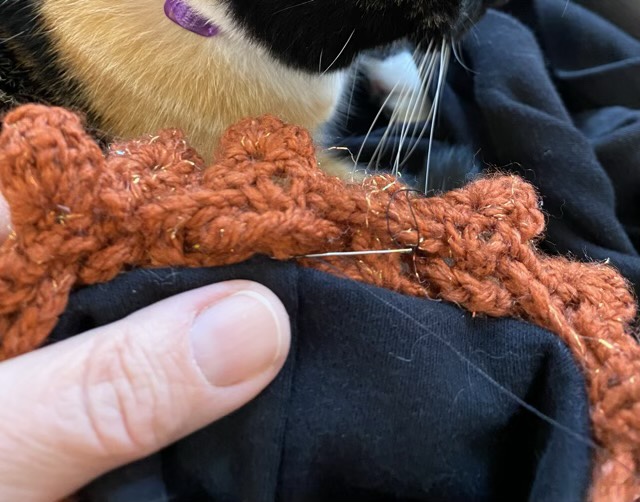
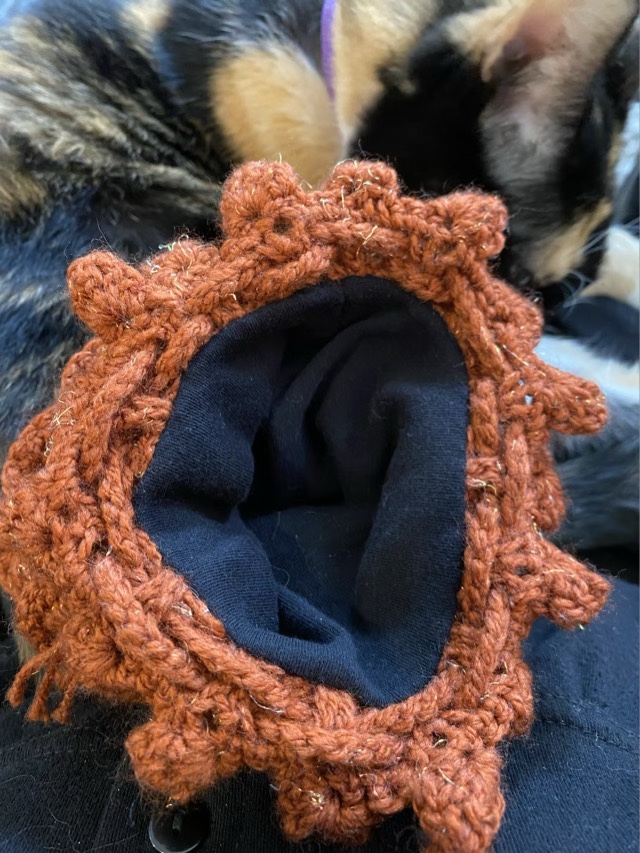
When I do bell sleeves next, I will make them longer and without the off-set center hole. These look great on the hanger, but were awkward when worn, except when doing jazz hands, then they worked. Since I can’t do jazz hands all the time (although that would be quite the arm workout), I picked out the seams for the added sleeves after the debut. I can see peasant blouses with woven trim and bell sleeves on my crafting horizon.