Twine as you go

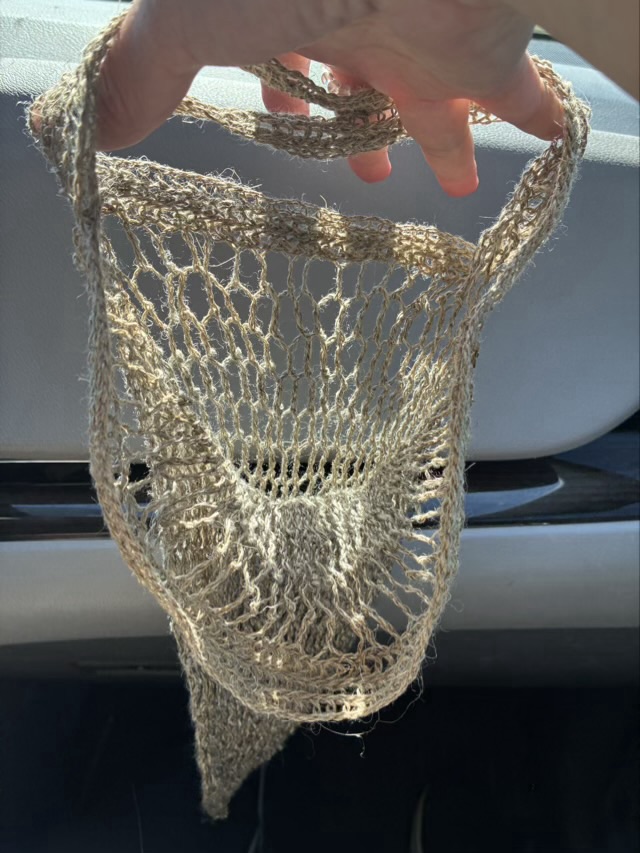
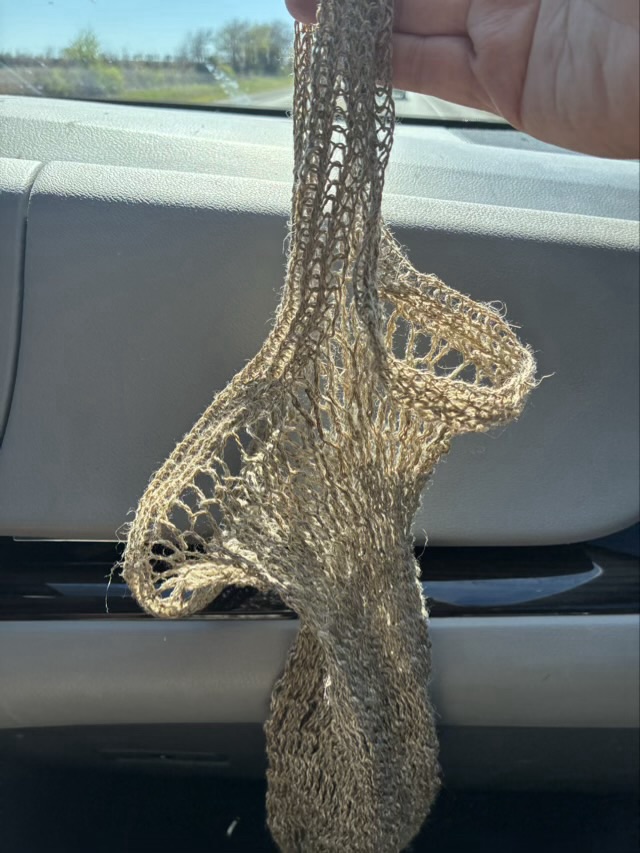
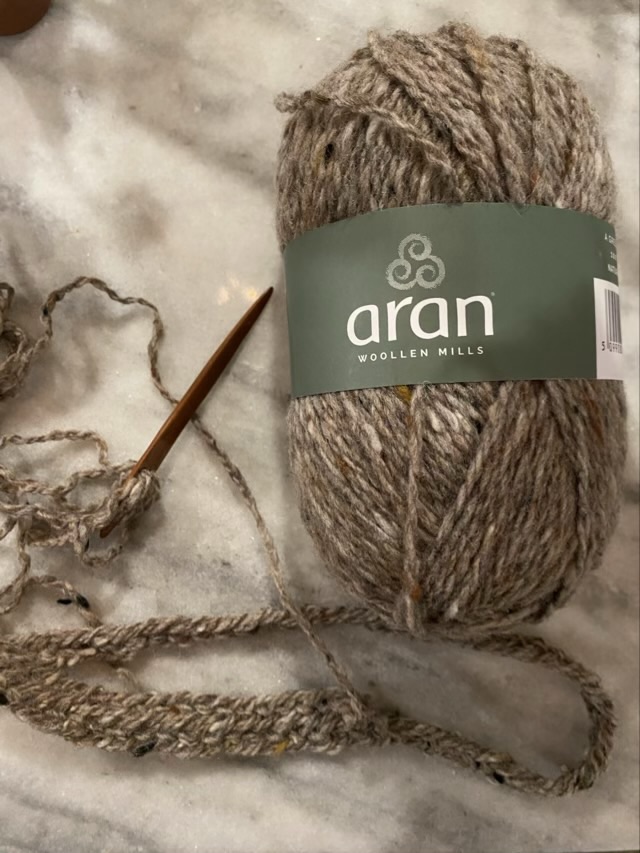
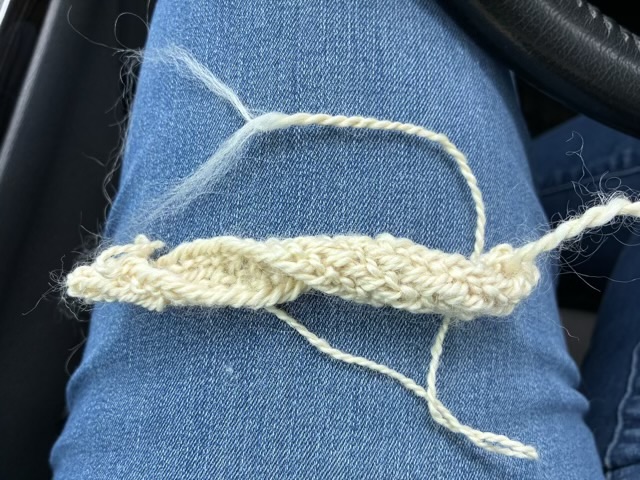
I’ve been twining with plant bast fibers (the long ones from the stems of plants), and wondered if I could twine long wool. I selected some Teeswater from my stash that has a staple length around 5-8 inches, grabbed a sponge and a spray bottle of water, and started twining. There was a bumpy learning curve, especially since I decided to learn to twine left handed to get an opposite twist. I wanted an S twist direction because my current favorite nålbinding stitch has a bias Z twist, and I thought the opposite twist yarn would help. It didn’t really.

Photo description: twined Teeswater wool and the beginnings of a nålbound pouch sitting on my jeans in the car while waiting in the pickup line

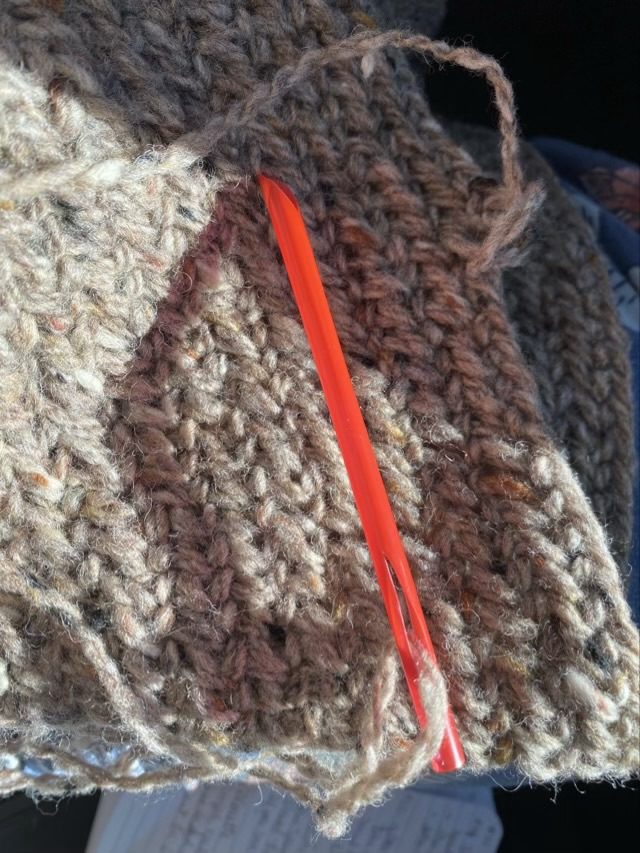
As I write this post, I’m wondering if the twist in my work is the stitch, or the method of construction I’m attempting. I’m working in the round, which is typical for nålbinding, but I’m working around a long base chain, which is a little different. I’ll keep on and see if things even out, either as I go, or after I block the finished work.

The exciting part of this project is there are no joins in the yarn, rather, the yarn is created as I go.

Antler nål

Awhile back I rough shaped several needles for nålbinding from deer antler I purchased from a neighbor. I need a smaller diameter nål for a new project, so did the final shaping and polishing with progressive grits of sandpaper on one.

Photo description: nål made from deer antler, approximately 7” long with curve and two holes for yarn

To make the nål I used a bandsaw to split the antler into narrow sections, then used a band sander to shape. The holes were drilled with a drill press. To get the elongated oval hole, I drilled two circular holes next to each other and then used the drill bit to mostly remove the remaining points. To finish, I shaped it using 120 grit sandpaper, then refined with 320 and finished with 400 grit sandpaper. I tested the smoothness of the holes and sides by running it through a wad of unspun wool.

I thought I counted

I finished nålbinding handles onto my loop-and-twist linen string bag.

Photo description: loop-and-twist bag made from twined flax and finished with nålbound handles

I thought I followed the pull strings that I installed originally, which split the top loops evenly. Hm. No. Not sure what happened, but the second handle had many more loops than the first.

Photo description: side view of the same bag showing the uneven split

The handles didn’t really work out like what was in my head either. The two handles work better as one handle, with access to contents from the sides. I actually think this would be lovely to hold my onions and garlic in the pantry. So while it didn’t fit my original vision, it still will have a use.

Note to my future self: a loose row of nålbinding as a top band, then two arced handles on the sides might work, like a tote bag.

Unexpected result

I wet down my recently nålbound hat with soap and water to do light fulling (locking wool fibers together in fabric) and was quite surprised when the stitches relaxed and the hat lengthened.

Photo description: nålbound hat before fulling and blocking
Photo description: same hat after lightly fulling and blocking

I intentionally made the hat larger because I know that wool hats shrink with wearing because of the natural fulling process from moisture and movement. I agitated the hat in the gentle soap and water to deliberately start the felting process, not expecting that much change with the Oslo stitch I used. I wanted the hat to be a slouch hat with folded brim, so really it came out remarkably well, serendipitously.

Nålbound hat in Aran Wool

I spent last week watching as much of the Sweet Adeline International Convention webcast live as I could. This gave my fingers long stretches of idle time, which I filled with nålbinding a hat. My parents-in-law recently visited Ireland, and brought me back some Aran wool, which is lovely to nålbind because it tears apart easily and felts back together well.

Photo description: starting a hat with a cherry wood nal, Aran wool, and an Oslo stitch

At one point I ran out the door for school pickup and dropped my nal somewhere. Waiting in the car I crafted one out of a straw by cutting one end at an angle and making two slits at the other end to hold the yarn. It worked, but wasn’t as pleasant as my wool polished cherry wood nal. I’m glad I found it when I returned home.

Photo description: nal made from a plastic straw, convention notes in the background

I know to make wool items bigger than intended because as it is worn it will naturally felt and shrink some. I thought my initial circle was oversized, but as I stitched the band contracted, so I switched my plan and added increases, and decided to gather the first rows together to form the crown. Aran wool is very lightly spun Merino, and does not have the strength to draw together and hold, so I made a length of flax cord instead. The flax won’t break and will probably outlast the wool.

Photo description: long line flax twine on the nålbound surface of the hat
Photo description: crown of the hat gathered together tightly with flax twine

I didn’t want to finish the hat with decreases, so I stitched a free length of Oslo chain, spiraled it into a rosette, and stitched down the bottom edge.

Photo description: nalbound chain spiral with a steel yarn needle in the process of a securing stitch
Photo description: finished hat, before blocking