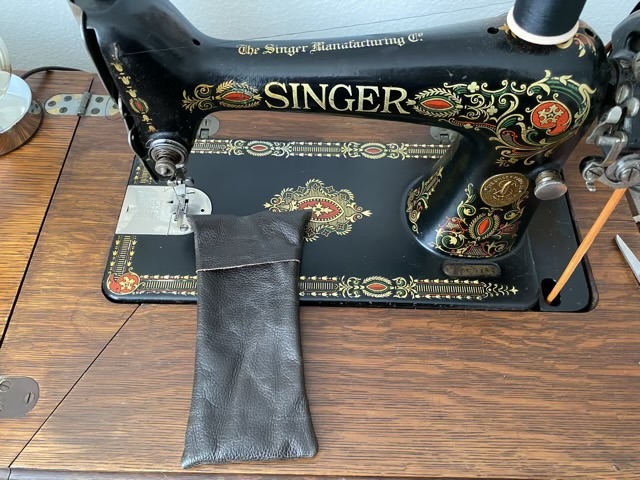
I had the chance to sew some reclaimed leather on my antique Singer 66 treadle sewing machine. This leather is thin and flexible so was easy to sew, I suspect that a modern machine would be able to handle it as well. (There are tales out there that these old machines are great for sewing leather, but the truth is much more complicated.) I did crank the machine by hand rather than risk the speed of the treadle, and I used upholstery thread (and found my purchased bobbins don’t fit, sigh.)
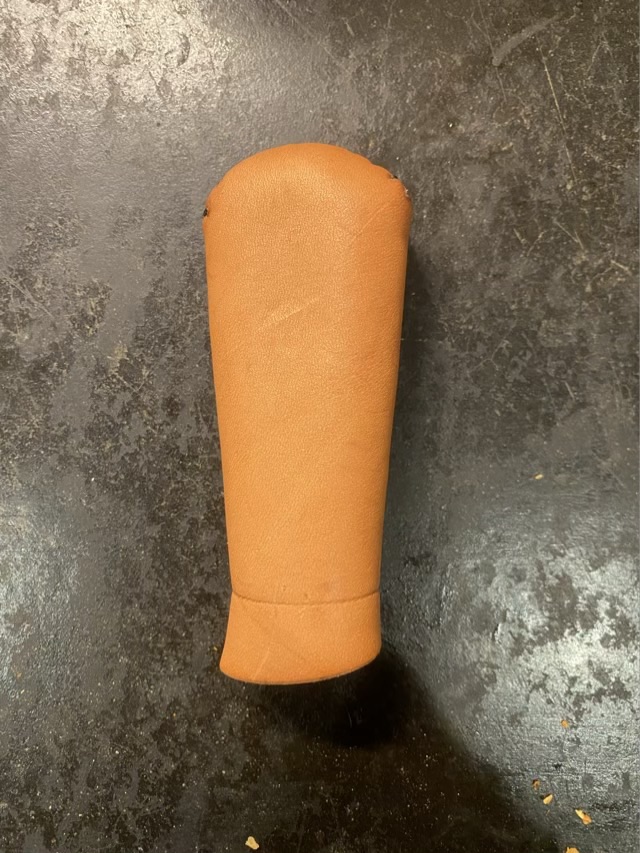
I wanted an envelope style pocket with the flexibility to thread on a belt, or hang from belt loops with carabiners.


The design needs work. I like the hole in the belt loop and the flexibility it gives, but the flap makes it difficult to get the phone in. I ended up clipping the edges of the flap so it still helps the phone stay put, but is easier to get the phone inside. Not ideal, but experiments will continue.