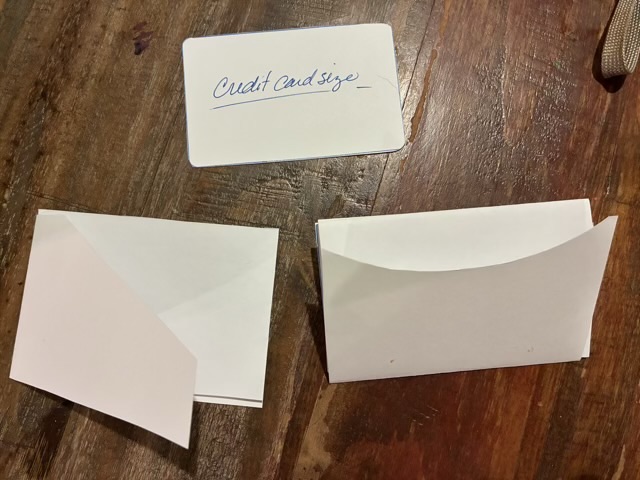
I designed a couple variations of minimal wallets by starting with paper mock ups.
Photo description: paper mock ups for two wallet designs, the bottom left has an angle access and a traditional quarter fold insert, the bottom right has a scoop access and an accordion fold insert, top middle is a credit card mock up
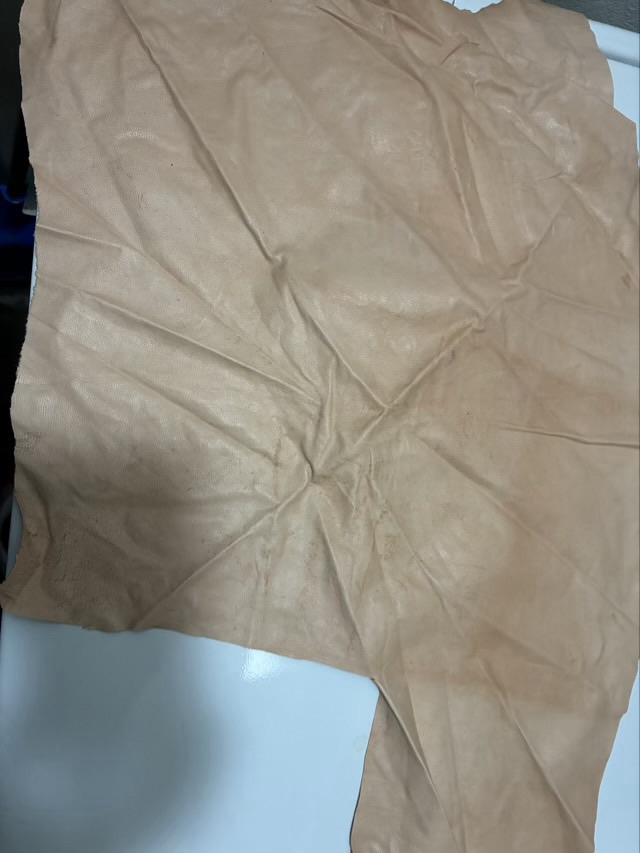
After getting my dimensions figured out with paper, I designed the leather cut out in Adobe Illustrator, and used a blue diode laser cutter to cut and emboss vegetable tanned tooling leather.
Photo description: leather with embossed design after cutting with a laser and rinsing with water, the folding
I stained the leather and let it dry, then applied a coat of resolene, which will make it water resistant.
I wanted the insert to have RFID blocking capabilities, so I used spray glue to adhere cotton quilting fabric to faraday fabric.
Photo description: cut cotton fabric glued to faraday fabric using spray glue on the back of the cotton
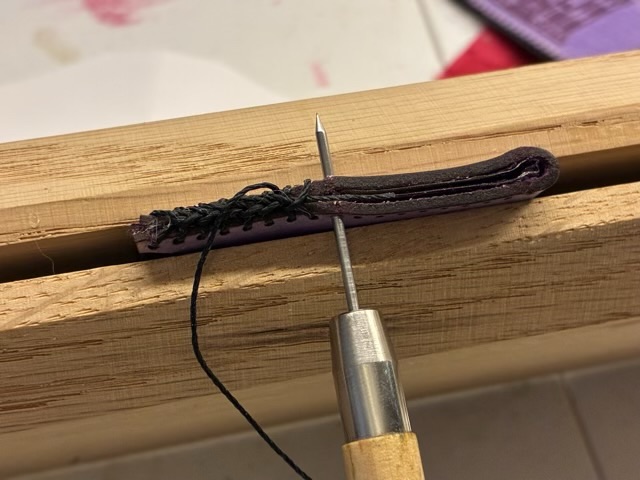
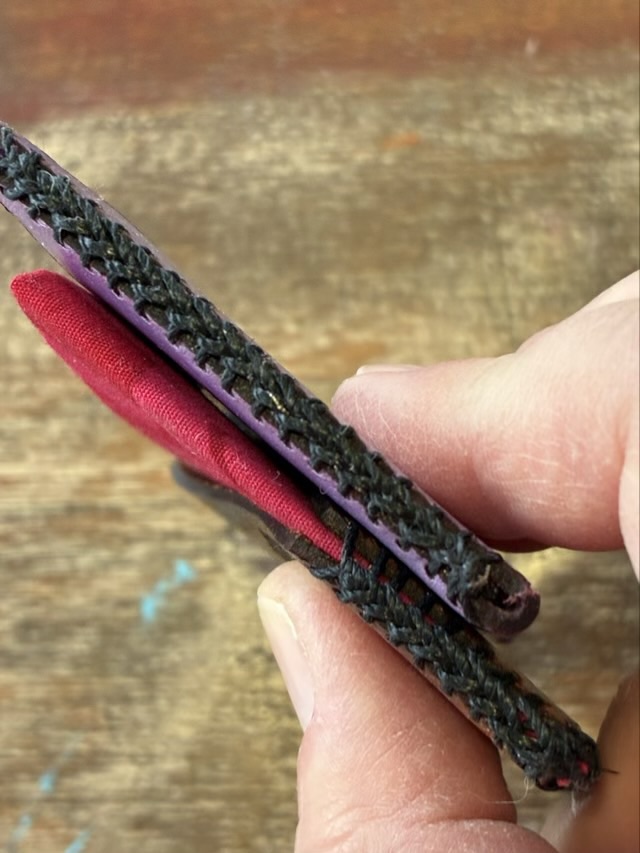
My favorite part of this project was learning a new-to-me edge stitch: triple loop lacing. It took a few tries on scrap leather to get the hang of it, but it was worth it. I love the braided edge look with the heavy waxed thread.
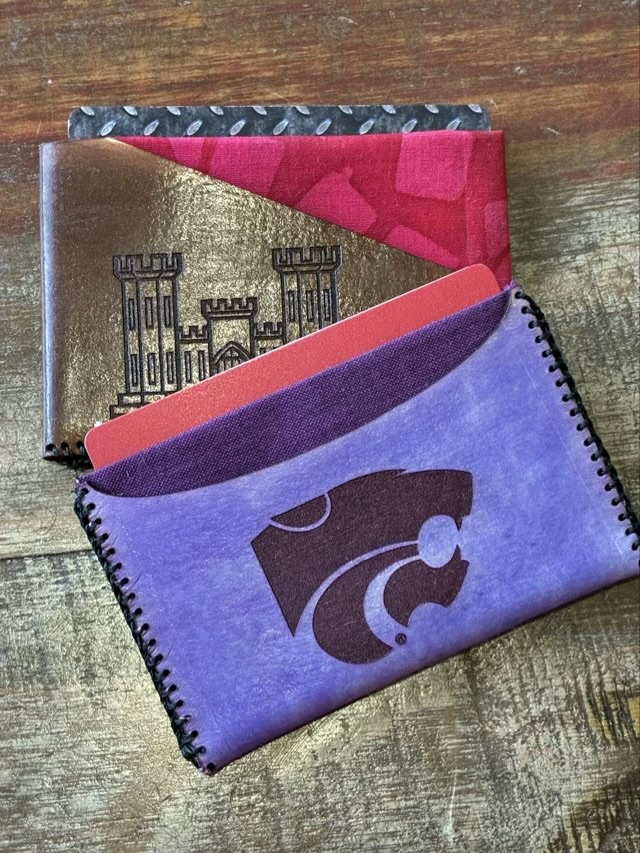
Photo description: using an awl to poke through the fabric using the precut leather holes as guides, the leather is secured in a book clampPhoto description: close up of the edge stitching on two leather and cloth minimalist walletsPhoto description: finished wallets with gift cards in the center pocket. Each wallet has three pockets: front, middle, back
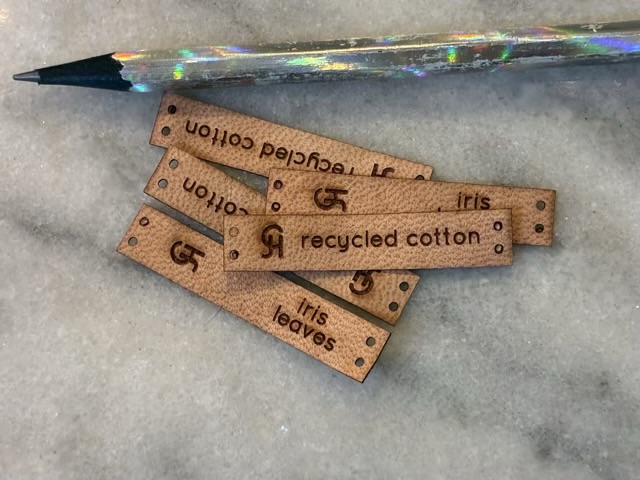
I wanted to add labels to my handmade items, so used the laser cutter to make some from thin leather. I added pairs of holes to the edges so they could be sewn on, my signature mark, and the primary material used for the item.
Photo description: labels cut from leather with a blue laser cutter, pencil for scale
I’m really pleased with how these came out. I’m getting better at estimating laser cutter and engraving settings; I had only one test cut before dialing in to settings that gave me my desired result. For the cut I had a speed and power of 100, and the fill engrave was power 30, speed 100, line density 100. The labels are 1cm by 5cm, which is just about as small as I can go and still sew them into a circle.
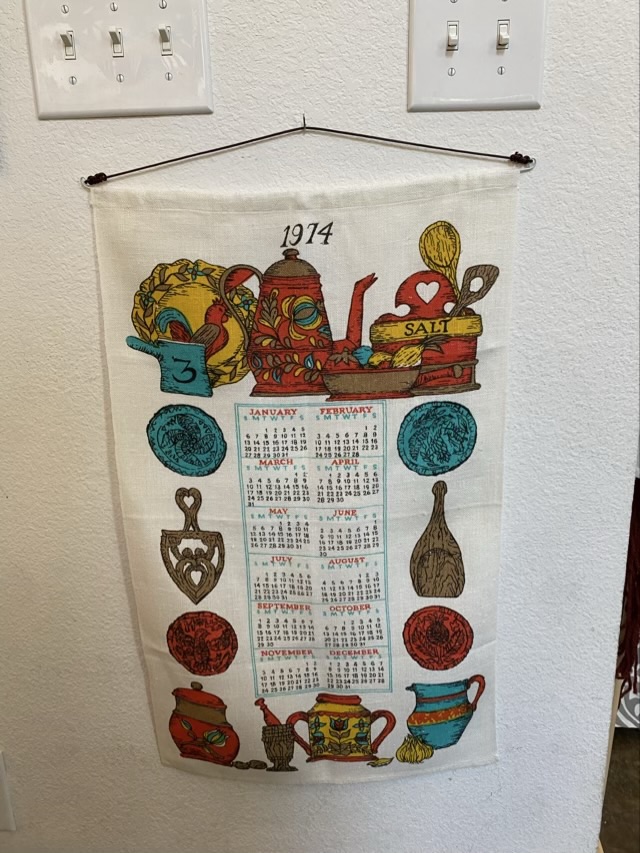
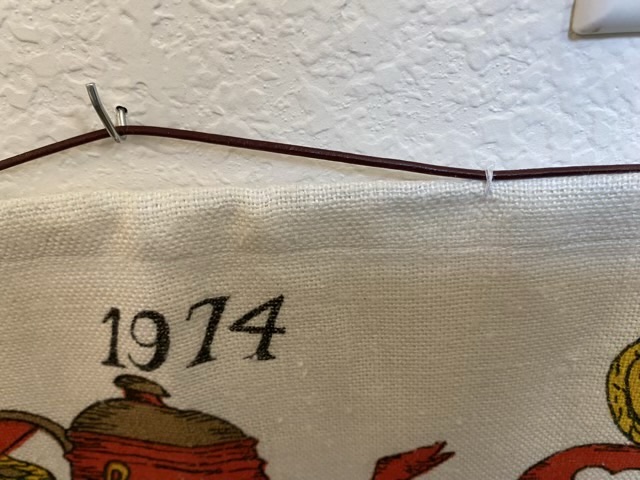
My sister brought me some linen towels from the 70s. I liked the prints on them, so decided to use them as decoration. They all had a narrow sleeve at the top, so I cut down wire hangers to make hanging rods.
Photo description: white wire hangers cut with lineman’s pliers and the ends looped with needle nose pliers
I took leather cordage and tied it to the wire loops.
Photo description: calendar towel from 1974 with wire and leather hanging hardware
I didn’t like how the wire sagged, so I tacked the linen to the leather about a third of the way in with cotton thread.
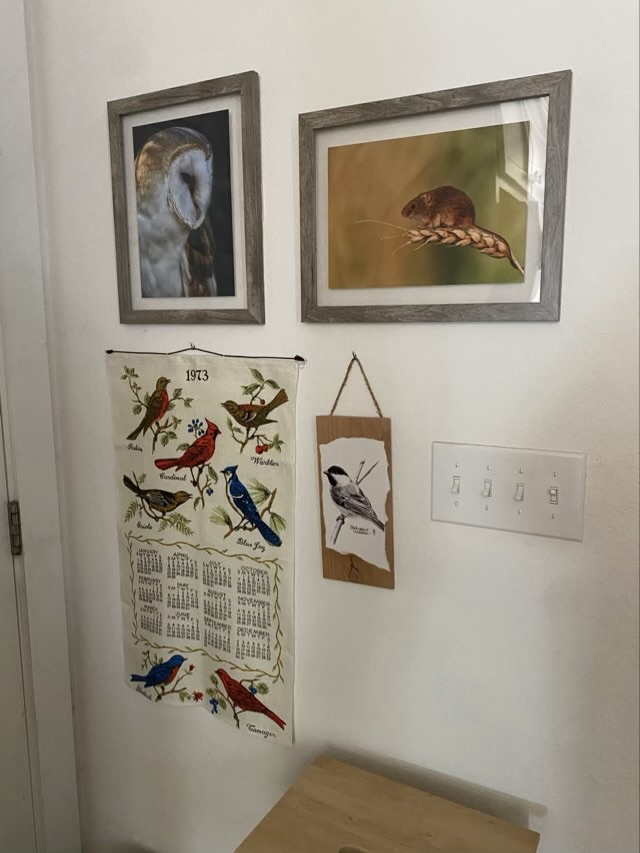
Photo description: closeup of tacked sectionPhoto description: same towel hanging on the wall, but with thread tacks and no sagging, towel has drawings of kitchen implements Photo description: linen calendar towel from 1973 with birds hanging on the wall with new hardware along with chickadee art, and photos of a barn owl and field mouse by Oliver Hellowell
The production of calendar towels began in the 1950s and was an invention of Stevens Linen Works in Dudley, Massachusetts.
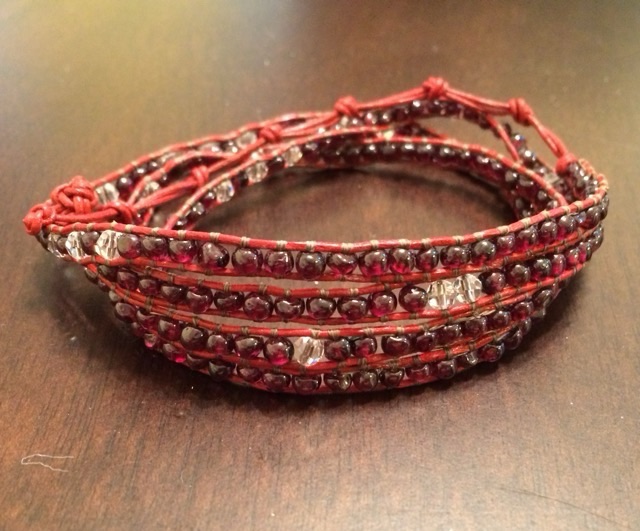
This is a wrap bracelet that I made for my sister in April of 2015. It is made from red leather cord, 4mm garnet and quartz beads, and beading thread. The remarkable thing about it is that it was sitting next to my chair next to the fireplace when the house caught on fire in March of 2015. I had been working on it and it was in a project bag. I needed to give everything a rinse to get rid of the ash, but I was able to complete the bracelet.
Photo description: red wrap bracelet with four wraps of natural garnet and quartz beads sewn between two leather cords
I really missed an opportunity to do a morse code message in the beading.