In April 2018 I decided to try making my own garden flags. I taped down cotton cloth on cardboard with masking tape, then used acrylic paint to completely cover the cloth.
Photo description: four garden flags freshly painted, drying on the cardboard where they were taped for painting
Once the paint was dry I hemmed the flags and sewed in the top channel so they could hang on my garden flag pole.
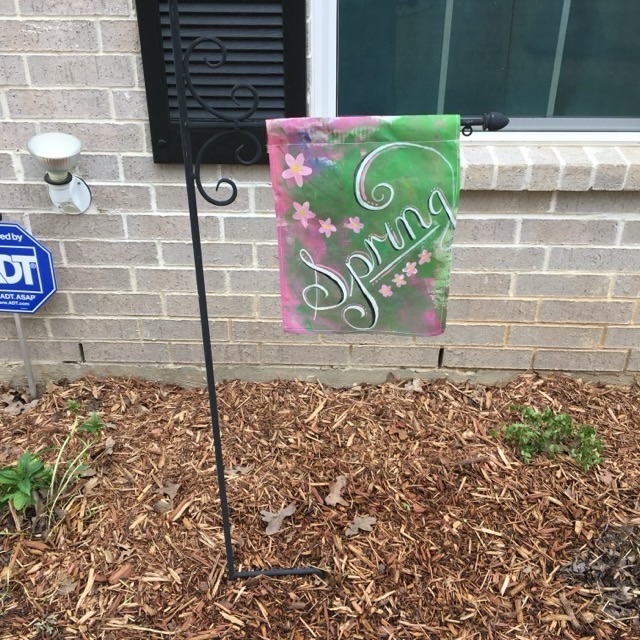
Photo description: finished flag hanging vertically in the garden
These flags held up remarkably well. If I were to make them again, I would be sure to iron the fabric before taping it down, and sew the pocket at the top wide enough to accommodate the loops that are on my holder. In summary, iron the fabric, and measure twice, cut once, which is good advice for most projects.
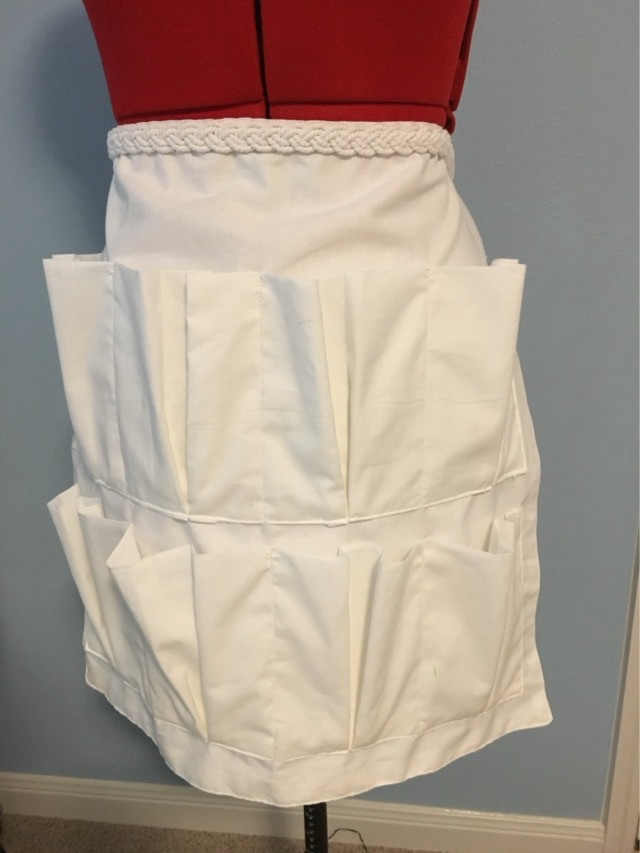
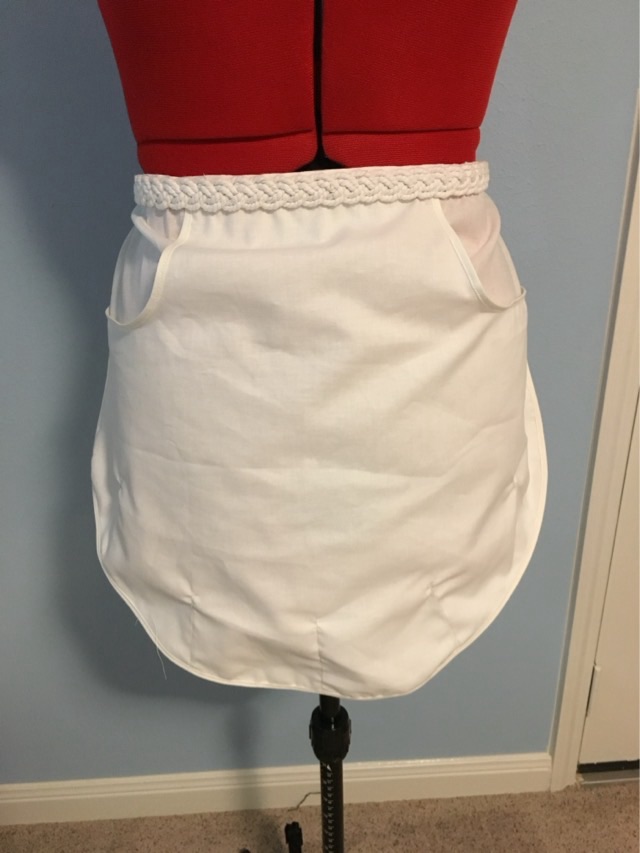
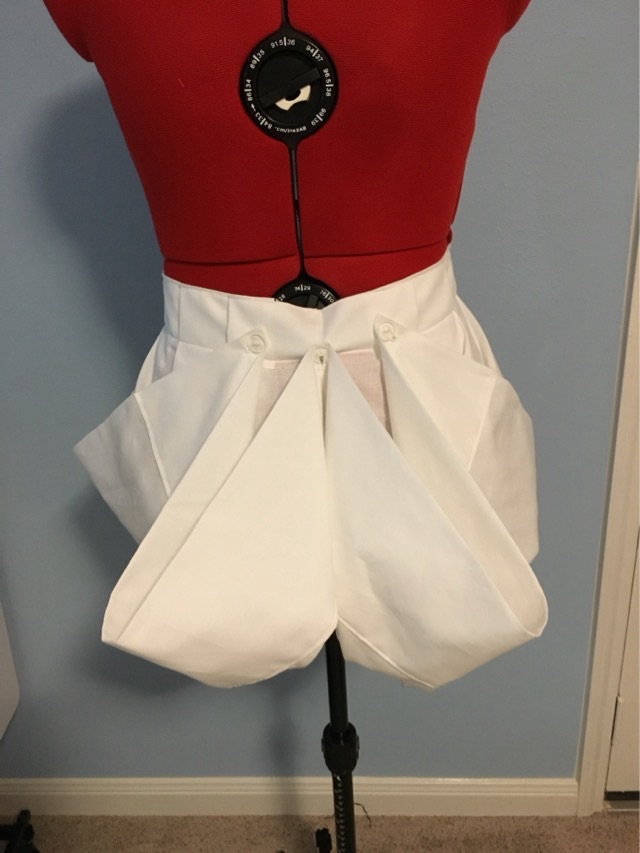
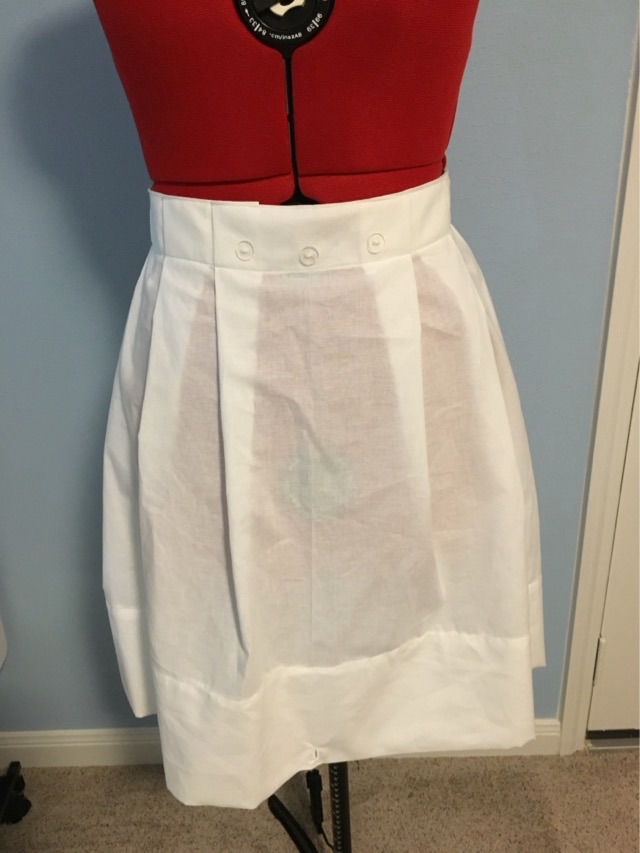
In February of 2017 I did an egg apron experiment for a friend with chickens. I made three kinds of egg apron from simple white cotton fabric that I had in my stash.
Photo description: white egg apron with woven rope tie and two rows of pleated pocketsPhoto description: round bottom apron with braided rope tie, large pocket with two hand access ports and division seams along the bottom edge to keep eggs from knocking togetherPhoto description: harvest style white apron with buttoned up large “pockets” to hold eggs or producePhoto description: same harvest style white apron unbuttoned
The experiment was interesting. The round bottom apron was hard to get the eggs out, the pleated pockets were nice, but if you leaned over too fast the eggs rolled out, and the harvest apron didn’t keep the eggs separated.
Now, with three of my own chickens and one or two eggs, I just use my pants pockets. Even when we had more chickens the aprons were more of a pain than helpful. Egg baskets are a more practical solution.
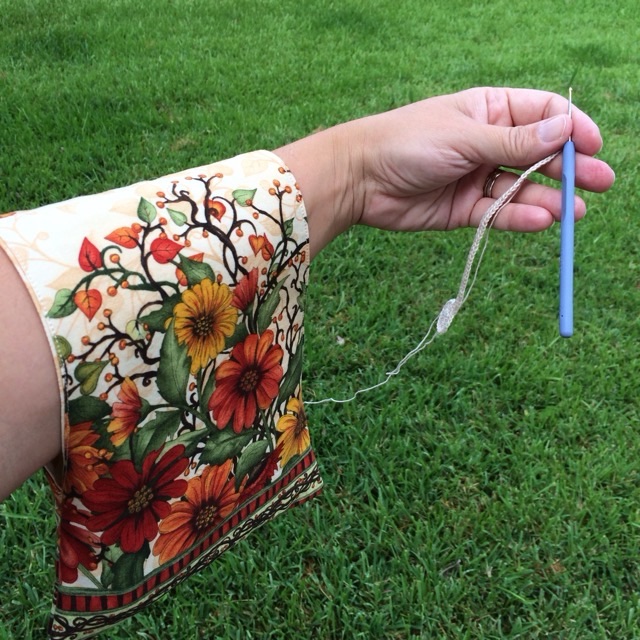
In July 2016 I made my first arm bag using my favorite fabric.
Photo description: vines and floral fabric bag with very wide “handle” that fits over the forearm and can hold a small skein of yarn
I have made many of these bags, and I love them. It is a way to keep my yarn close and still allow me to move around. I first needed it following kids around the house and playground, later I found it worked well for walks, and travel, and waiting rooms. I make mine reversible, and have added small pockets in later versions.
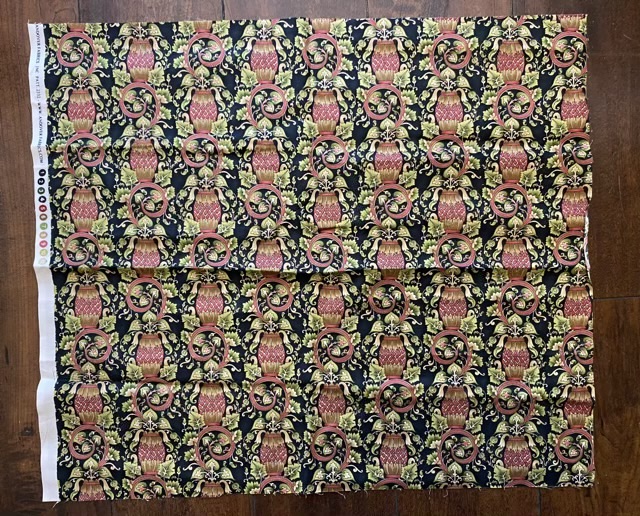
I don’t like the U shaped travel pillows. I’ve tried several, and the bulk pressing against the back of my neck (really anything around my neck) drives me nuts. So I made a different kind of pillow. It is ideal for reclining chairs because it has two side pillows so my neck doesn’t twist too far, and no stuffing behind my head. The best part is that I made it with one fat quarter, some thread, and poly fil stuffing.
Photo description: fat quarter (18”x21”) of quilting fabric with a pineapple motif
To make the pillow, fold a fat quarter in half lengthwise, right sides together (9” x 21”, doubled). Sew along the edges, leaving two 4” gaps on the outside thirds of the long edge (for stuffing later).
Photo description: fat quarter folded in half and sewn with two gaps on the far edge, on a model 66 treadle sewing machine
Clip the corners and turn the pillow right side out. Fold the case in thirds, mark the line, then sew seams along the lines. This divides the pillow into three parts.
Photo description: pillow case divided into thirds and being sewn using the fold as a guide
Fill the outside sections with stuffing, then sew the gaps closed. I usually do this by hand, but the foot on my model 66 has such a nice tiny toe, I thought I would try on the treadle sewing machine. It worked well.
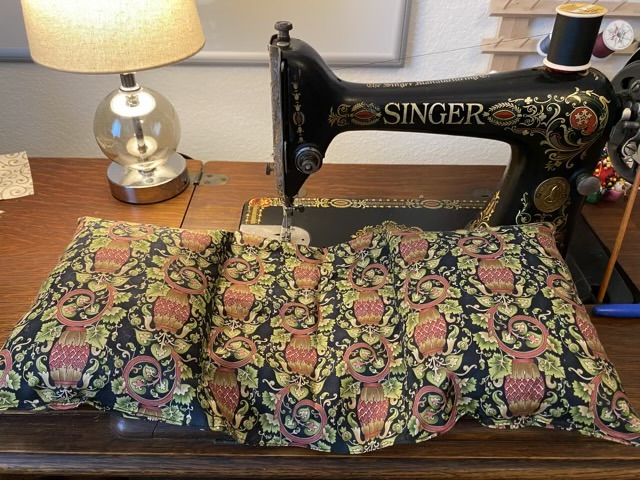
Photo description: sewing the pillow gap closed using a treadle machine fitted with a standard footPhoto description: finished travel pillow laying on the work surface of a 1916 Singer treadle sewing machine
It amuses me that the fabric coordinates with the “red eye” decals on the sewing machine. I can report that the pillow works great, especially for naps.
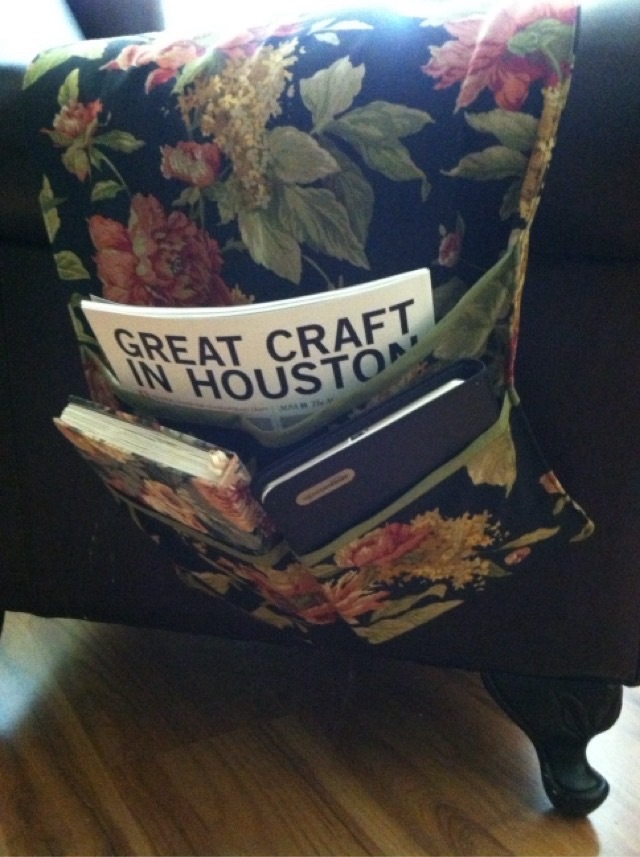
In May of 2013 I made this arm chair organizer that has pockets on the side for magazines and notebooks. I’m not sure why I didn’t sew on something to hold it down on the seat cushion, instead relying on butt power, but I am pleased how nicely I trimmed out the pockets using bias tape.
Photo description: floral fabric with a black background sewn with three overlapping pockets trimmed in green and filled with booksPhoto description: other side of the organizer with different sized pockets to hold different books, electronics, and magazinesPhoto description: over exposed photo of the chair from the front and the organizer stretched across the arms of the chair, no butt anchor
If I were to remake this project, I would add fabric to tuck down on the sides of the cushion, or maybe even go all the way around or under the cushion. Hm. Maybe I didn’t have enough fabric so had to rely on butt power. It would have made more sense to run the center section under the cushion.