Paint the moon

For a fun decoration for the Pioneer Festival, I made the moon. I used foam insulation and made a circle with string and a sharpie pen.
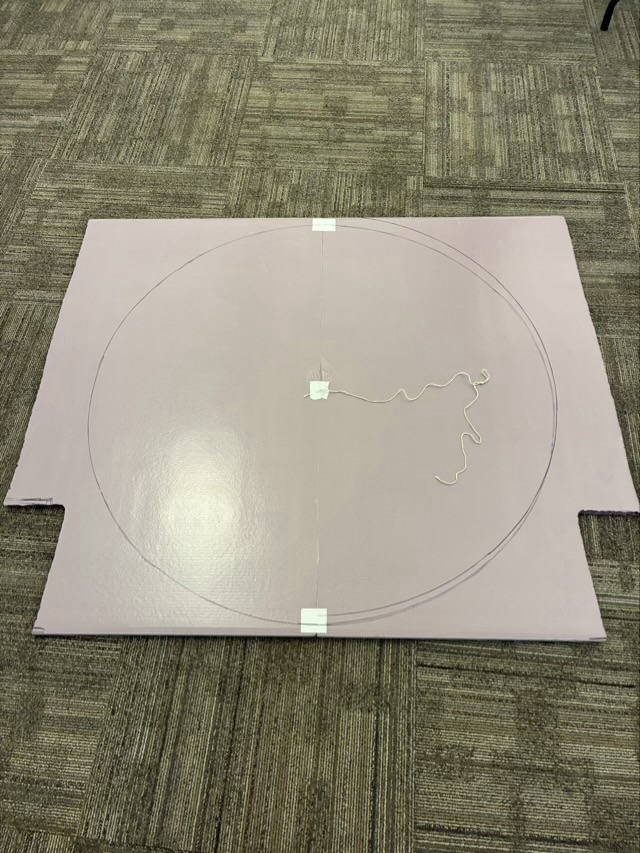
Photo description: foam insulation board pieced together with duct tape and a circle drawn in sharpie

I cut out the circle with a heavy duty hot knife, which made the cutting (melting) very easy. Always cut outside in a well ventilated and heat resistant area. (I was very glad I did, the fumes and heat are no joke.)
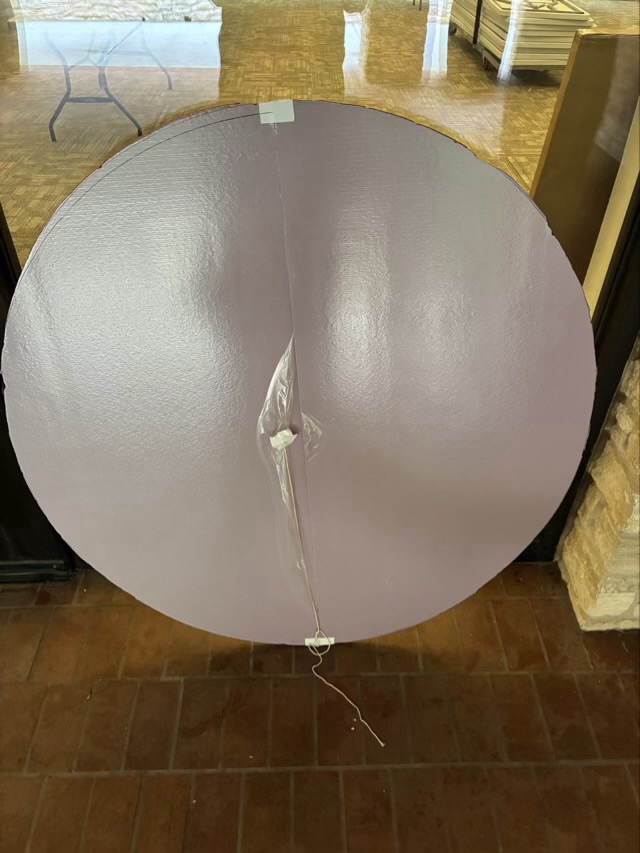
Photo description: circle of foam insulation

To hide the duct tape and give a visually solid surface, I used spray adhesive to cover the front with kraft paper, then on that adhered an old white sheet.
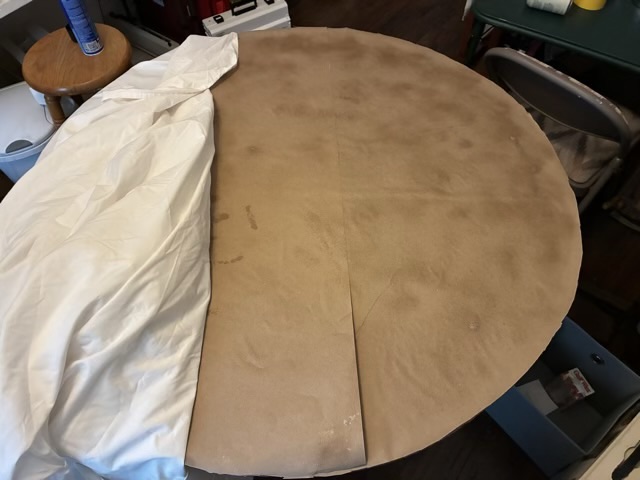
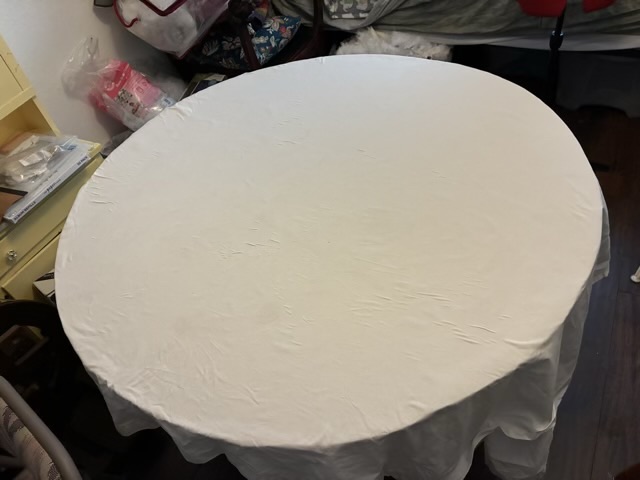
Photo description: kraft paper covered with spray adhesive with a white cotton sheet ready to pull taut
Photo description: white cotton sheet pulled over the foam insulation and kraft paper

To give an even edge, I trimmed the sheet about three inches from the edge of the foam board, flipped it over, and baste stitched the fabric with upholstery thread to make an even gather.
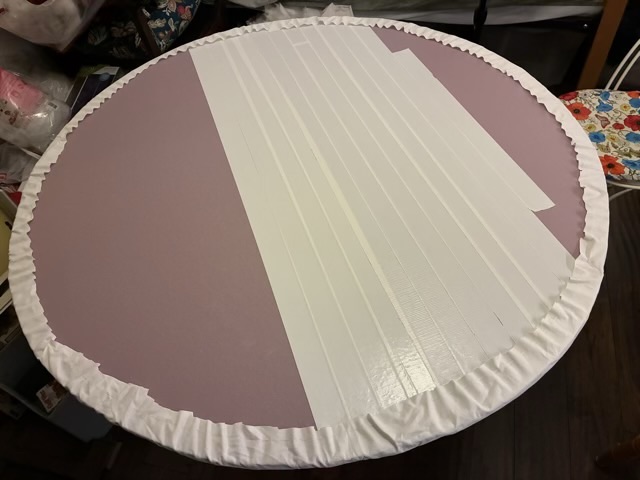
Photo description: edges of the white cotton sheet gathered with thread

I put another layer of security on the fabric by adding duct tape to the back to keep it in place.

To give the moon a glow, I primed the cotton fabric with pearlescent acrylic paint. I had an interesting discovery: the kraft paper and fabric layers reacted to the paint differently and created an uneven surface. For the moon this is a great result, but for any other project where a smooth surface is needed, it would be vexing. Good thing I was making the moon.
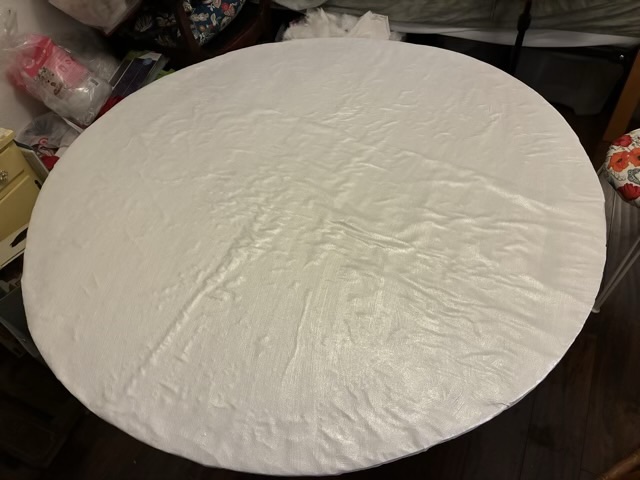
Photo description: circle primed with pearlescent acrylic paint

I used my laser cutter to make a stencil (free stencil here).
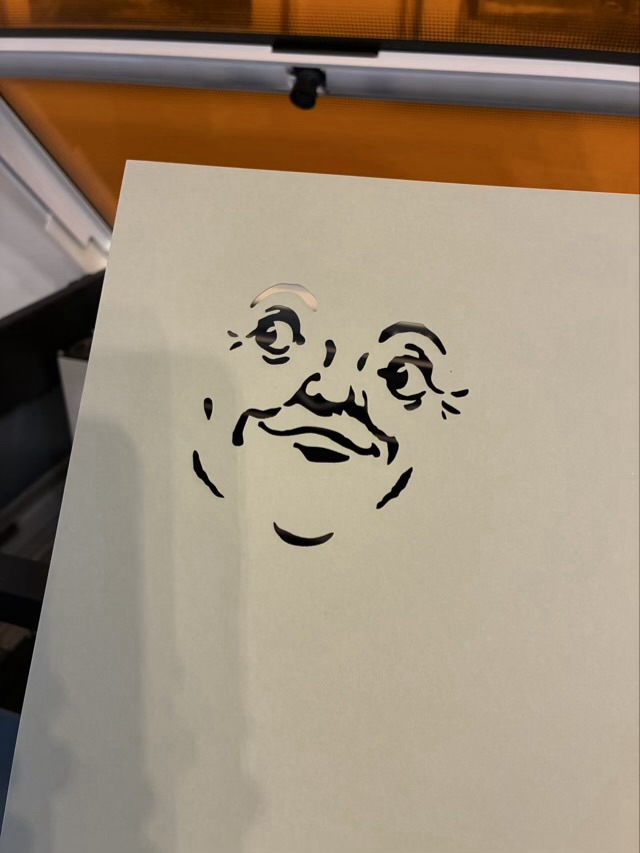
Photo description: moon face stencil cut from cardstock using a laser cutter

I experimented with several lights trying to get one that didn’t disperse so much that the light cast onto the surface was unusable, and finally settled on my phone flashlight, which still dispersed the image, but I could get the general shapes pencilled in on the moon shape (but no pictures because my phone had a different purpose.) I painted the moon face with gray and black acrylic paint, and added a shadow to indicate more craters.
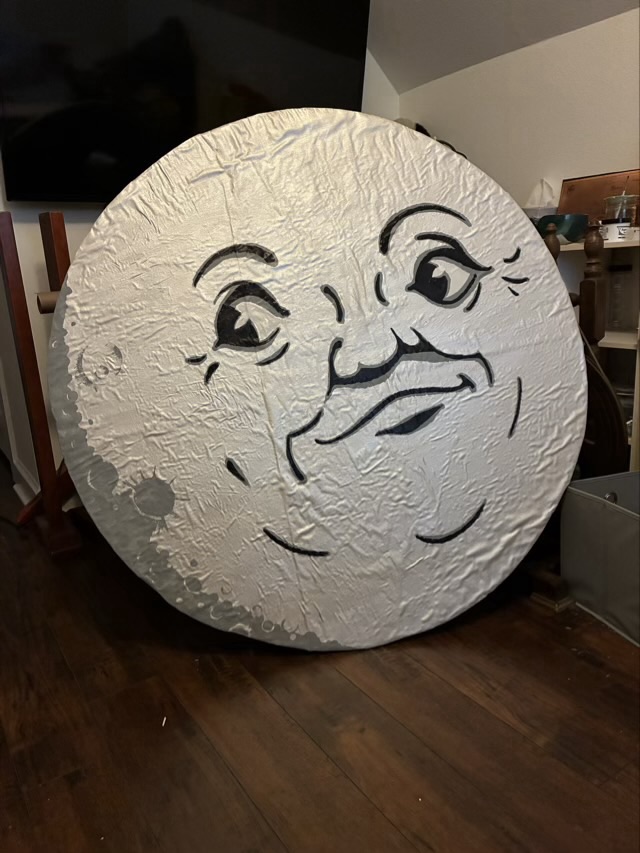
Photo description: finished moon with painted face and crater shadow

Did I get a picture of the moon installed at the festival? No, I was too busy spinning, lol. But it did look the part where they hung it.
Throwback Thursday: Octopus eye

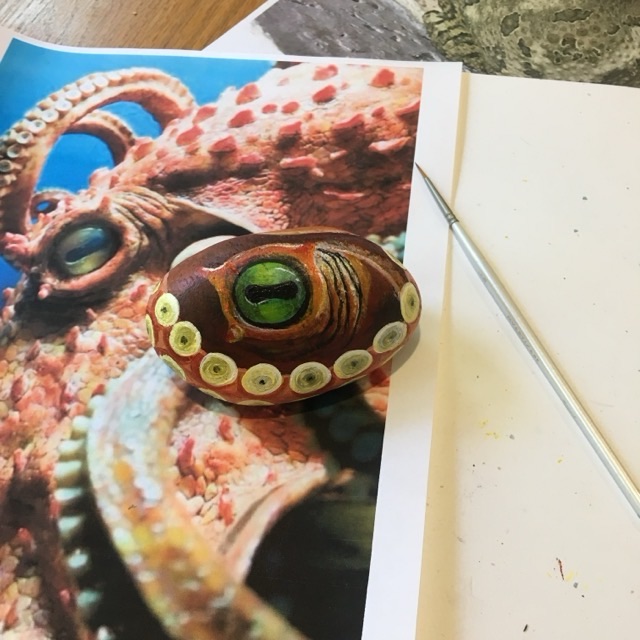
In June 2018 I was in the height of my “eyes on rocks” painting period. This octopus eye was one of my favorites.

Photo description: printed photograph of an octopus with a river river rock painted like the eye of the reference photo, paint brush laying next to the rock
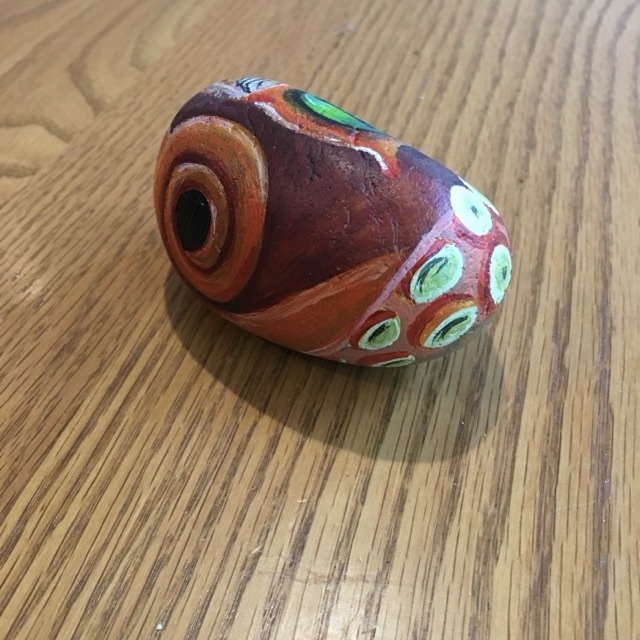
Photo description: back side of the rock showing a spiraled tentacle end

This rock was put out in the wild for someone to find.

Interchangeable shelf sitter

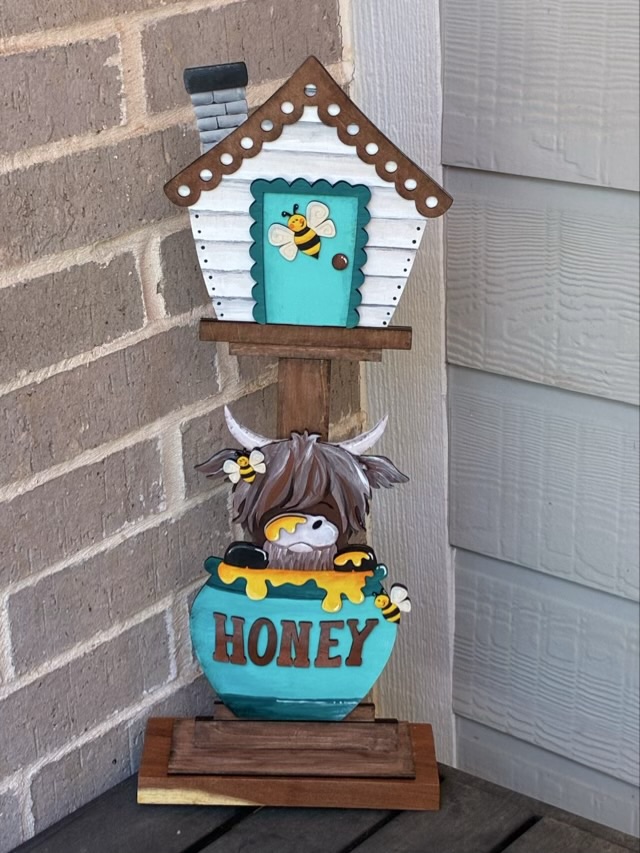
Here is the completed highland-coo-in-a-honey-pot shelf sitter, complete with clear UV coat and chunk of mesquite wood to keep it grounded.

Photo description: interchangeable shelf sitter with the door and honey pot painted shades of teal, and the bird house base painted white and gray to coordinate with my actual house, all sitting on a metal bench near the door entry

This is a cute project offered by the local Hobby Hut. I will be looking for the next painting day!

Highland coo

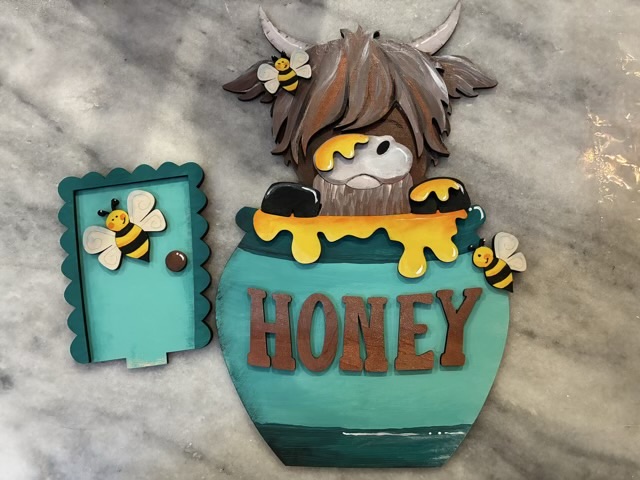
I went to a painting class at our new local Hobby Hut to do an interchangeable shelf sitter. Very cute design, there is a “bird house” base and the door and central design can be changed out. I painted the base at the studio but took the highland coo in the honey home to paint.

Photo description: interchangeable parts painted by me of a highland coo in a honey pot with three bees

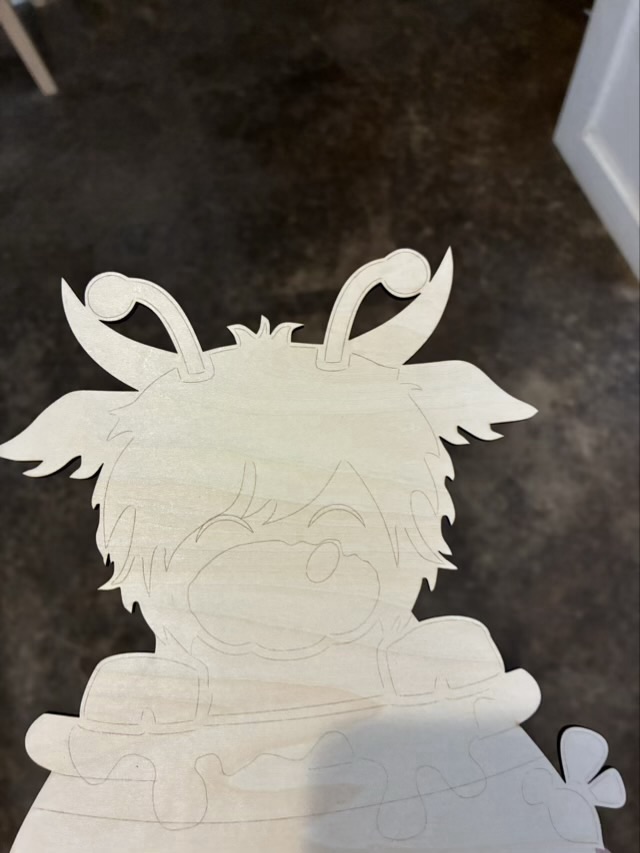
The original design had antenna on the highland coo, which I didn’t care for, so I cut them off before painting.

Photo description: original laser cut wood highland coo bass with antenna
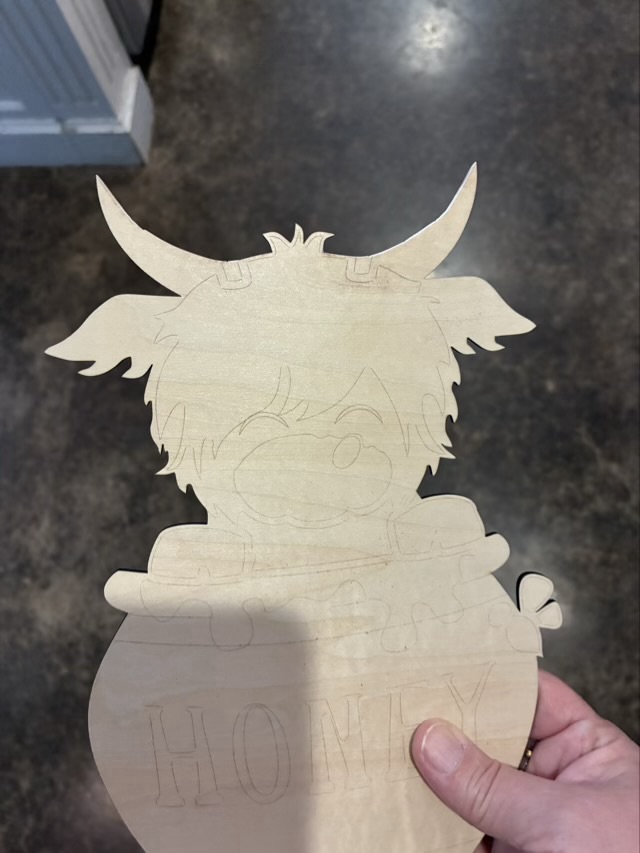
Photo description: antenna removed with a band saw and the horns smoothed down with sand paper

I did have to fill the space on the next layer where the antenna were supposed to go, but some cutoff bits of wood and a heavy layer of paint did the trick.

I will post the glued together finished project once I’ve done a clear UV protectant spray coat. It has been raining almost every day, so I haven’t had the chance yet.