I am almost giddy with excitement. I found a local farm that has angora goats and sells fleece (that is the hair from an animal, not the already finished fabric). I bought some to practice spinning!
By the way, the fleece from an angora goat is called mohair and the tensile strength rivals steel. Fun fact I learned from the book “The Art of Washing Wool, Mohair, & Alpaca” by Mary Egbert, which the grower recommended. Good book, which I very much recommend if you try washing fleece.
Fleece from an angora goat named Dottie
I like the book because the author has done her research and experimentation, so I don’t have to! I followed her advice on how to scour (clean the lanolin off) my new fiber.
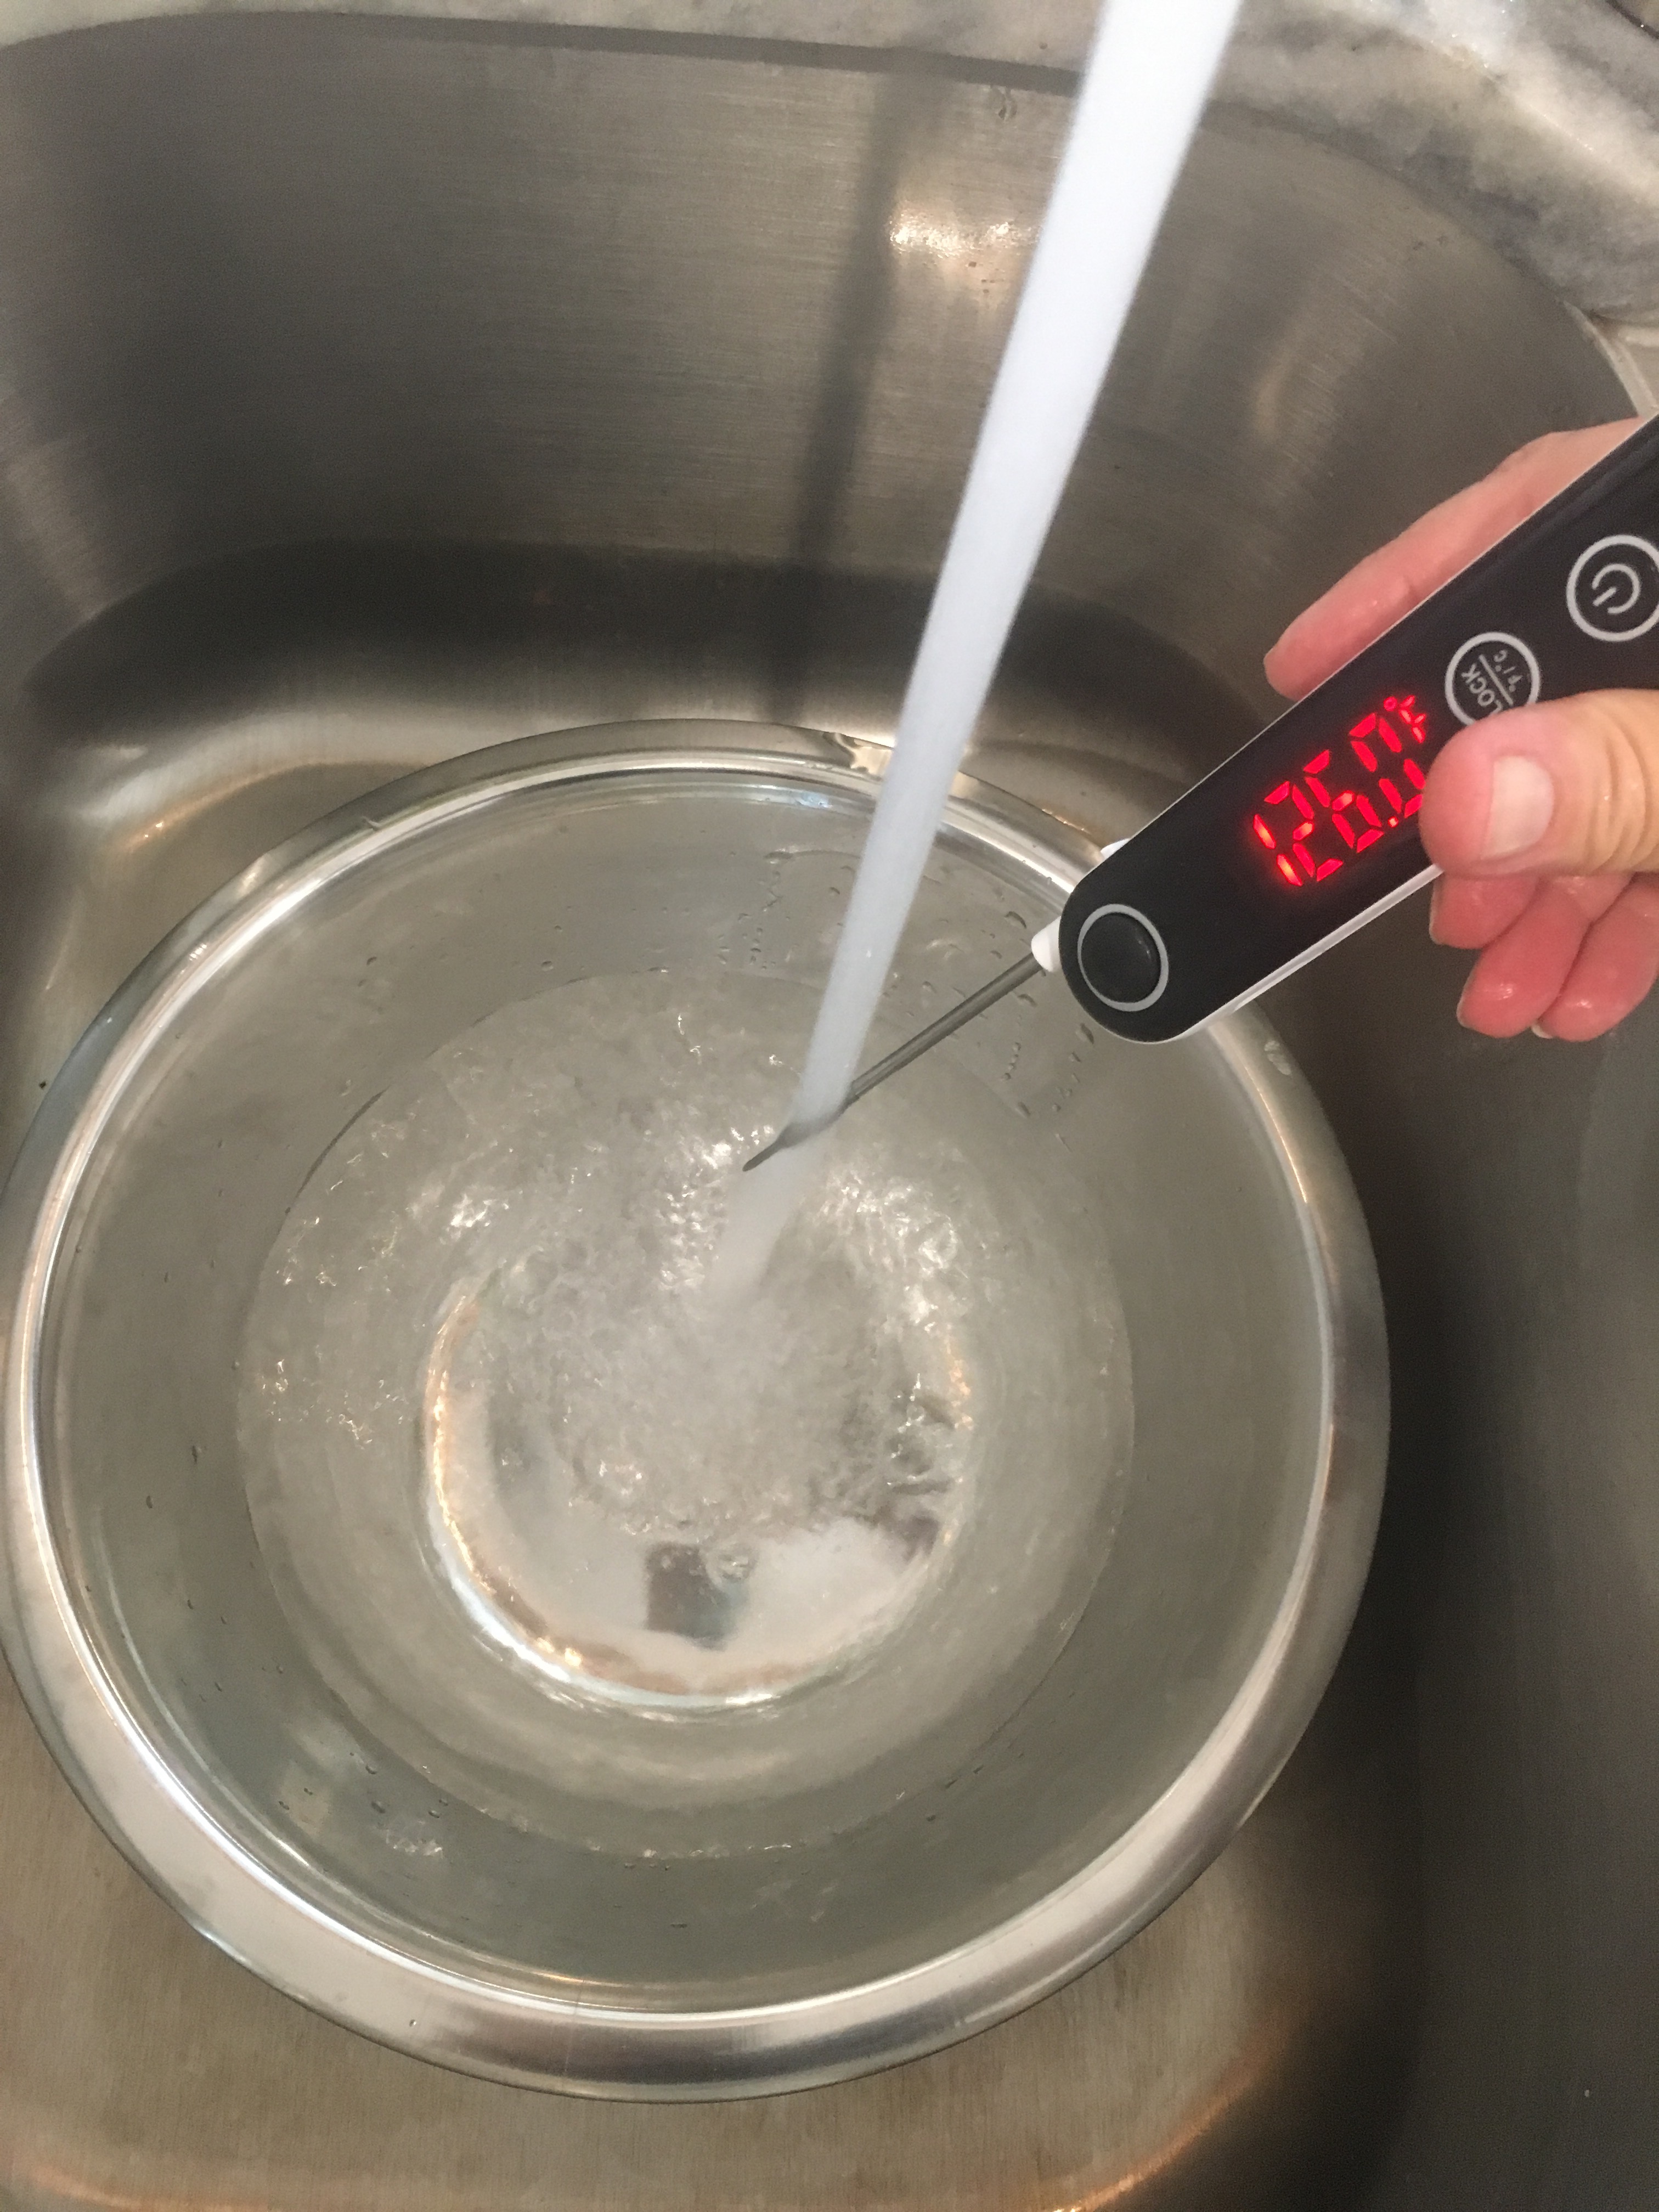
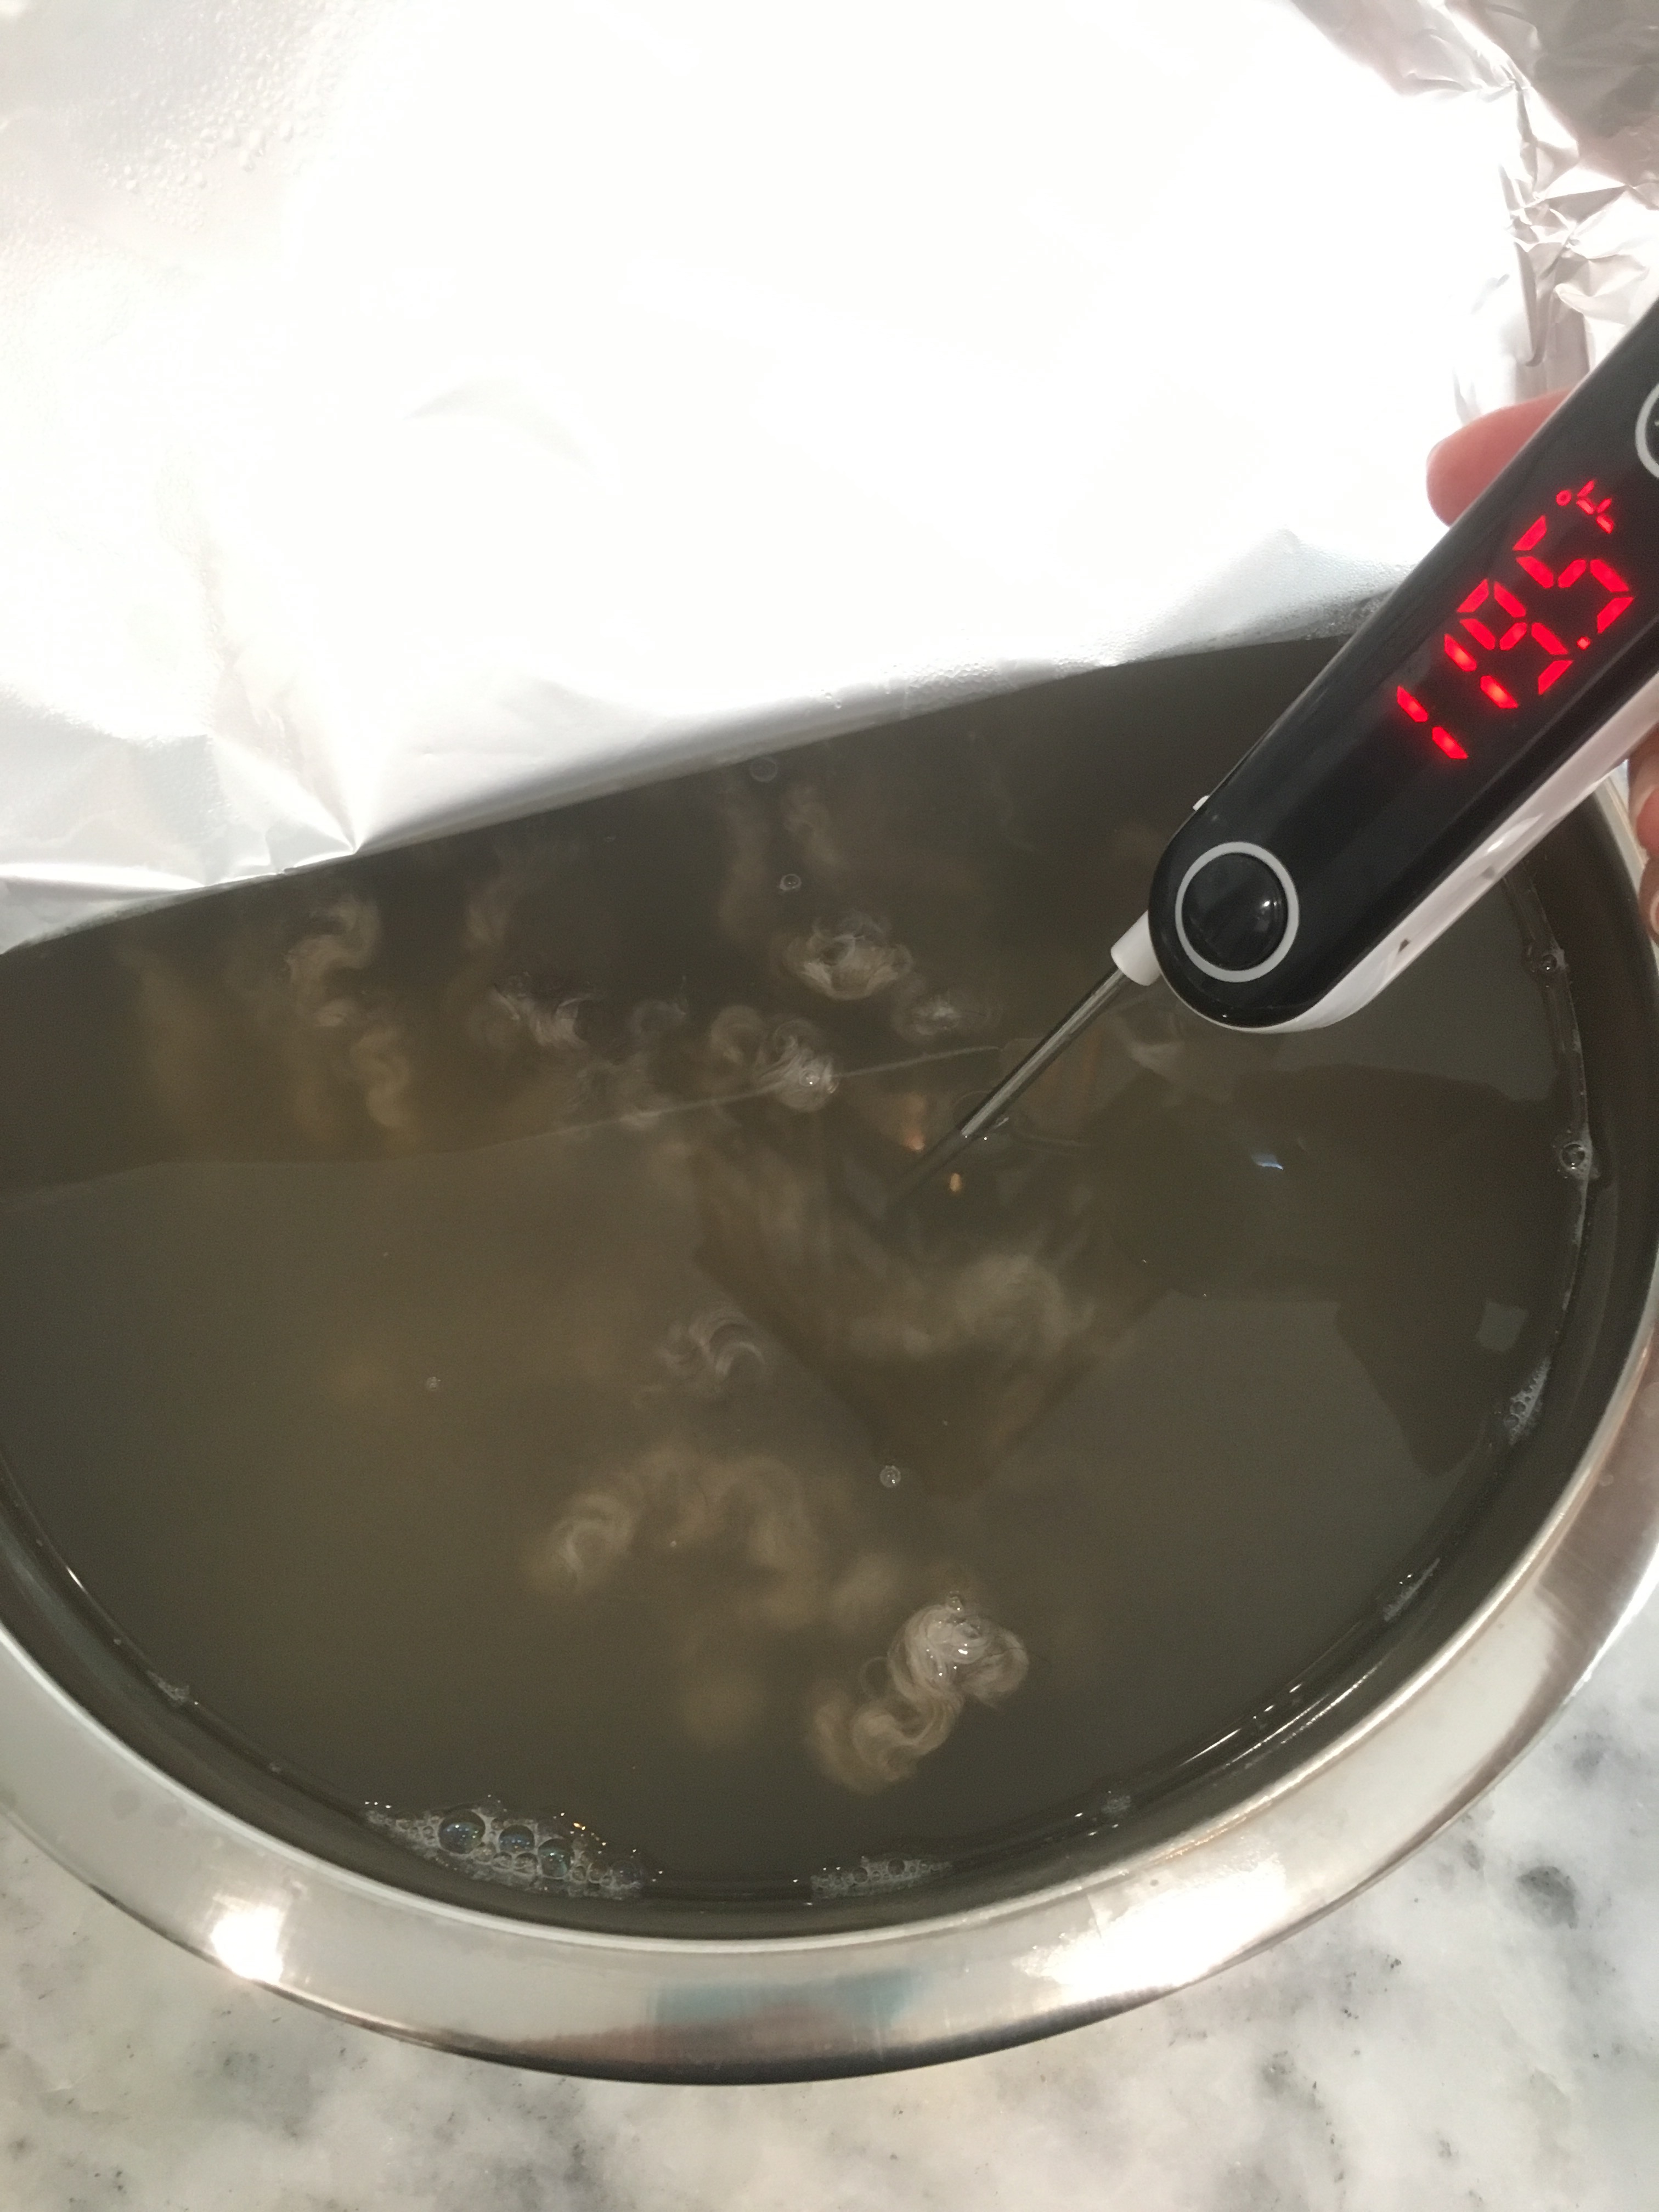
I used my softened water from the water heaterAdded the soap, then the fiber, and kept checking the temperature to keep it above 100 degrees FI squeezed the soap water out of the fiber and put it in a hot rinse bath with a little vinegarI kept the temperature of the rinse above 100F by adding small amounts of near boiling waterAfter the rinse I squeezed out the water and put it on my drying rackDirty fiber on top, clean fiber bottom right, flicked fiber (brushed) bottom left
And now I have soft fluffy local fiber to spin. And I even know the goat’s name: Dottie! That just tickles me pink.
The universe wants me to spin, who am I to say no?
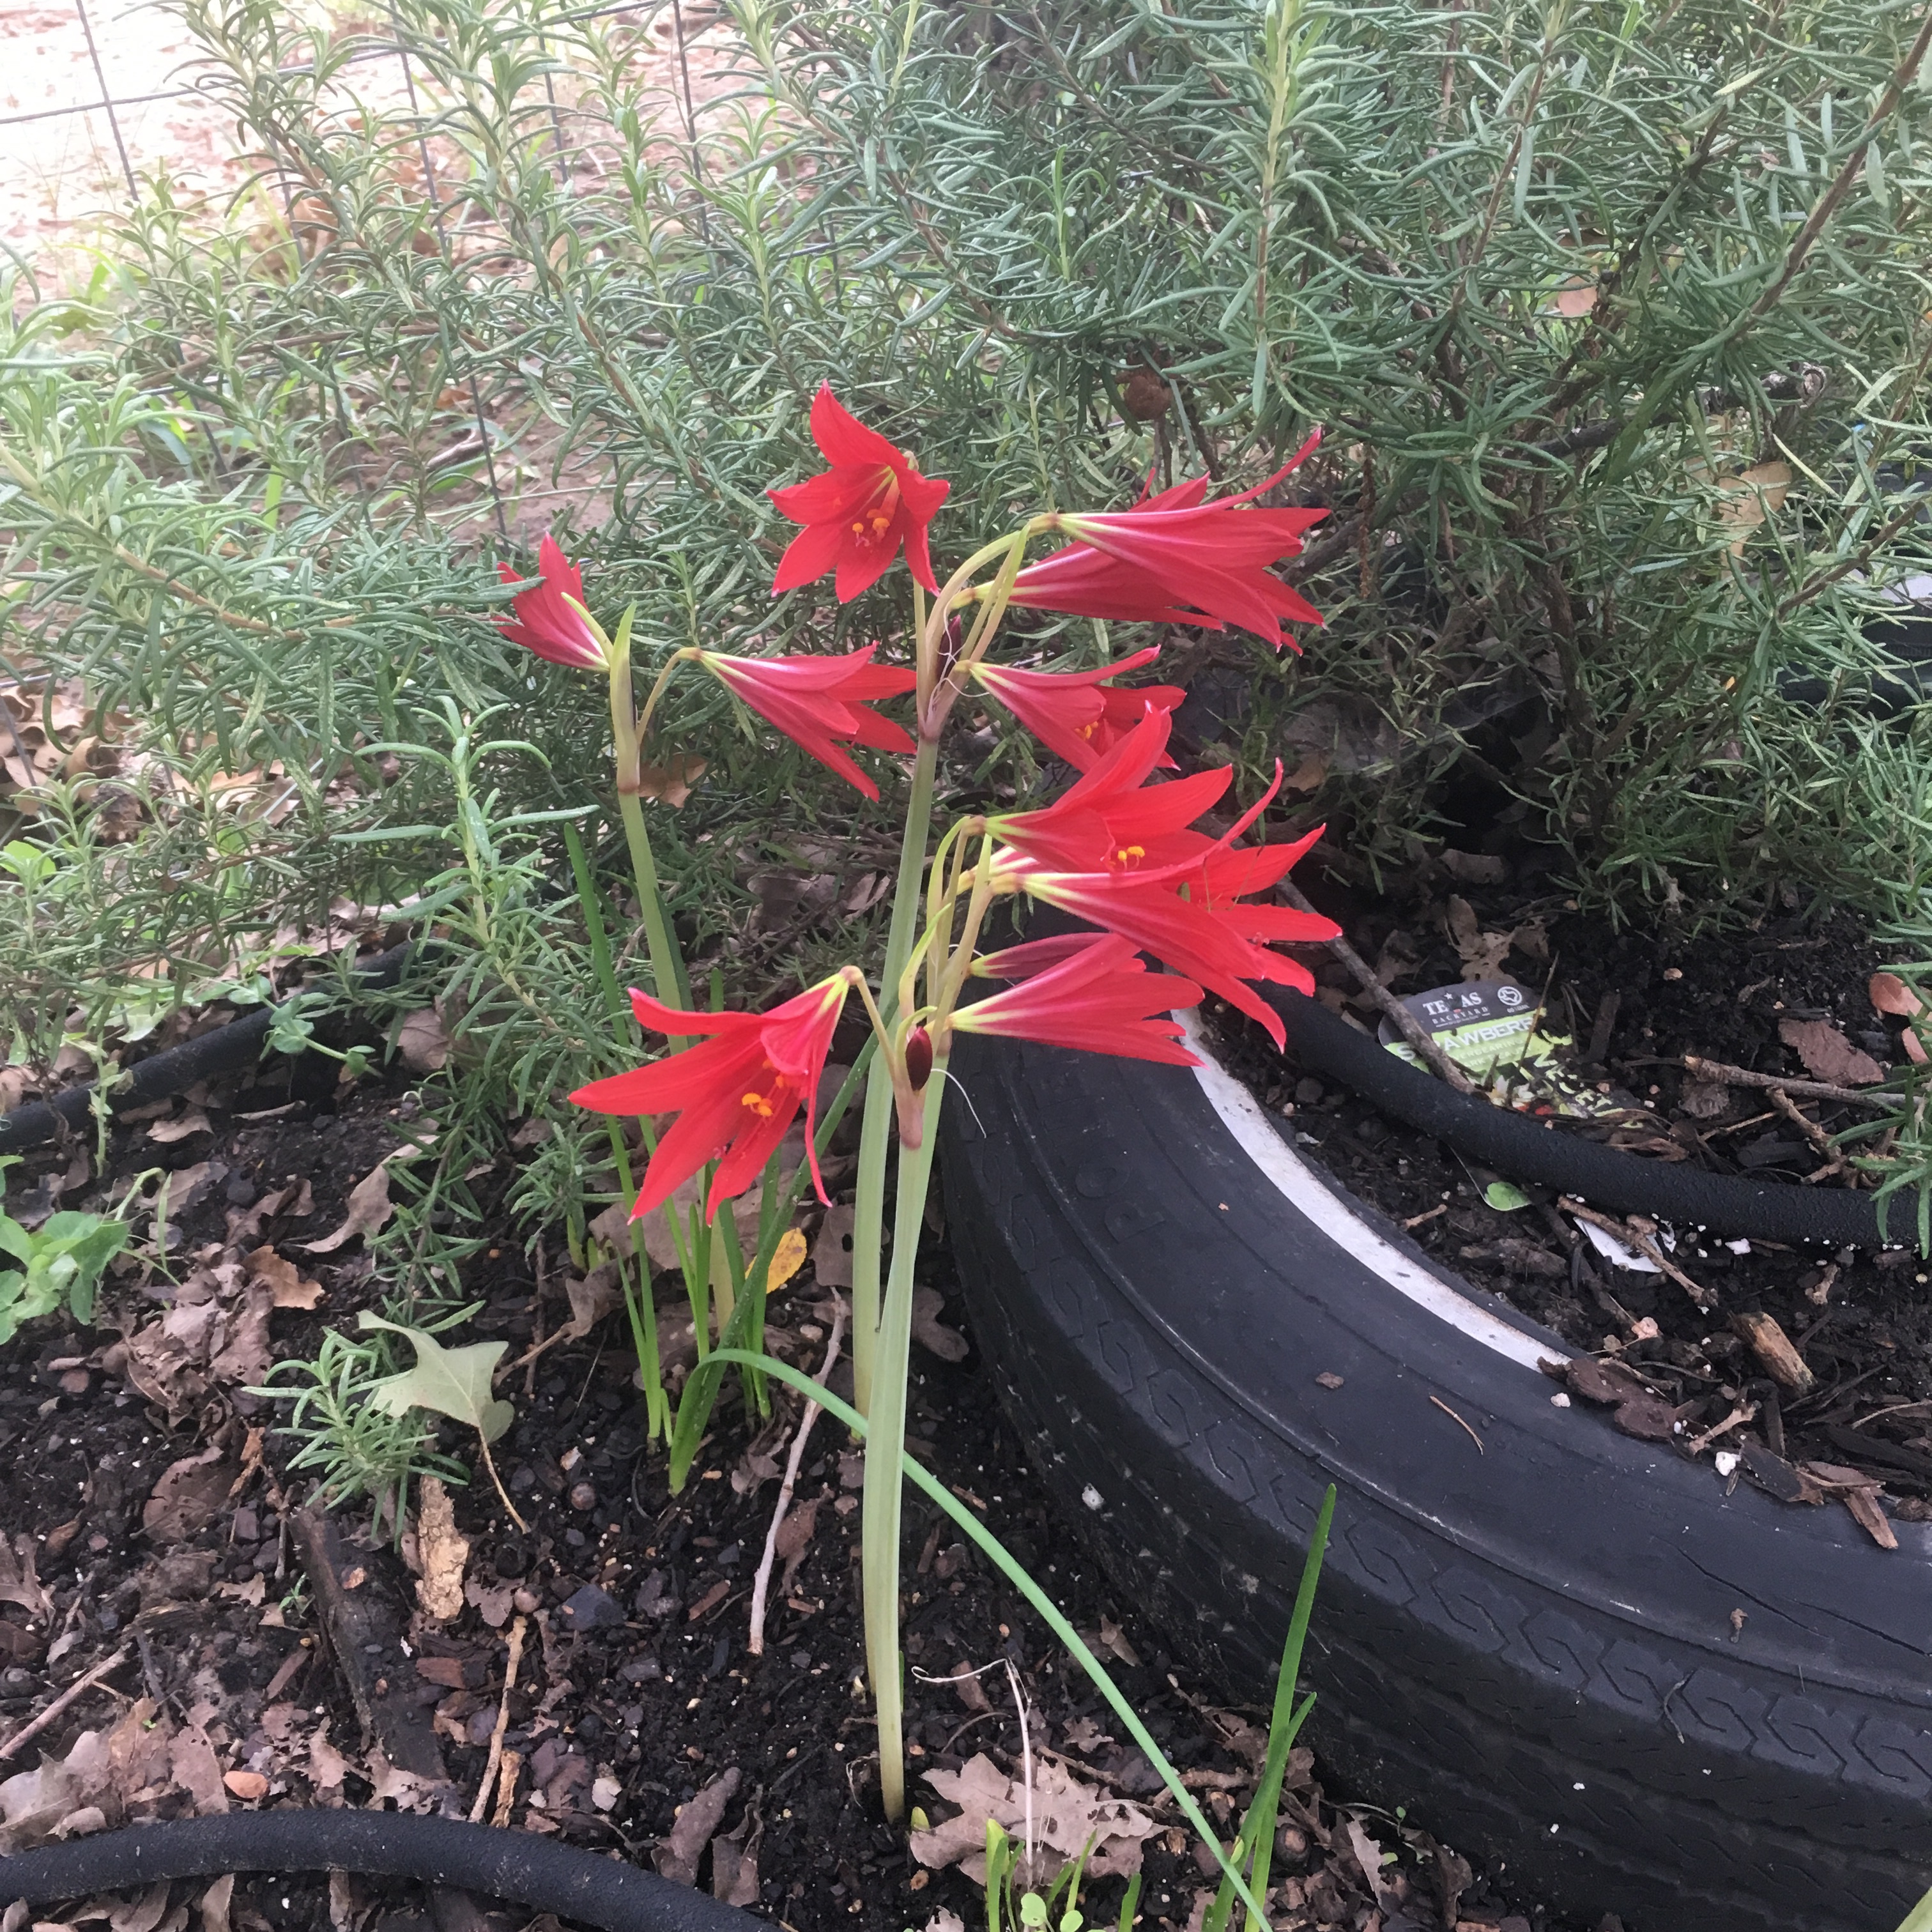
My school house lilies bloomed! I was pretty sure that I had killed them off when I wasn’t watering the area this summer (on accident). But they sprouted up from the bulb and flowered in just a few days – coordinating with the start of school. They are planted near my rosemary because I thought they were garlic chives. They stay because they seem to like it there.
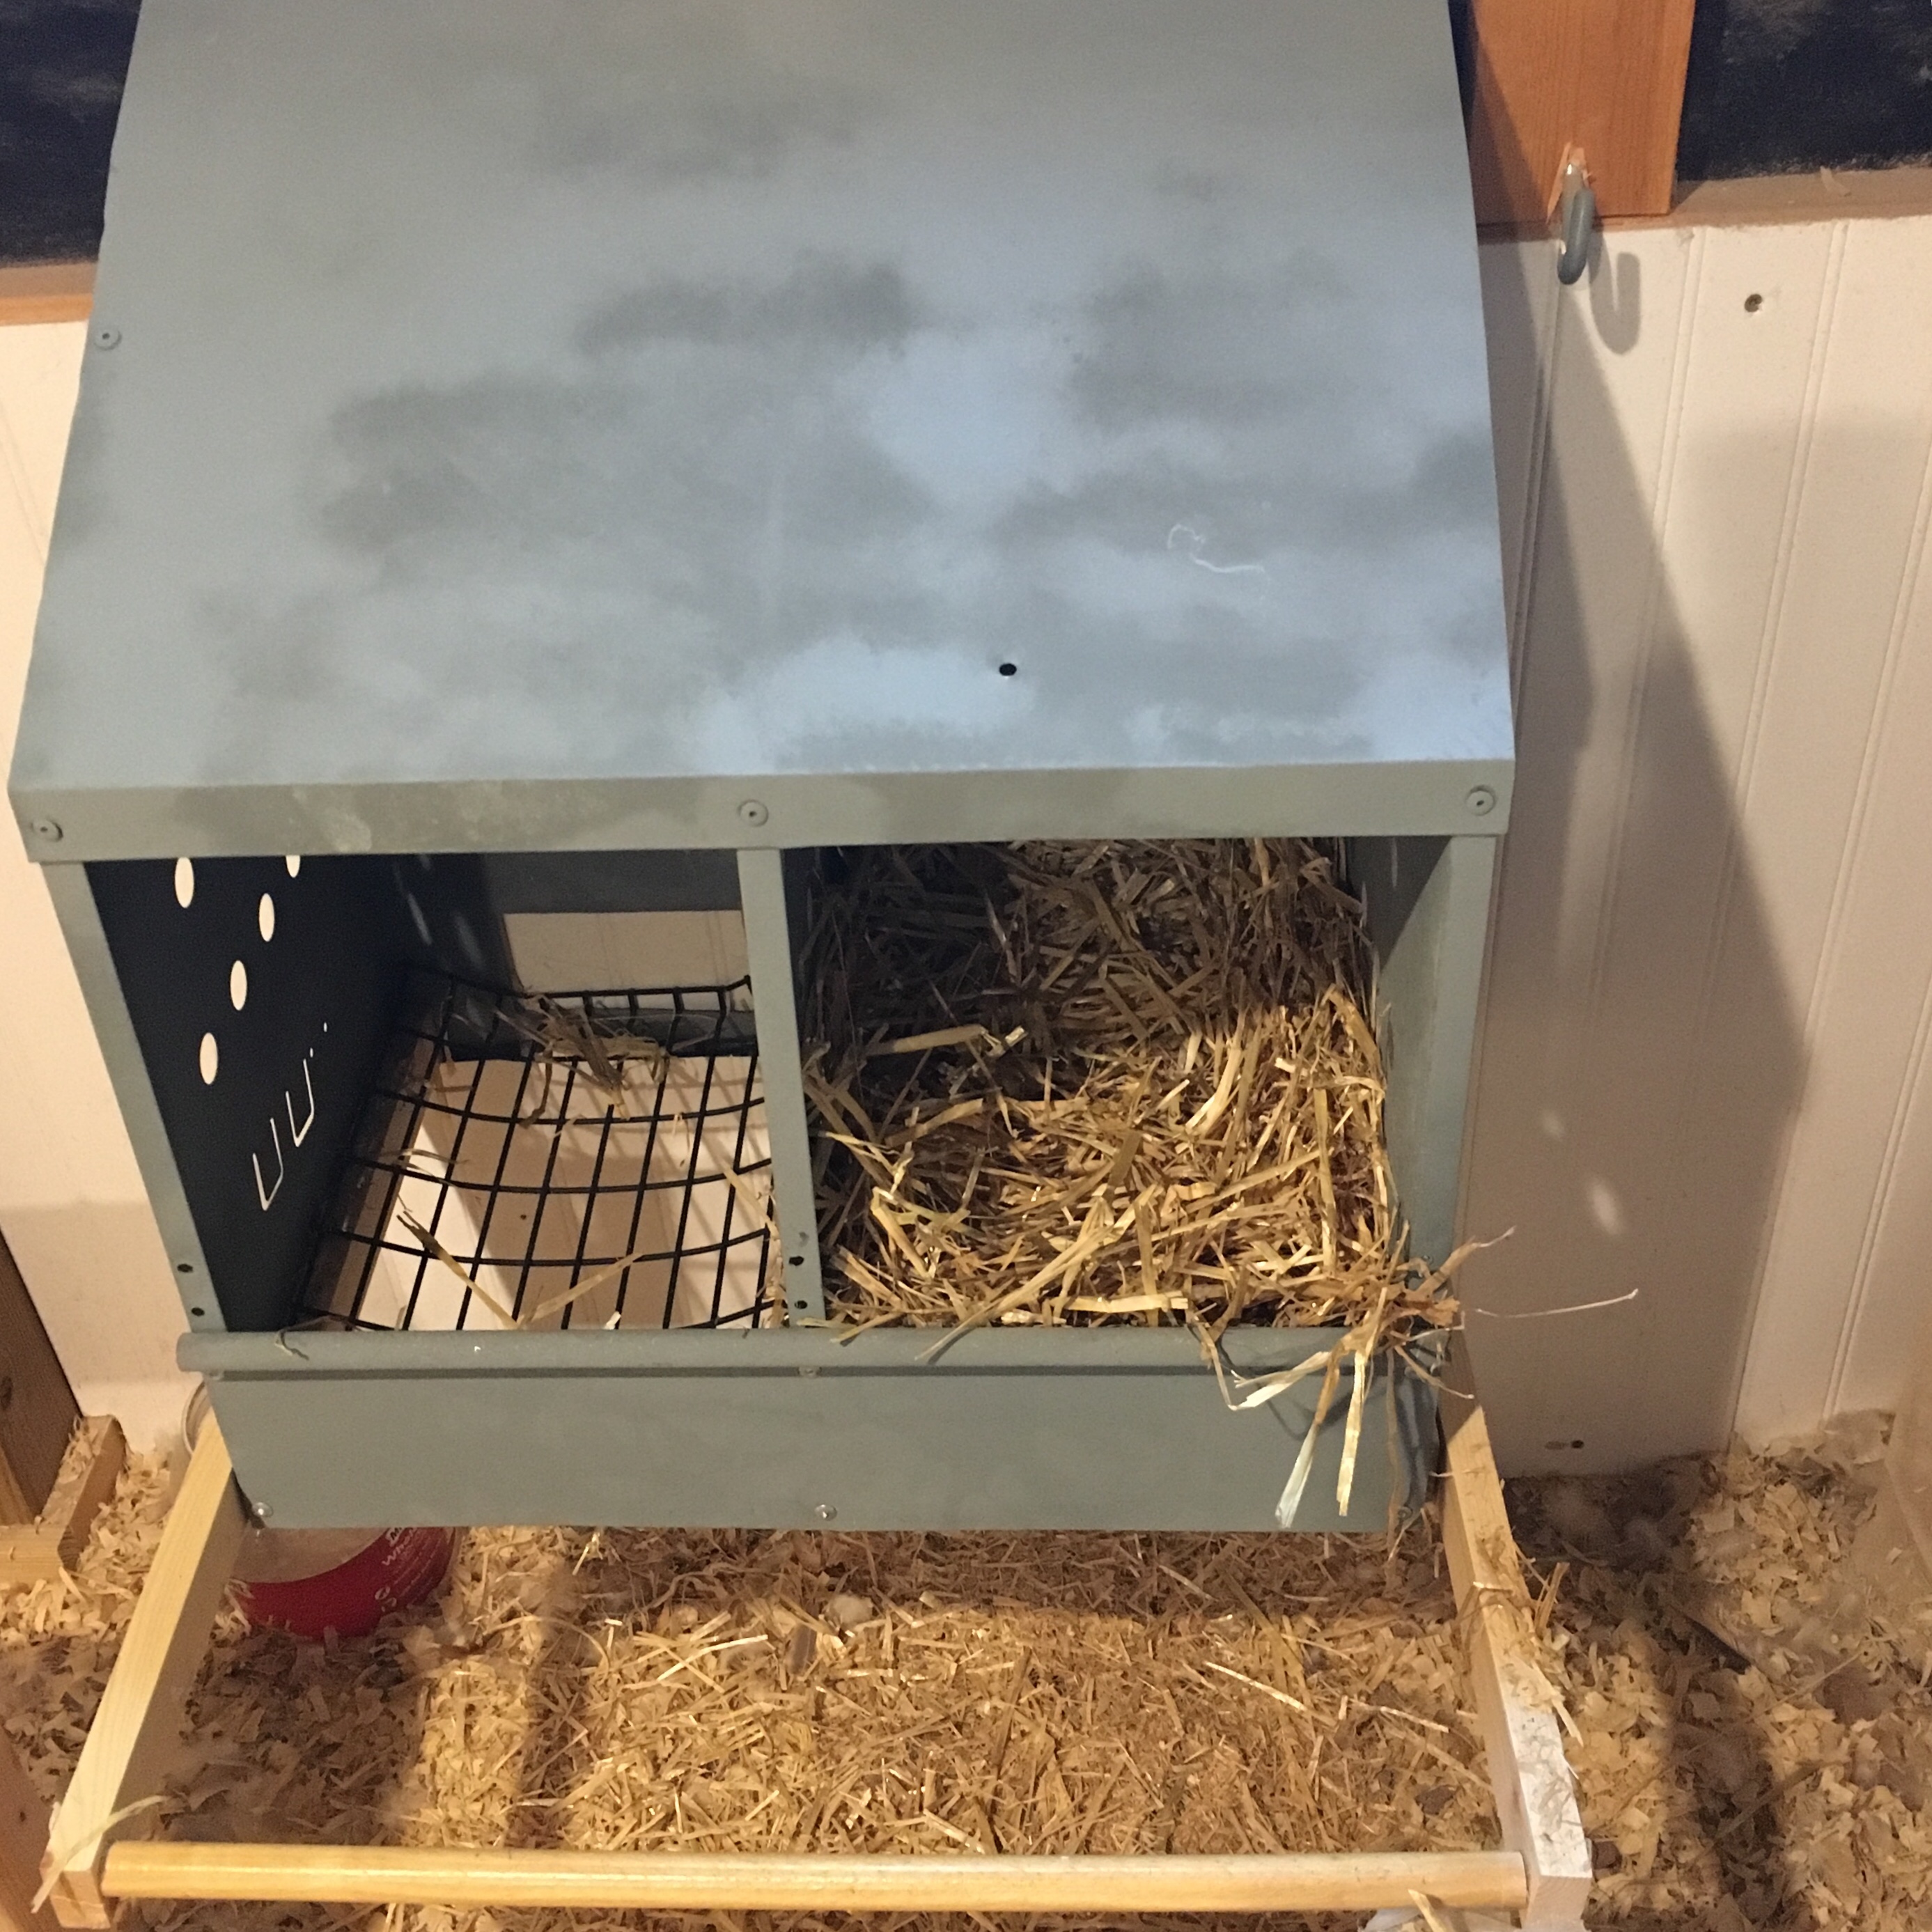
After seeing nesting boxes for sale on the corner on and off for months (we are in the country), I finally broke down, stopped, and bought a two seater from the nice gentleman selling. It is a vintage nest box, bordering on antique, but I was having trouble formulating my own plans and I had a moment of weakness. The man assured me that even large breed birds would be able to fit in the boxes, but when I got it home and measured it I was unsure. The recommended size for large breeds is 12x14x12. These boxes were 9x13x10. Um.
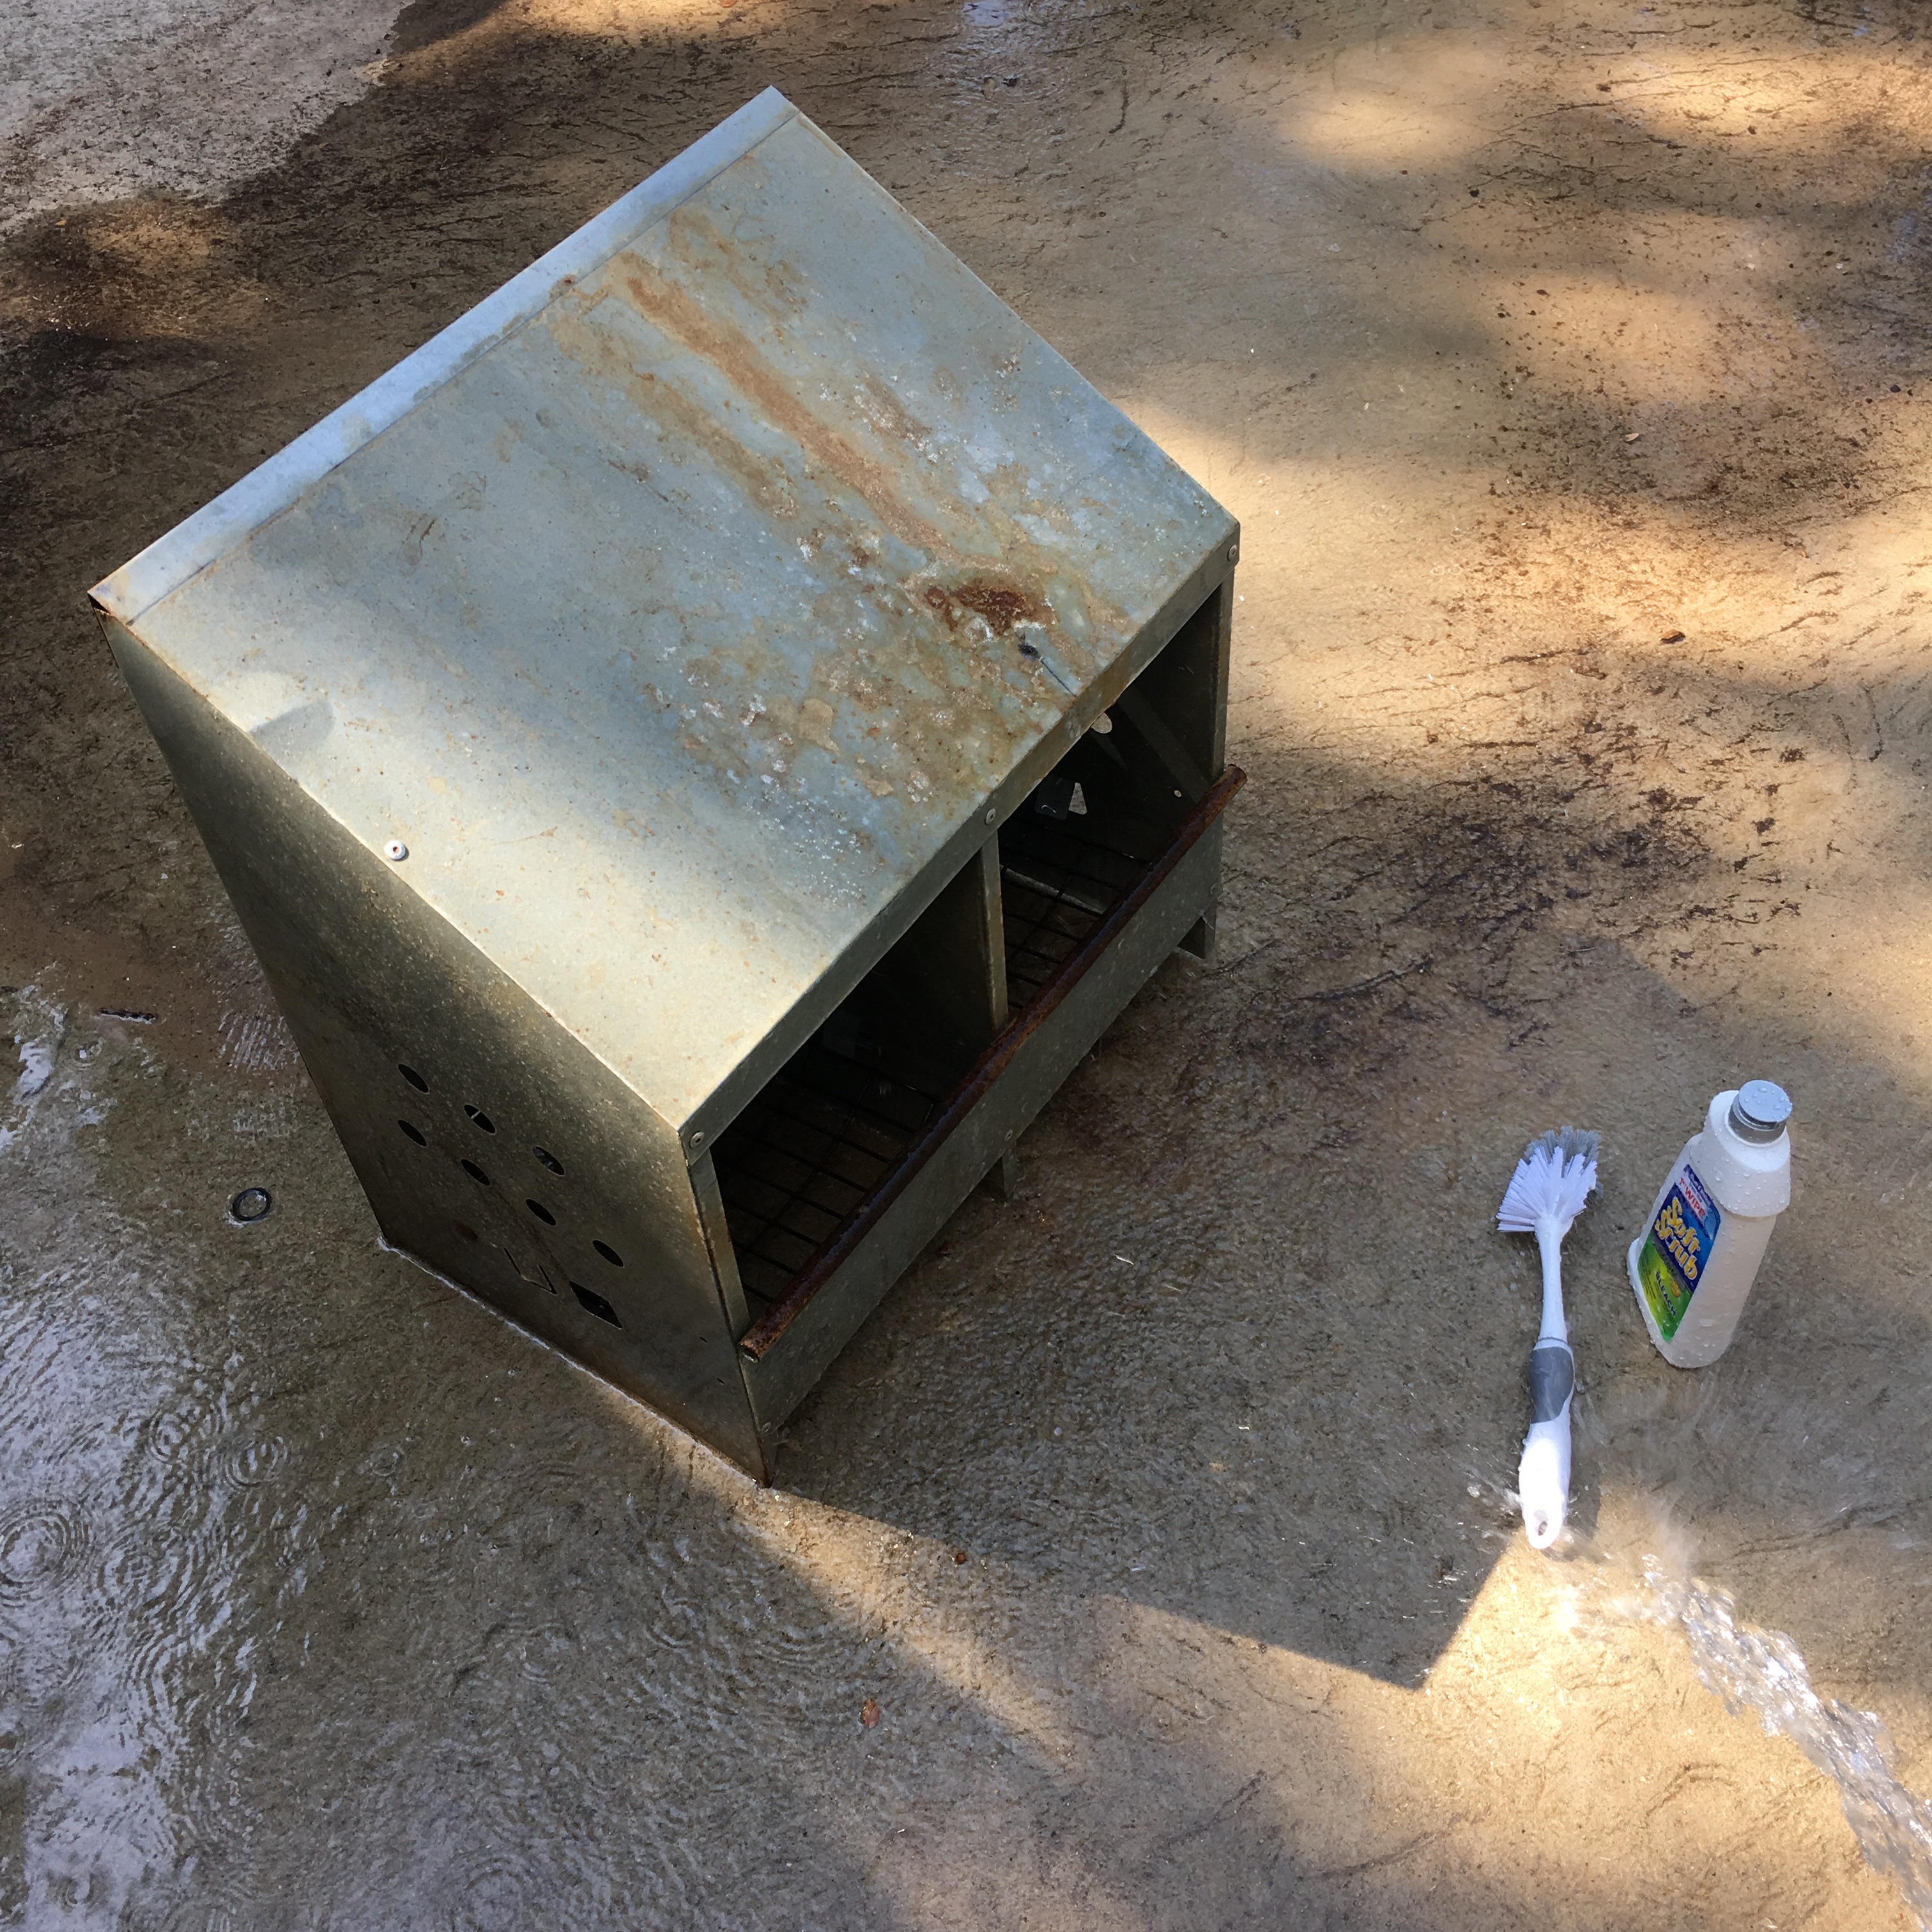
Scrubbing down vintage nest boxes with bleach
I figured out that I could make more room by dropping down the front panel a couple inches. I drilled out the rivets and scrubbed the box with bleach soft scrub (who knows how many chickens used this before!!) The boxes were designed to have an egg portal in the back for collecting. In my coop this isn’t practical, but the wire bottoms are extremely sturdy, so I scrubbed them too.
More scrubbing
Taking apart the box revealed that there was more rust. After the box dried, I used cold galvanizing spray to give the whole thing a coat of protectant. Most paint will not stick to galvanized metal, but this seems to have done the trick. I also gave the wire bottoms a coat of black rust stopping paint.
Sprayed with cold galvanizing, which results in a coat of zinc over the metal
Even though the front edge is rolled to provide purchase for chicken feet, I still felt I needed a landing spot about 8” out from the box. I put 1” x 3/4” strips on the inside and outside of each of the three sides. The outer strips were longer to hold a dowel. These strips also helped stabilize the bottom of the box, and serve as support for the wire bottom in its new position.
Wood stabilization and roost rack
Riveting the front panel back on was simple, but I did need my husband’s help on the final squeeze to break off the rivet wire. The riveter is definitely made for larger, stronger hands.
Upside down garden tool rack
In the coop, I found that the nesting boxes could hang well on an upside down garden tool rack attached to the stud. I put in a couple more screws just for security.
Installed nest box
The perch to get onto the boxes is below the level of the roost, I put straw in each box and a little DE and dried lavender, and the opening is a little larger than it was before. So we’ll see if they use the boxes… in three months or so.
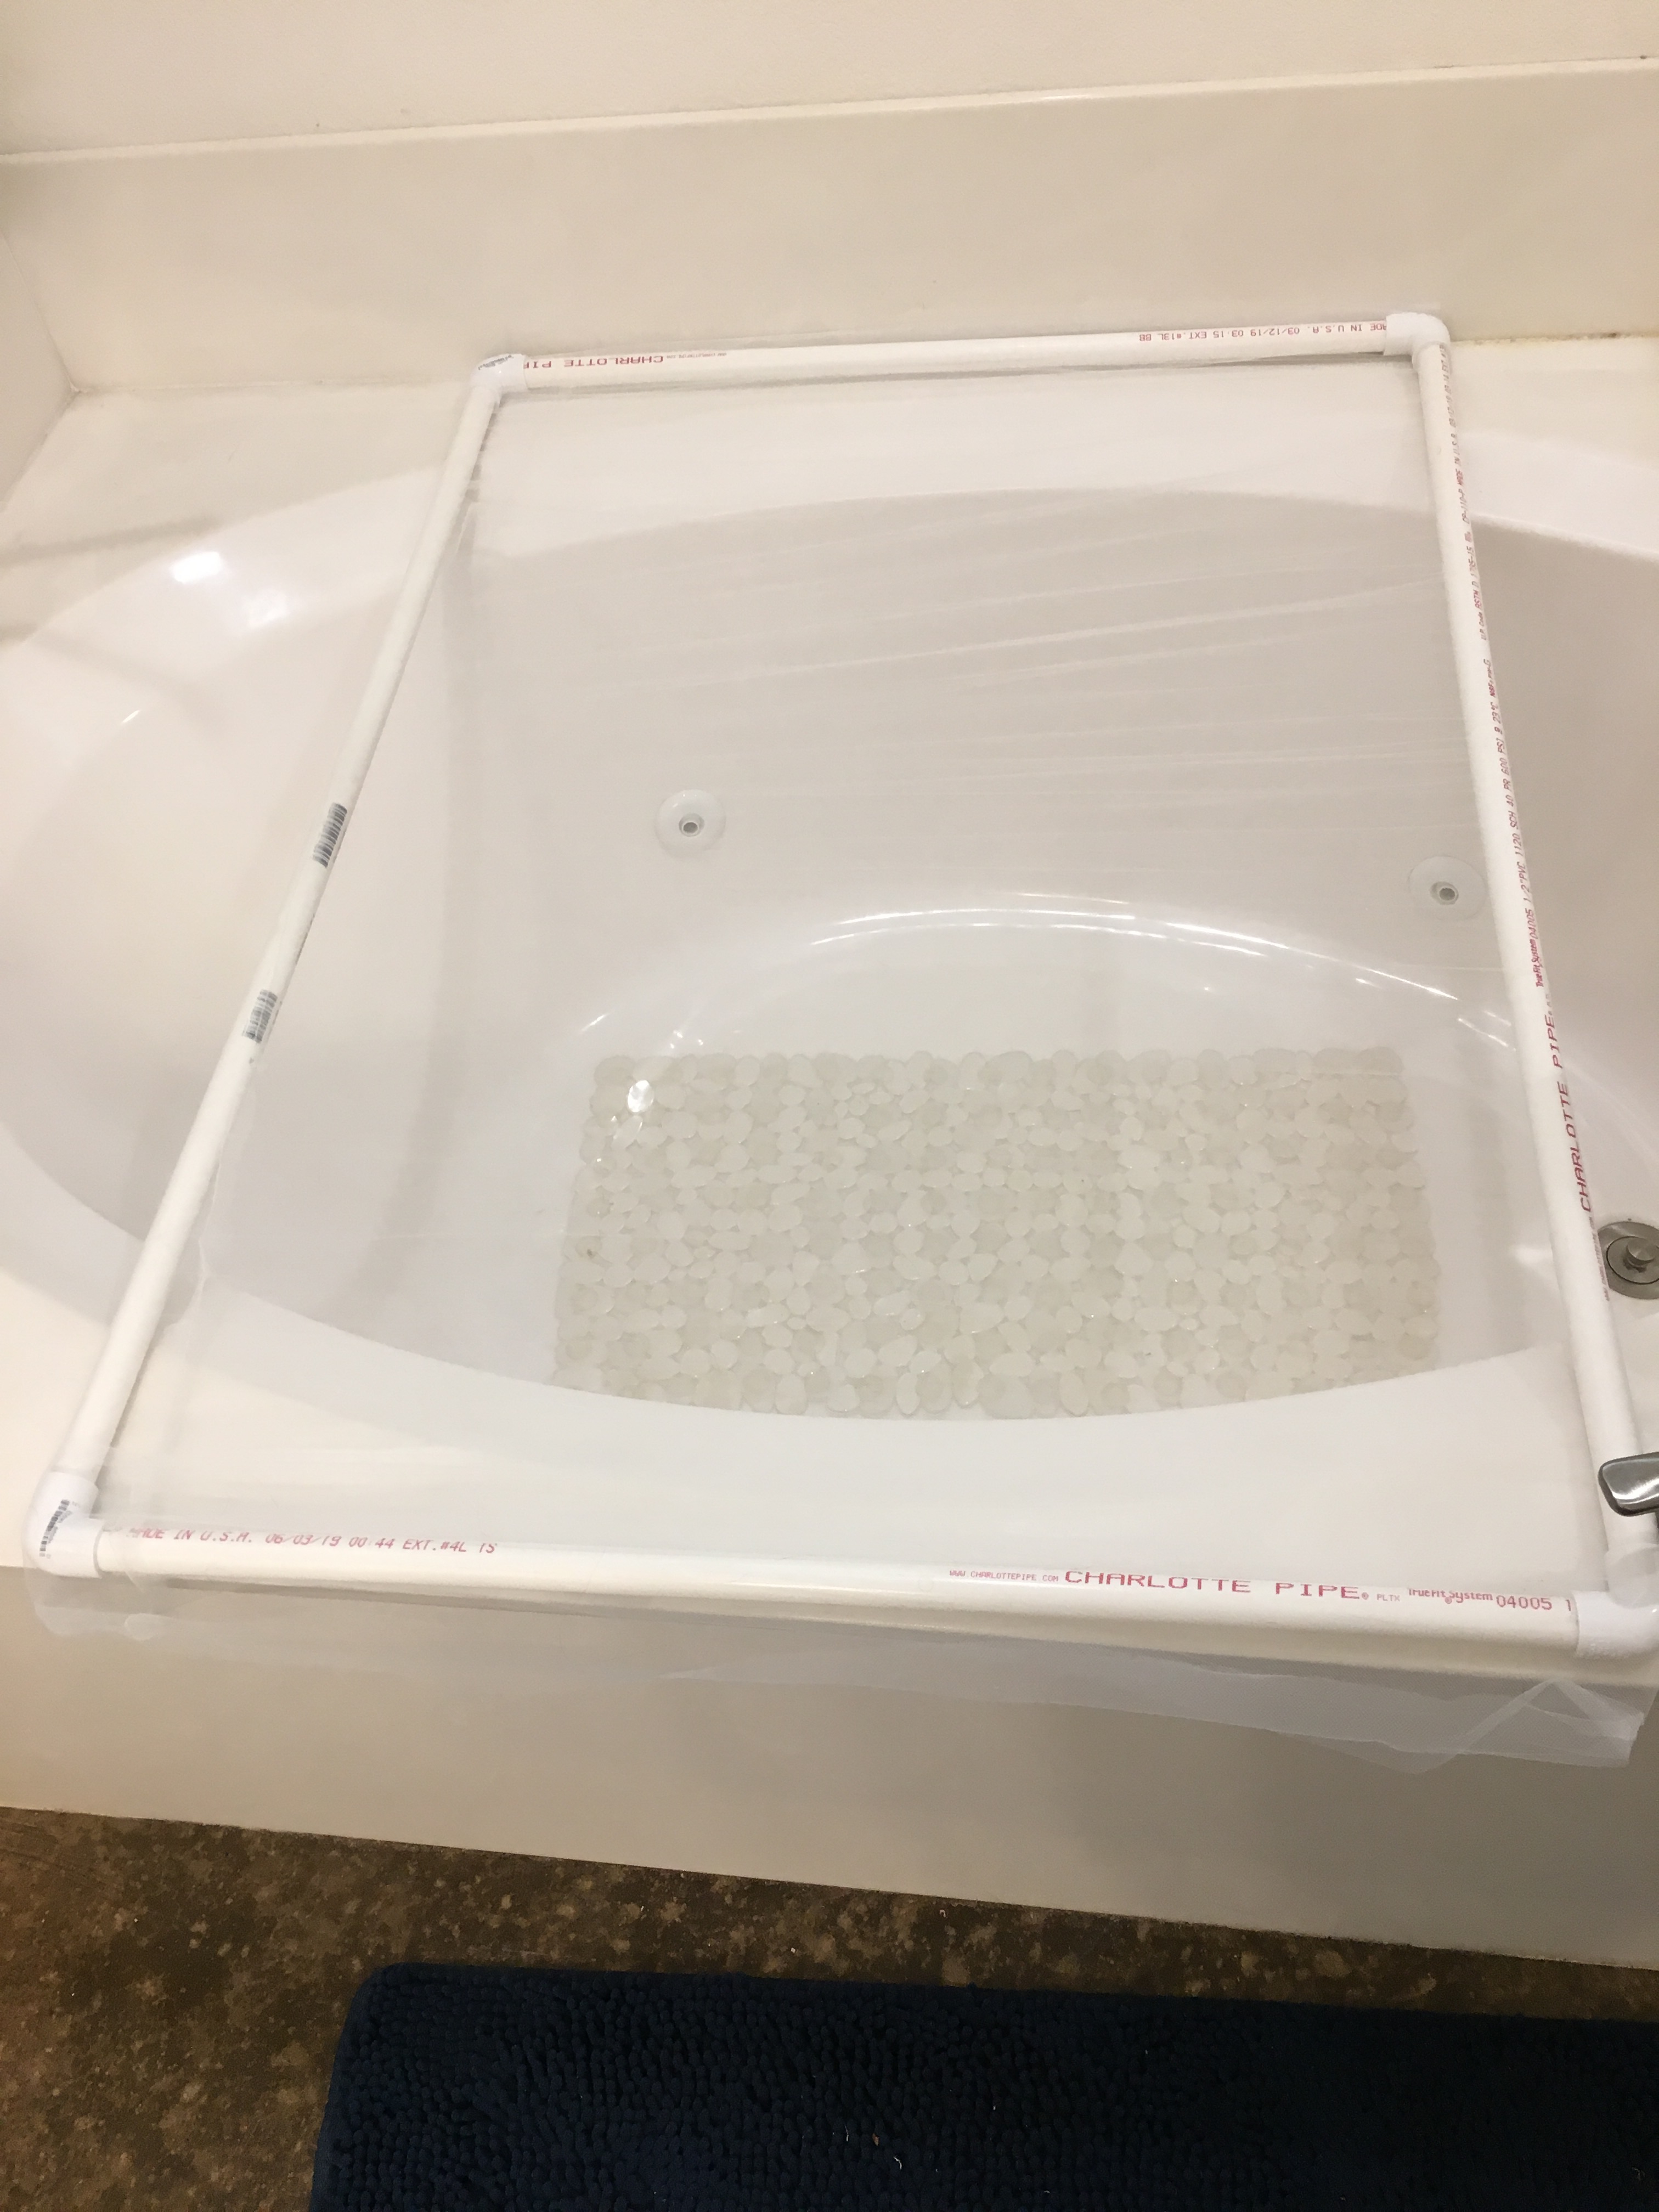
I needed a flat space to dry wet items, so I made this drying rack that sits on top of the bathtub. When I’m not using it, it can be disassembled and stored!
Bathtub drying rack
I purchased 1/2 inch PVC pipe and four 90 degree elbows (always make sure all your elbows fit your tubing before purchasing!) I measured the clear area on the tub and cut lengths of pipe to fit. My area was 41×30, and my PVC elbows were 1.5 inches, so I cut two pipes at 38 inches (41-3), and two at 27 inches (30-3). I used a compound miter saw, but PVC cuts easily with hand saws as well. I assembled the frame with the PVC elbows. I did NOT use glue.
I had some nylon mesh in my fabric stash, and sewed a long, wide tube out of the fabric as wide as the PVC frame, then slipped the tube over the frame. If you have a mesh laundry bag, you could make the frame to fit the laundry bag for a similar effect.
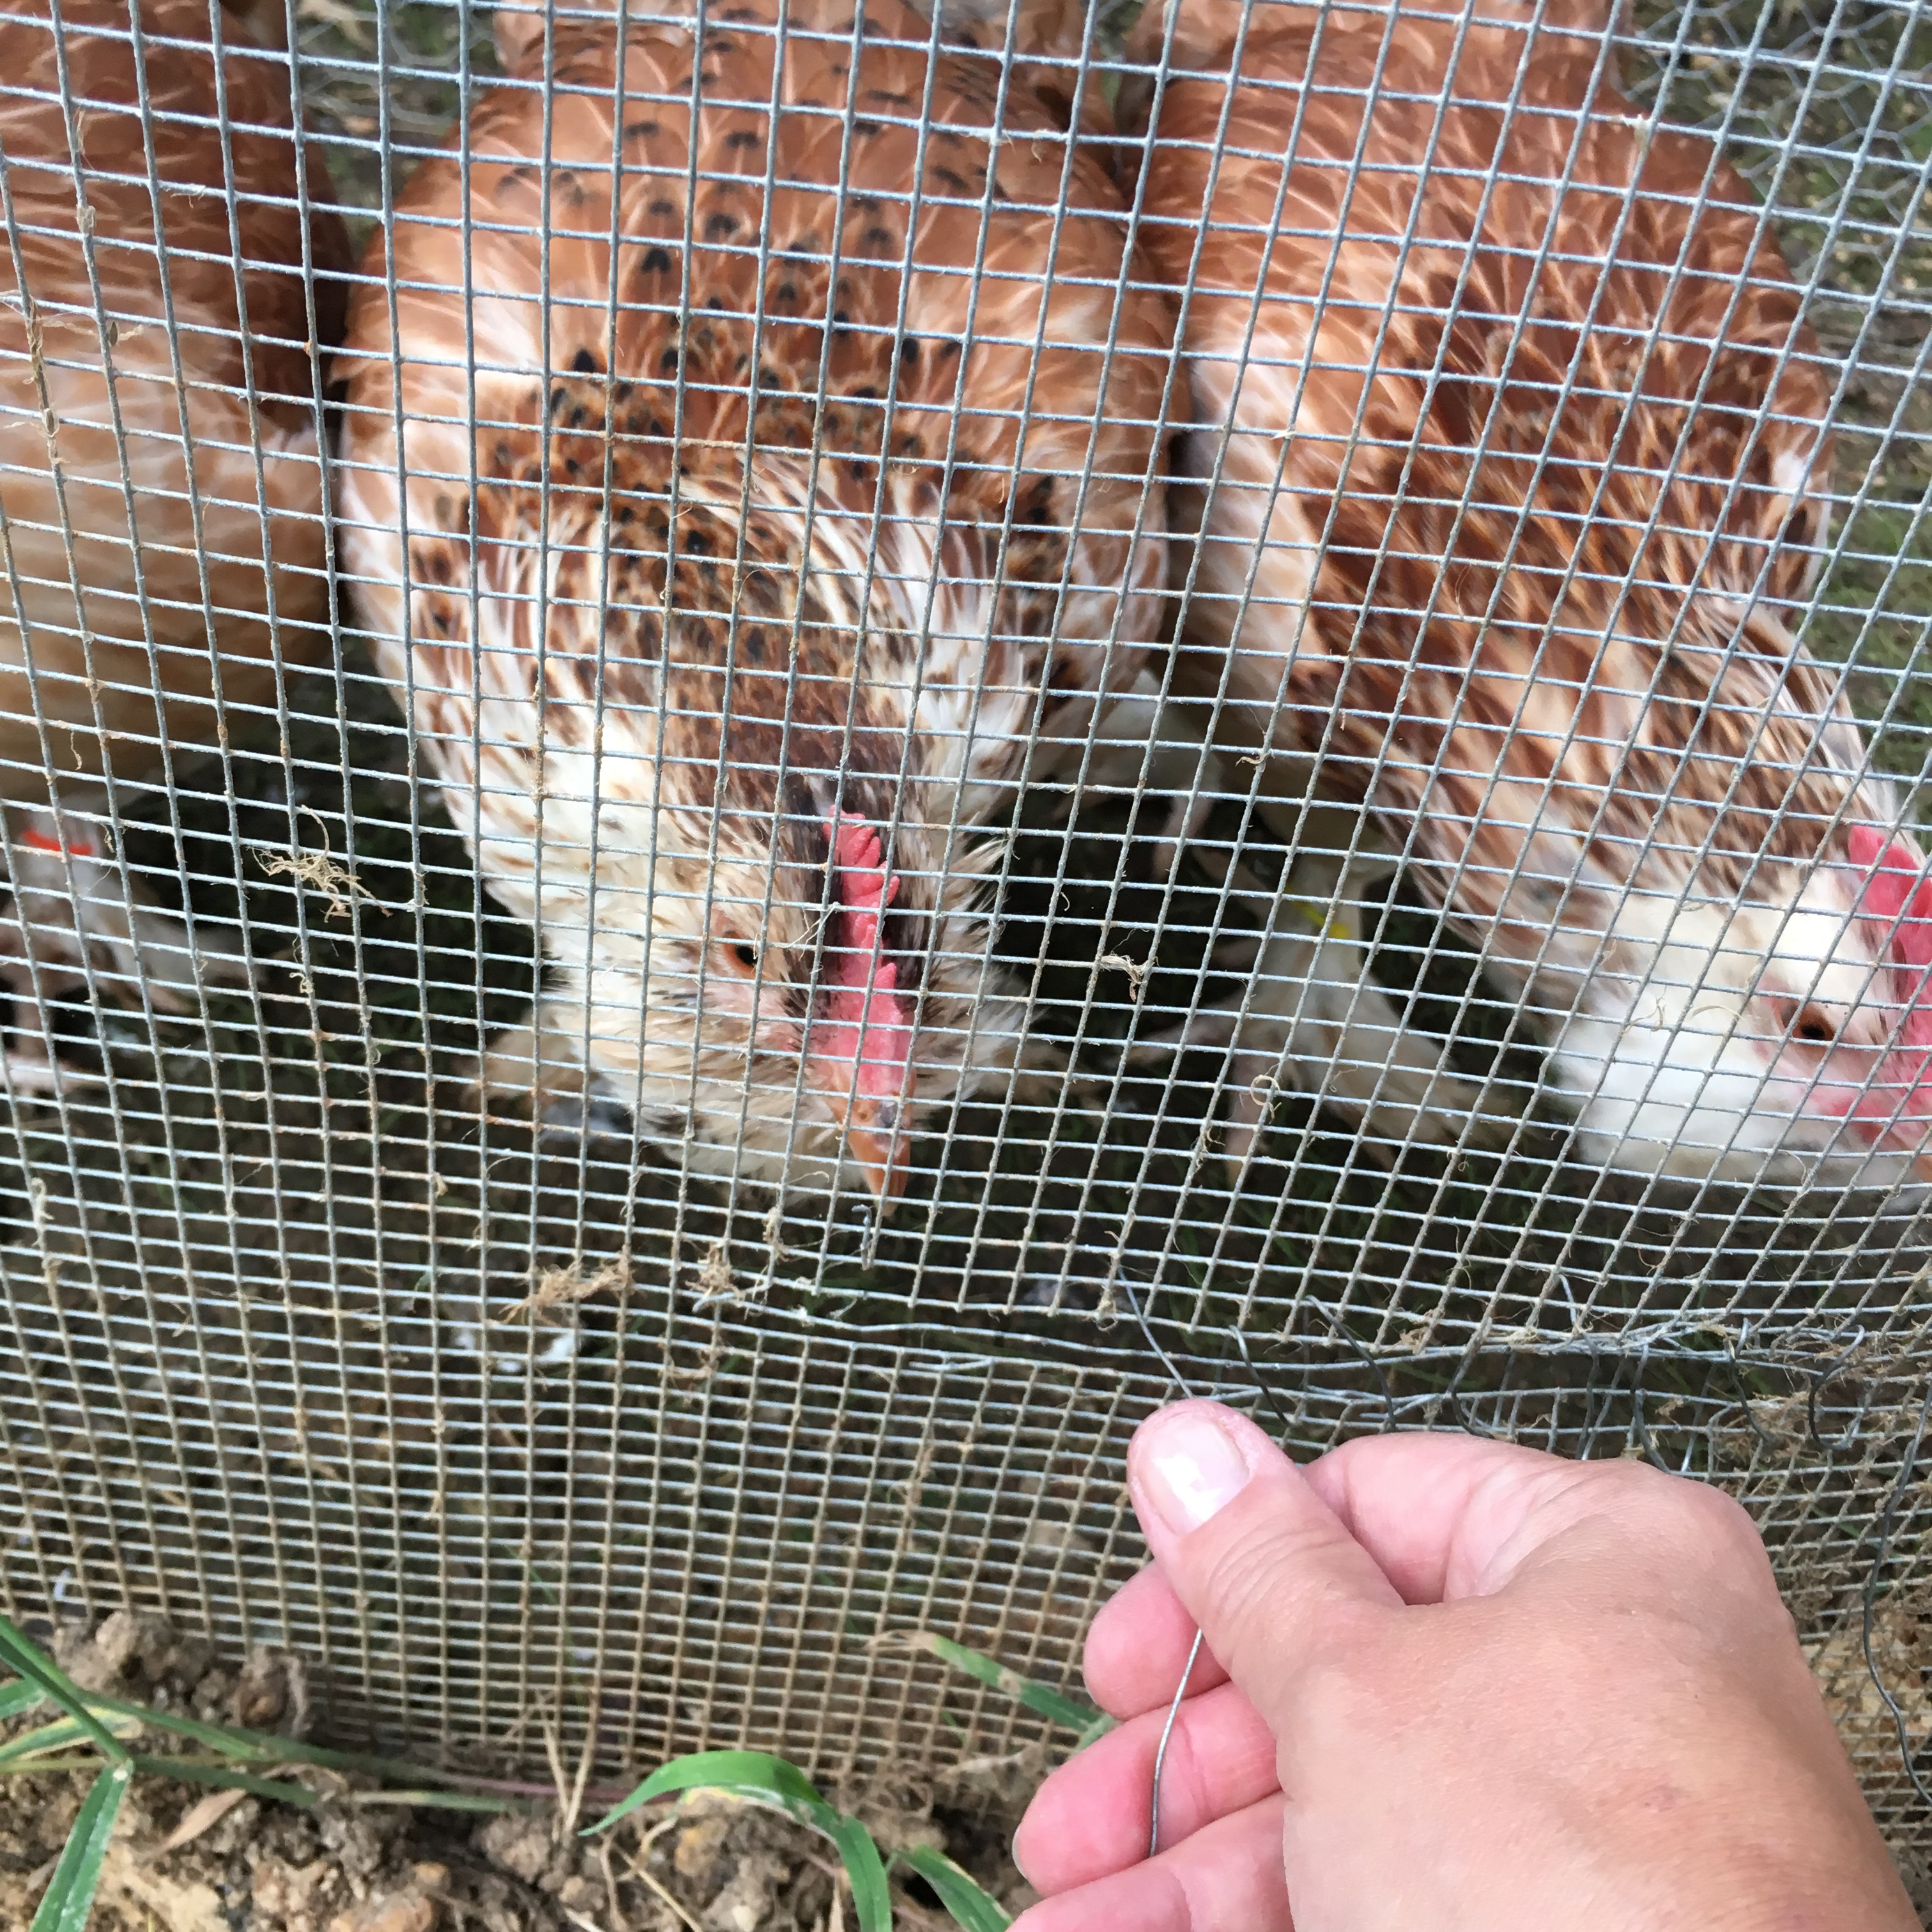
I’m not sure what happened to make a rip in the hardware cloth, but the chickens were very interested in how I was using wire to fix it. They are not great at poking the wire back through to me.