Surgery wrap

Missy went in for her spay, and rather than a cone of shame or donut of doom, I made her a surgery wrap from knit fabric. The wrap keeps her from licking the incision site, and a little shaping keeps it clean and dry when she has to do her outside business.
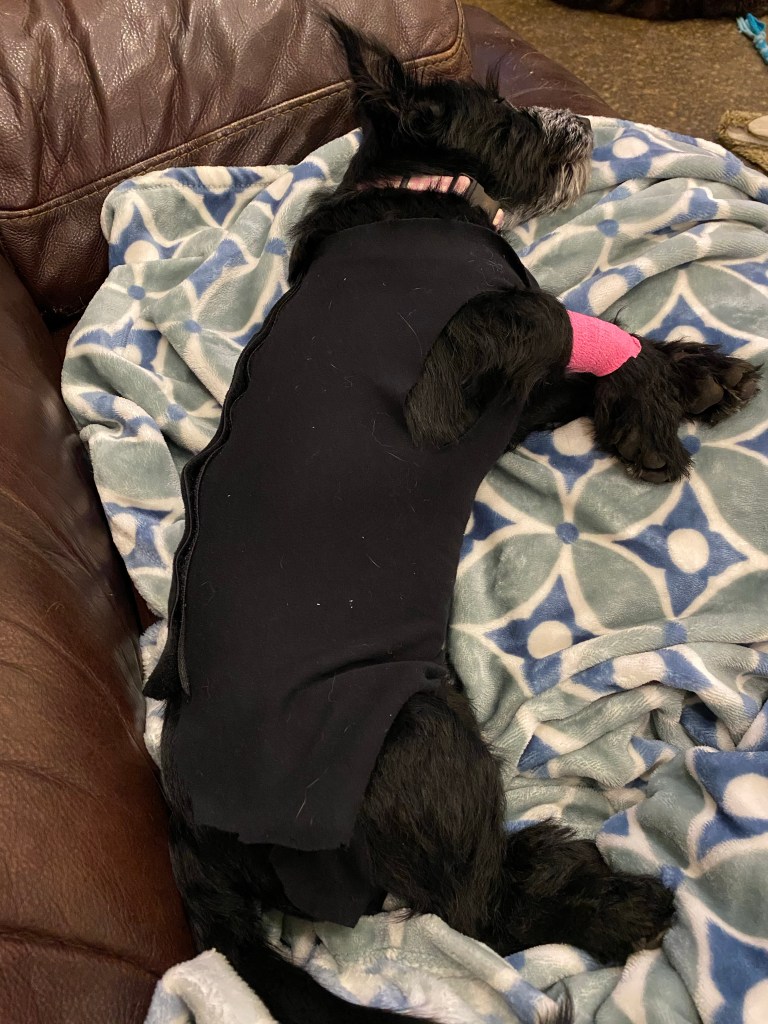
Missy wearing her surgery wrap (I know, black fabric on a black dog!)

To make the wrap, I measured her back from neck to tail (16”) and around her chest (18”). I cut a rectangle from knit fabric that was 16” x 19” (the extra inch around makes it easier to pin). I measured between her front legs, across her chest (4”), and made 4 slits 4” apart at the top and bottom of the wrap for her legs. I cut a curve out between the back legs so the wrap wouldn’t get wet or dirty when she eliminated.

Knit wrap with slits and toiletry cut out

I tried a version with velcro, but it didn’t fit as well as when I just used three safety pins to pin along the back (and velcro is loud!) I put her legs in the four holes, pulled the fabric snug but not tight, and the pinned the fabrics at the back of the neck, mid back, and near the tail.
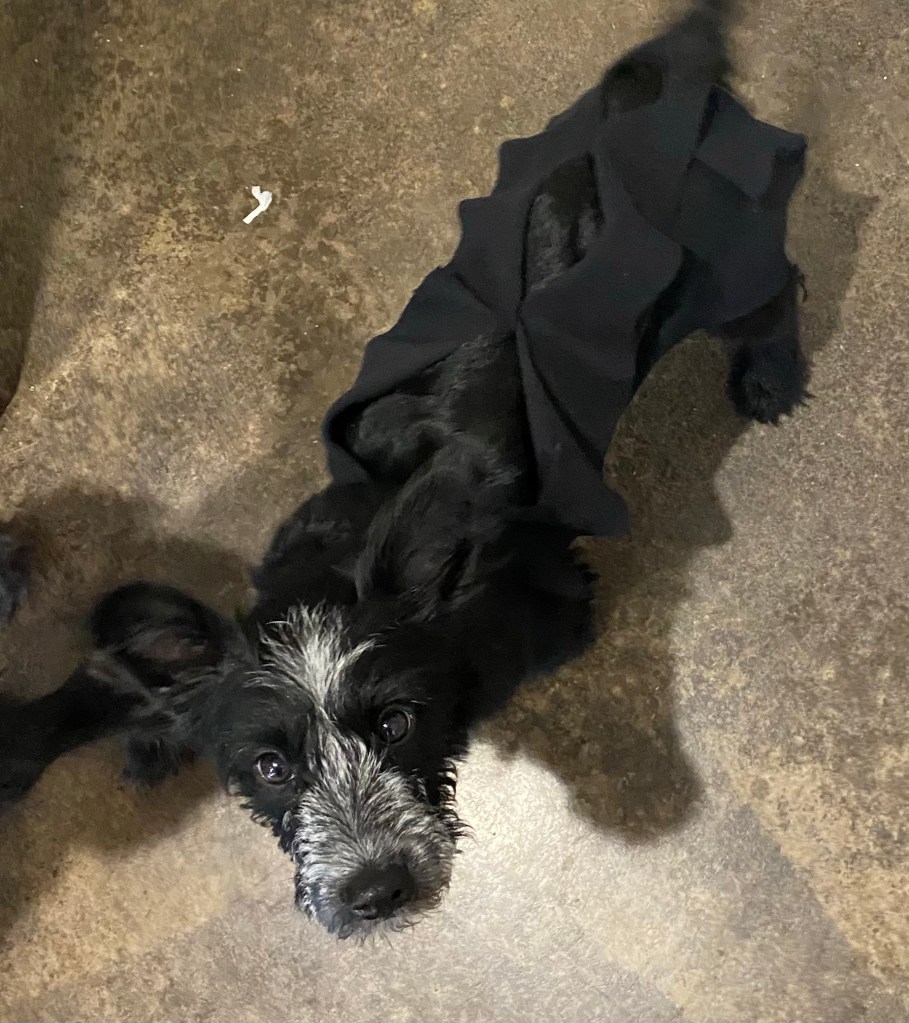
Wrap showing pin locations along the back

Missy is surprisingly OK about wearing her little vest! Is it as fancy as the surgery wraps you can buy? No, but I’ve made them out of old t-shirt material, so they can be free to make. For something that you only need for 10-14 days, free is good. They work for cats too! At least female ones. When Sophie had her spay, we used a similar surgery wrap.
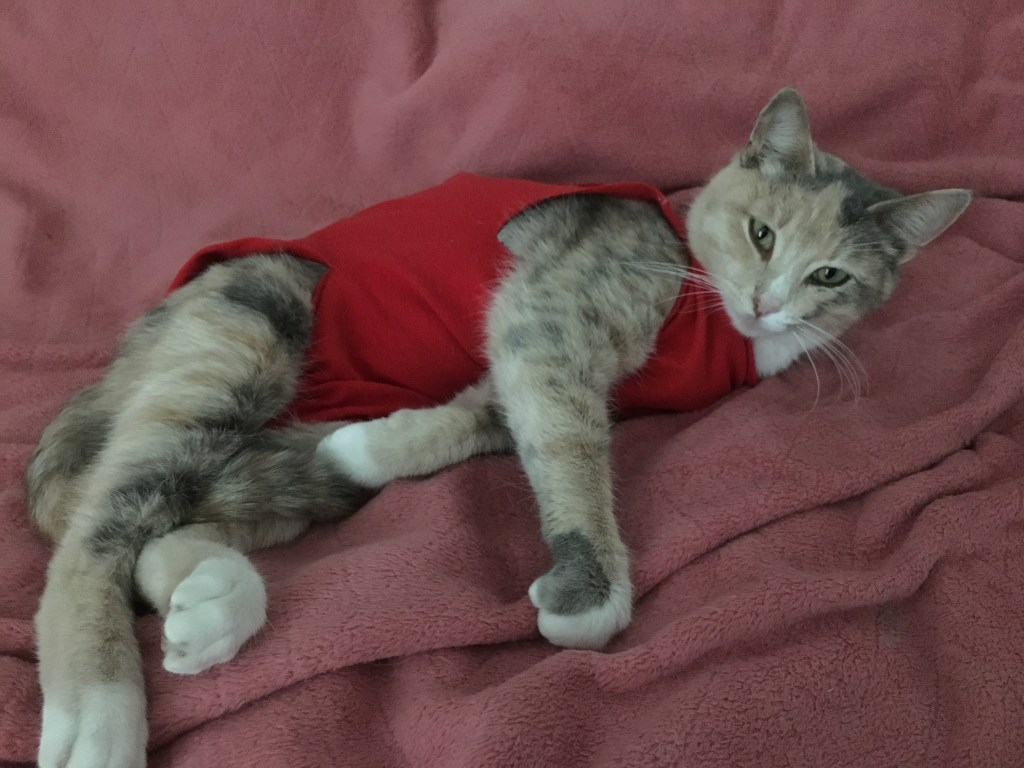
Sophie in a surgery wrap made from an old T-shirt and safety pins

Chicken check

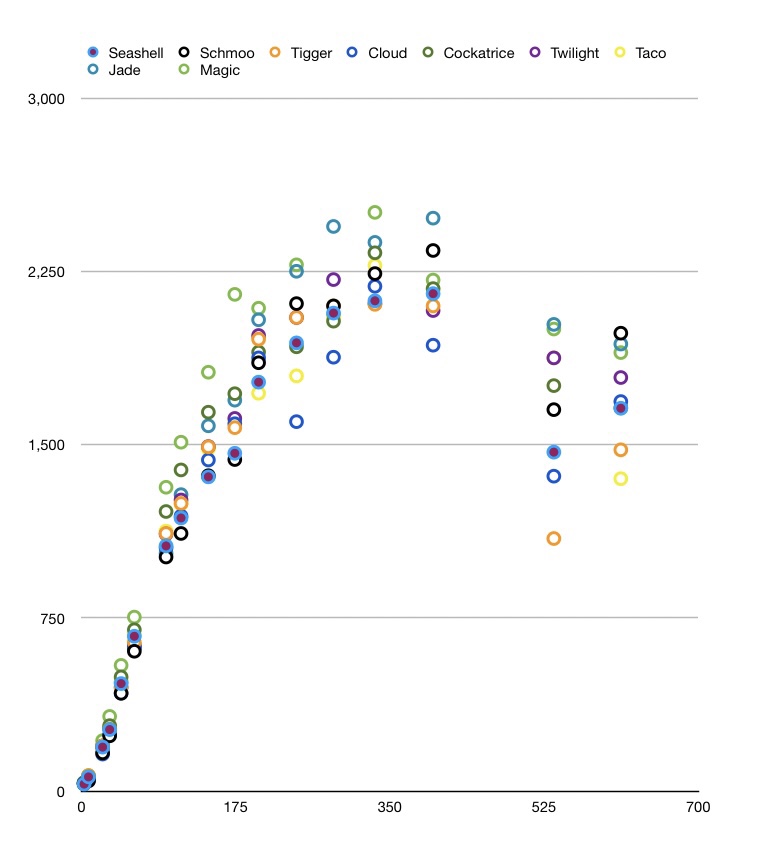
My eldest helped me with another chicken check. We really should be doing these monthly. I read that feathers growing back in is painful and have been trying to minimize contact. We treated everyone for scaly leg mites with a essential oil ointment. Most of the chicken feet looked OK, but a few had definite lifted scales. Some have gained weight, some have lost. Taco and Tigger were the lightest and they both have the lifted scales on their feet and legs. Gail Damerow, in her chicken health book, recommends slathering the legs in petroleum jelly for a week. Taco is our hardest catch, so we’ll do what we can.

Chicken weights

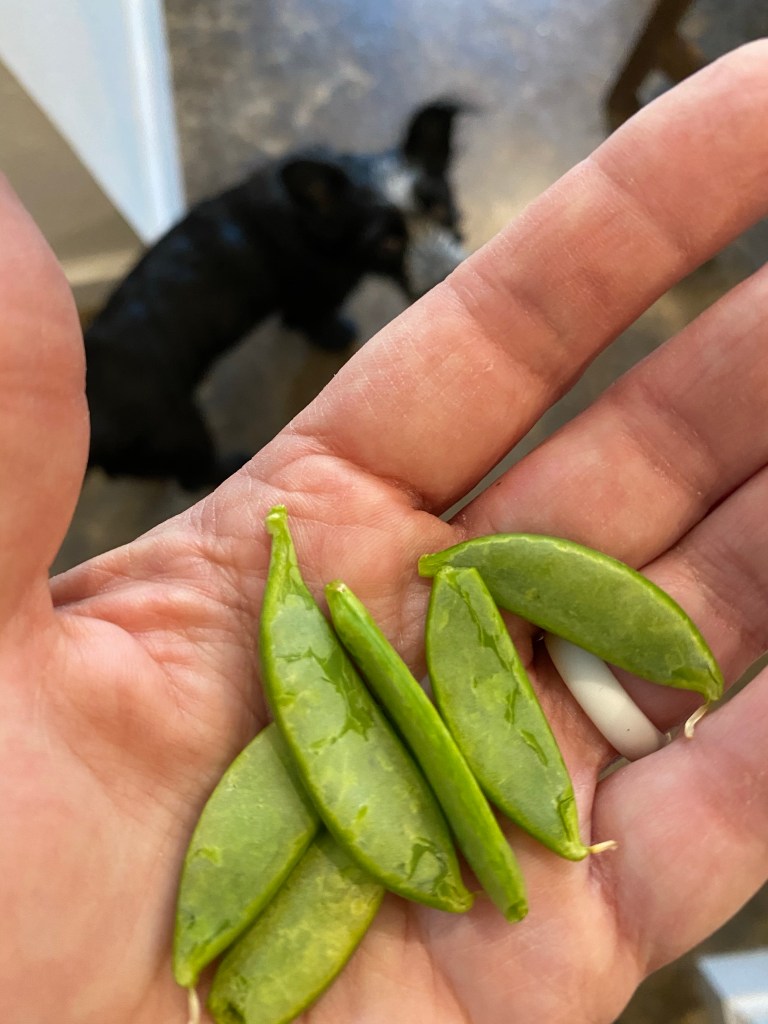
Snap pea harvest

Snap pea harvest

The freeze marred the snap peas, so I harvested them even though they were small. They tasted OK. Yes, this is the full harvest. But it is better than nought!

Setting pins

I have learned a new skill! Hurray! I have probably been watching too much Forged in Fire; I had a desire to learn to set a pin in wood, which they don’t actually show how on the screen. Turns out, it is not that difficult. Getting the holes set evenly is another matter!

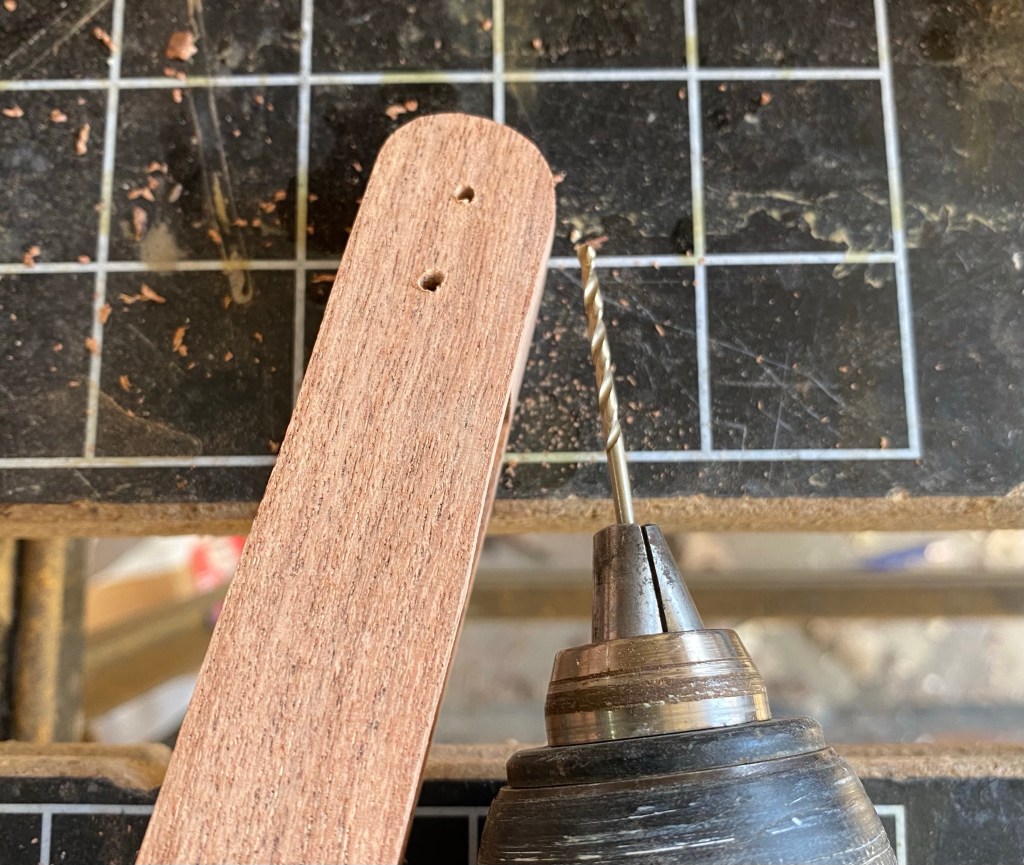
Drilling holes

First, I drilled holes the size of my brass wire. My drill bit was the exact size, so I had to ream it out some to get the wire through. When drilling, support the back of the piece with scrap wood. By drilling into the scrap wood, you reduce the chance of blowing out the back of the hole (that is experience talking!)

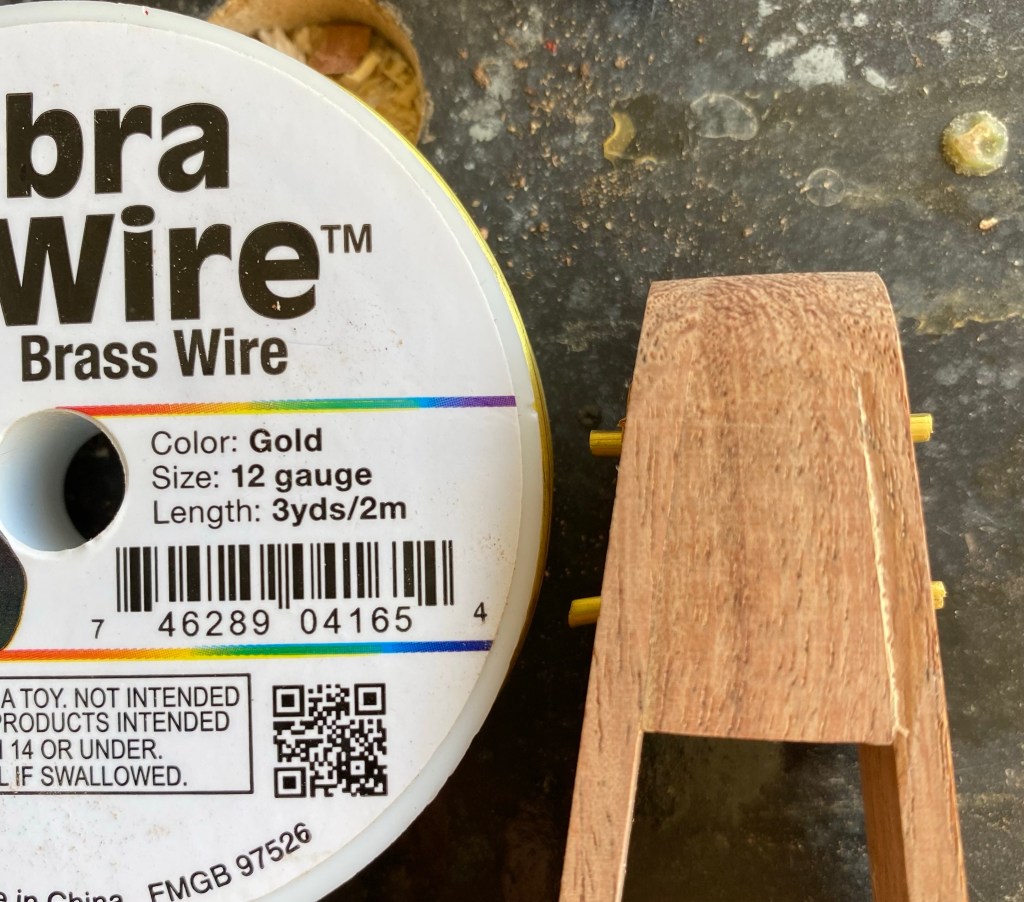
Wire inserted through the holes and trimmed 1/8” inch on each side

I cut my wire flush and to about 1/4” longer than the width, so that when fully inserted, the wire sticks 1/8” out each side. The fit of the wire should be snug; I used a hammer to drive it through.

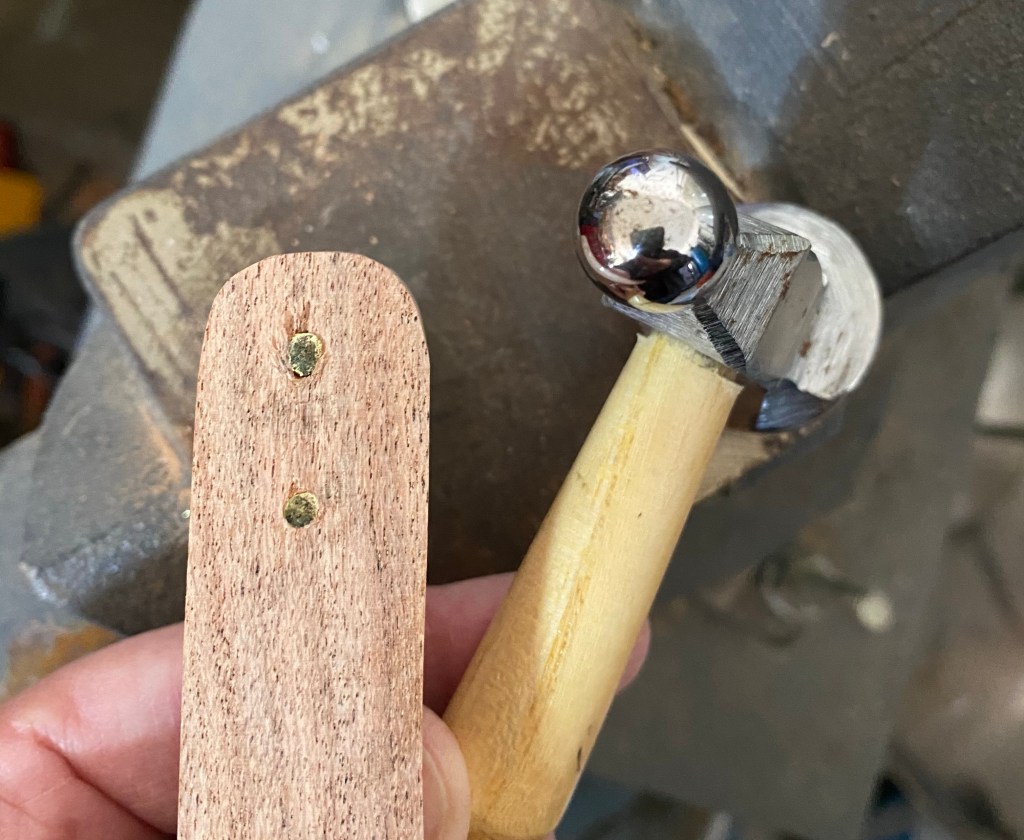
Flattening out the ends of the wire with a ball peen hammer

I took the work over to the vice, because it has a small anvil area. I used a ball peen hammer to mushroom over the ends of the wire. By hammering a few times, then flipping it over, I was able to flatten out both ends of the wire. I hammered around the edge of the wire (mostly, still practicing), rather than straight in the middle. This pushes the metal outward to round the end and wedge it into the wood.

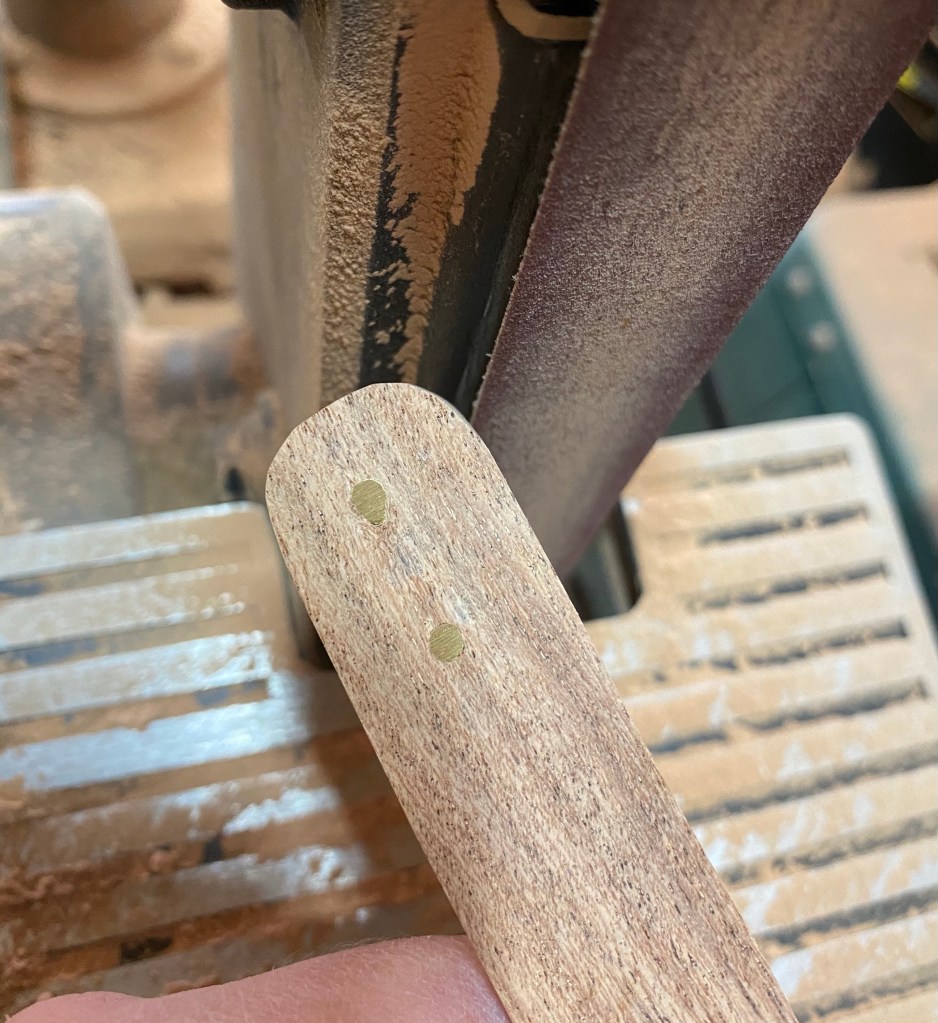
Sanding the pins smooth with a band sander

To finish, I sanded off the top of the pin so the top was smooth. The resulting brass circle is larger the than the initial hole, and fills the hole completely, so I’m fairly confident it will hold. Fun! Now what else can I pin…

Because dandelions

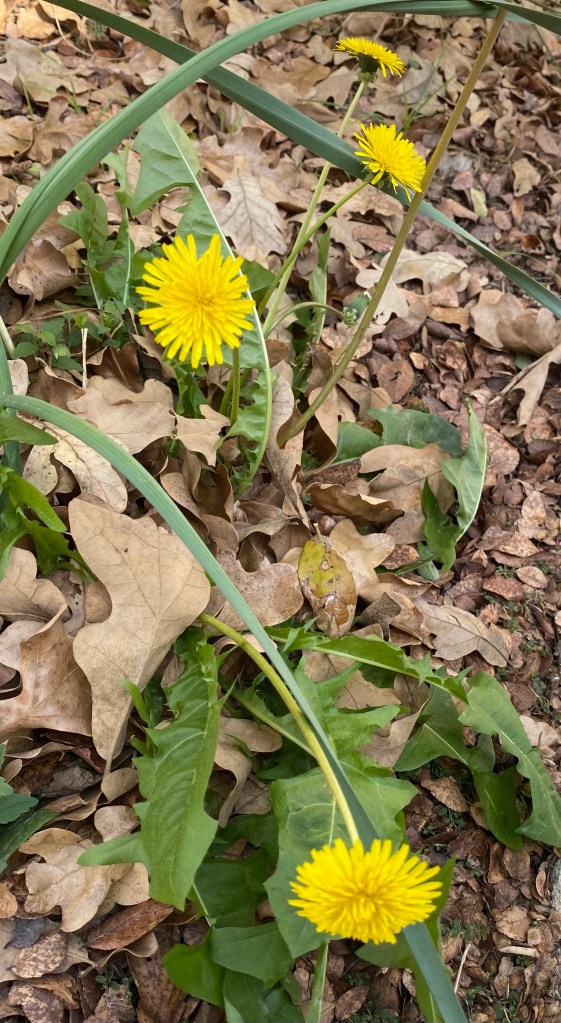
Dandelions in December

I’m not sure if I’ve never seen dandelions blooming in December, or if I’m just looking for more 2020 weirdness. This is a common dandelion; it turns out there are other varieties as well, but for me, this is what I mean when I say dandelion. And no, I don’t pull them.