Trial cake

My youngest wants a rainbow chocolate chip chocolate cake. We settled on a four-layer cake with chocolate frosting and mini chocolate chips in the batter. I used Heritage Wheat all-purpose flour from Sunrise Mills both to see how well it bakes in a cake, and if my digestive tract has any issues with it. Using a recipe for yellow cake from my go-to Better Homes and Gardens cookbook, I did four layers (because that is how many pans I have), and used gel food coloring to make yellow, orange, pink, and purple (which is more indigo because a second drop of blue slipped in). I halved the cooking time recommended since the layers were thin, then added 2 more minutes which I didn’t need (my gluten-free cakes lately have been not cooked through, so I was apprehensive). The cake was slightly dry, but definitely cooked, and the layers were easy to handle. It was also easy to frost with a thin layer of chocolate frosting (store-bought ‘cause I didn’t want to make it). The family said it was good cake! (Which are words that have not been uttered for the last few cakes, when I was using different flours.) The mini chocolate chips were rather lost in the frosting and crumb, but I also forgot to put them in until the last minute, so we’ll try to remember them earlier next time. Oh, and no tummy troubles, huzzah!

Chocolate “rainbow” cake

Melon sling

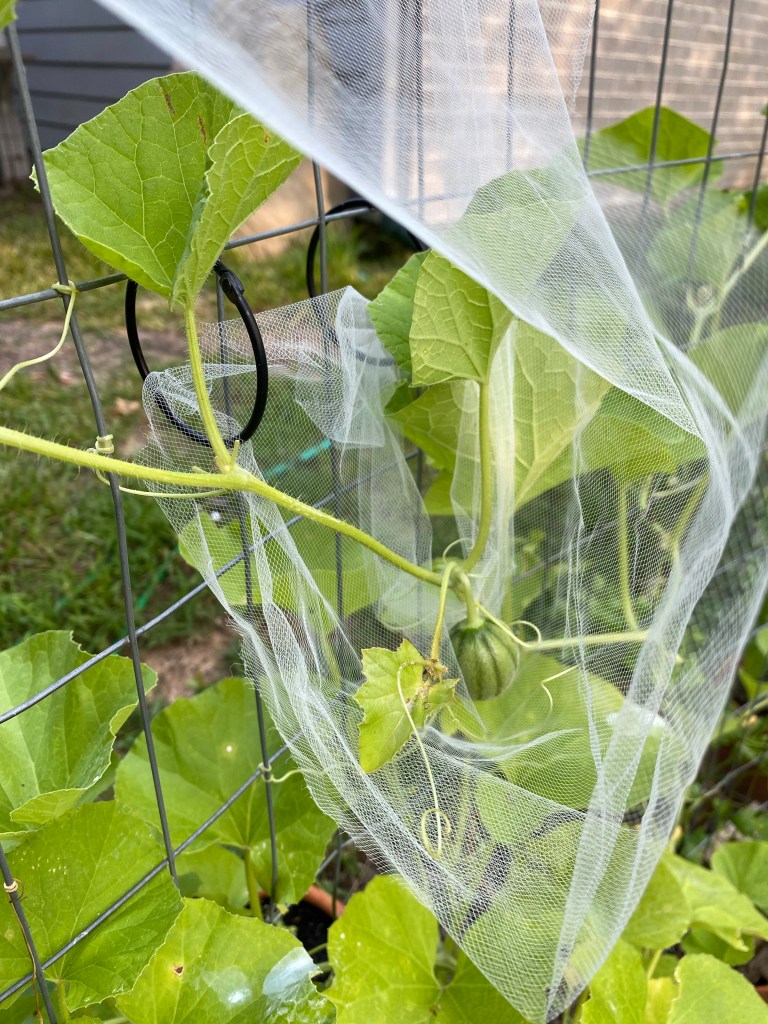
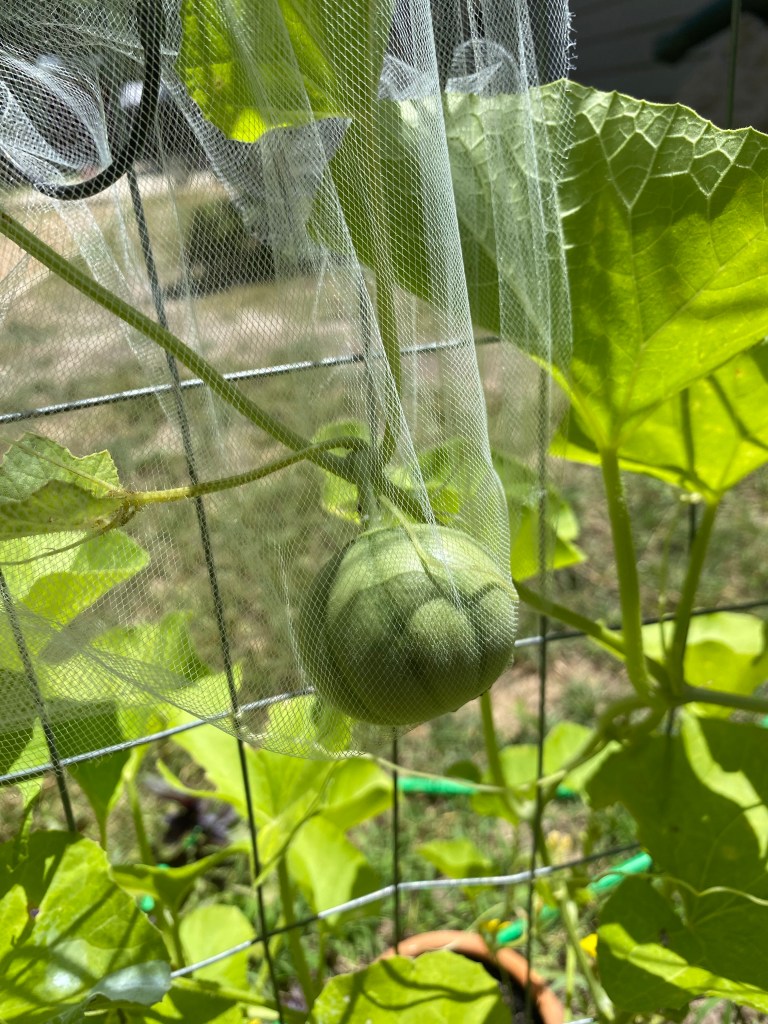
The melon vines that I have been training up the fence have budded fruit! How exciting! But now, as the fruit swells, how to support the vine so the globes can ripen? I tore off some netting from last year’s Halloween decorations and made a sling around the fruit and the vine. I used round clips to secure the corners, both because they can be adjusted as the melon grows, and because they were already hanging on the fence from my makeshift green house. I am also pruning down to one melon per vine, to give the remaining ones their best chance.

Netting used as a melon sling
View of melon inside the sling
Three days later

Managing a tricky situation

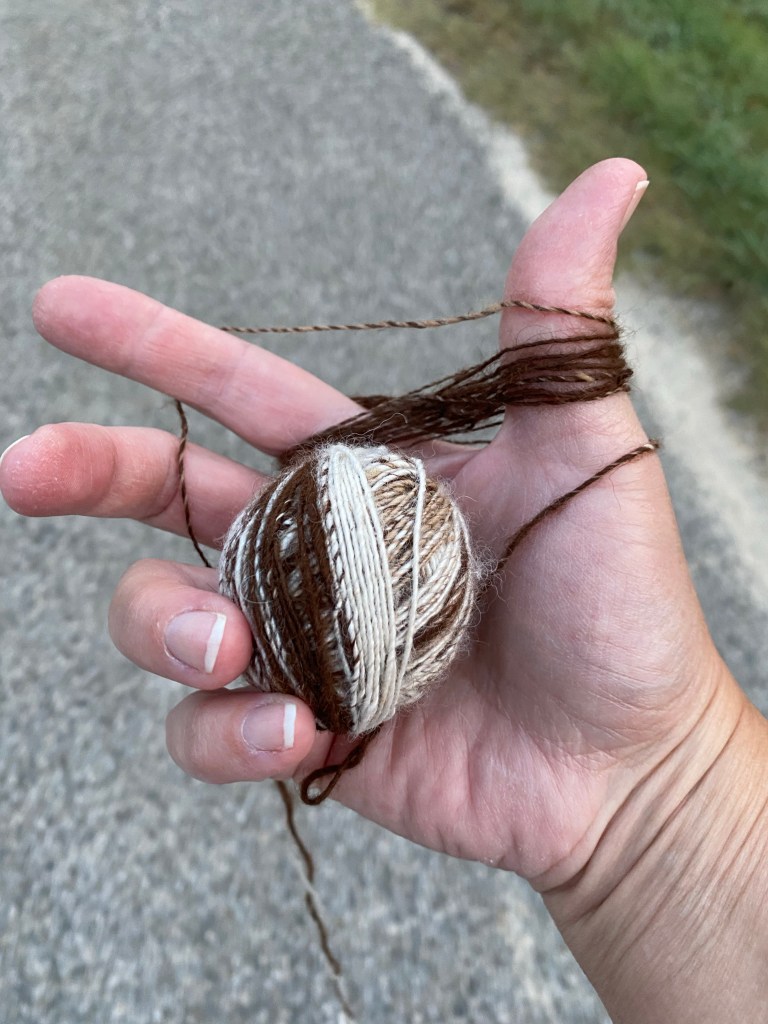
Once again, when I pulled the center strand from my yarn ball, I caught too much and had a little wad of yarn. Previously I have spent considerable time untangling errant threads when trying to ply in this situation, but this time I carefully wrapped the excess yarn into a butterfly on my fingers, and held the small ball of yarn in my palm. There were still some tricky spots, but it went much smoother this way, until I got back to having even pull from the inside and outside of my ball. Wrapping yarn nostepinne style is my favorite way to make a center-pull ball of yarn, and making a two-ply yarn from a single ball is my favorite for when I am walking and spinning. I can take the ball of yarn off my spindle, snag the inside end, and start plying immediately, without having to transfer the yarn first. (And the balls of yarn with their slanted wrap are pleasant to look at.)

Excess yarn management using a butterfly

Harlequin Flower Beetle

I was tending the chickens when I saw a neighbor’s kitten watching something in the meadow. From a distance it looked like an ironclad beetle, so I had to go look. The kitten spooked, but the beetle didn’t. It wasn’t an ironclad beetle; it was larger, and yellow with black markings. As it struggled to climb up stalks (it was too heavy for the slim stems), I snapped a couple pictures. The iNaturalist app provided an ID: Harlequin Flower Beetle. This particular beetle was almost an inch long!

Harlequin Flower Beetle (7/8” long)

Knob fix

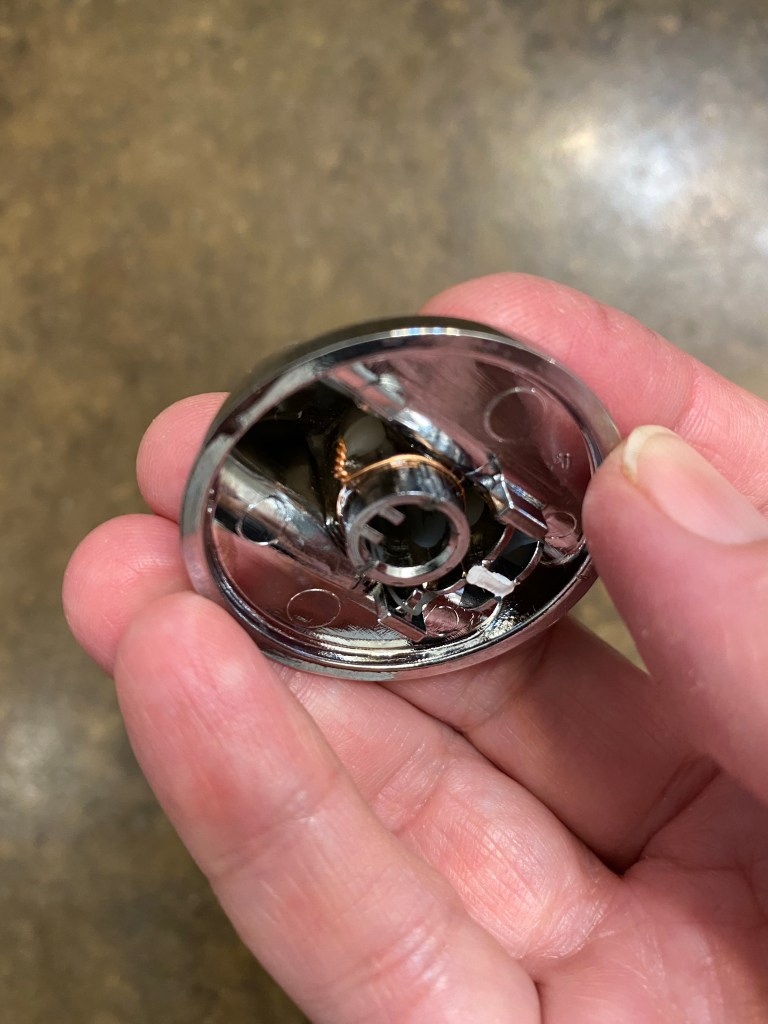
We had a plastic knob crack at the socket, which is frustrating, since the knob can no longer turn on and off. I tried my favorite quick adhesive, but the pressure of turning the plastic against a metal shaft was too much for it, so I brought out the big guns. I reinforced the shaft with a twist of wire (I used copper, which was at hand, but I think I would use stainless steel next time), then used a two-part epoxy around the wire, being careful to keep it outside the socket hole. I let it sit for a day before I tried the knob again. (When working with two-part epoxy, don’t throw away the mix cup until after it has hardened. This way you know when the epoxy on your piece has hardened as well.) Hurray! It worked, and the knob is still removable, just in case.

Wire and epoxy used to fix a cracked knob