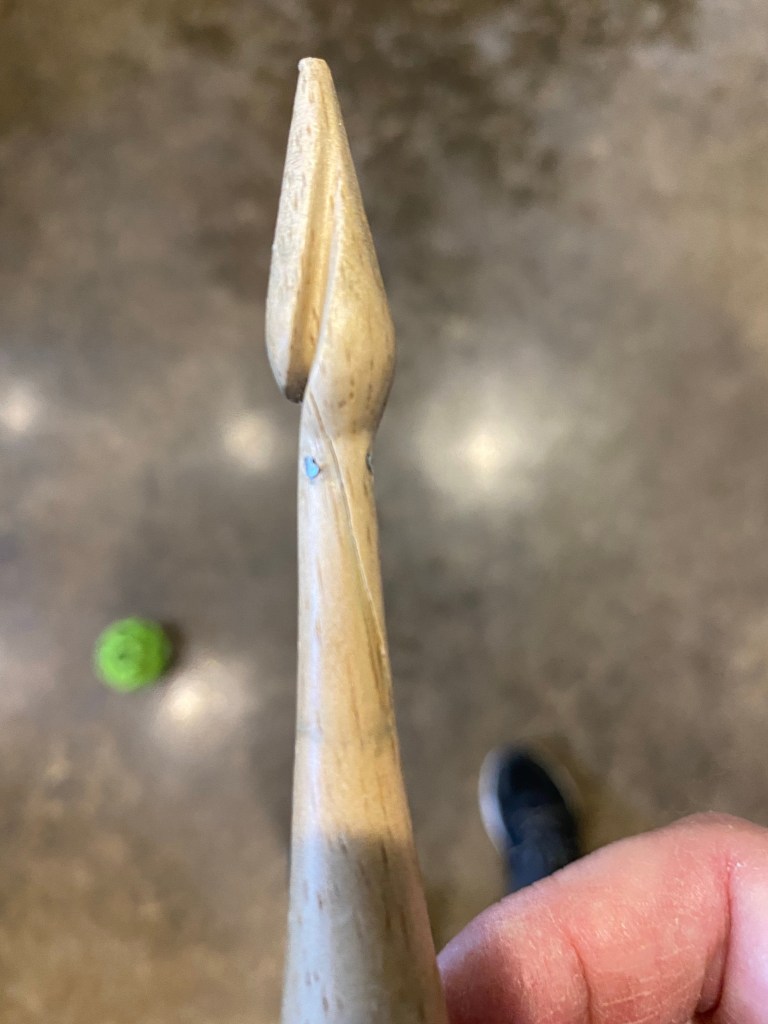
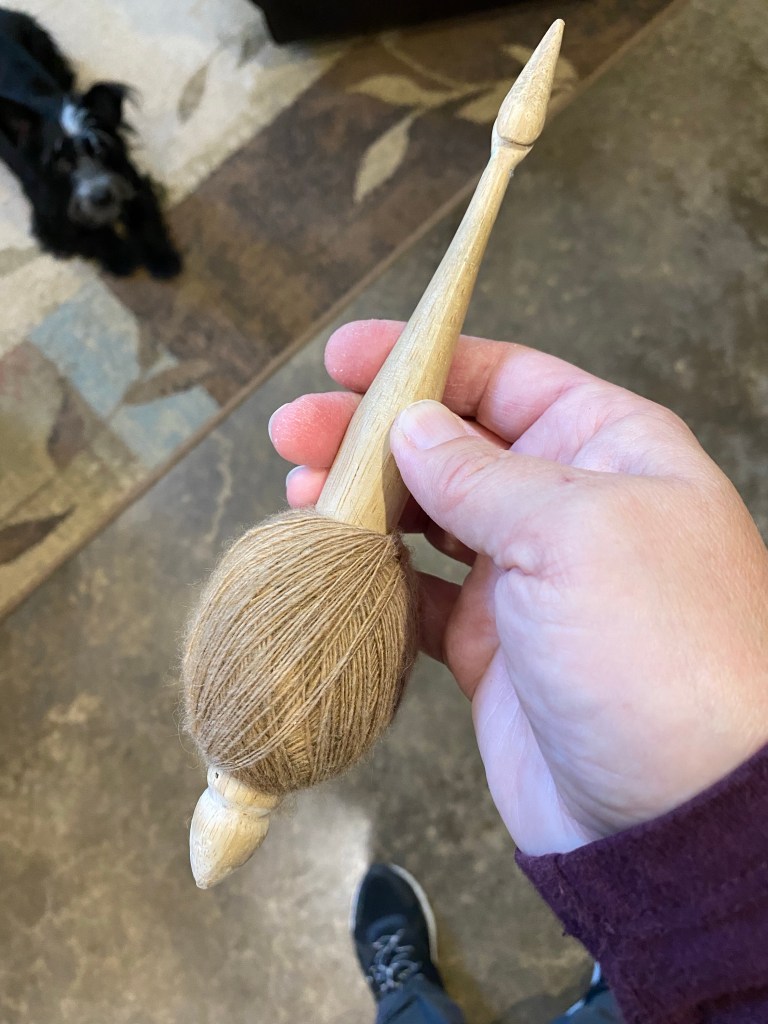
Riveting the head of my drop spindle worked. It took a dozen drops, but I eventually dropped the spindle on its head and cracked it again. The rivet held. I was able to continue spinning for the rest of my walk, then when I was home, I put a little glue in the crack and tightened up the rivet with a few careful hammer taps. In mitigation, I was pushing the amount of yarn I could load on the spindle, so it was heavy and starting to get unwieldy, so my lesson is to keep the cop of yarn smaller so I reduce the chance of another drop to the head.
Crack barely visible on the neck of the spindle Yarn cop that is too big for this spindle
Missy would really like for me to stop taking pictures and kick her ball already.
No, no bean feasts here. Three. Three green beans from the bean bush. Granted, the bush does not get enough sun because the melon vine overshadows it, and I don’t think it really likes being in a container. I stuck the beans in my pocket and then forgot about them, discovering them hours later when I was running errands. At that point there were only two. Someone, somewhere in town is wondering why there is a single green bean on the ground.
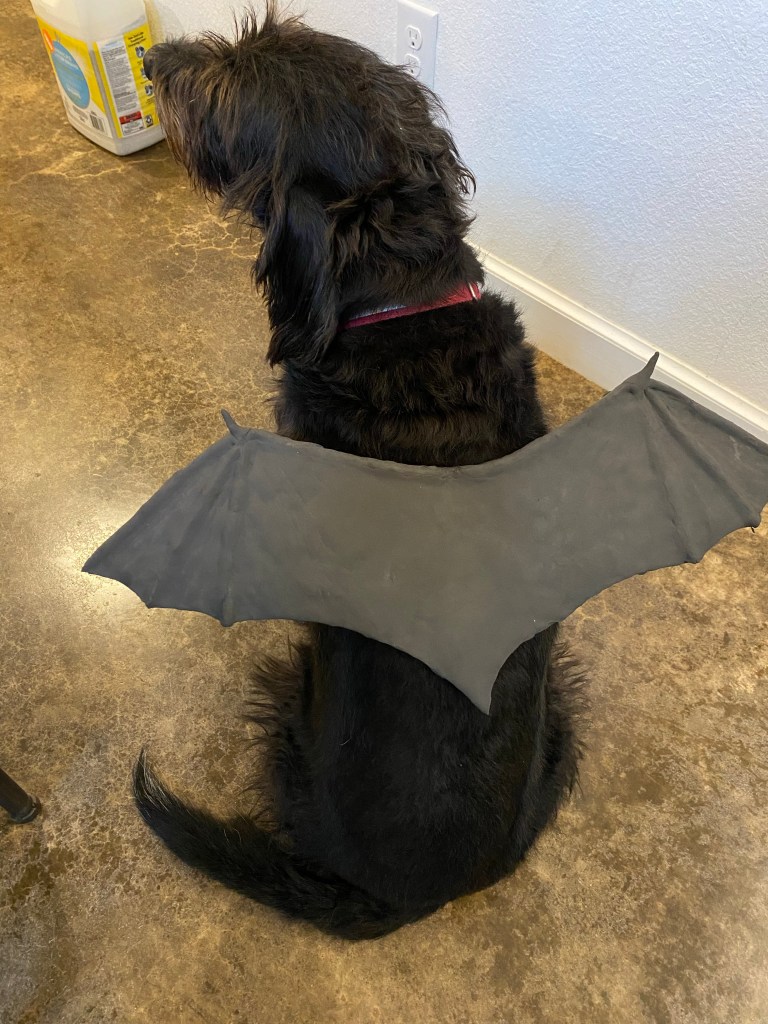
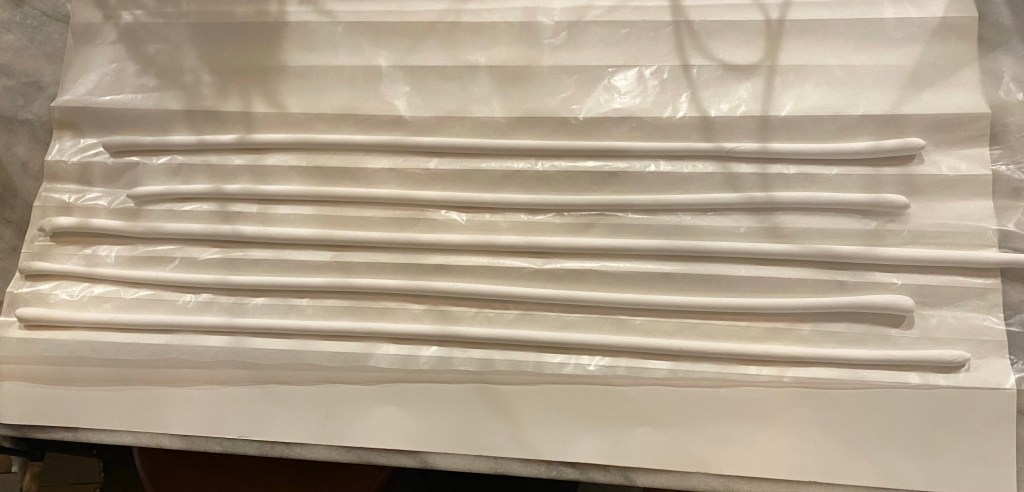
We had some extra EVA foam and foam clay, so I thought the dogs needed bat wings. Just one set, just to see how sculpting with the clay goes. It was good I only made one; Griffin thought it was cool and pranced about, Missy looked like I was attempting homicide. The black foam clay dried to gray, which defeated the point of black wings on black dogs, but I suppose I could spray paint it, if I wish. I cut the wing shape from the sheet foam, then laid on the finger bones with thin snakes of clay. The clay and sheet foam didn’t have the same color, so I rolled out thin sheets between layers of wax paper and applied that between the finger bones. I attempted to imprint stretch marks like the skin of bat wings, but the foam clay self leveled somewhat and the lines all but disappeared. Interesting. I hot glued a wide elastic strap underneath so it would stay on the dog.
Griffin thought his wings were pretty coolMissy couldn’t understand why I was applying a torture device to her back
Yes, we are big fans of the video game Zelda: Breath of the Wild. When my eldest and I made a diamond circlet in May, she thought it would be awesome to have the ancient armor to go with it. She even did up drawings on how the pieces would go together.
My eldest’s schematics for guardian armor
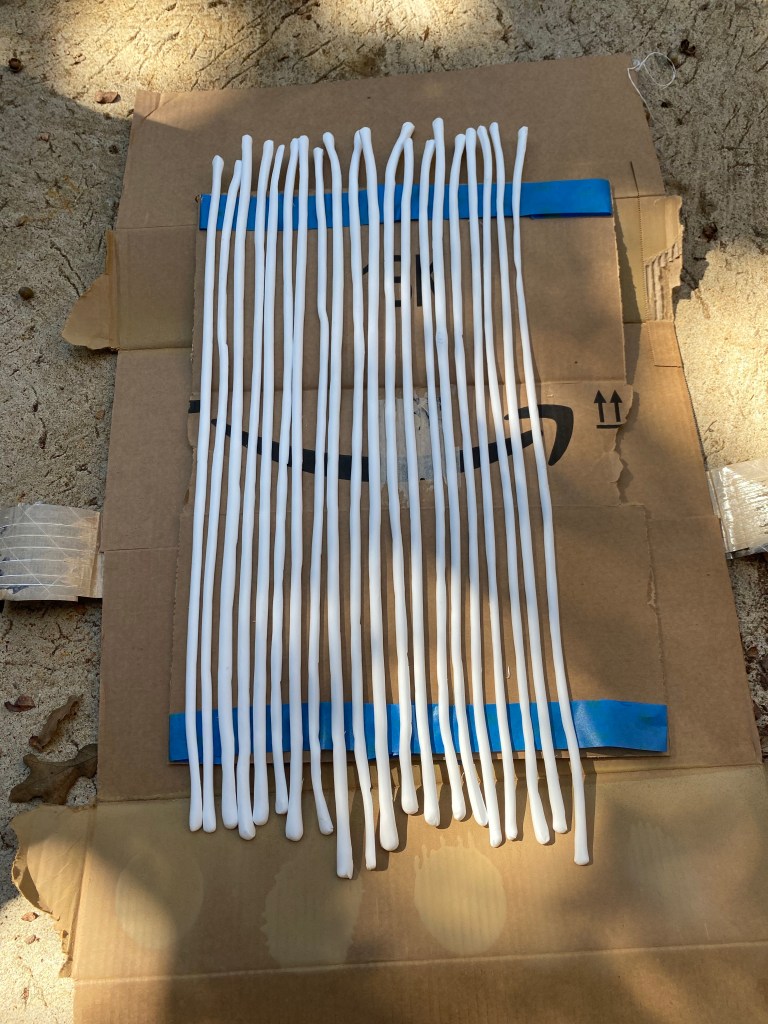
I have been itching to experiment with EVA foam sheets and this was the perfect project to use them. We started construction over the summer, and I have to tell you that I love this foam. It behaves like thick leather, except you warm it with a heat gun and it becomes pliable and will hold its shape when it cools. It isn’t as tough as leather, but it is wonderfully light. To do the trim I purchased foam clay, which I also now love. The clay is very soft and has a long working time. We found that the best way to make trim was to roll long sticks of foam and let them dry. To keep the bottoms from flattening in the drying process, I constructed channels with poster board and lined it with wax paper to keep the foam from sticking. When the sticks were firm, I cut them lengthwise to make half round strips, then spray painted them. Light weight foam is difficult to spray paint as the force of the spray sends it flying. To combat this we used masking tape loops and short bursts of spray. My eldest used hot glue to apply all the trim.
Foam clay sticks drying in round channels made with poster boardHalf round sticks prepped for spray paint
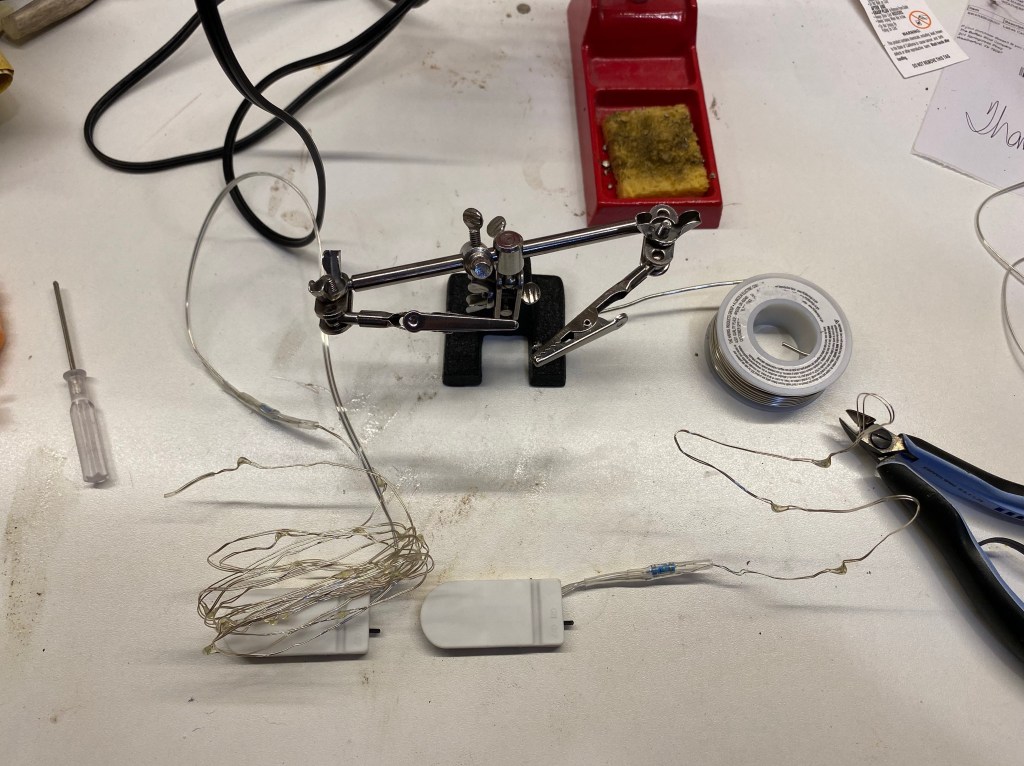
To make the blue lights on the armor we found a blue pill bottle and cut it in pieces with a band saw, then flattened the sections with a heat gun. Rubbing the sections with 400 grit sandpaper gave them a nice soft glow. The lights themselves are battery powered fairy lights that I hot glued to the inside of the armor. The lights on the hand pieces were a little trickier, as I needed to reduce the length so had to do some electrical soldering. In all, there are four battery packs in the armor, secured with wide elastic so the batteries can be changed.
Full size lights on left, reduced length on right
The armor pieces are connected with wide black elastic to give some flexibility and grip. The orange glow around some of the decoration was done with foam brushes; first white acrylic paint, then orange. If I were do do this again, I would paint the glow first, then glue the trim over the top. The shoes are my favorite part because I was able to form a proper toe shape with the EVA foam. We used some old canvas shoes as a base. I had plans to sew the undergarment, but my eldest wisely suggested clothing pieces that could be used again as … clothes. So the navy base layer is store bought shirt, leggings, socks, and gloves.
Ancient Armor costume modeled from the Breath of the Wild video game
My youngest wants to be Zelda from Breath of the Wild for Halloween, so we ordered her a costume. Well, while the dress is well made (especially for a mass-produced costume), it is a sleeveless dress. It did come with tiny clear straps that frankly don’t do much.
Costume base dress as shipped
So I ordered some gold chiffon and hand-sewed on straps/shoulder coverings not only to help the dress stay on, but to meet dress code requirements, should she decide to attend a school event. As long as I was at it, I also hemmed up the skirts since the dress was apparently made for someone 5’9”, which is unusual for a Hylian.
Dress with chiffon added at the shoulders and displayed with accessories