Today I present Missy’s natural kawaii eyes. No Photoshop, no tricks, well, I was holding her ball and she was staring at me intently until I threw it. That made it easier to snap the shot.
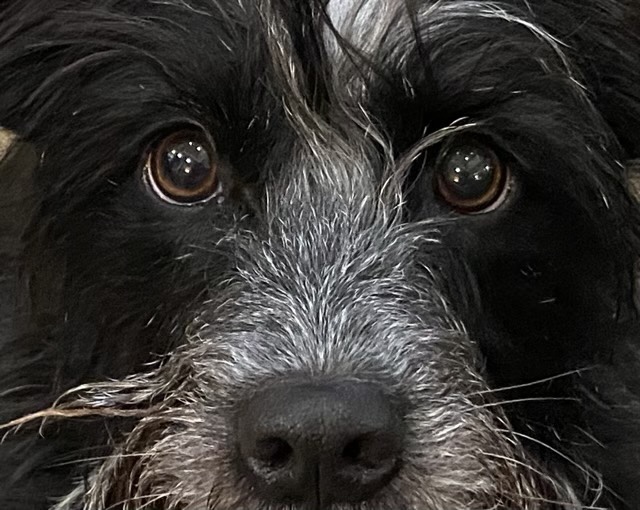

Today I present Missy’s natural kawaii eyes. No Photoshop, no tricks, well, I was holding her ball and she was staring at me intently until I threw it. That made it easier to snap the shot.
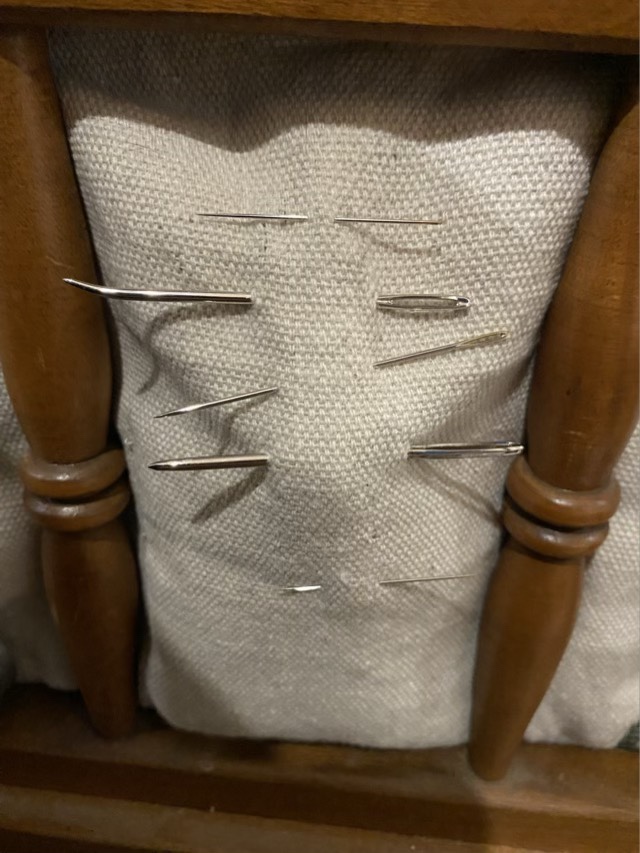
I do have a sewing basket. Inside that sewing basket are a couple pin cushions. Is that where I store my needles? No, it is all the way in the other room most of the time. I do have a cloth divider in my side table, and the needles go well there, and are at hand when I need them.
My eldest finished putting together a wooden puzzle adorned with leaves and a dragonfly. It was much too pretty to go back in the box! So I bought a 20×30 inch frame for it, which included the glass and backing. This wood puzzle fit together so well that I was able to gently pick it up and turn it over without resorting to using glue. The puzzle dimensions were just shy of the 20×30 frame measurement, but it fit inside without needing matting. (If you can’t tell, I’m really impressed with the construction of this puzzle.)
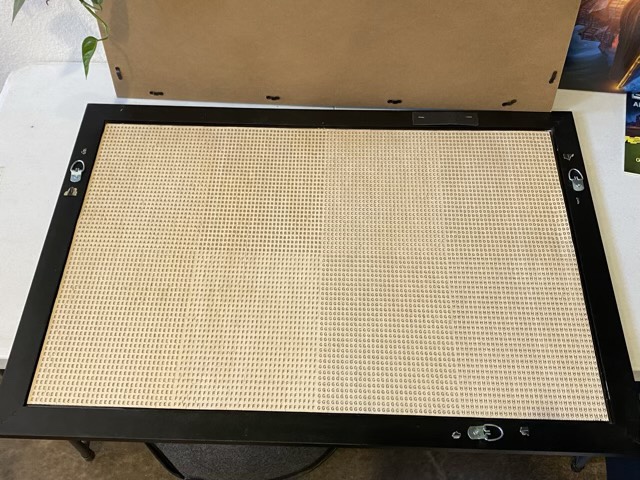
The rotating tabs on the back were tight, but with the help of a pair of pliers, I was able to get them locked in. It helped also that there was a fraction of space between the puzzle and the frame, and the backing could flex a bit. The result was a tight fit that holds the puzzle in place. Still without glue.
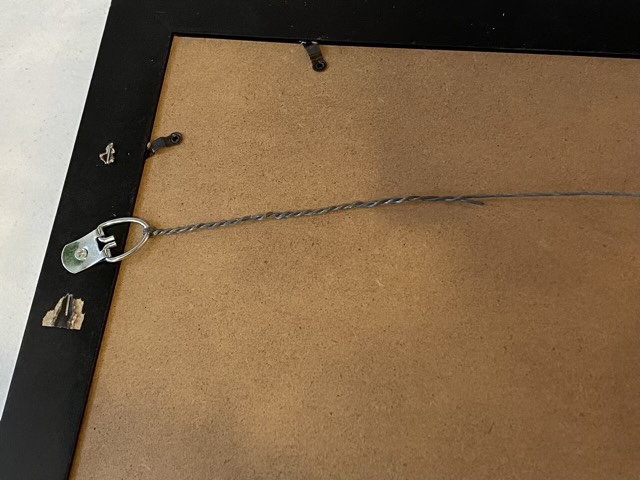
The frame came with attached loops, so I strung some framing wire (multi-stranded steel cable) from loop to loop, and wrapped it on itself on both sides. This makes it much easier to hang and adjust the level of the picture. I used a monkey hook to hang the picture on the wall. I find the monkey hooks to be superior to command strips because small holes are easier to fix than ripped out paint and texture (as can happen if the contact strip is removed too fast).
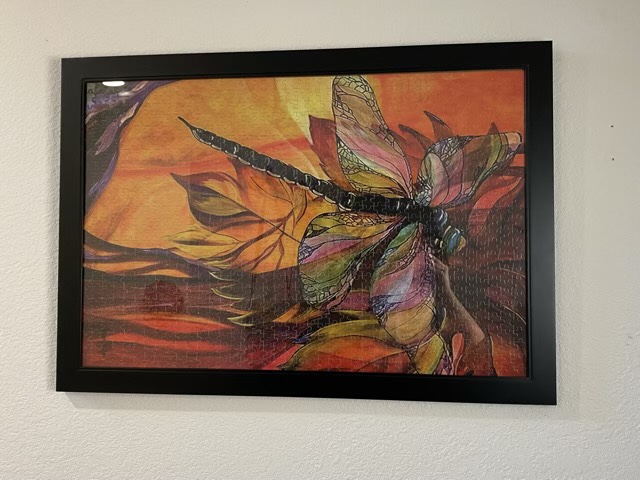
This was by far the easiest framing project I’ve done, and I’m still in a little bit of shock.
I am calling this finished project (yay finished!) the “Polka Dot Glitch”. It is double knit with “Fiesta!” and “Fade to Black” variegated hand-dyed fingering weight yarns by Bashful Armadillo.
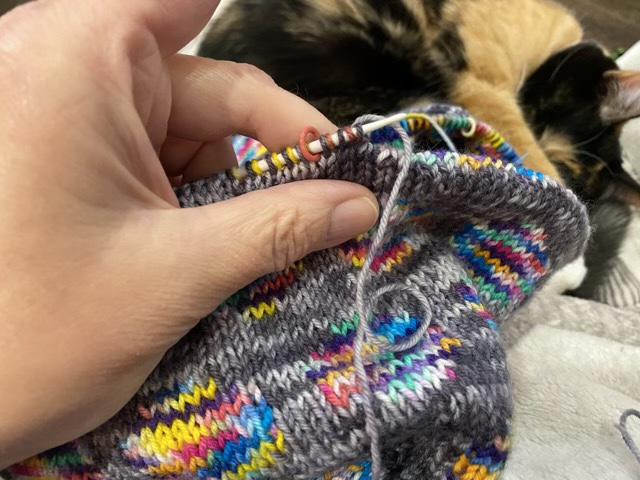

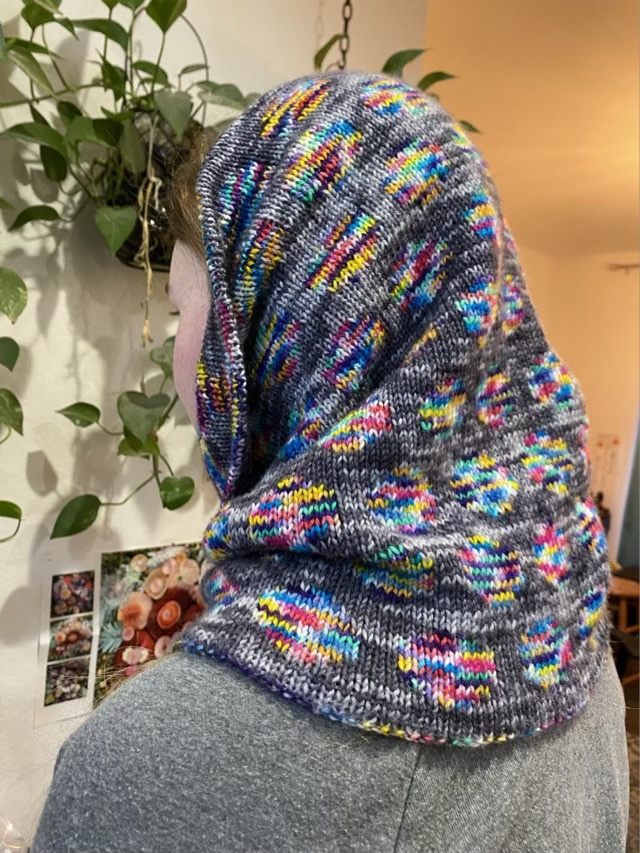
I used size 2 circular needles and graphed the polka dots before I started. I cast on 288 stitches (144 of each color) with markers every 24 stitches. I found this cast on easiest to deal with, and these Kitchner stitch instructions for casting off.
When I need to swatch my yarn work, I make the tiny sample of stitches the size of my youngest’s doll blankets. I get the data and she gets more throws for her doll house.
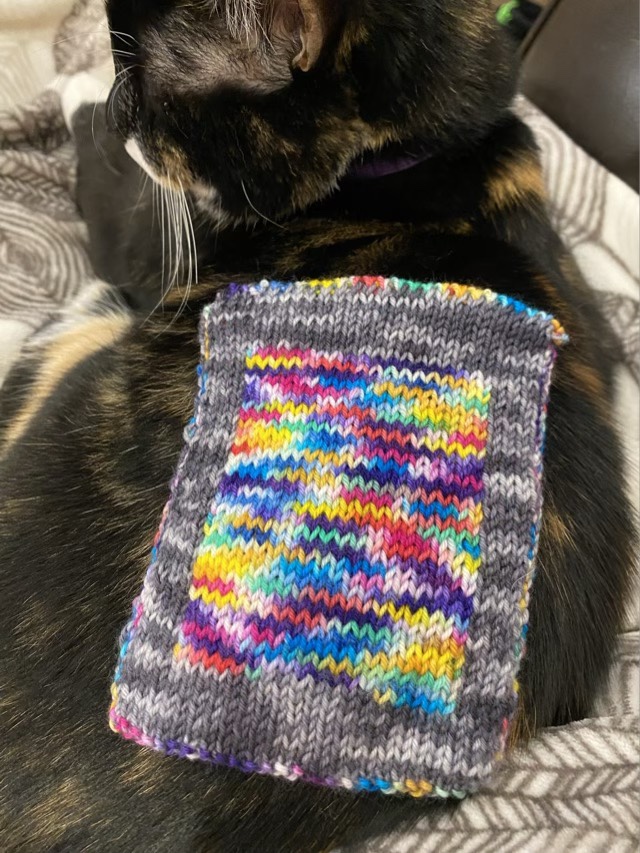
I needed to practice the Kitchner stitch to finish off a double knit project, so made a swatch.
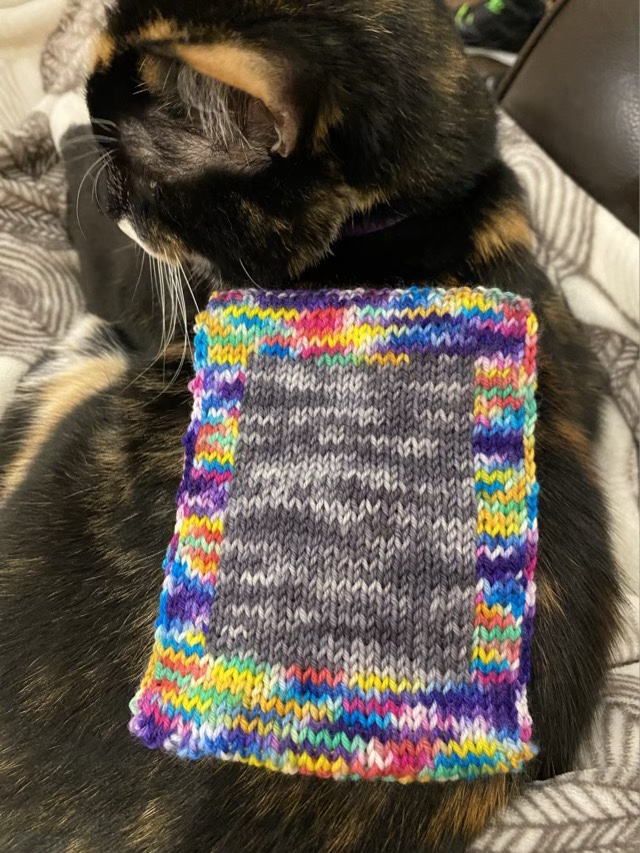
Making the doll blanket to practice the stitch was a good decision. I messed up the first couple passes, but by the end had the rhythm down and knew about how tight my stitches needed to be.

Kitchner stitches are used to make a seamless graft between two pieces of knitting. It is usually done on two needles, but I found this video that shows the variations needed to work off one needle, for double knit items. Fabulous.

