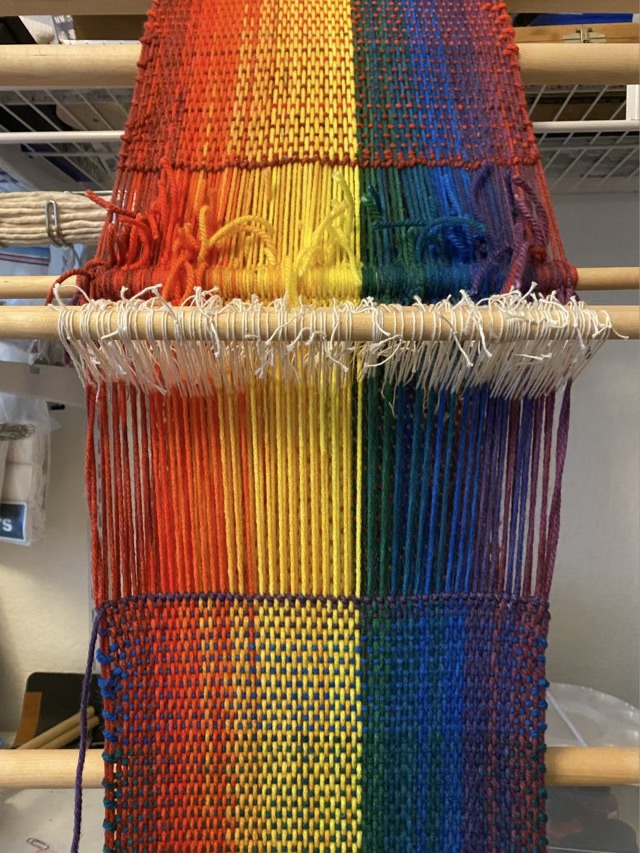
I stopped knitting and bound off my rainbow brioche scarf months ago, but there were errors at the beginning when I was still getting used to the brioche knitting with multiple colors techniques. I thought I needed to rip out the first few inches and rebind, which is daunting, so I stuck the project in a bag and tucked it into the back of the closet until I was ready.
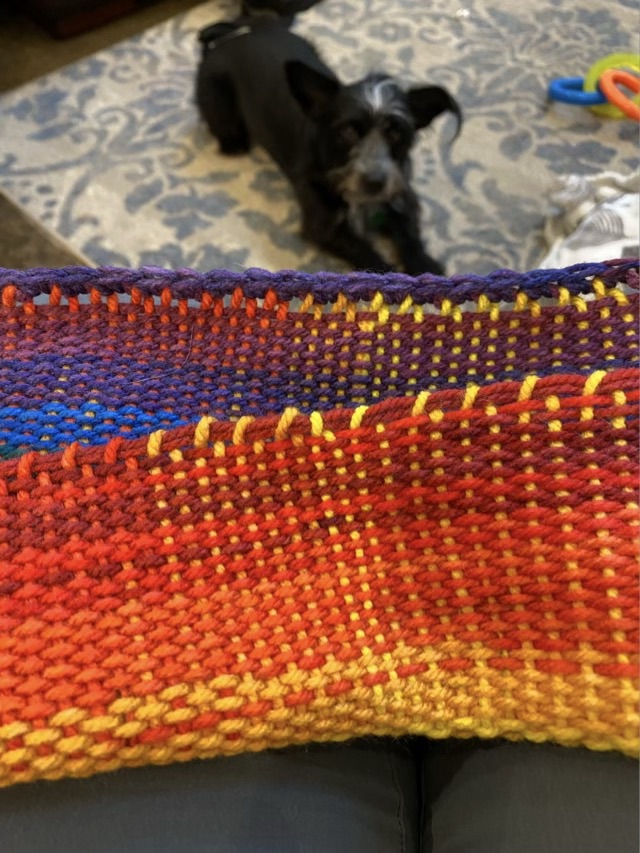
Months later, when I was on a finishing kick (see yesterday’s post), I figured I was ready to work on the scarf again. I pulled it out of the bag, in all its squishy soft amazing length, and couldn’t find the spots that bothered me before. I looked again and did eventually spot the small errors, but it definitely took over 10 seconds. I have a 10 second rule, that if you can’t see the mistake in 10 seconds, the item passes. If someone else wants to examine an item that closely, they deserve to find something.
I wet the scarf to block it, and noticed that the colors bled.

I rinsed the scarf until I could not see any dye in the water, and hung it up to dry.
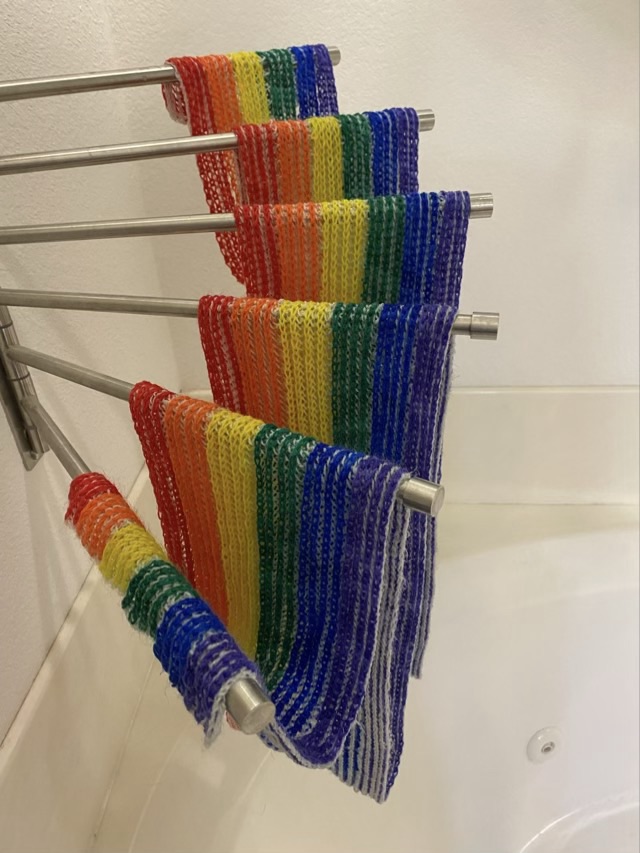
The dye colors were taken up by the white yarn as the scarf dried, but it doesn’t distract from the piece. I’m glad I didn’t add fluffy clouds to the ends, they would not have stayed white.

The scarf now has a happy home, two years after I started it.