It is a bit perplexing when you fill a watering can, feel the weight of the water, but when you tip it over to pour, nothing comes out.
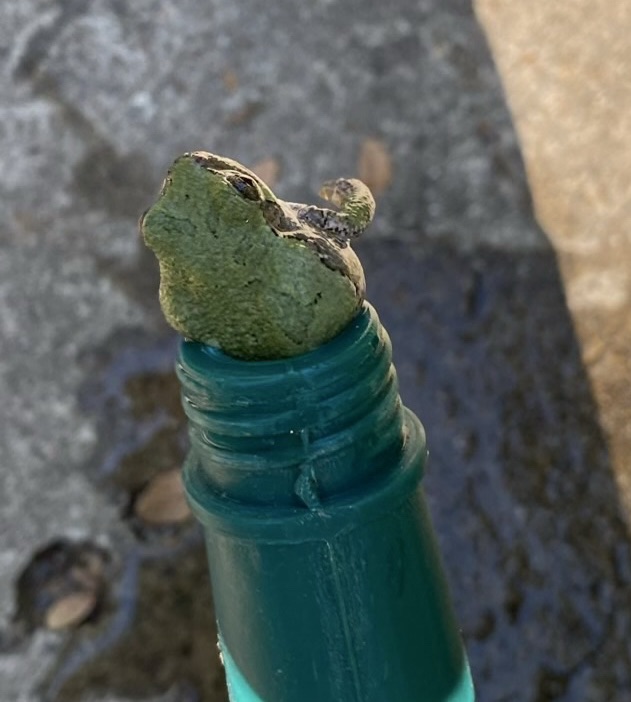
The tree frog was the right size to plug the watering can, and was quite panicked when its tiny front legs couldn’t find purchase to pull itself out. After I took its picture as proof, I offered assistance. It easily crawled on to my hand, and was not wedged forever in the plastic tube. I returned it to the garden and was able to water the plants without further incident.