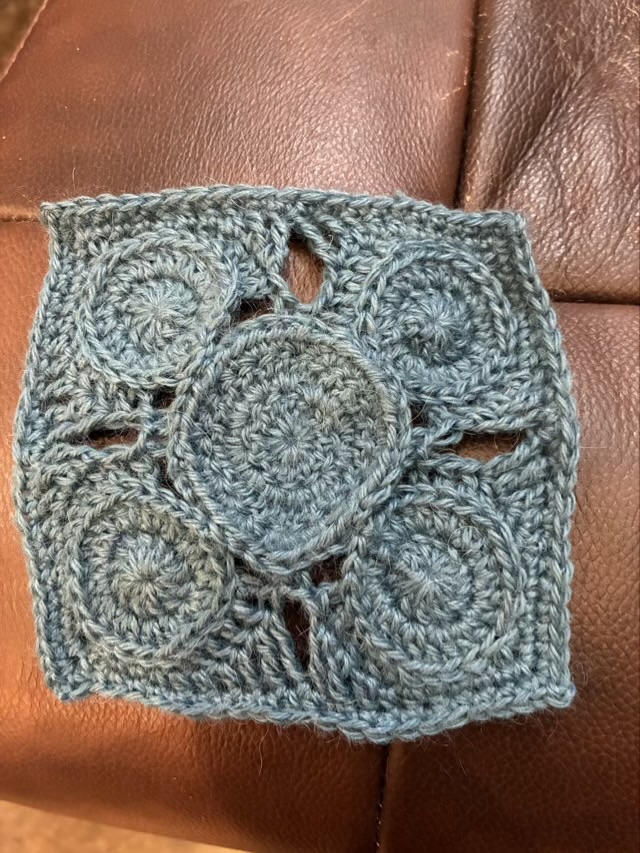
Here is another square done from the book Granny Square Flair by Shelley Husband.
Photo description: crocheted square made from alpaca yarn, pattern name “Crop Circles”, not blocked
How long did it take you to notice that the center circle is showing the wrong side? I didn’t notice until all four outer circles were stitched in and I had started the connecting stitches. Sigh. I’ll put it in an obscured spot in the final garment. Or call it a design choice.
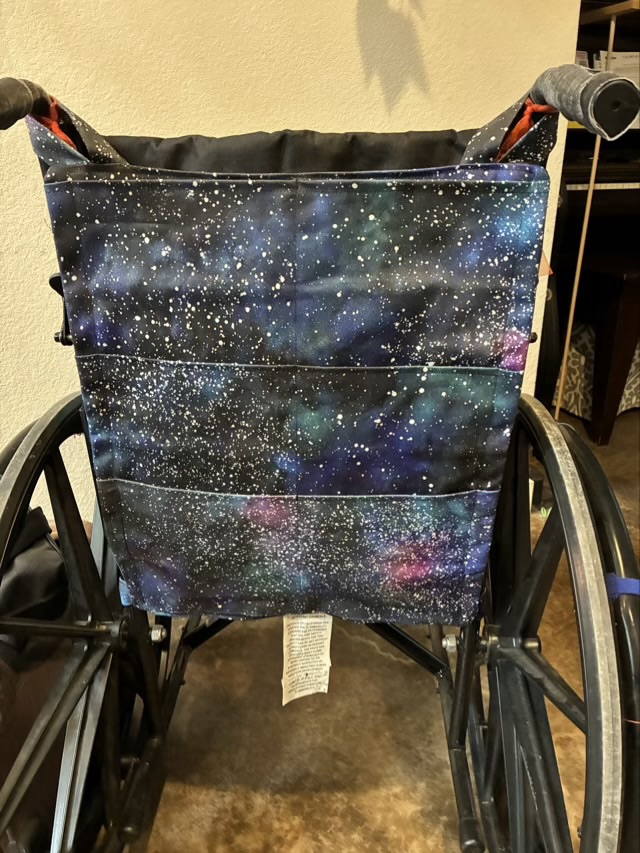
The pocket on the back of the wheelchair can only hold a pamphlet, anything thicker pokes the rider in the back. So I made a separate organizer type for long zoo trips where we need spaces for water bottles. My youngest requested space fabric, so we selected a print-on-demand pattern from Spoonflower on cotton denim fabric. I made three pouches by sewing a sleeve so none of the white backing shows.
Photo description: denim fabric sewn right-sides together, turned inside out and the seam pressed with a wood seam roller to lay flat
I put three sleeves on the backing fabric, and sewed down the center to make six pouches. I then made loops for the top corners to go over the handles and straps for the bottom to attach to the wheelchair frame. All of this sandwiched between another rectangle of denim. My Singer model 66 treadle handled the denim up to six layers, but eight was a struggle (a little extra oomph with the handwheel sometimes works, but you risk a bent needle). When I turned the entire assembly right side out I had to move the edge stitches in so I wasn’t sewing through 12 layers of denim (this organizer is hefty!)
Photo description: finished organizer installed on the back of a Drive brand wheelchair
I’m pleased with the flat construction, it doesn’t interfere knees when pushing and it folds up with the chair well.
I’m also trying to track my time on projects. This one took me 2.5 hours of active time.
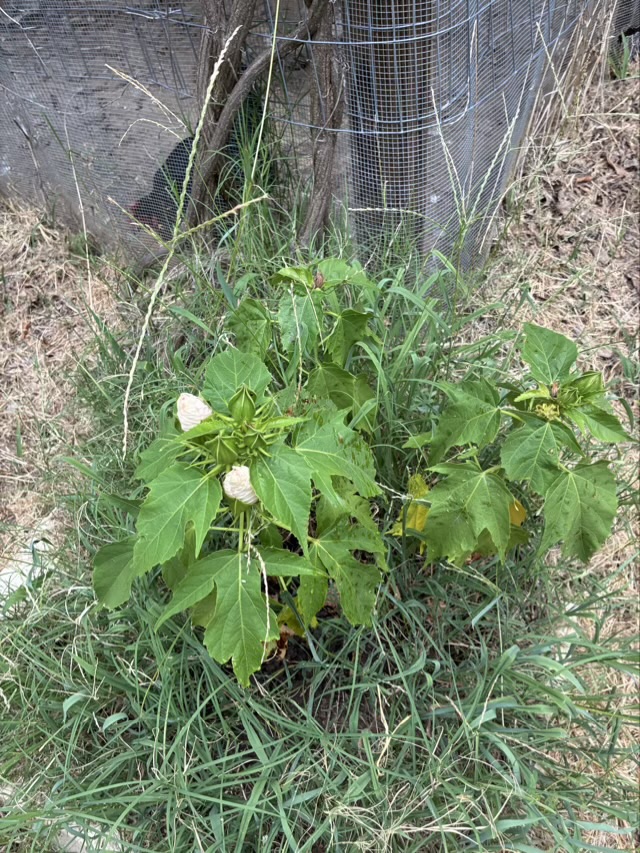
The hearty hibiscus was not doing well in the shadowed front garden bed, so in winter I moved it out to the meadow next to the coop. I wasn’t sure it was alive, but it put out leaves and buds this summer!
Photo description: hearty hibiscus with buds ready to bloom, coop and chicken in the background
I planted it near the rain runoff path, so usually I don’t need to worry about watering it. The cross vine planted there no longer needs watering, except when we get a week of 98 degrees. Then everything looks rather sad.
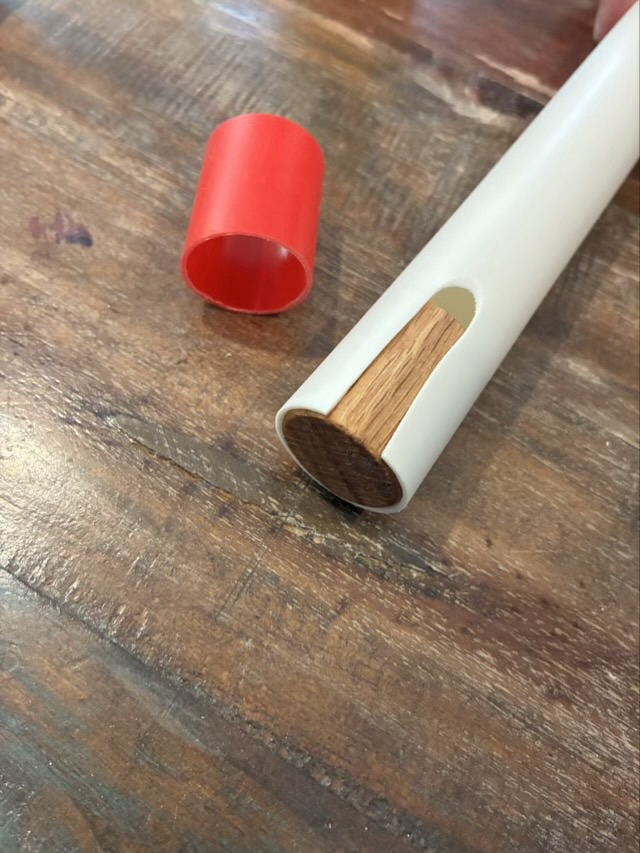
Watching YouTube shorts sent me down another overtone rabbit hole. There was a person with a flute with no finger holes playing a lilting beautiful tune. Wha?! Some quick internet research revealed the Koncovka, a Slavic shepard’s instrument made from a long wood tube. The flute has two overtone series possibilities, one with the bottom hole open and the other with it covered, giving this simple whistle an astonishing number of notes for something with no finger holes. My next question was how to make one, and I found this short YouTube tutorial to make a PVC version.
I have some thin walled PVC tubes from an old Ladder ball game. These pipes have become materials for other projects more than they were ever assembled for the game.
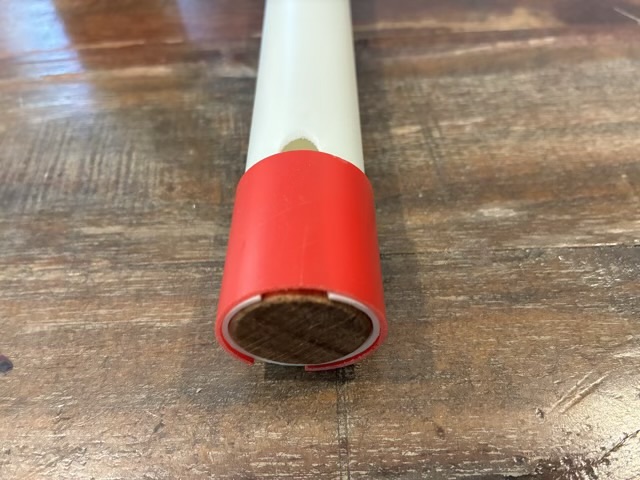
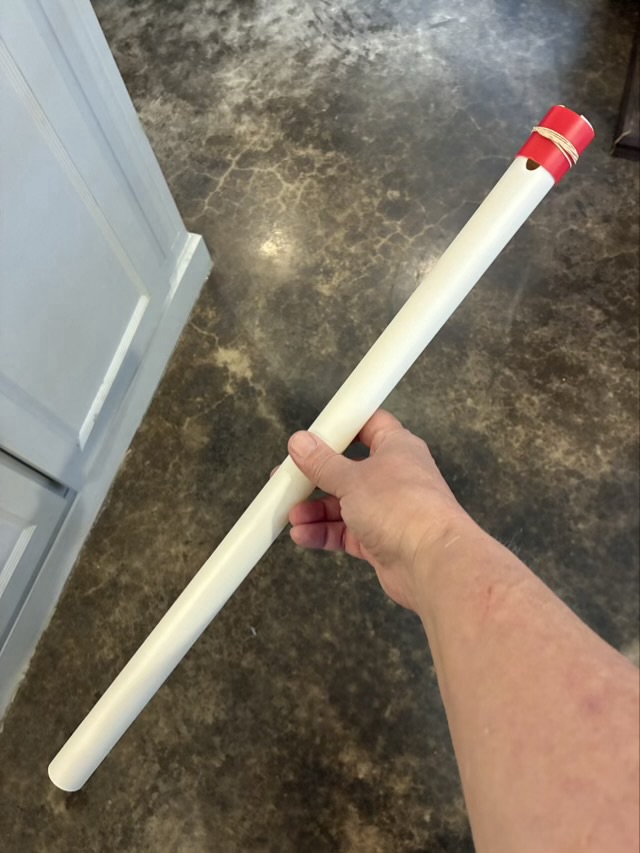
Photo description: PVC pipe with a slot cut and sanded smooth, a section of dowel sanded to fit snuggly inside the tube, and a short section of red PVC pipe the same length as the wood and split lengthwisePhoto description: wood plug finished with butcher block wax and fit into the top of the tubePhoto description: red sleeve placed over the white PVC to create a narrow holePhoto description: rubber band around the red sleeve to keep it tight and reduce air leakingPhoto description: finished PVC overtone flute
The tone of the flute is quite pleasing and very fun to experiment with. Below is an audio file of me playing the PVC overtone flute I talk about in this blog post.
I love it when my crafting and music rabbit holes merge and open a new room.
I found this copper disc lying in my washing machine.
Photo description: copper circle with wear marks
It is an old penny, by the evidence on the other side.
Photo description: badly worn penny
The year is completely worn off, as is Lincoln’s face, but the fact that it is still copper colored and not silvery zinc tells me (according to the internet) that is was made before pennies were only copper plated, around 1982.
I think it was stuck in my washer until it was worn thin enough to escape. I’m keeping it because the wear pattern looks like a tree and roots, very similar to my graphic design logo.