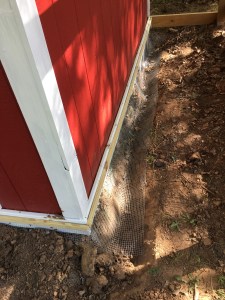
or the hardware cloth, as you wish. I finished installing the hardware cloth around the base of the coop and used batten boards to secure them.
I then backfilled with dirt most of the way around. Some of the areas we are going to line with landscaping fabric and fill with rock to help divert water flow. I also filled the front area with more dirt trying to make it a little higher than the surrounding terrain so the rain runoff goes somewhere other than by the door. We’ll see soon if it works.
The chicks are still growing like little weeds. Today I tried getting them to eat out of my hand. No problem.
We are having a cold front and I am concerned about the temperature of the coop. They have two Ecoglow heaters and both the food and water are nearby. Here’s hoping it doesn’t get too cold.
relating to the pleasant aspects of the countryside and country life.
Country life, Texas style.
Not my cow. It is my picture. And every time I hear the word bucolic, I think cows in a field. Since we are in Texas, it has to be a long horn standing in the field observing her domain.
Last week there was a beautiful moon near the horizon and a stunning sunrise, in opposite directions. I couldn’t photograph them in the same shot. I thought that if I had a mirror, I might be able to capture both with some experimentation with angles, but alas, I had no mirror and the minimal focal distance of my lens is longer than my arm. So I put a composite image together in Photoshop. I think it came out nicely, and it was certainly fun to experiment!
One step at a time. Baby steps. It’s a big step. Stepping stones.
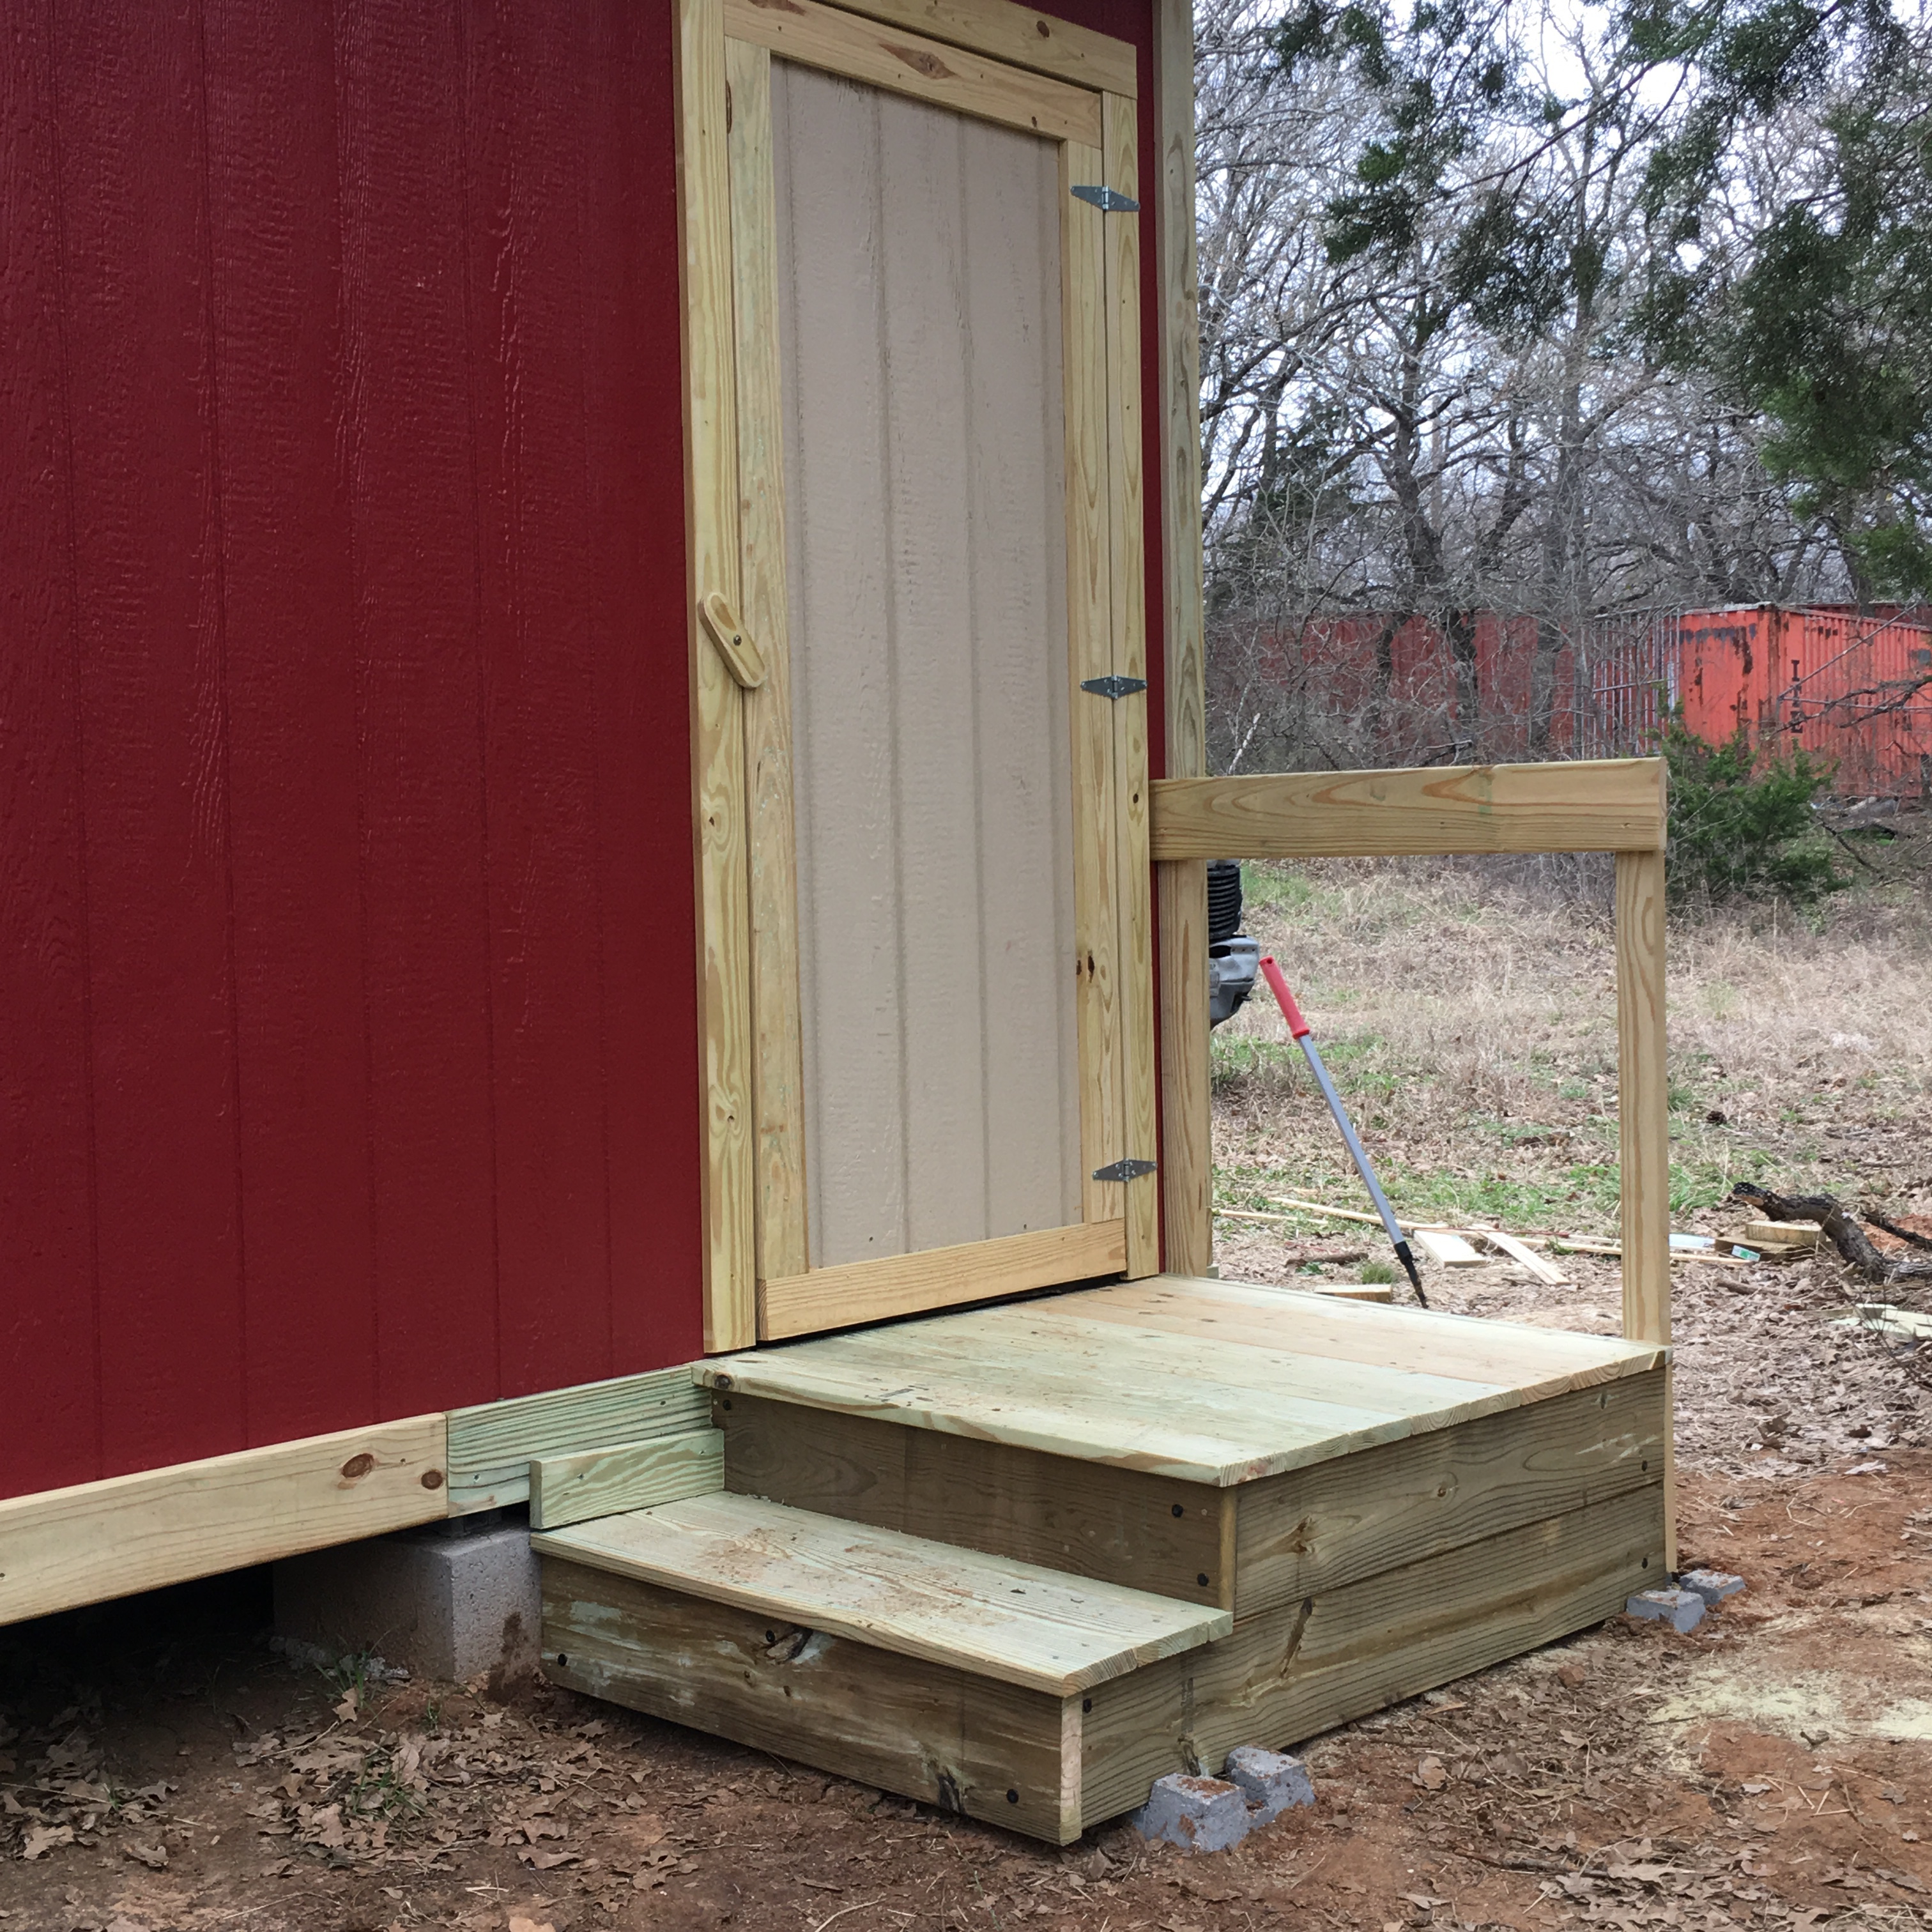
But in this case, it is steps for the back door of the coop! Dad and I made a step and a small porch out of treated lumber, with a rail to keep the door from going open too far (my husband’s good idea). They came out well! And when it started to sprinkle (darn it weather!), we put away the electric tools, got out the hand tools, and kept working under the front overhang. Yay!
Ok, so this actually cutting a plastic cup, but the string on the side is from a carbonated water bottle.
I have been a little obsessed lately with the videos of people cutting up plastic bottles into thin strings. Not only are there amazing shots of seemingly effortless generation of crafting material, it is recycling! I am all about making things from no longer needed items, and especially if it is hard to tell that it was recycled. Upcycling is awesome!
I went out to Amazon looking for this magical little device and found entry after entry … all with terrible reviews. Not to be deterred, I tried cutting bottles with scissors. The resulting string was not terribly even and after two bottles my hand hurt! I then did an internet search for “plastic bottle cutter diy”. So many things. I tried a couple different DIY models with little luck. I like the models where the blade is encased, so there is less possibility of slicing myself open, but was even tempted to try the models with an open blade mounted with washers and screws, so badly did I want to experiment with bottle string.
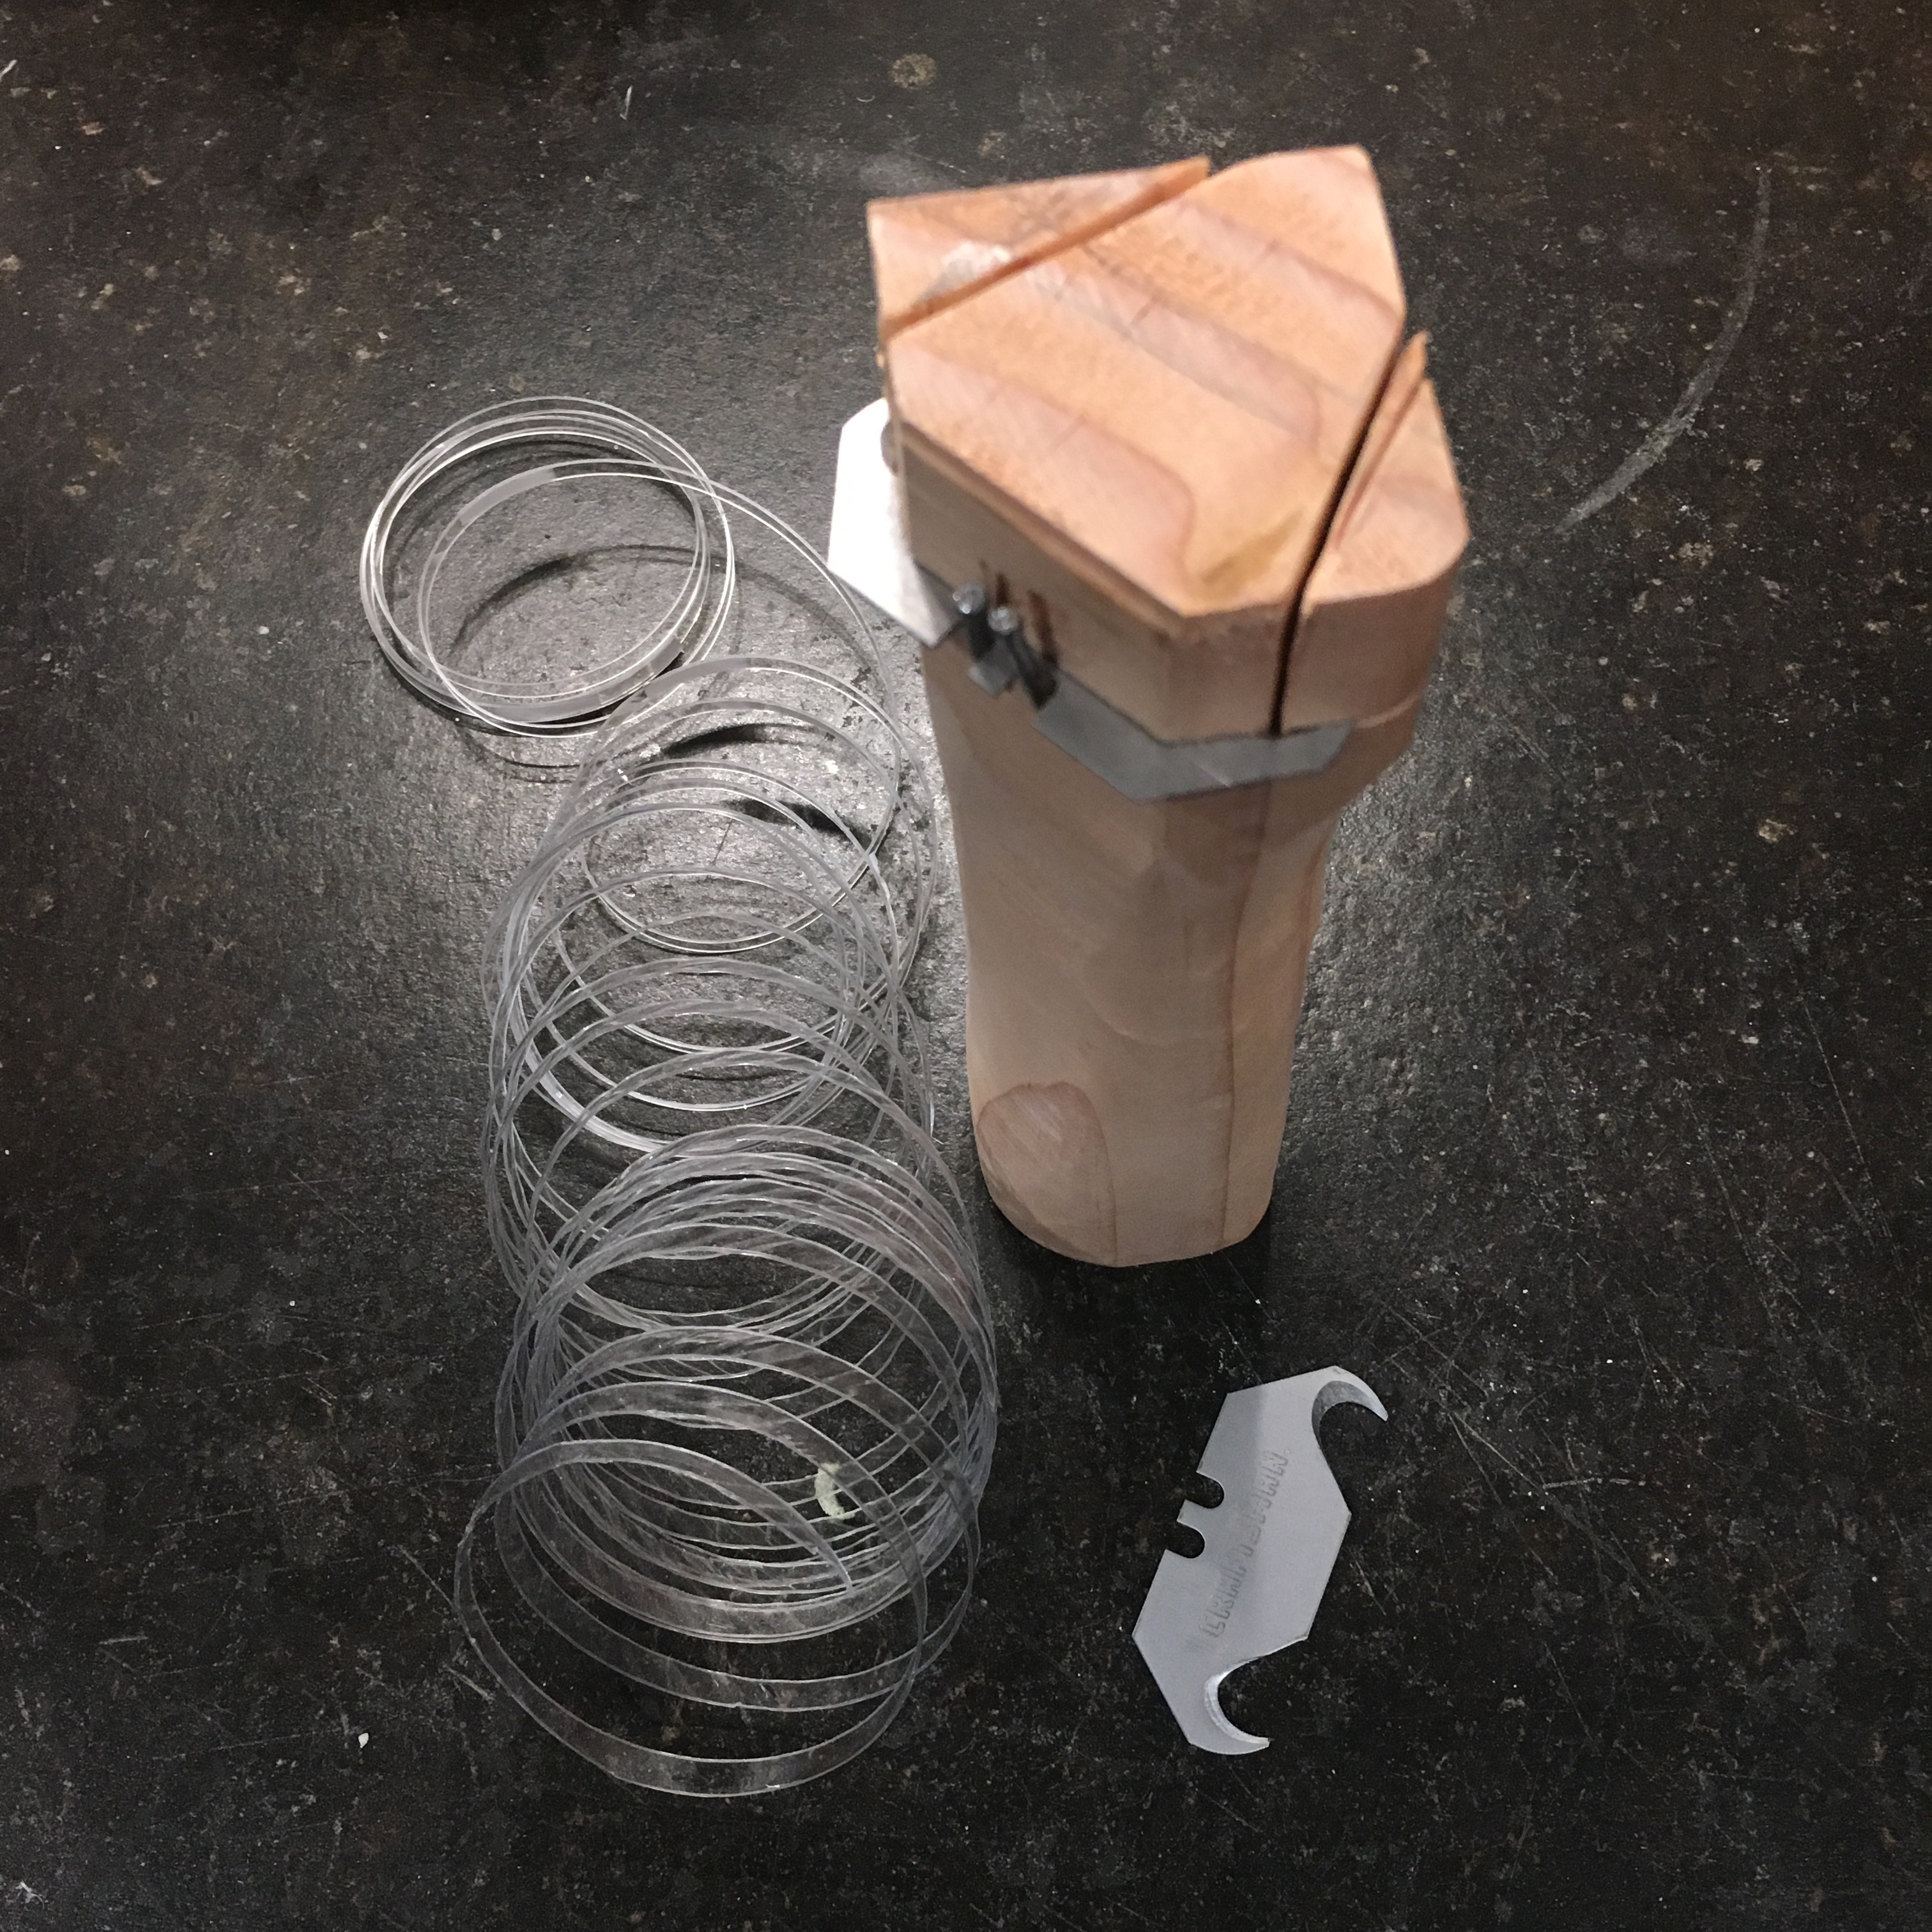
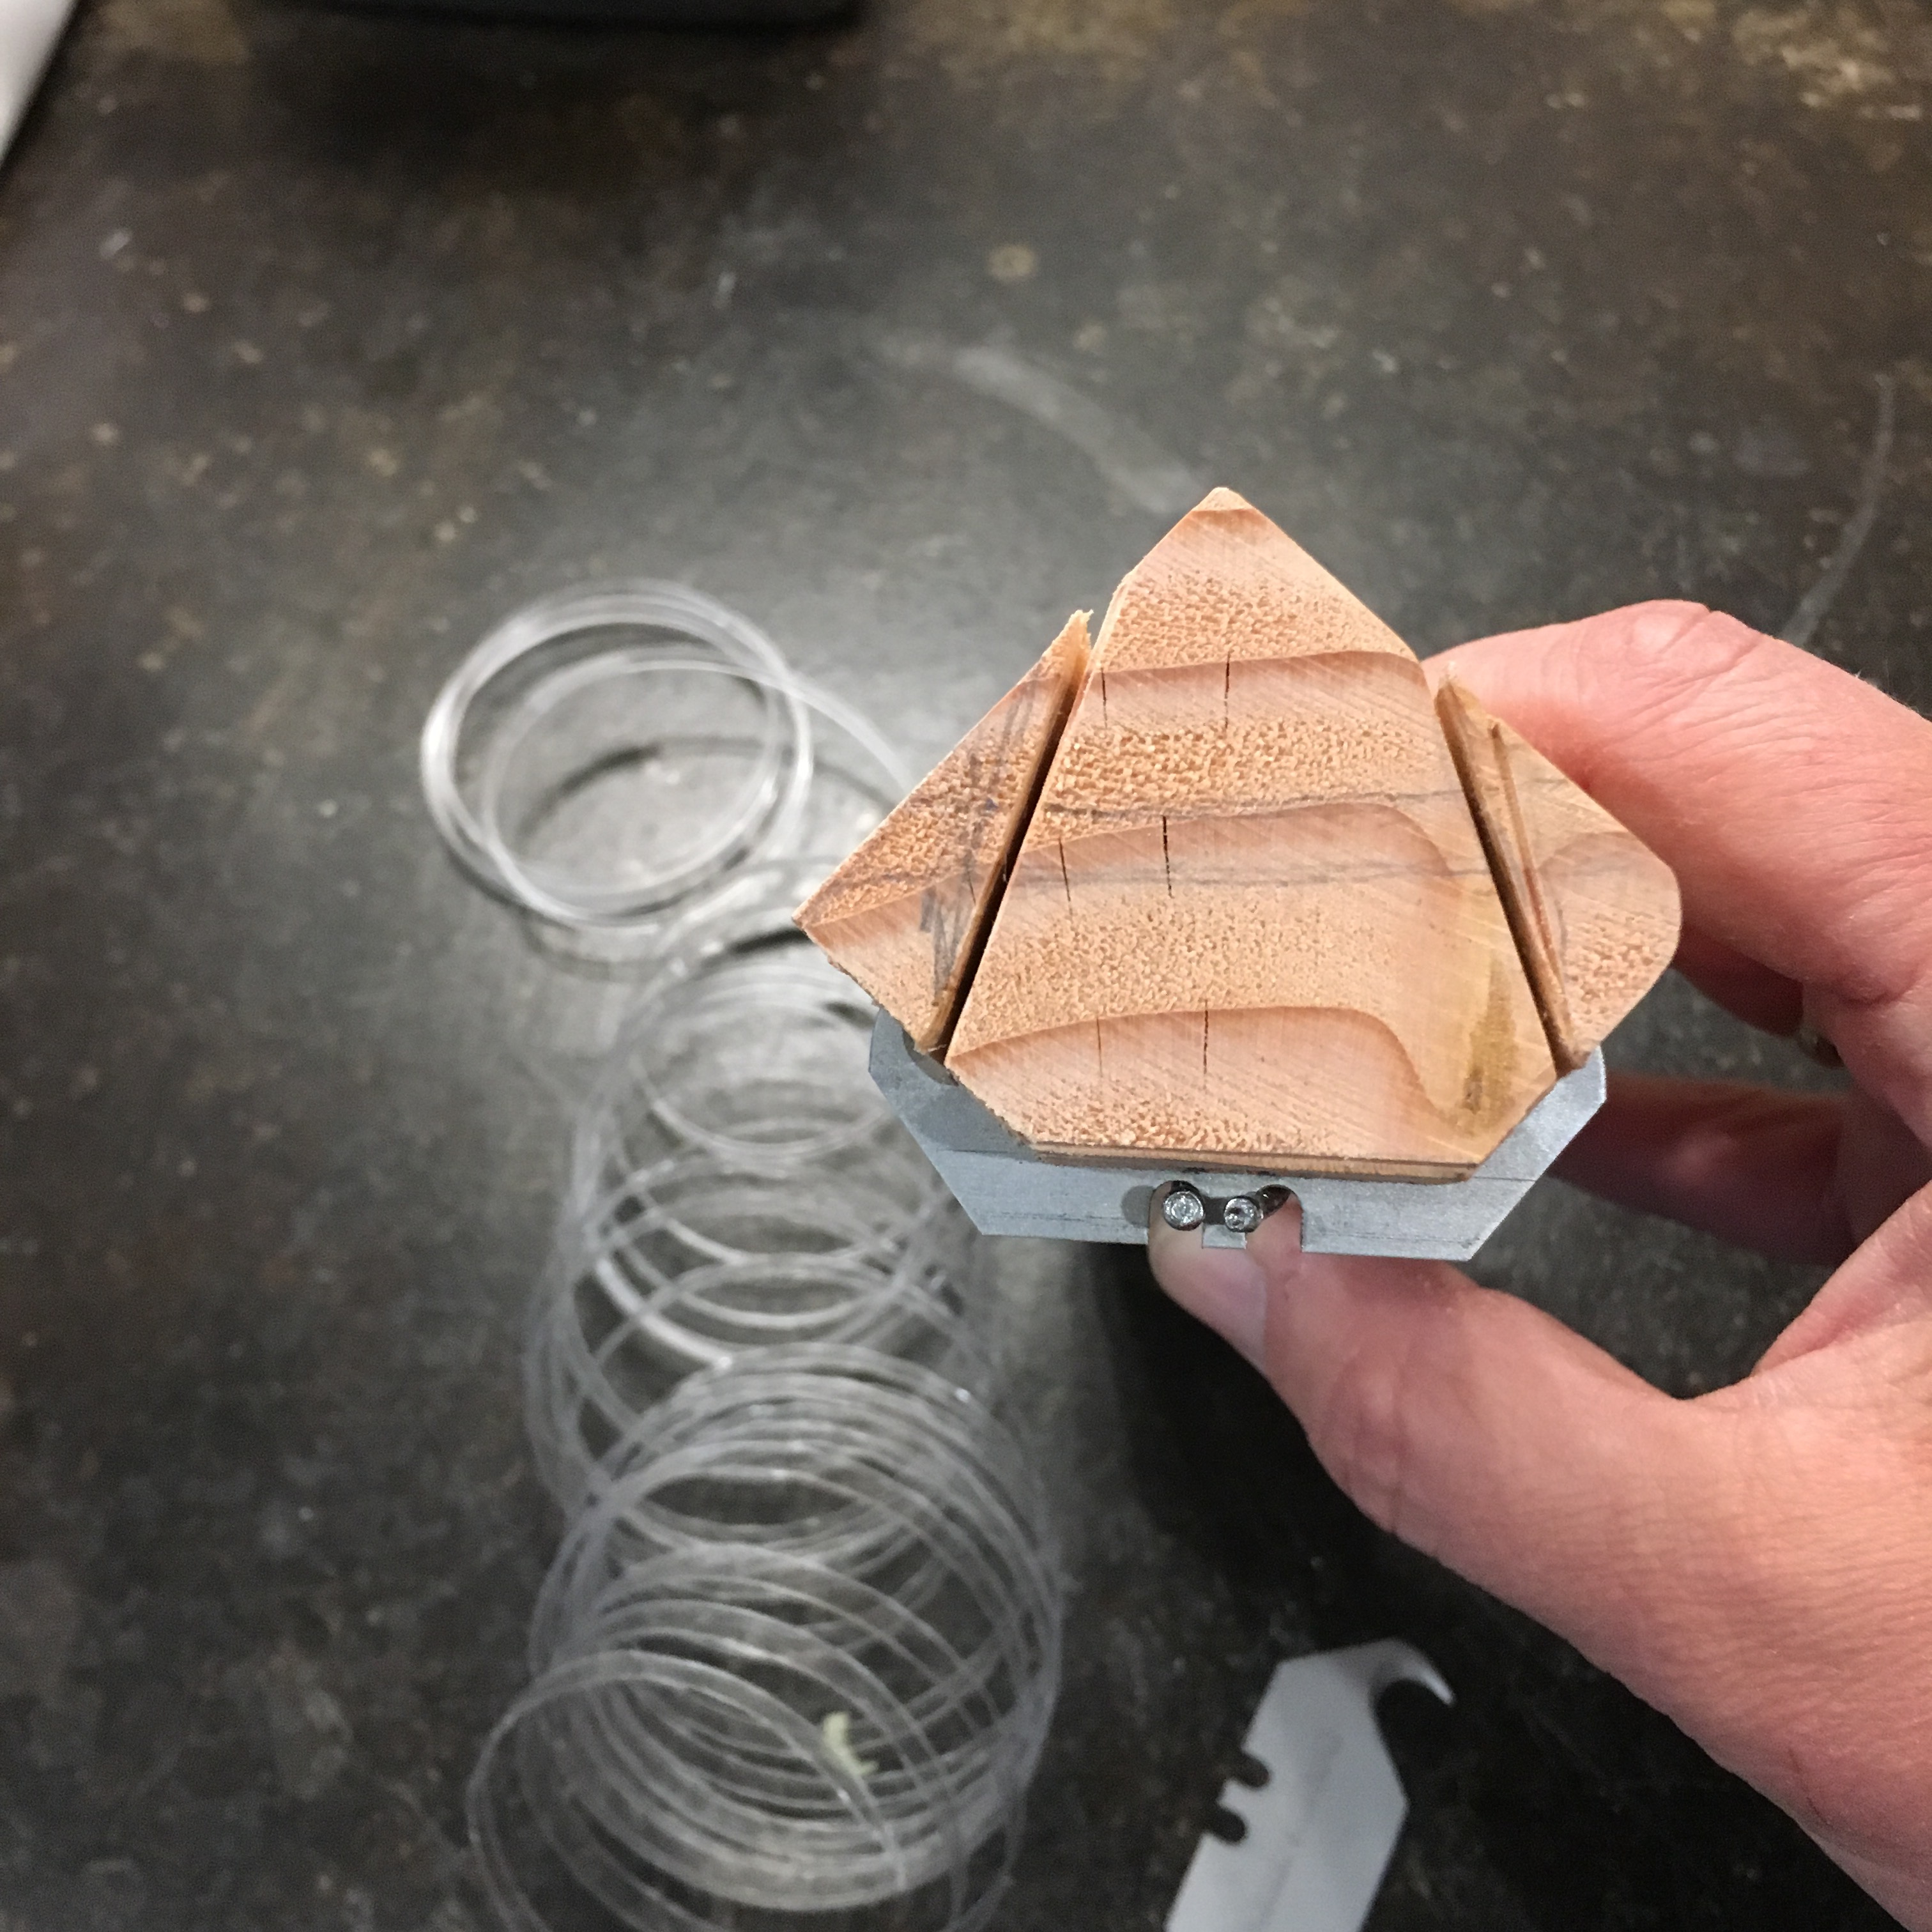
When my husband went to the hardware store, I asked him to pick me up some different blades. He came back with large hook blades (which is actually the only kind of blades they had that we didn’t also have a stash of in the house). I spent some time rearranging the garage so I could use my bandsaw (true garage organization will come after the coop, after a shed, and after we build some book shelves into the house). (FYI, we never use garages for cars. The horror!) I had some 2×4 drops, so sliced one up to fit the hook blade, with different depth cuts for each hook (so I can cut two different thicknesses of “string”), and bent two nails to hold the blade in place. I used a belt sander to smooth and shape the handle. After some fiddling, it worked!
So here is the “magic” behind those fabulous videos. The bottles have to be smooth with no ripples or uneven contours. Some DIYers suggest using a heat gun to smooth out the bottle. Then you need to cut off the bottom of the bottle (this is not that easy and a potential for slipping and slicing flesh instead of plastic). To start the string, I had to use scissors to make a starting cut, then use a pliers to pull the beginning of the string until there was enough to get a good hold. Then, and only then, did the plastic cut smoothly and stream with beauty from the cutter. Until I hit a curve, then it split and I had to start the process over again!
Here are a couple more pictures of the cutter I made. I’m not including instructions because it was mostly fiddly bits and “about there” lines.
Large hook blade bottle cutter
Bent nails to hold the blade in place
Should probably call this the “Superman” bottle cutter!






 Critters and Craft