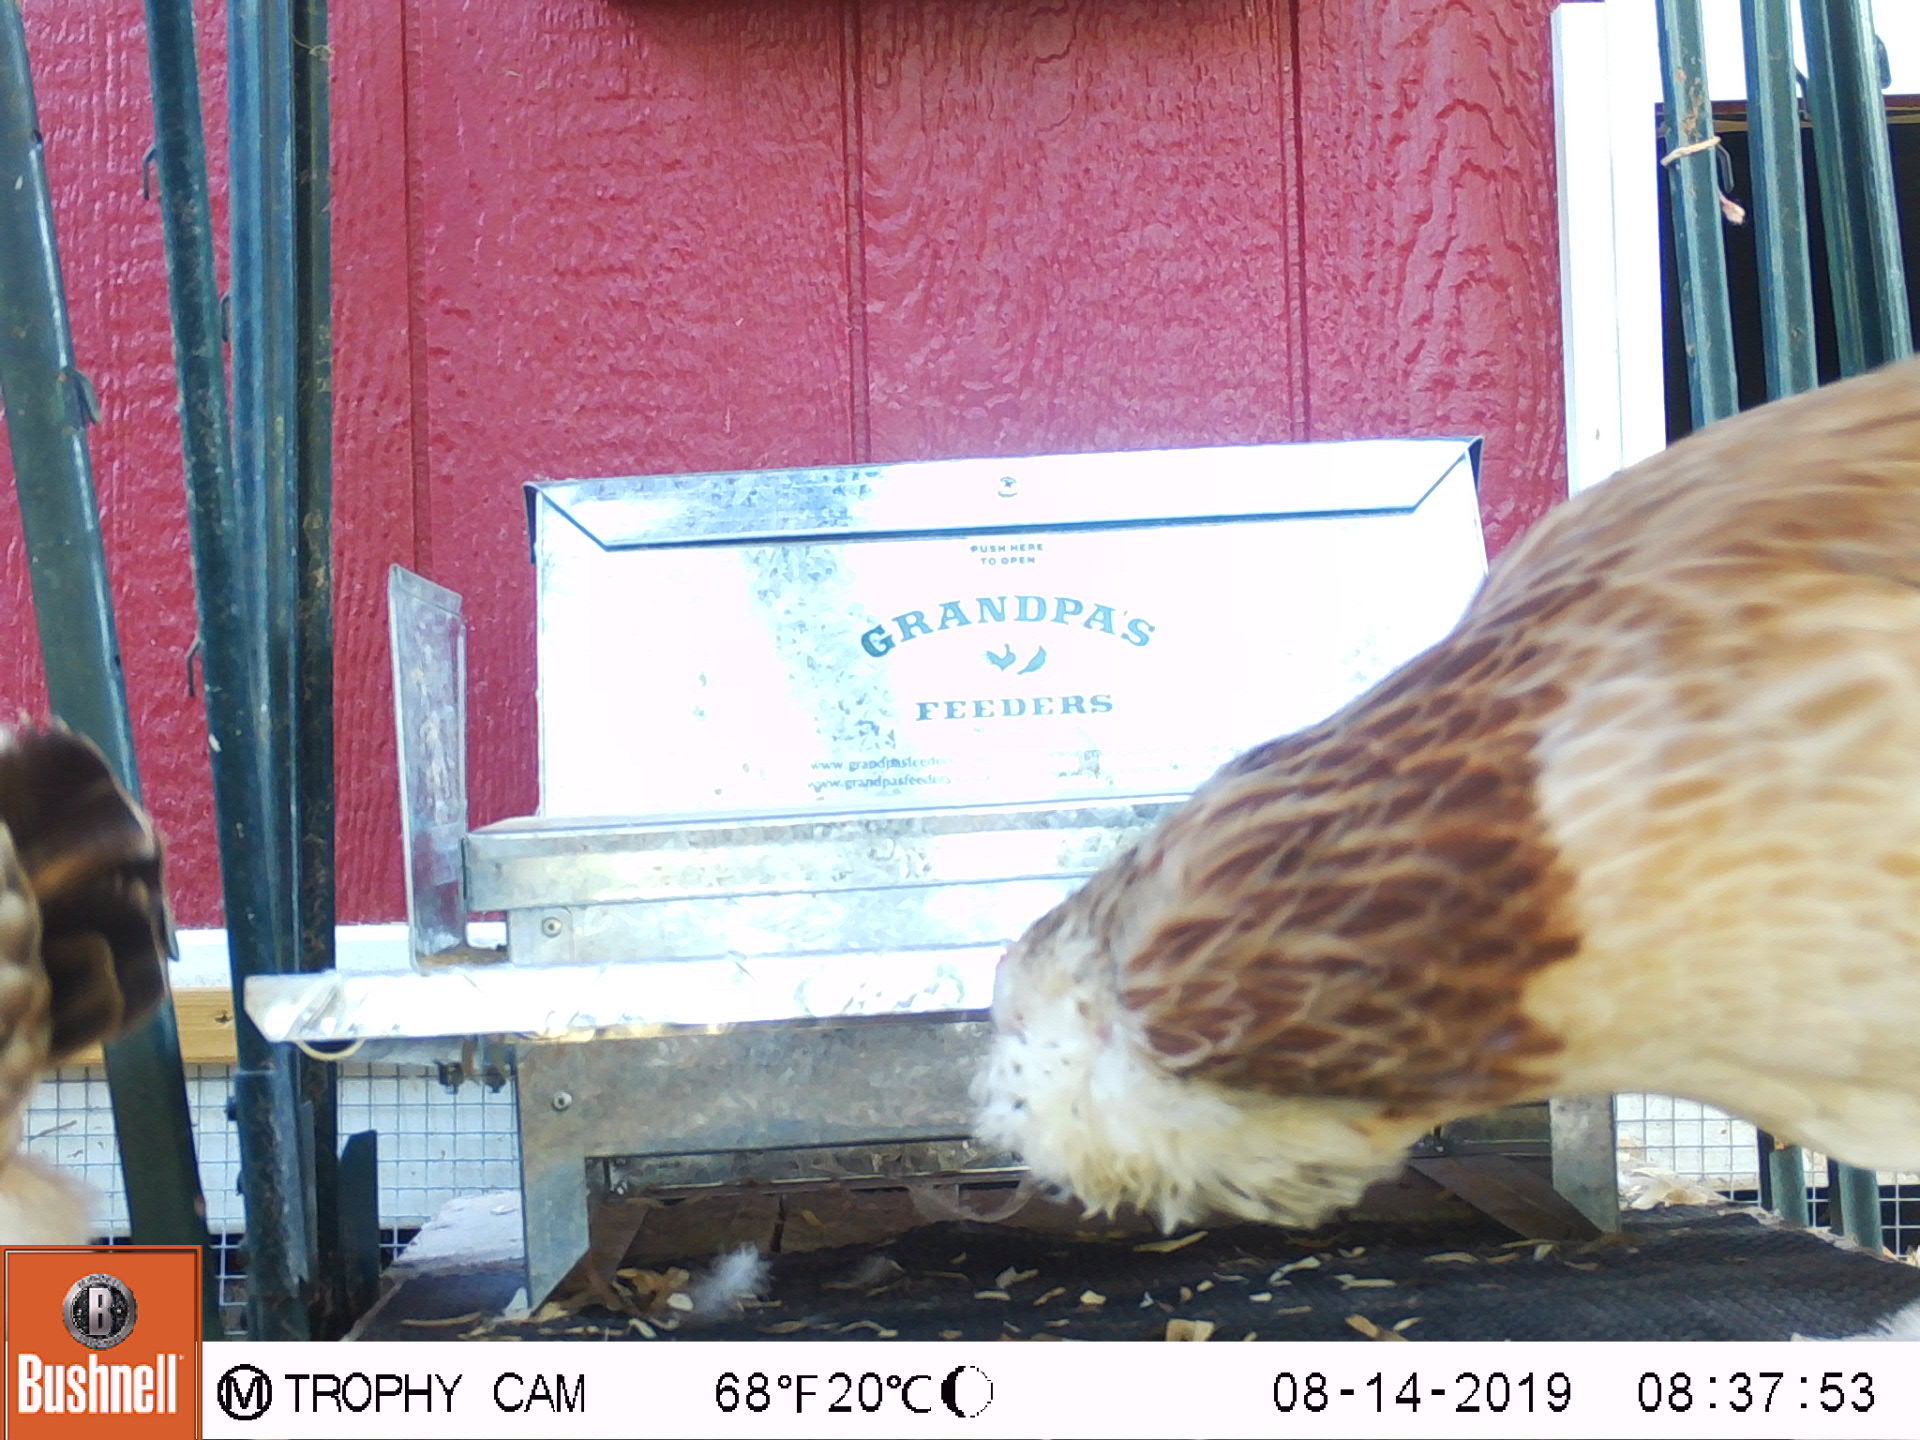
It didn’t take long for the chickens to adjust to the changes after I leveled our Grandpa’s Feeder properly. We had a relatively cool day (the high was 95 degrees F), so I put the feeder in the full working position where the lid closes all the way.
What? Are we supposed to go under?
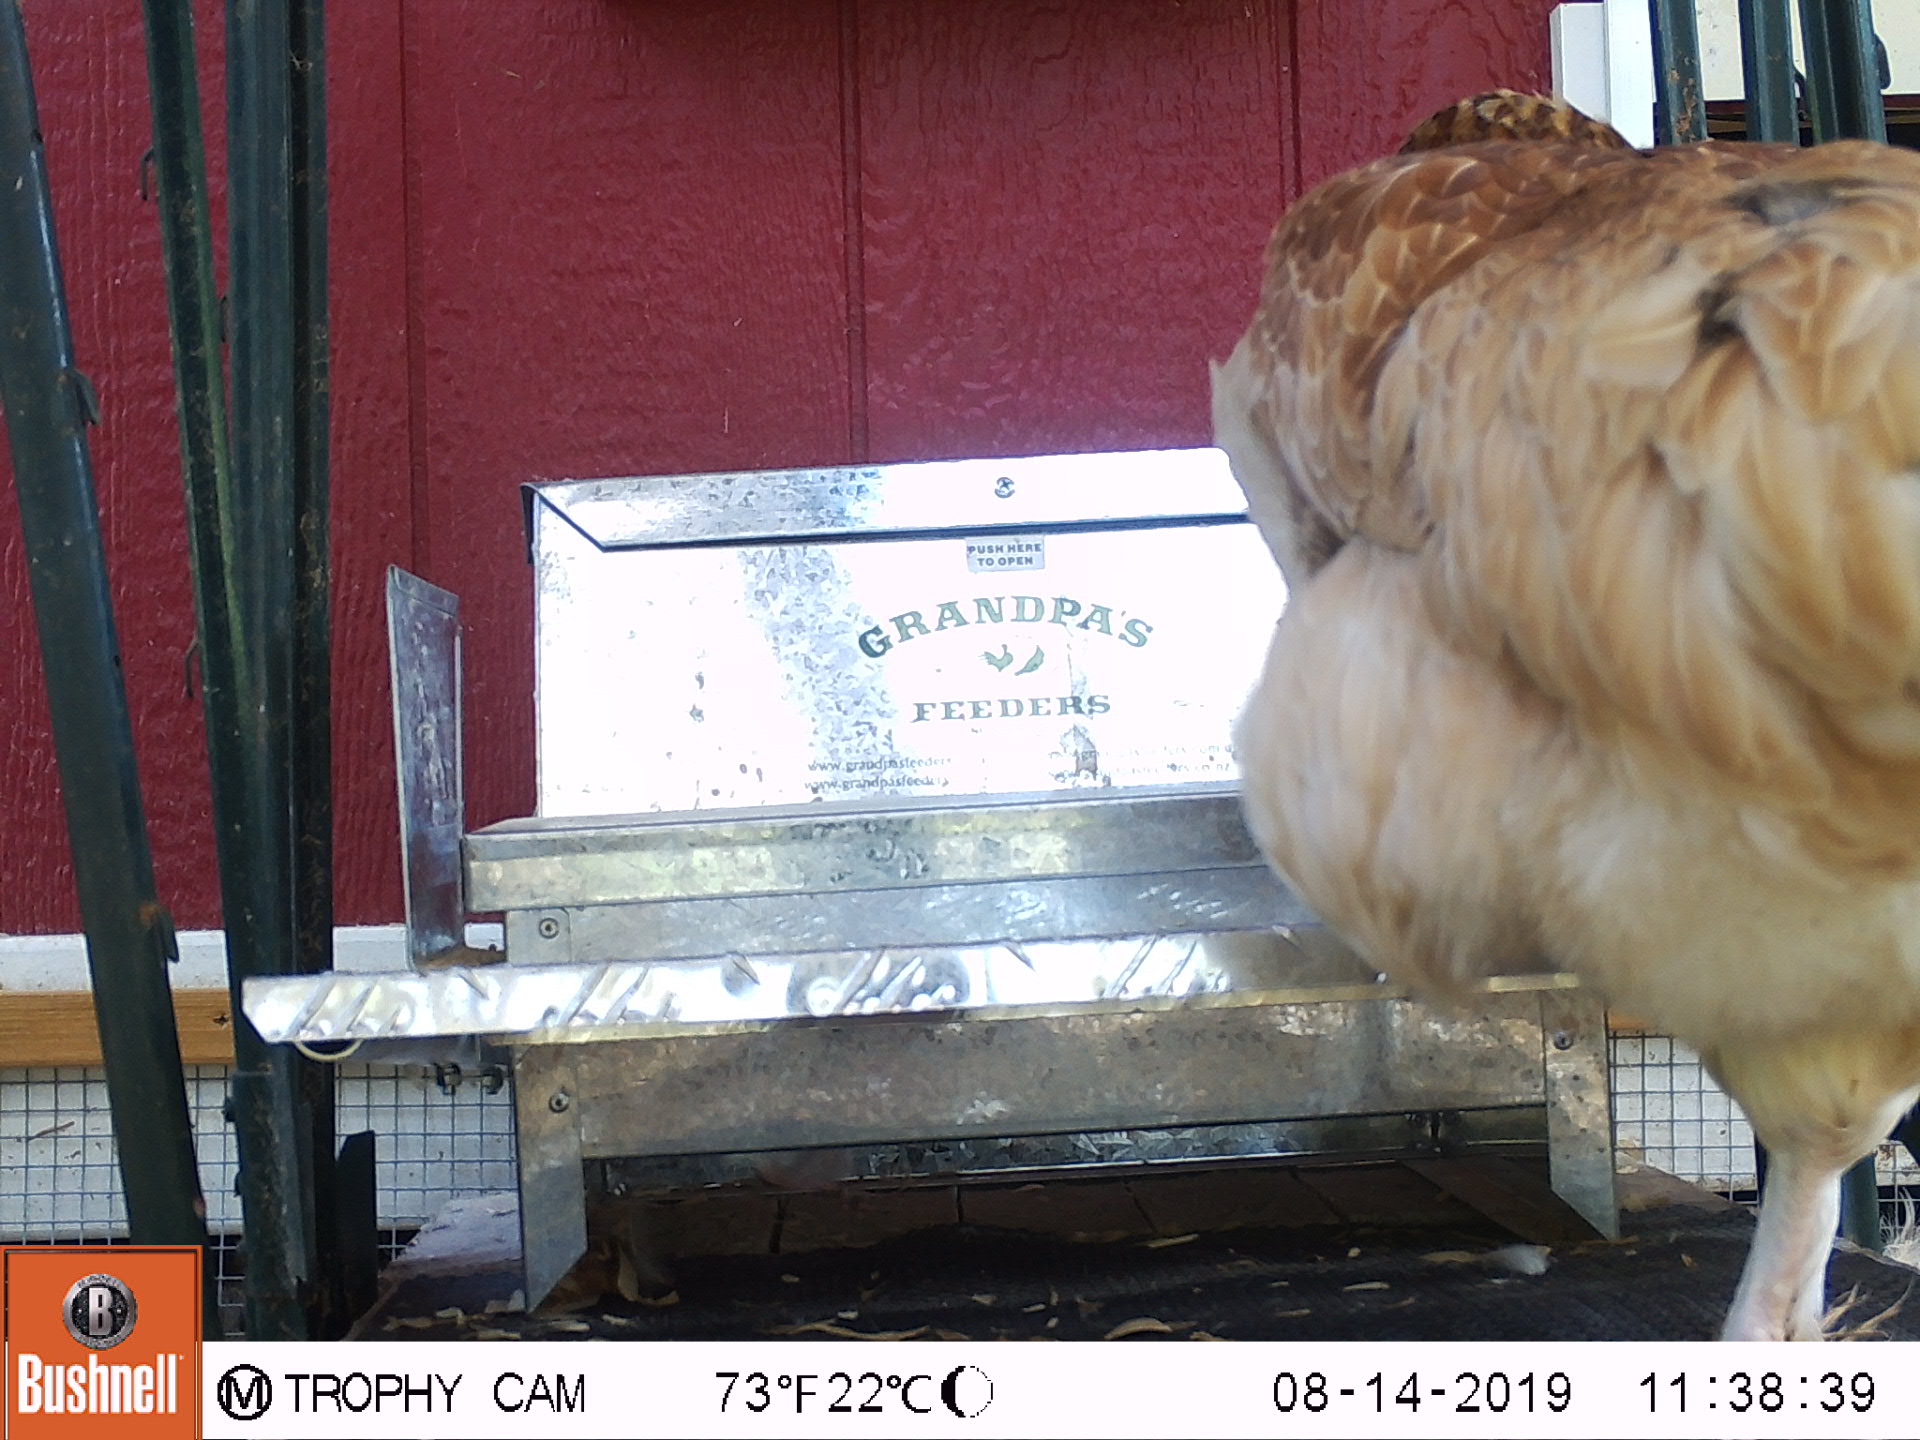
The step to the treadle is really high now. But I left the chickens to it, with the trail camera watching, and within an hour of shutting the lid, the chickens had figured out how to open it, and there was photographic evidence that all the chickens ate out of the feeder.
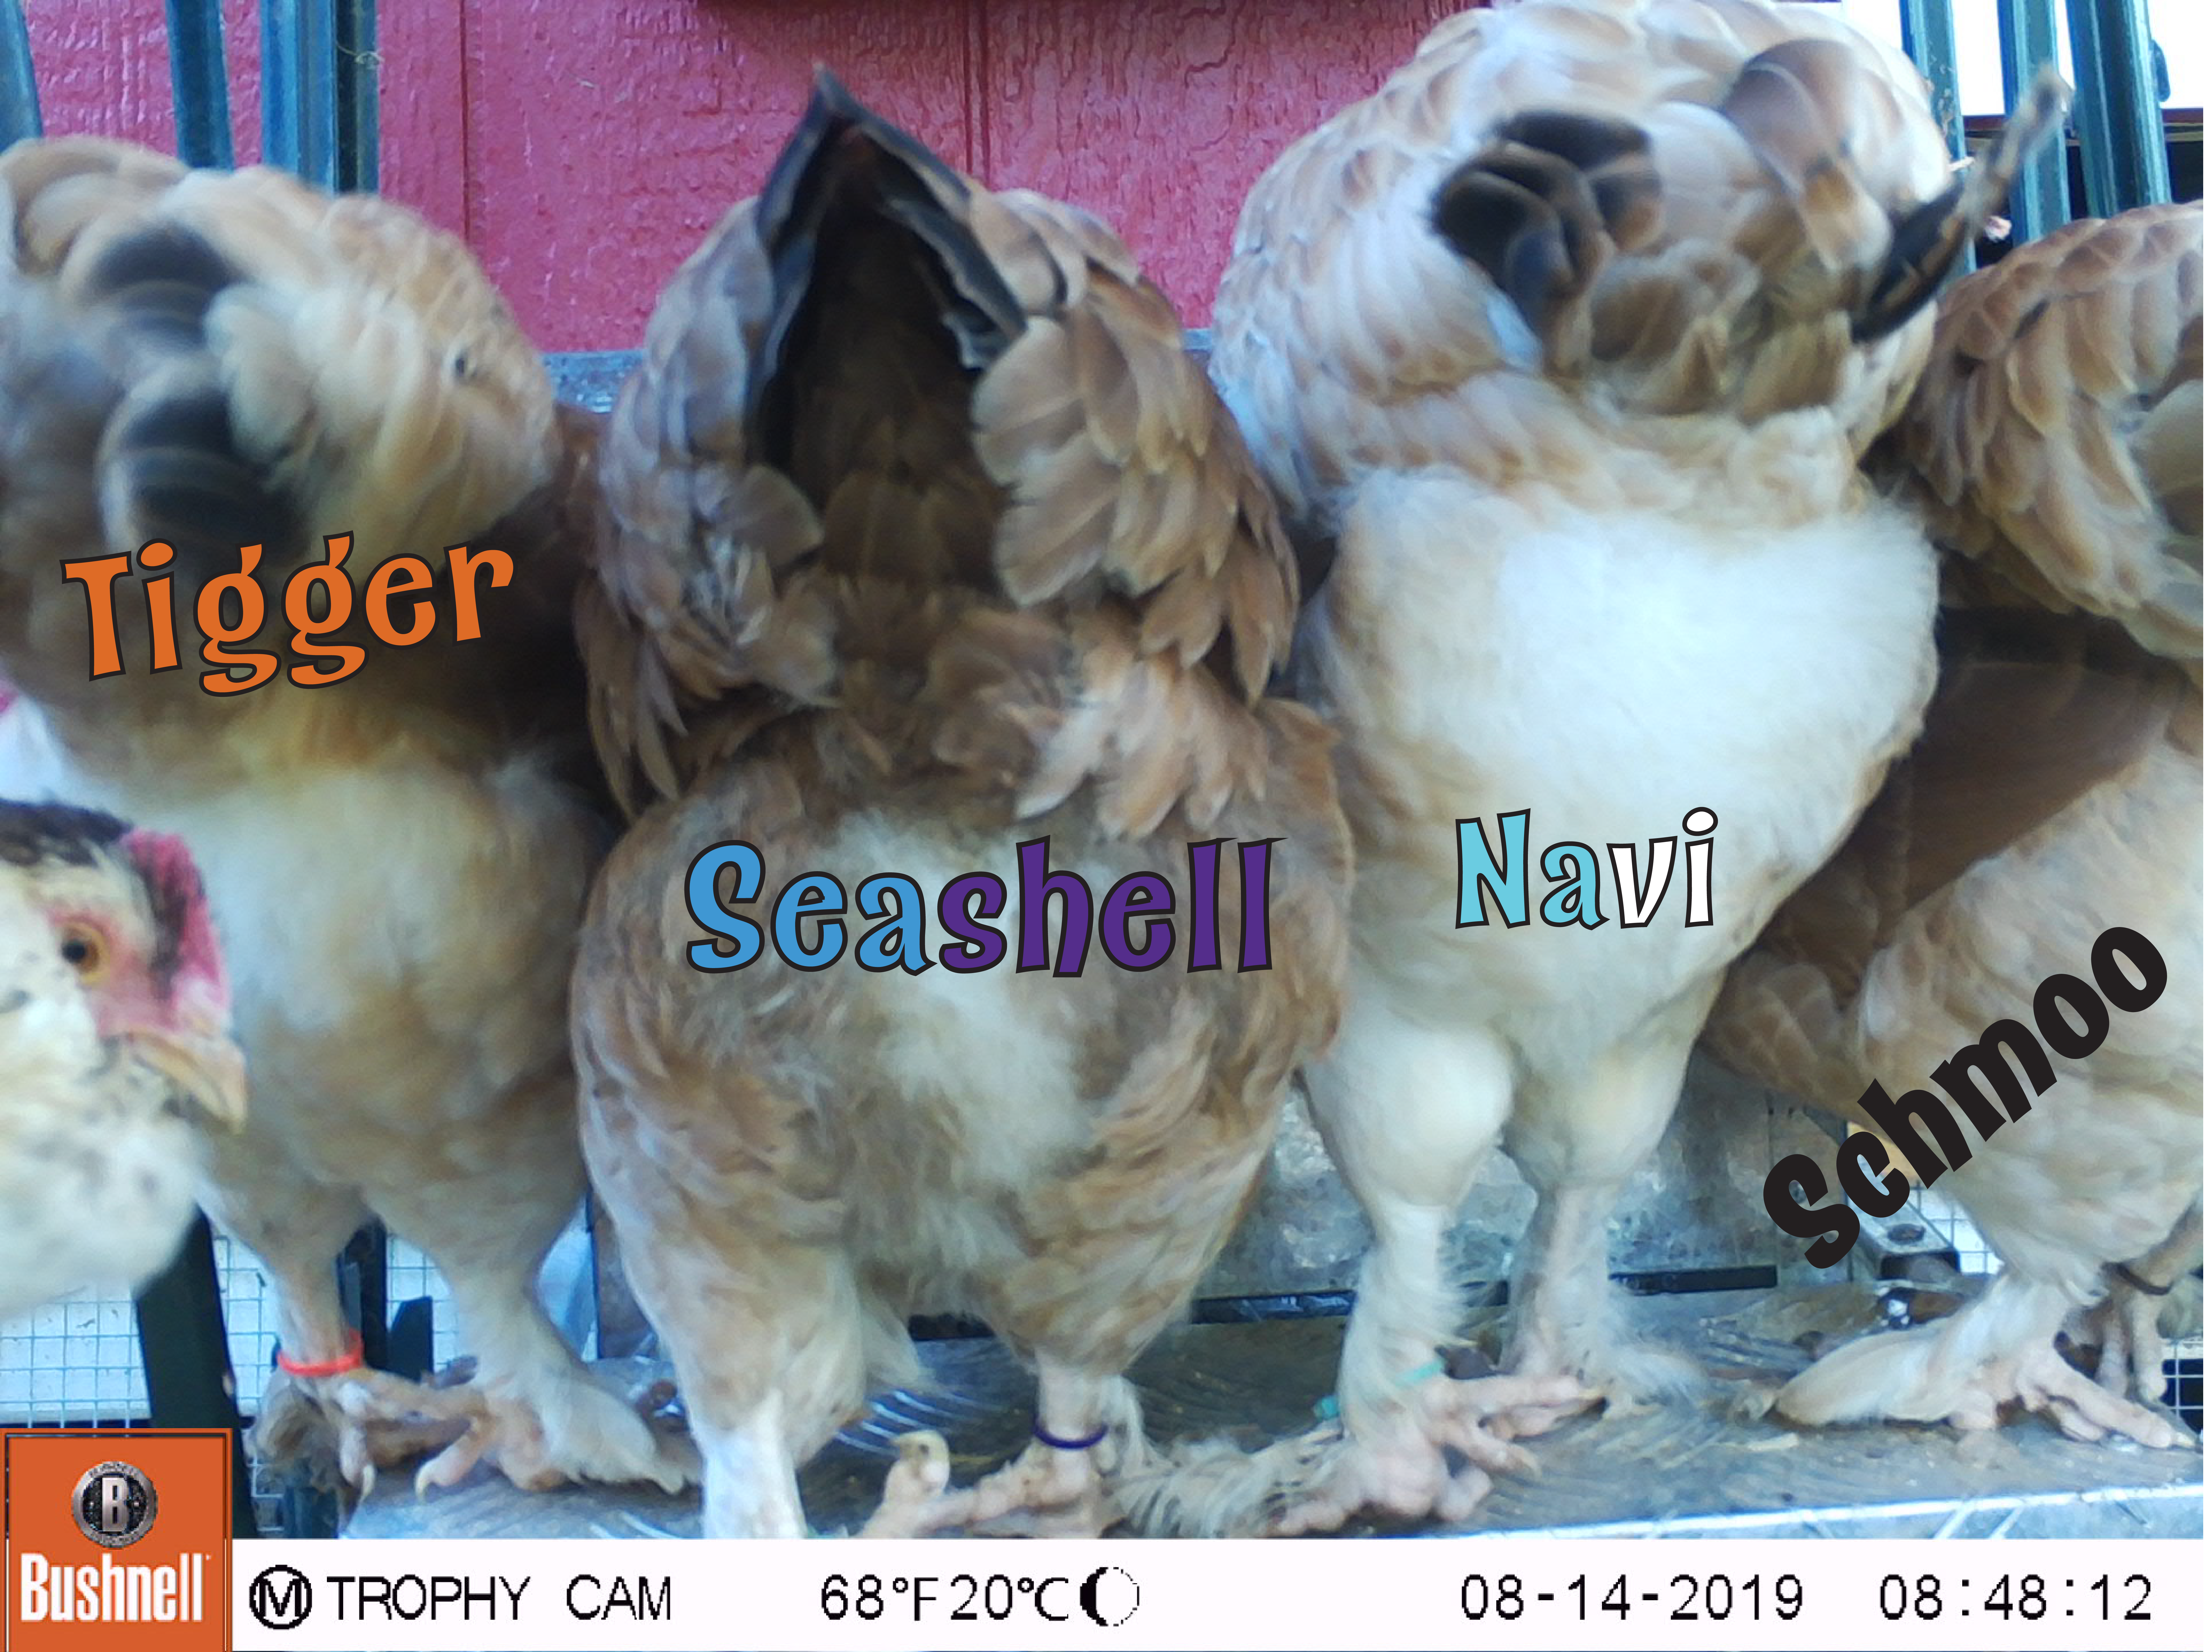
Fluffy Butt Brigade set 2
Well, Cloud and Cockatrice can open the feeder, then everyone else shoulders in to eat. At least they are all eating.
I took my crushed aluminum cans to the metal recycle center. I was just thinking I would drop it off (our trash collector doesn’t offer recycling in our area), but they pay for aluminum. So I put my bag on the scale, got a weight of 13 pounds, and took my ticket to get my $4.42. The man behind the counter gave me a lollipop with my cash. I was also referred to as “the young lady” (which I am not). It was definitely an experience.
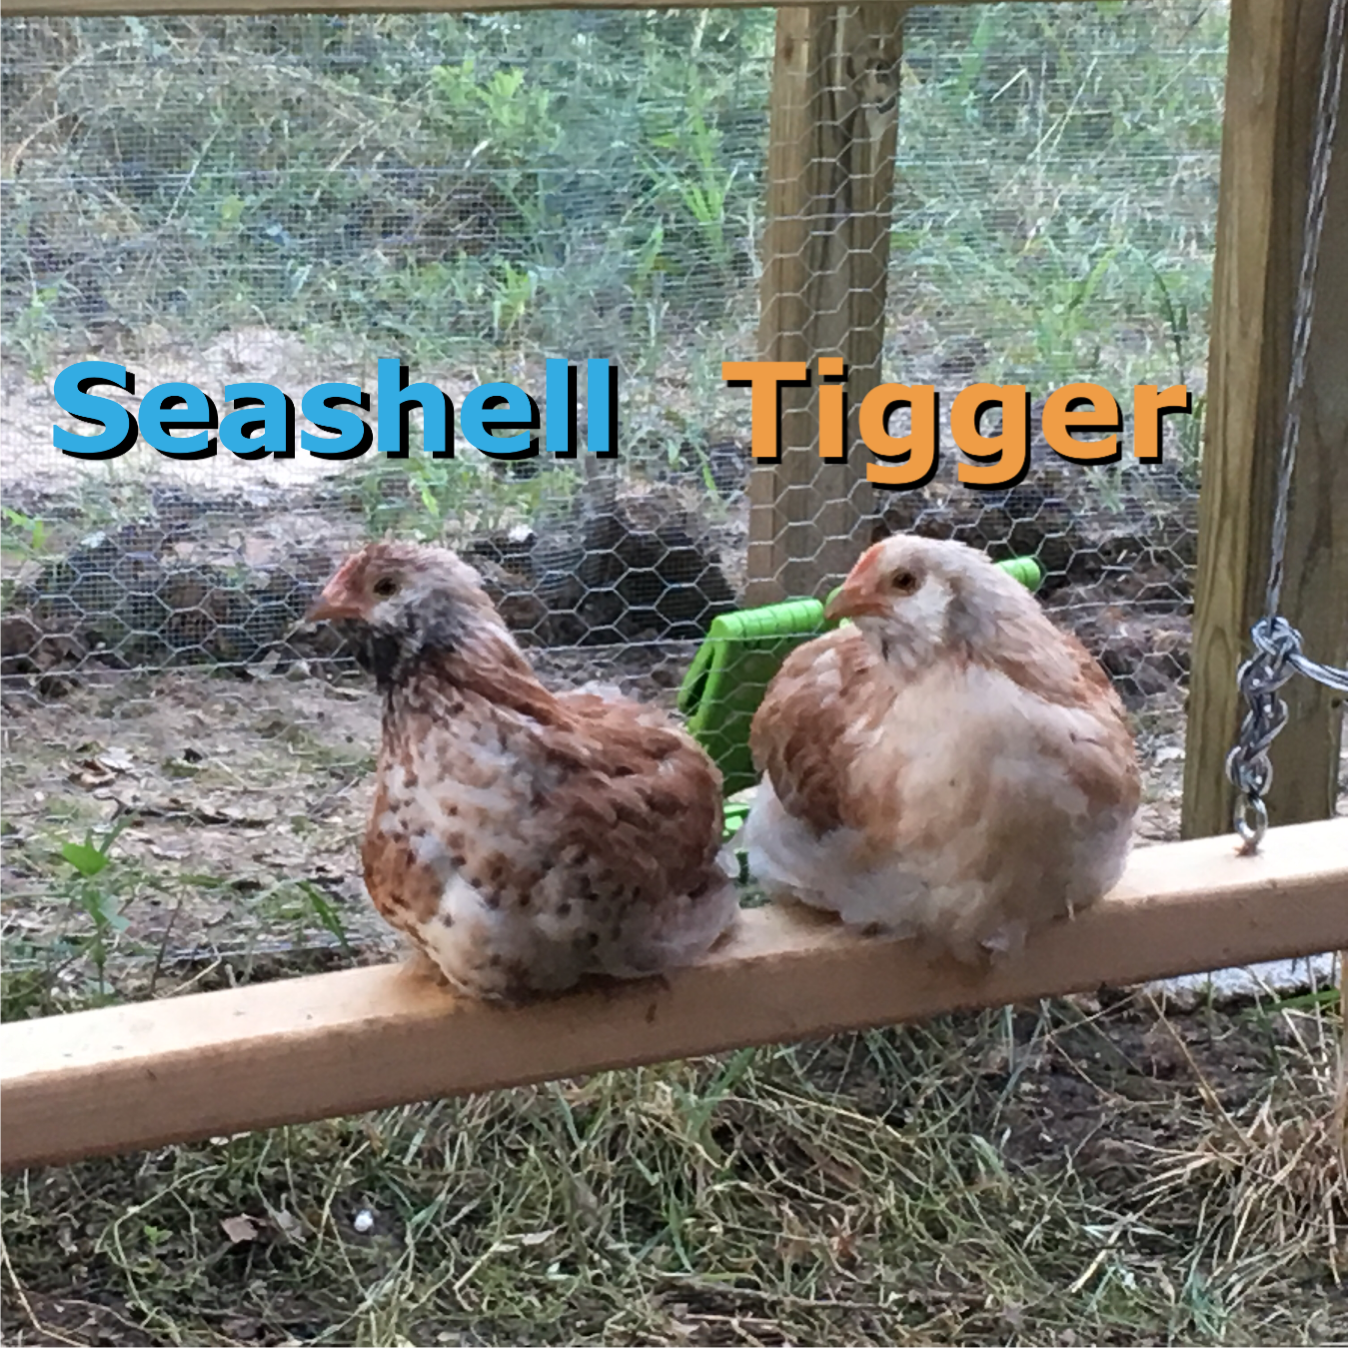
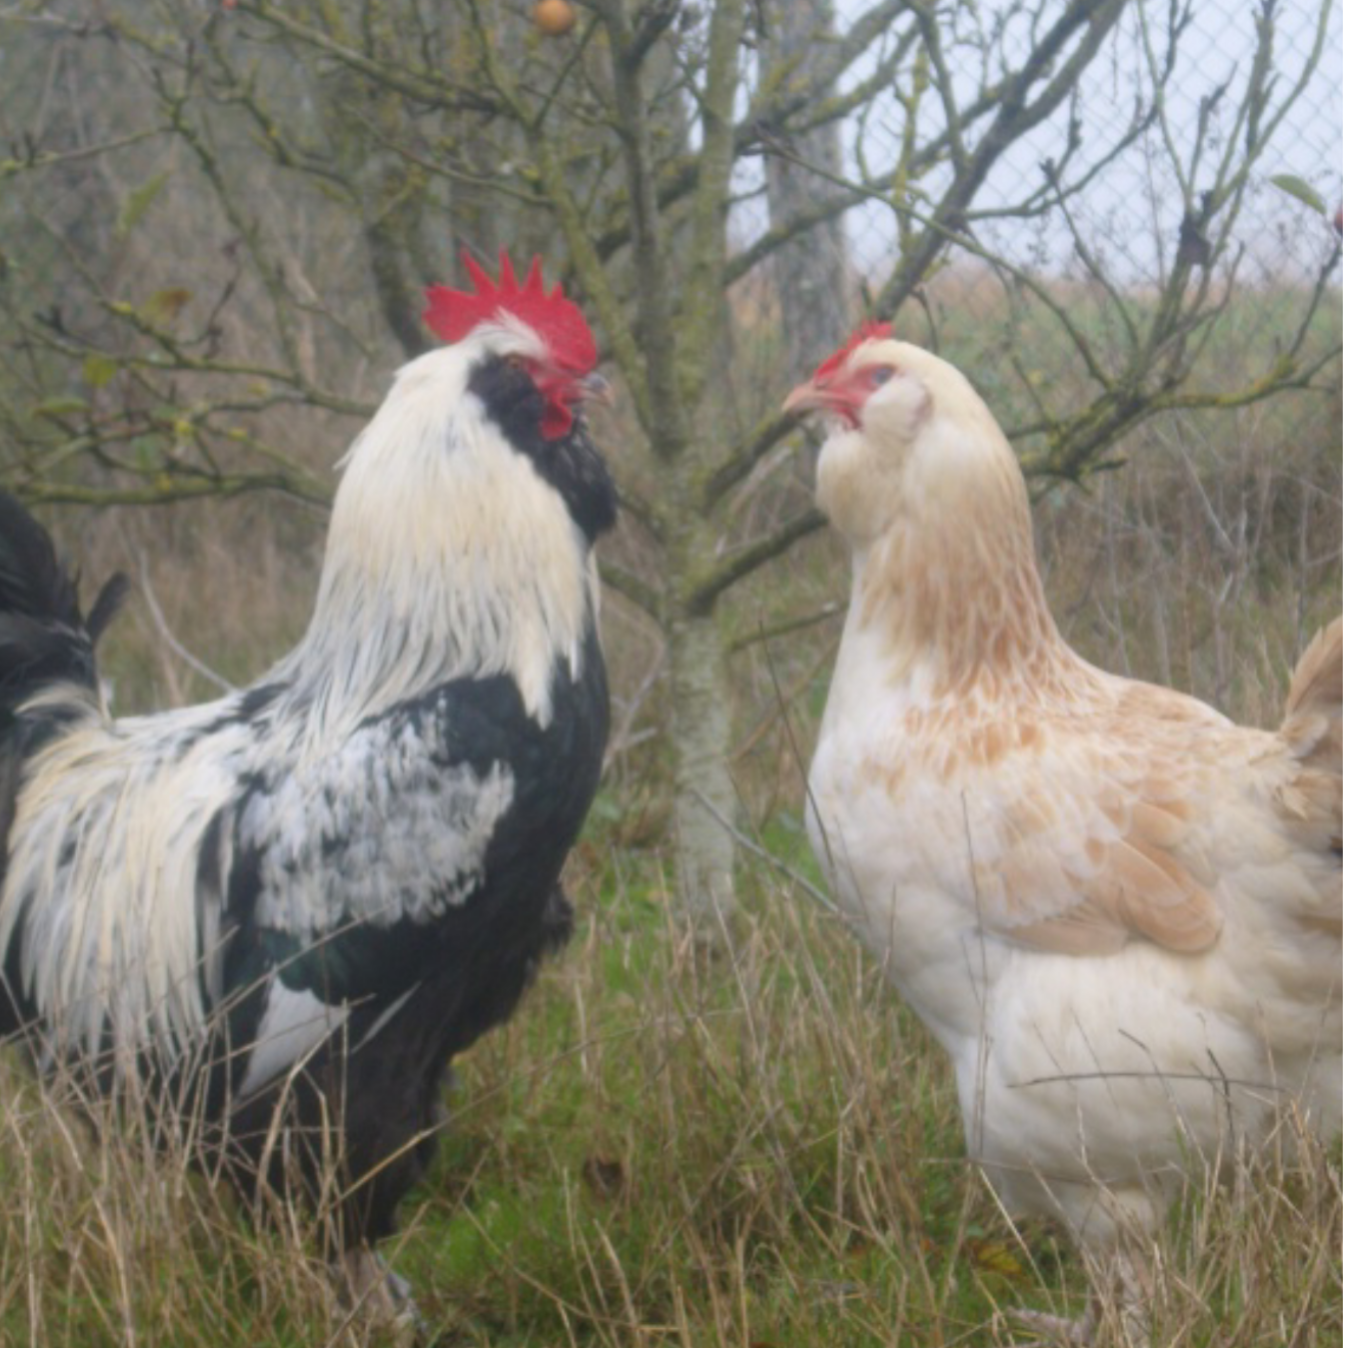
So I have been labeling all my YouTube videos with “chicks”. Now that they are fully feathered, I am labelling them “pullets”, except I’m not so sure they are all pullets. I took a picture of Seashell and Tigger on the chicken swing together and I think that Seashell may be a cockerel (male chicken under one year old), not a pullet (female chicken under one year old). Seashell is developing black feathers under his (?) chin, much like adult Faverolle roosters.
My young chickens (sitting on a swing…)
Picture of adult Faverolles from a French Faverolle club site
So there is a debate in the household on chicken names. My eldest would like the cockerel we keep (oh yes, it looks like if there is one, there are maybe 3 or 4) to be named Cockatrice. My husband thinks it would be funnier for the blog to have a rooster named Seashell. Maybe when we know for sure, we’ll do a poll.
In a pinch, or if you need a bunch of needles for teaching a class, you can make knitting needles from dowels you can find in a hardware store. Making your own needles not only gives you a greater connection to your knitting, it is a much cheaper way to have wood needles, which I find more pleasing than plastic or aluminum when knitting (these are cheaper than those too).
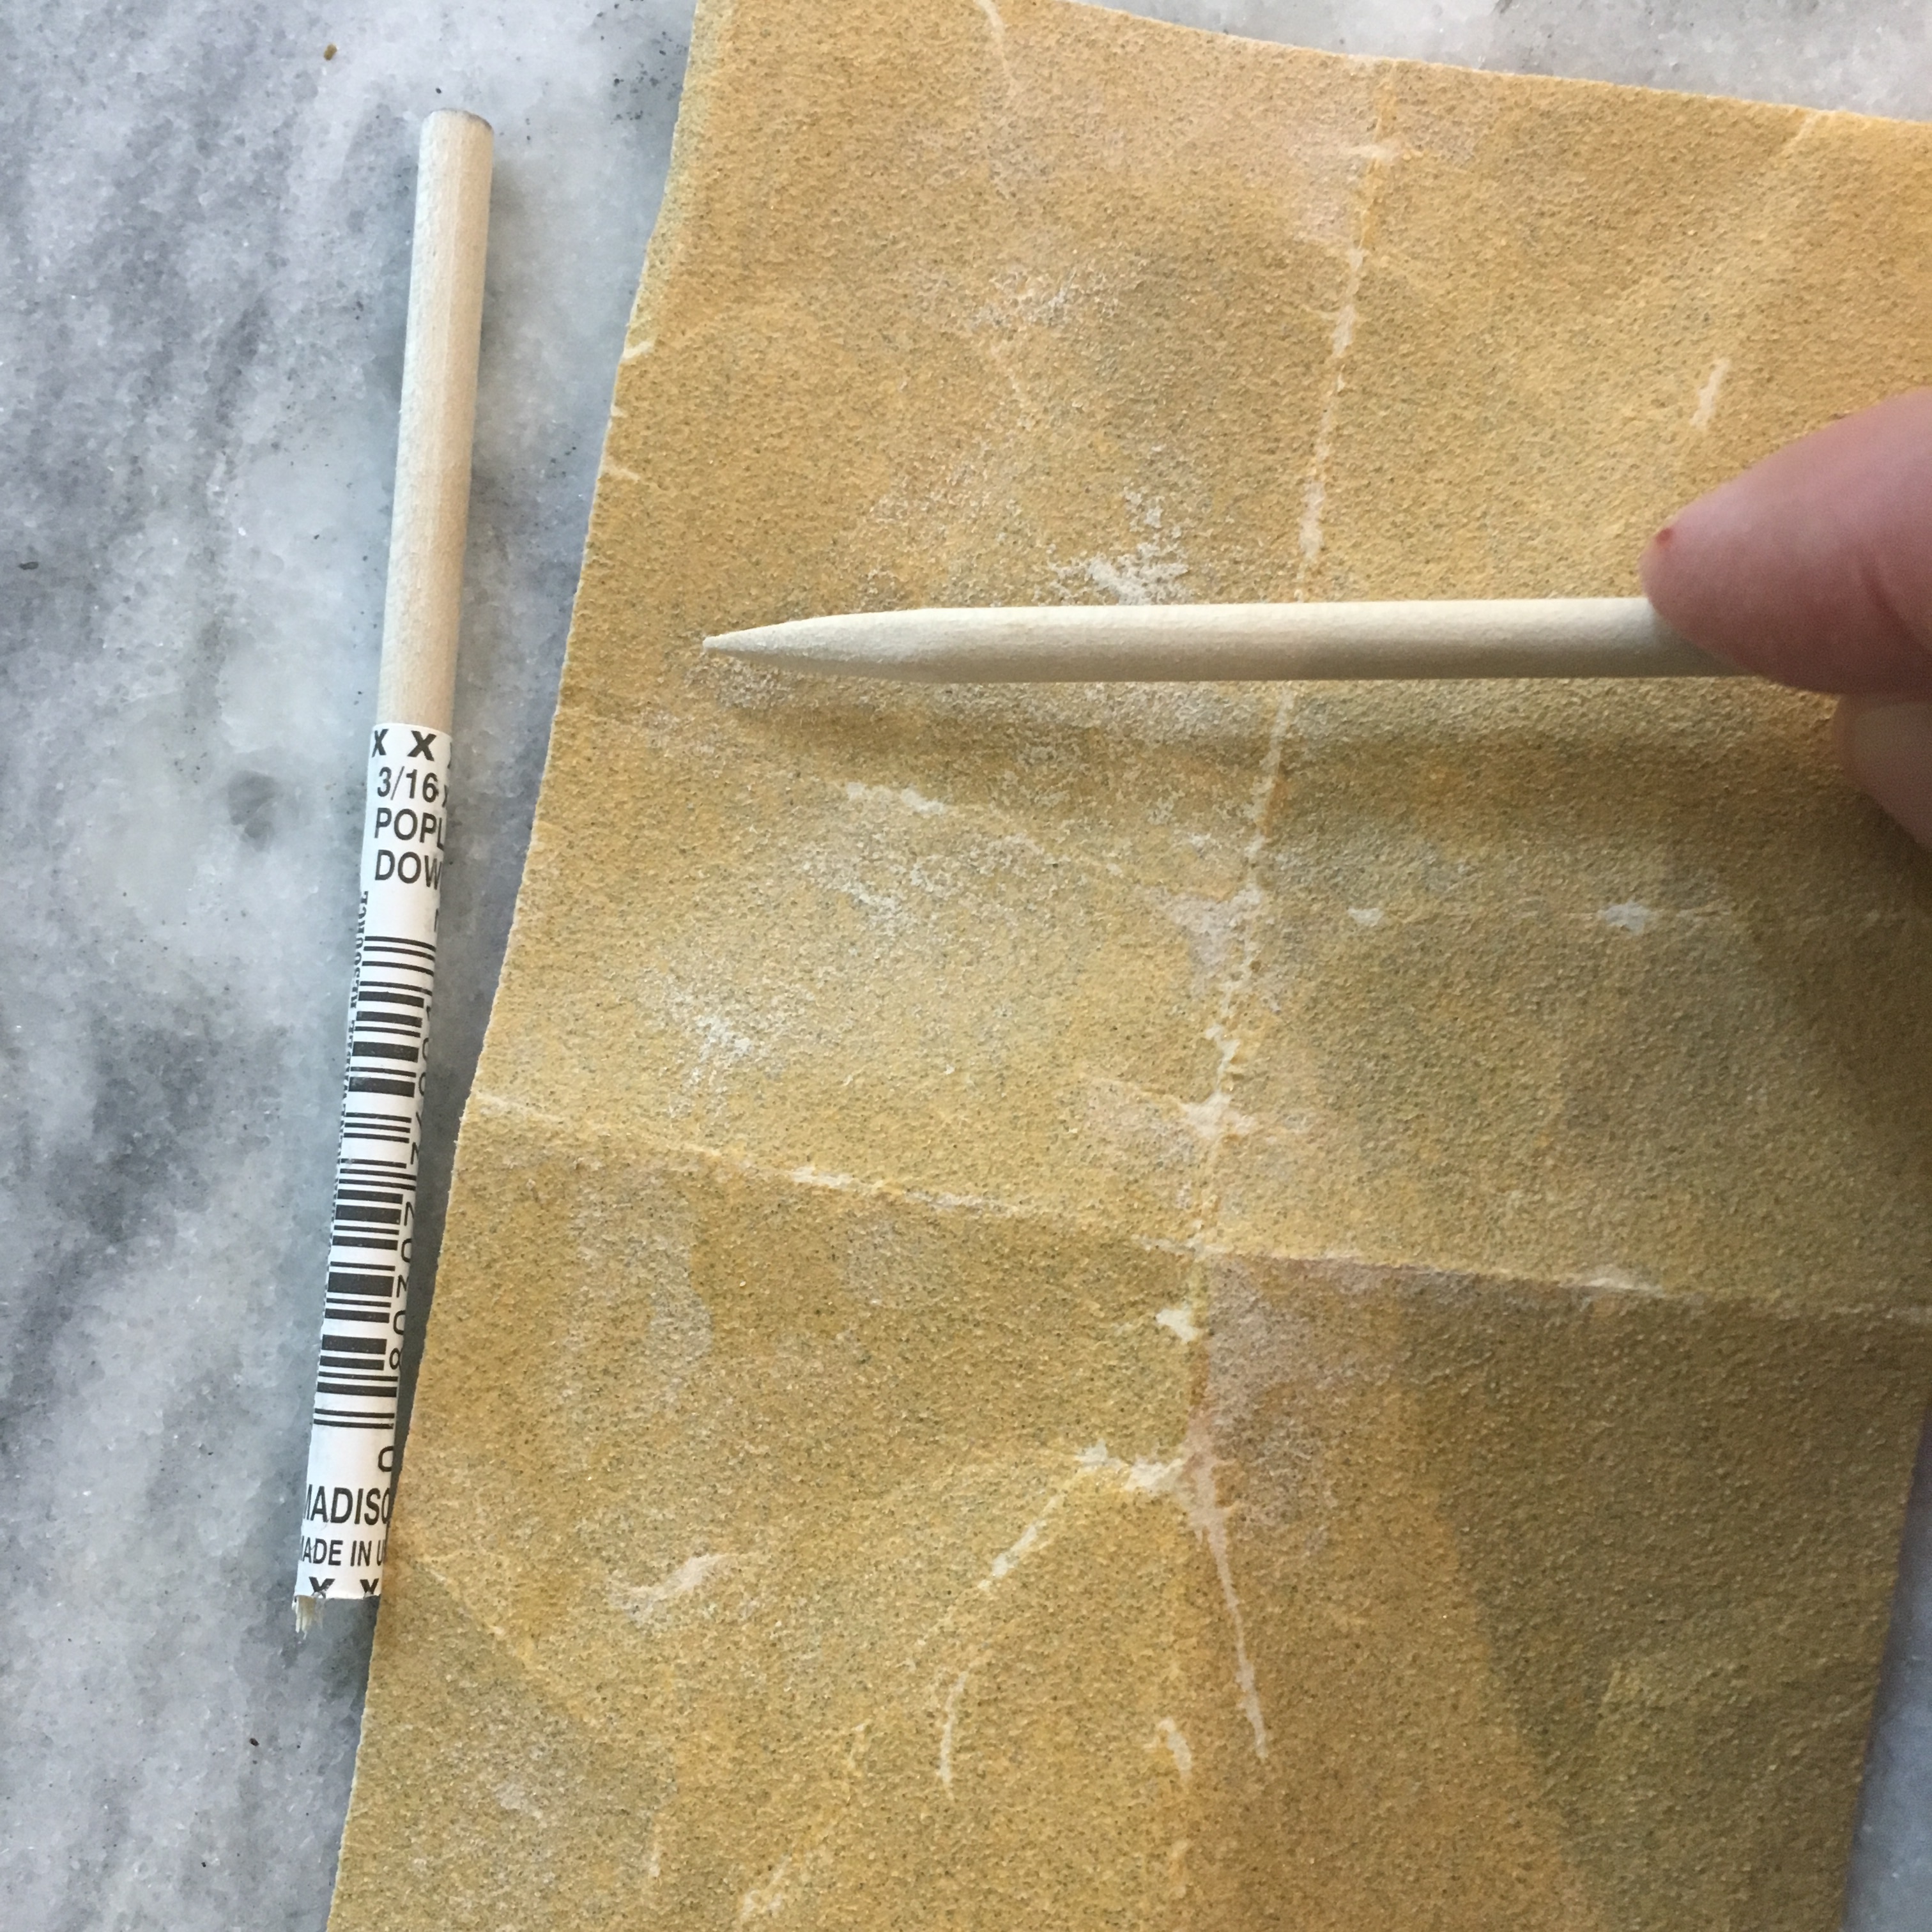
To make these needles I picked up 3/8″ poplar dowels, which are about 68 cents each, at my local hardware store. I also used 120 and 320 grit sand paper. I cut the dowels to 14.5″ (I used a chop saw, but a hand saw would also work). You can use the 120 grit sandpaper to sharpen one end of the dowel. Make a slightly more slanted angle than a sharpened pencil. Blunt the end slightly, so that it is still easy to pick up a stitch, but is harder to split the yarn.
Sharpening the dowel using sandpaper
Sand the whole needle with 320 grit paper so the yarn slides nicely, but isn’t slick. Rub your hands along the needle; the oils from your skin will help the yarn slide on the needle, and the needles with continue to improve with use.
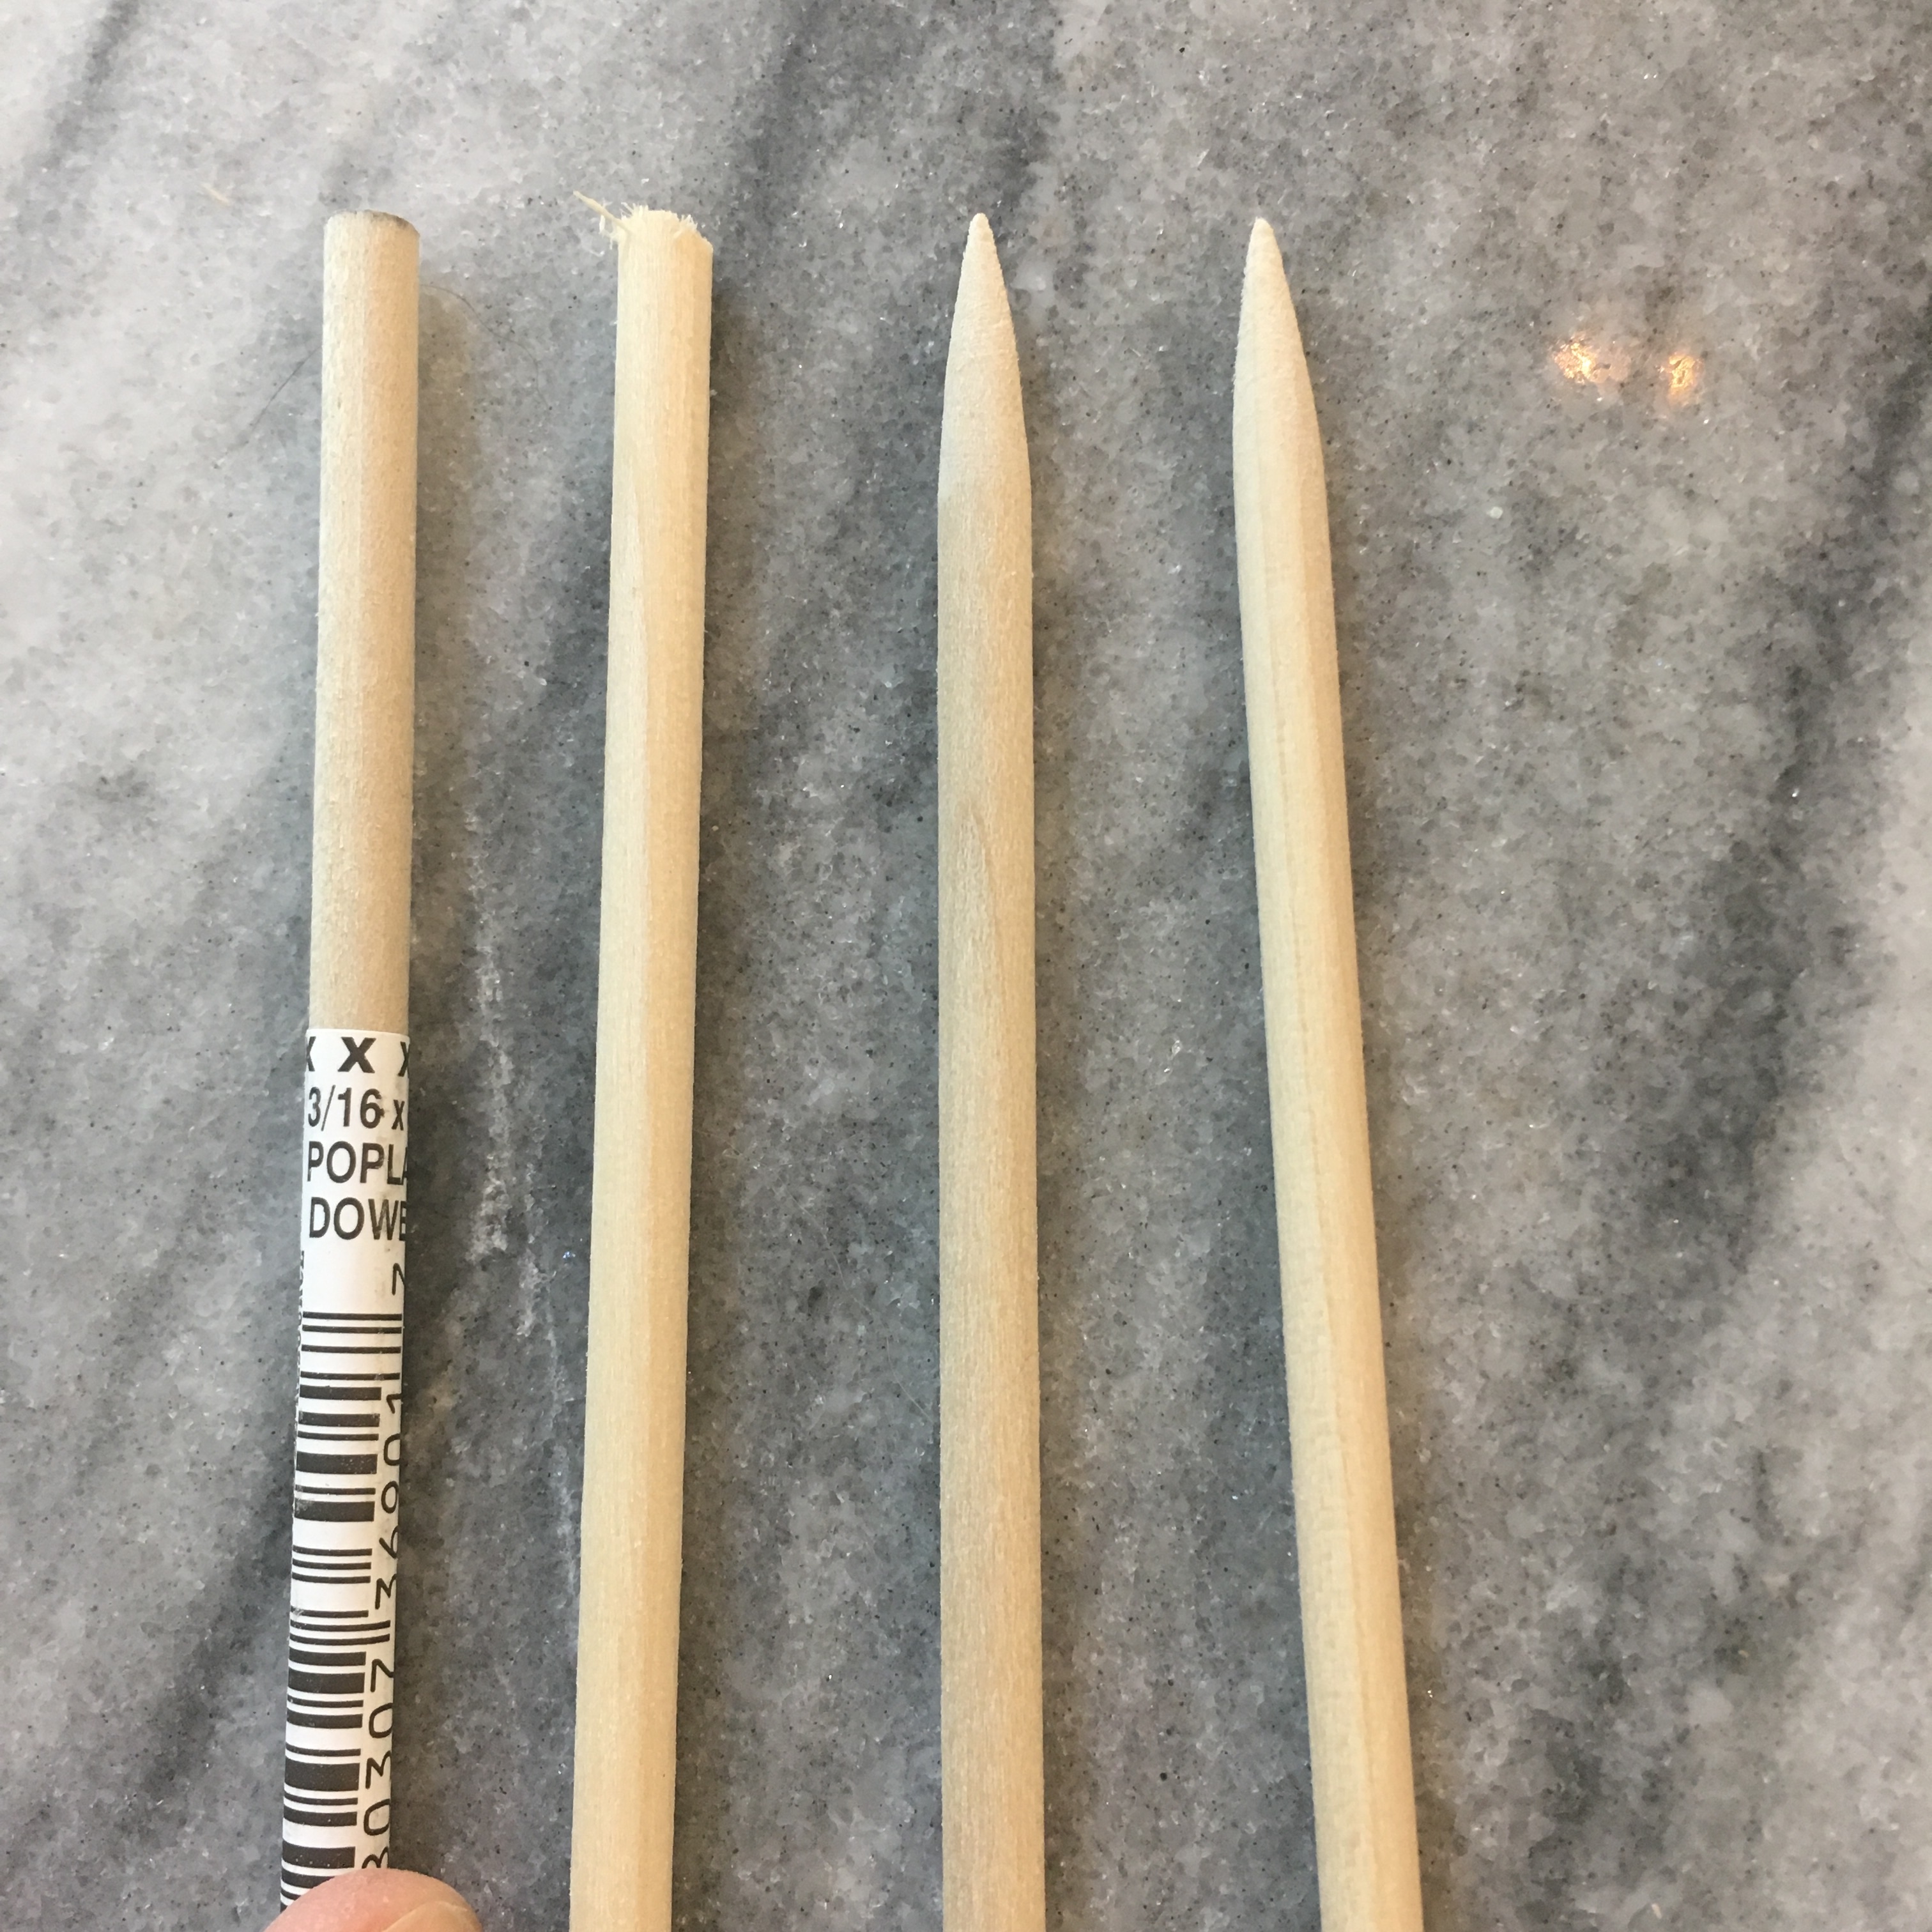
From left to right: 3/8” dowel, cut dowel, shaped end, sanded end
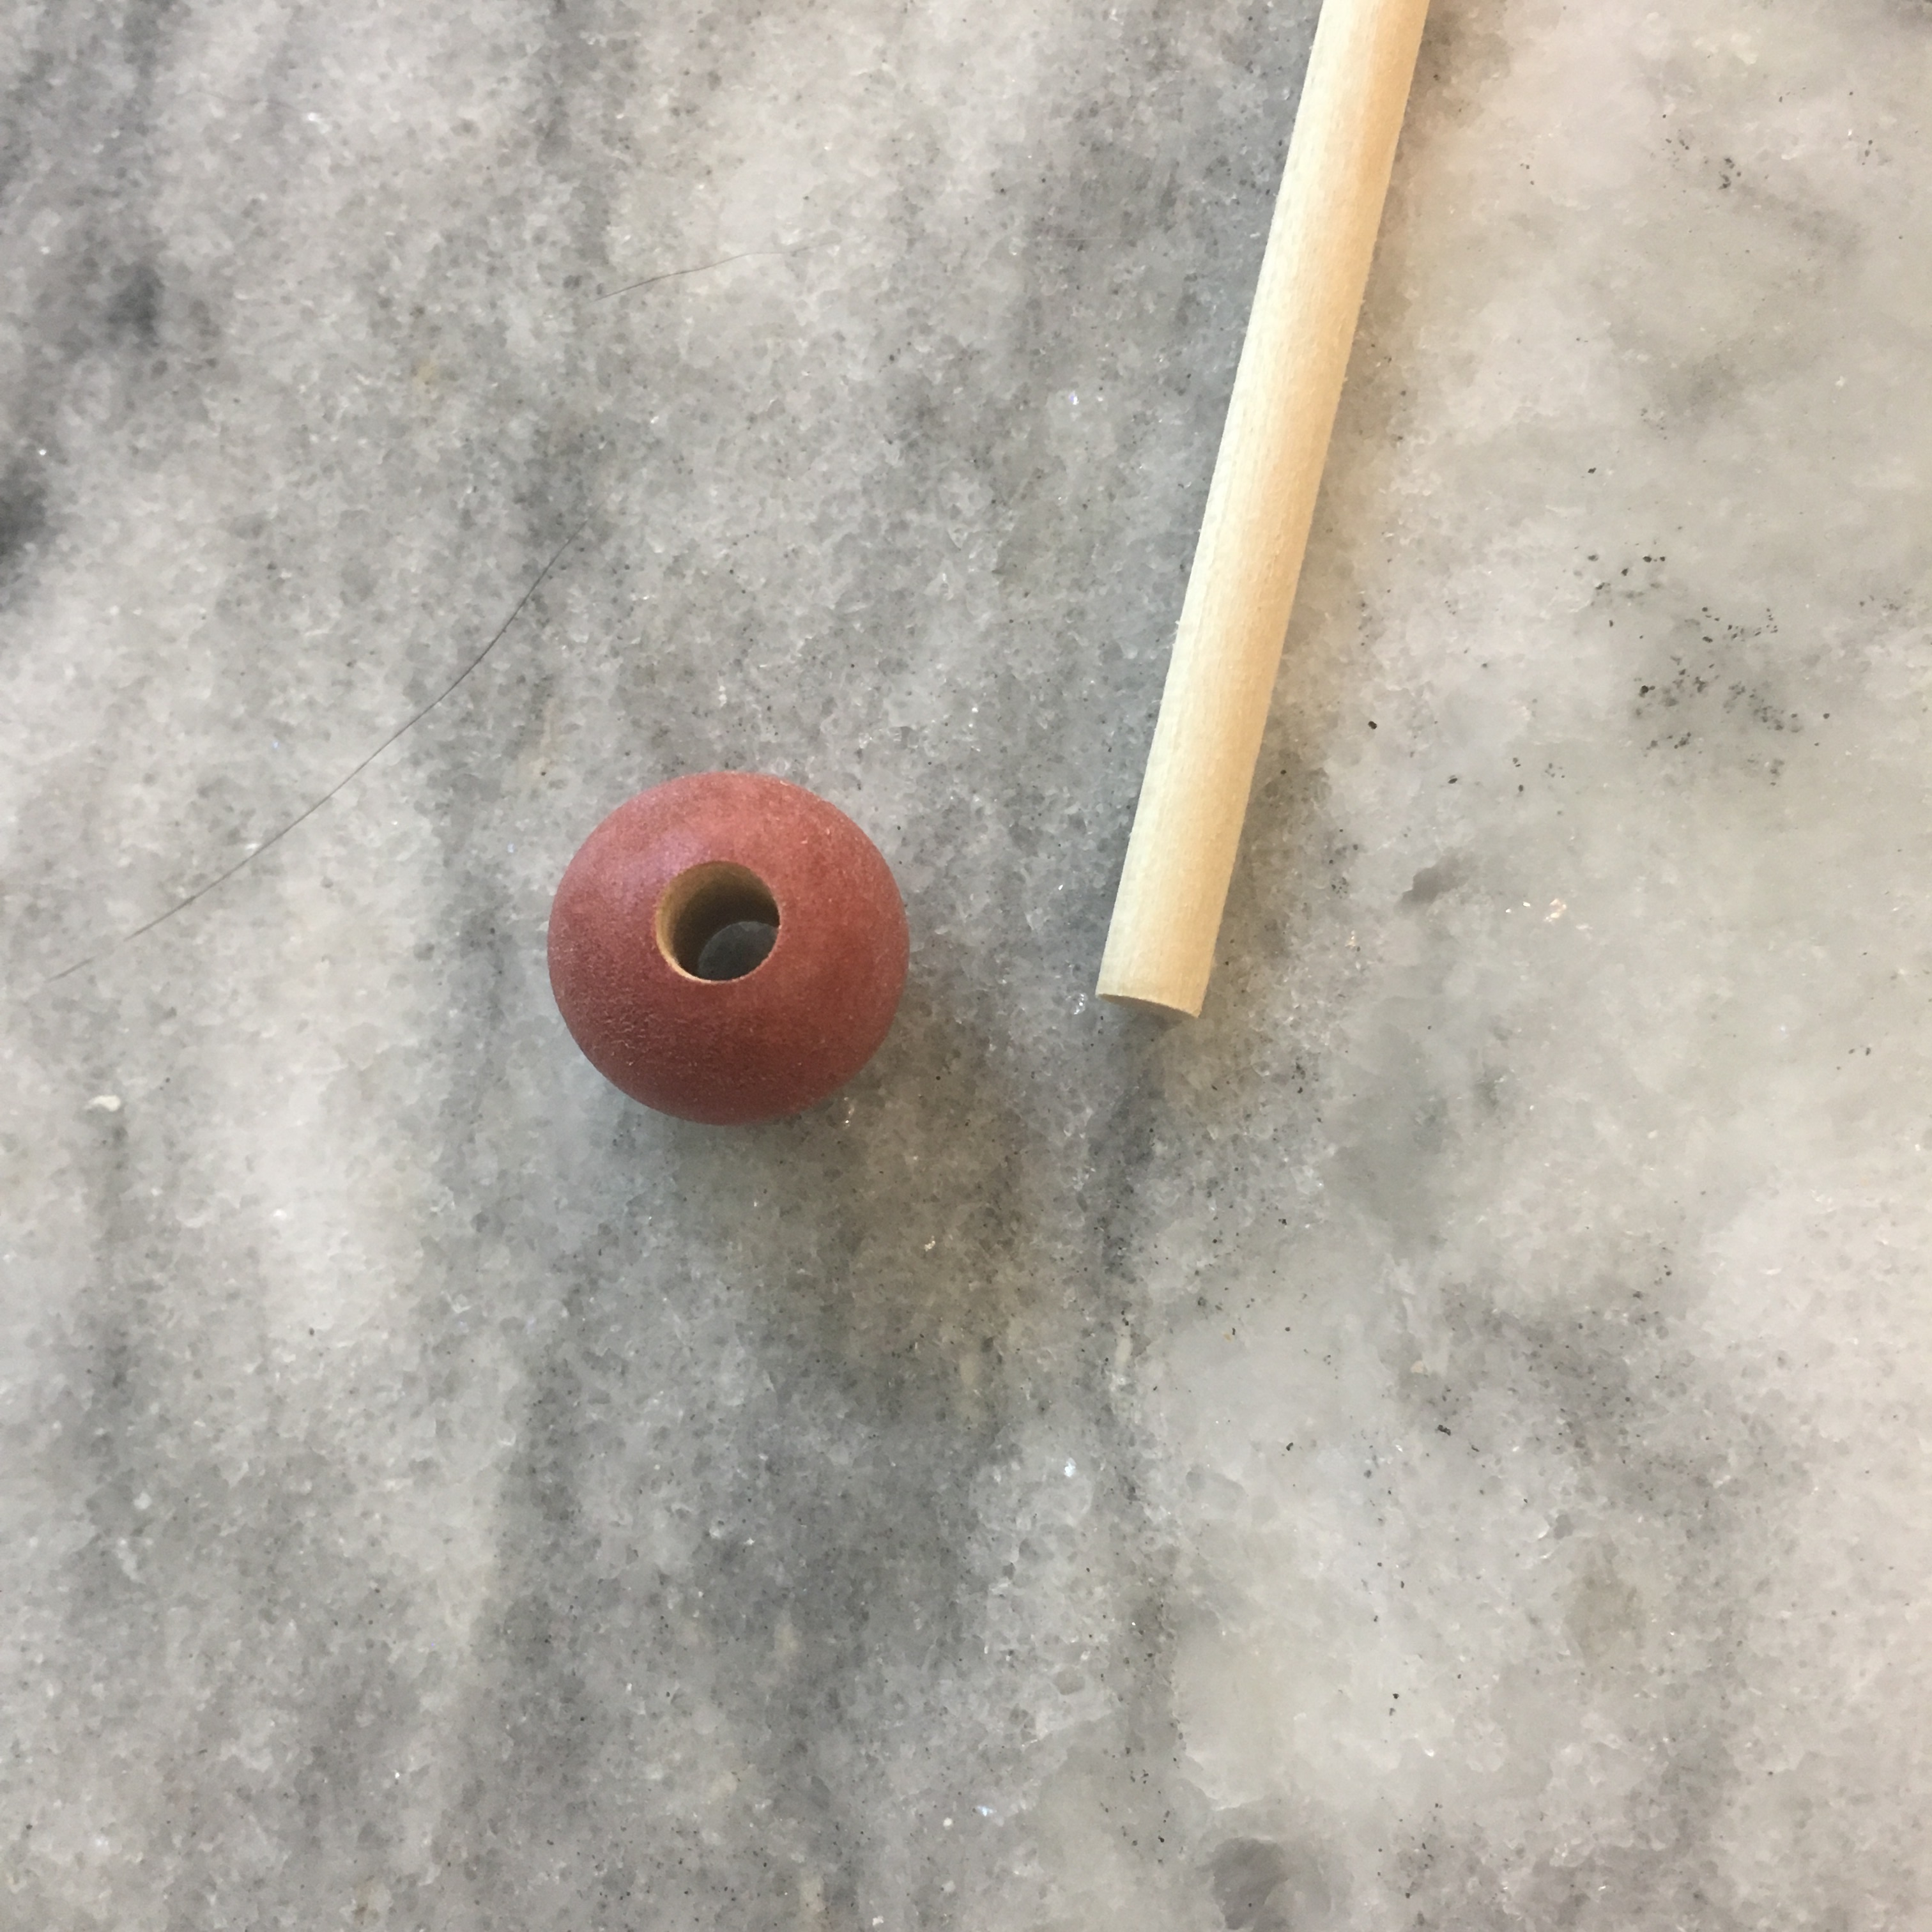
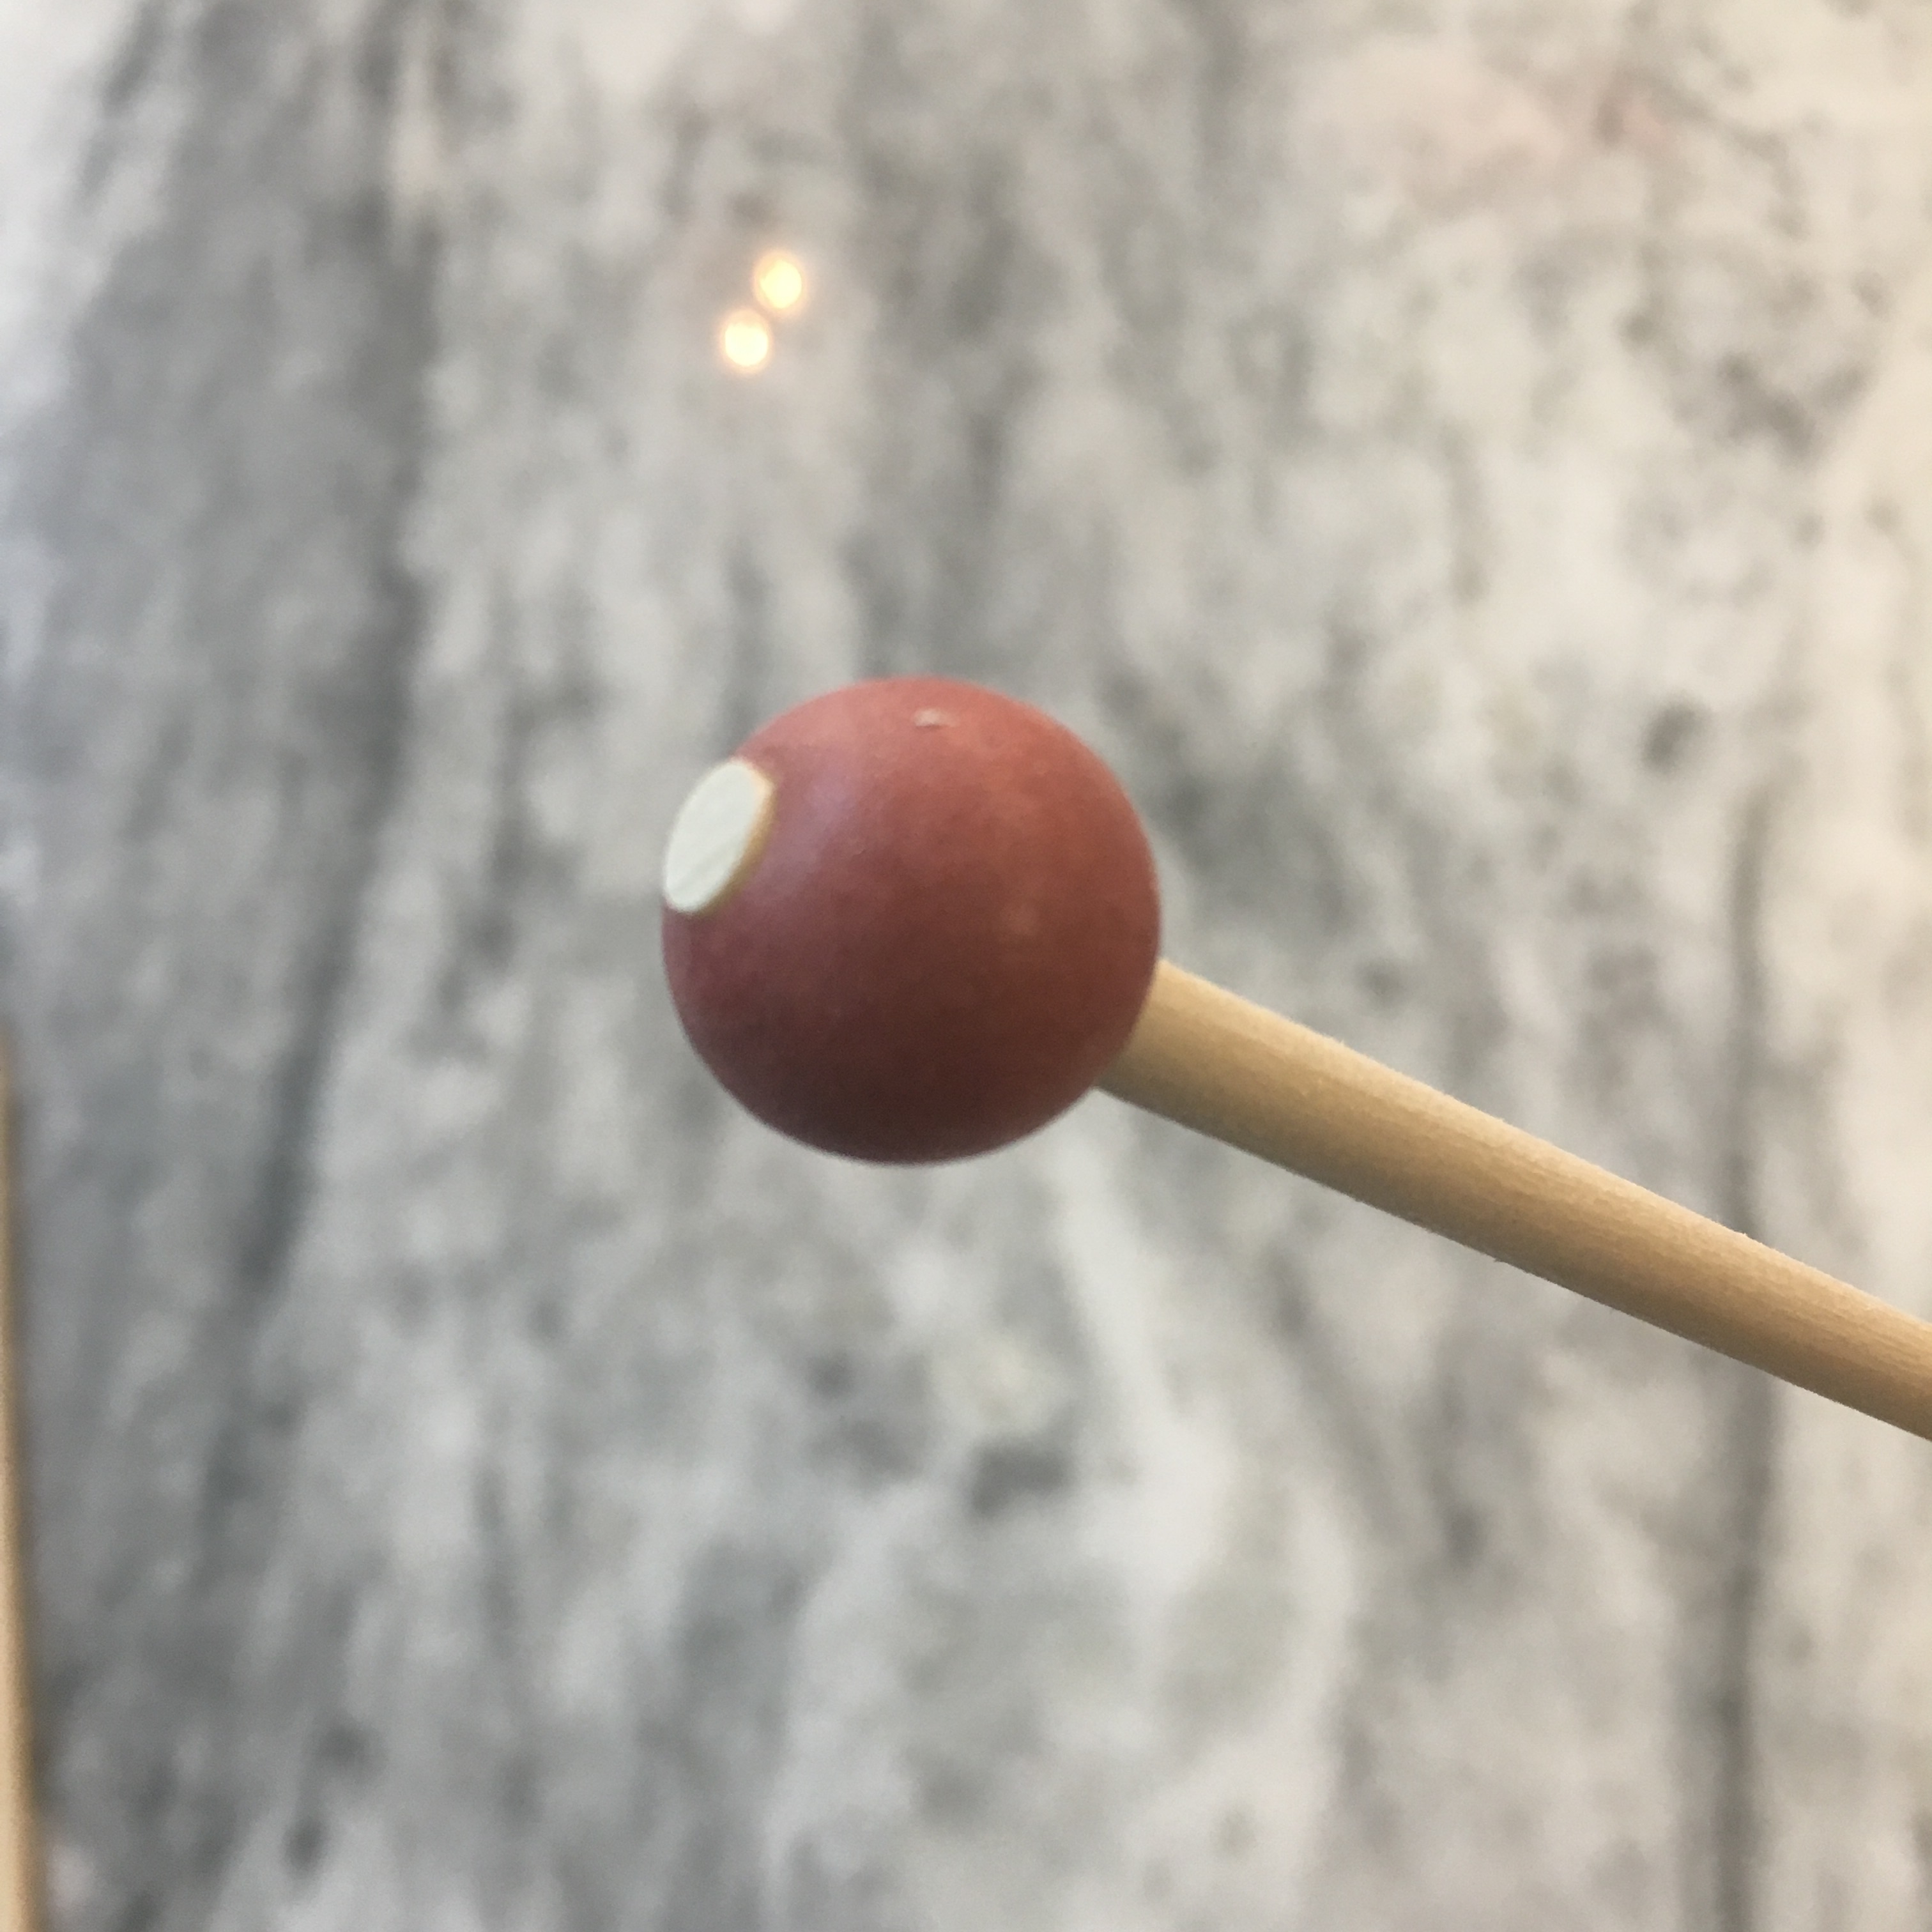
I used wooden beads with a 3/8″ hole to put a stop on the end of my needle. Alternatively you could use a fancier large hole bead, air dry clay, or Sculpy clay on the end to make a stop. A drop of glue will help keep the stop in place.
Wood bead with 3/8“ hole
End stop
If you knit with a tight tension on your yarn, you may break the needle, but you can always make more needles. And learn to ease up the tension without breaking one of the fancy turned needles from the specialty yarn shop (ouch).



 Critters and Craft