Iris leaf trivet

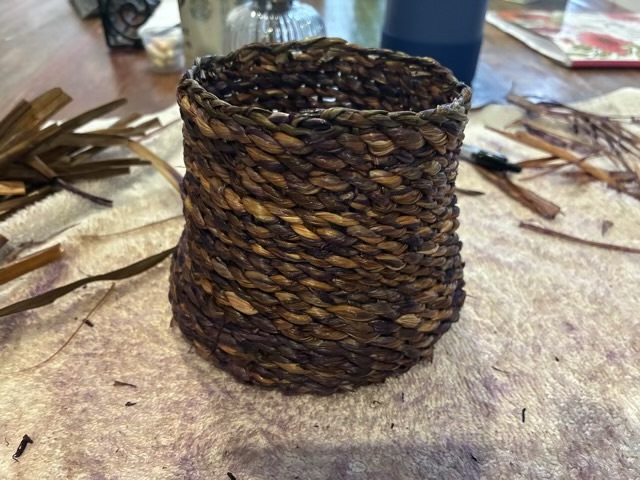
I recently found a tutorial from Sally Pointer on looping around a core and really wanted to try it. I look some dried and rehydrated iris leaves from my garden, twined them, then started looping. I didn’t have enough material for a basket, but the thick twine did make a nice trivet.

Photo description: trivet made of twined iris leaves with simple looping over a core construction

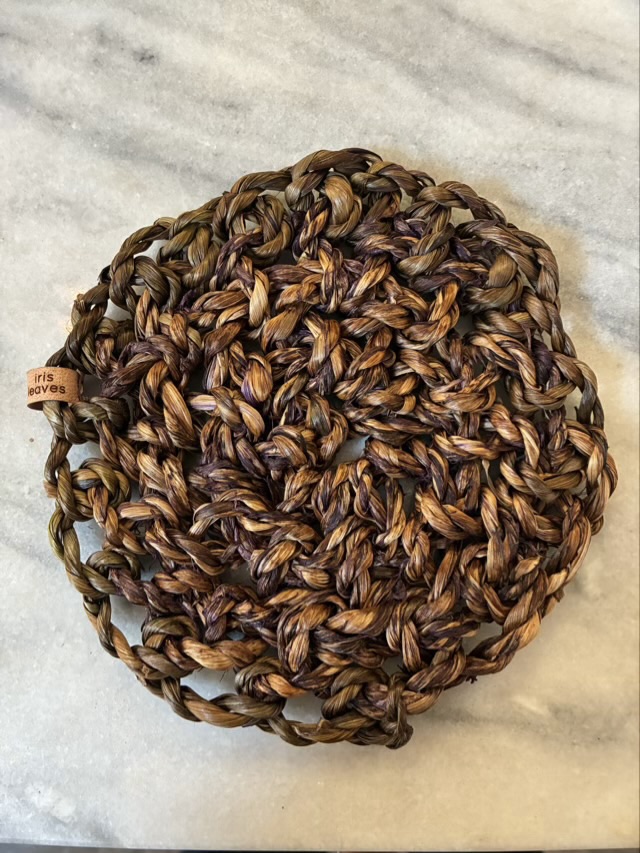
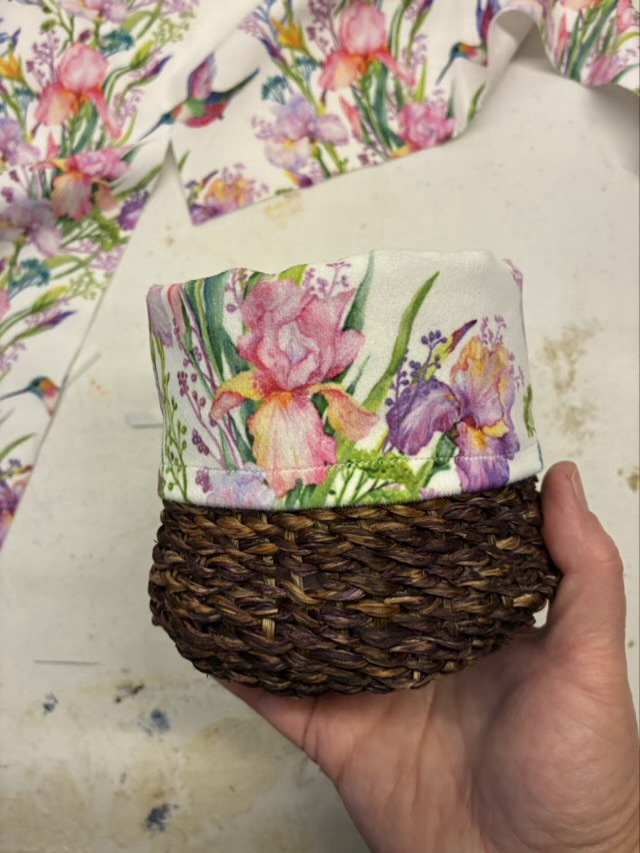
I did overestimate the amount of core, but rather than cut it off, I switched to just looping with the tail and was able to add some width to the trivet. I then sewed a leather label in a circle to an outer loop.

I like this method of construction. The core gives a way to tighten the stitches and fill in the density of the looping. It can also be done as the twine is created and without tools, which makes it a great skill when I am waiting and don’t have a project with me.

Iris leaf basket

I made a small basket entirely from dried iris leaves. The spokes are large iris leaves, and I twined multiple smaller leaves together around the spokes.

Photo description: starting the twining with dried then rewetted iris leaves
Photo description: finished basket made from iris leaves gathered from my yard

The leaves were soaked more than was ideal for weaving, so to dry it I put it in the oven on low and weighed the basket every twenty minutes until the weight was constant, indicating all the water was gone. Air drying a basket that wet would have given too much time for mold to set in.

I found some iris printed fabric and lined the basket. It took me two tries to sew a liner that fit the shape of the basket, and I ended up with a single layer that wrapped over the top lip of the basket.

Photo description: iris printed fabric liner on the iris leaf basket

To finish off the basket, I added one of my new leather tags to the edge of the liner.

Photo description: laser engraved leather sewn-on tag that says “iris leaves”

I like twining, so plan on harvesting more iris leaves in the spring, drying, and practicing on more twined baskets.

Photo description: basket in use holding sewing tools

Final deviation

I’ve finished my Bucilla felt wreath kit with a final deviation from instructions. I was supposed to cut out a donut shape of cardboard to go between layers of quilting batting. Instead, I bought a wire wreath support. The cardboard would have worked fine, but the wire makes me feel better. The wreath is 16” in diameter, but a 14” wire support fit better.

Photo description: wreath parts laid out before sewing: green felt back, quilt batting, wire wreath support, quilt batting, decorated felt wreath top
Photo description: my signature mark and the year stitched in yellow embroidery thread on the back of the wreath prior to sewing all the layers together
Photo description: finished Bucilla felt House Cat Wreath with deviations hanging on an interior door

I also used a bit of wire attached to the wire frame through the felt for the hanger.

I have done a felt kit now, I don’t think I will do another. I did get lots of interesting ideas while completing the project, though.

Of the bells, bells, bells

The last ornamentations for the Bucilla felt wreath kit are many tiny embroidered and sequined AND stuffed felt bells.

Photo description: Nine yellow felt bells with only the embroidery done, sitting on a calico cat

The pattern only has seven decorated sides, with the back sides unadorned yellow felt, but it bothered me that in the picture for the pattern one of the bells on a string was turned backwards, showing the plain side. So for those two bells, I decorated the back as well, increasing the tiny sewing required.

Photo description: felt bells stuffing, assisted by a bamboo stick

I found that using a bamboo stick to place the stuffing in the tiny elements of the felt wreath really helped.

Photo description: finished felt bells attached to the wreath in the indicated positions, dilute calico investigating the felt on the floor

Honestly, if I had had tiny metal bells in my stash, I would have put those on instead of spending all that time embroidering and adding sequins. I definitely had Edgar Allan Poe’s poem going through my head the whole time.

No deviation

After the felt cats, the next step of the Bucilla wreath kit is a large red bow. This post almost had a different title, because as I put the bow together I realized that there weren’t enough red sequins left. Hm. I had a choice, do another deviation from pattern and use a different color sequin, or source more red sequins. I’ll admit that I raided my kid’s felt kits for the sequins (that have sat unused for two years, so there were no tears or admonishments).

Photo description: In process Bucilla felt wreath kit with five felt cats and a large red bow on a background of green and holly leaves