Bobbin fail

I’ve been cutting yarn bobbins out of waste plastic, as my grandmother did.
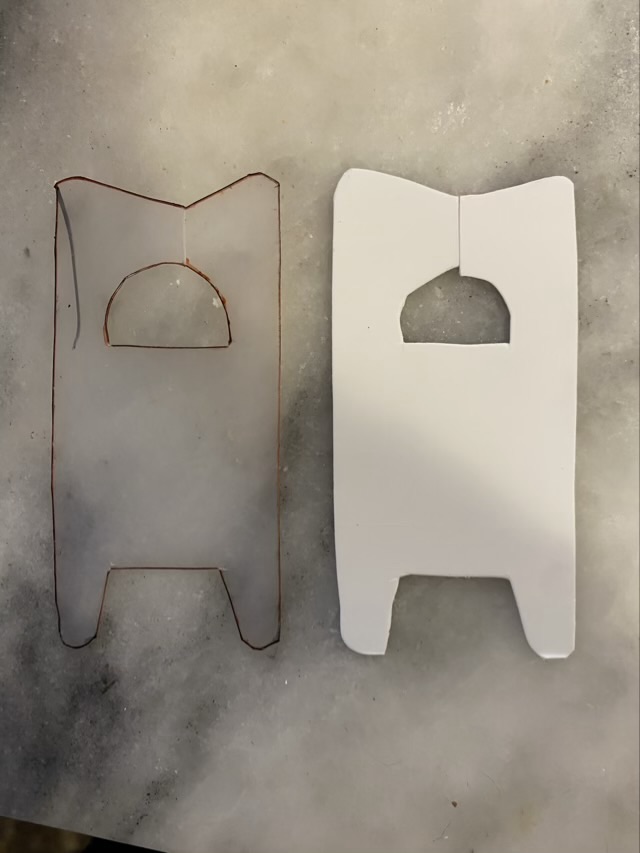
Photo description: hand cut plastic yarn bobbins made from waste plastic

I’m not as precise as my grandma, or I don’t take as much time, but I wondered if my new laser cutter could do a precise job for me. I read that the kind of plastic matters. PVC, for example, lets off chorine when heated, which can degrade the laser.

I designed an SVG file of the outline and hole, but left the slit to be cut by hand. The slit needs to be tight to hold the yarn back. I did my first try on a Tide pod container, which is PET (polyethylene terephthalate).

Photo description: three attempted laser cuts in the cut out side of a Tide pod container, with diode laser settings written on the plastic

The plastic melted and cooled, resealing the cut, but not releasing the piece from the base material. The cut the nearly made it through showed bad burn marks on the back where the label was adhered. I attempted to remove the label, but it was firmly attached.

Photo description: back of the cut sample showing the label burned by the laser

The labels on the Tide container have a shiny component, and I wonder if this is why it failed. Hm. Experiments will continue.
Kerfs

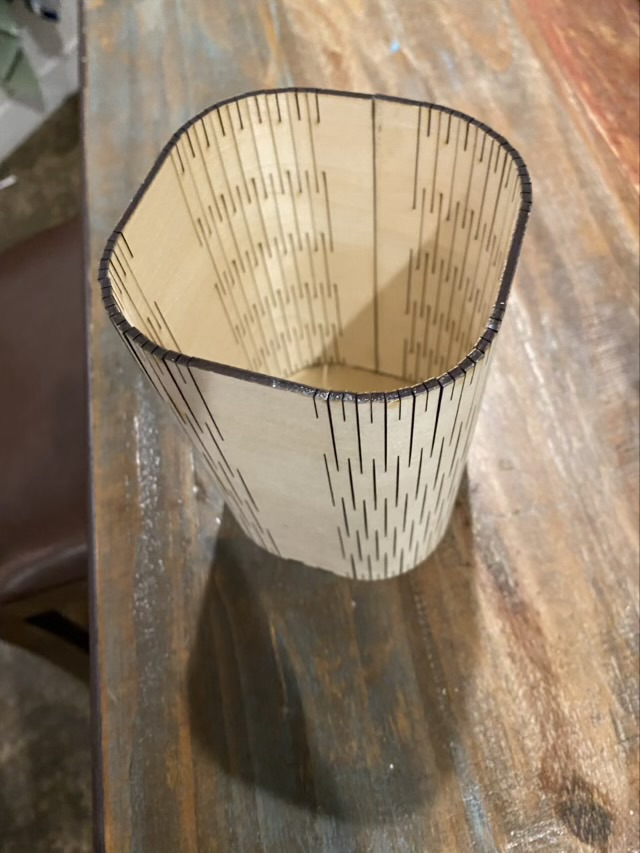
Kerfs are slits cut into wood. The right application of kerfs allows the wood to bend. I’m beyond excited about the possibilities combining laser cut kerfs and thin plywood. I found a box calculator website where you plug in dimensions and it outputs SVG files. I entered a 3” diameter and 6” height and downloaded files that easily went into my laser cutter software. I cut the box from thin plywood and glued it together.

Photo description: open topped container with rounded corners laser cut from thin plywood

The dimensions I entered were not the finished dimensions. It was 6” tall, but had a diameter over 3.5”, which turned out to be an awkward size, too big for pens or a dice cup, but OK for paintbrushes. I finished the wood with Howard’s Feed-N-Wax. I’m not a fan of butt end joints, which is what the seam on this cup is, where the edges of the wood come together without interlocking, but this was a very informative first kerf project.

Photo description: plywood cup and a bottle of Howard’s Feed-N-Wax

Remembering

My photo album is my memory, especially for crafts. I’m usually several projects ahead of what I’m posting about, and remembering back to what hook or needle I used is problematic. So I take a picture.

Photo description: knitted swatch of hand spun mint infused fiber with a needle gauge and a needle inserted into the 2.25mm hole. Calico cat sleeping in the background.

If I can get an animal in the background of the picture, all the better.

Throwback Thursday: butterfly wings

Here is a quick project for found butterfly wings. We often find deceased butterflies in the yard, and in December 2011, we had some amazingly intact wings. Jewelry sections of hobby stores often have premade pendant frames that are two pieces of thin glass or plastic held together with a metal frame. I found these square frames, opened them, and carefully cut the butterfly wings to fit the glass.

Photo description: four square framed pendants with monarch butterfly wings sandwiched between glass

I am amazed at the durability of these pendants. I decided they looked better on our tree, so rather than necklaces, I made them into ornaments by adding a hook. They are some of my favorite ornaments and are still gracing our tree 13 years later.

Jewelry repair: teardrop pendant

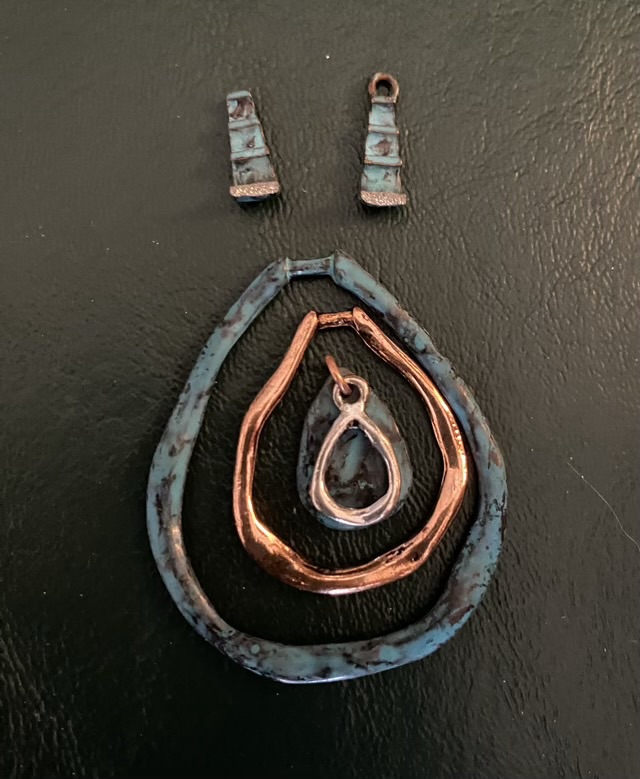
Here is another requested repair from my mother-in-law. This is a pretty nested tear drop design made from several colored loops. Here, the component holding all the loops broke in half.

Photo description: four layer teardrop pendant with broken connecting link (upside down)

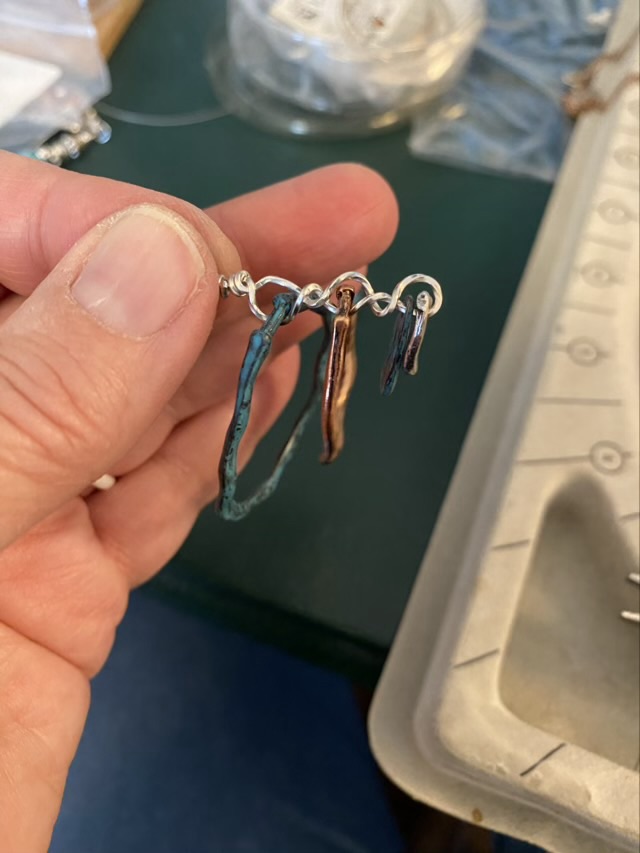
Rather than glue the link back together, which surely would have broken again, I crafted a new linkage from twisted square sterling silver wire. I liked the rustic look of the twisted wire, and how it coordinated with the existing loops.

Photo description: looped twisted square sterling silver wire holding the tear drop loops

I did accidentally break the silver colored tear drop, but a little sanding removed the burr and I was able to still use it in the repaired pendant.

Photo description: repaired pendant as it would hang on the chain

Did I remember to take a photo of the pendant on the chain? Sigh, no.