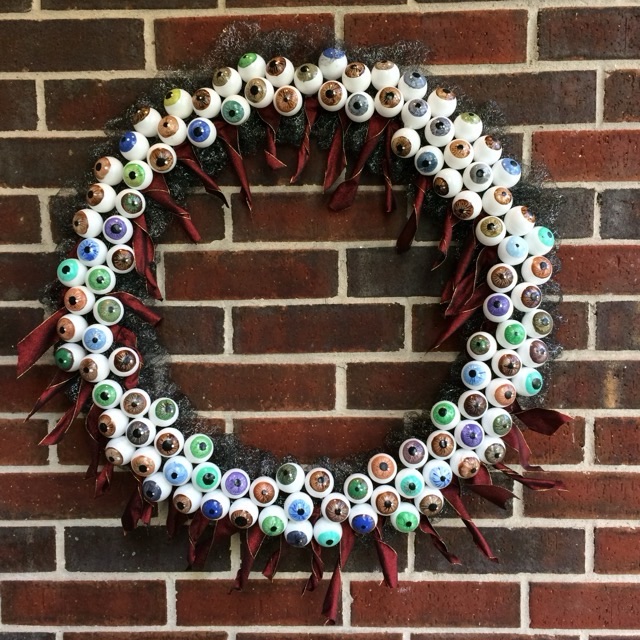
In October of 2016, I painted ping pong balls with irises and pupils and glued them on a wreath frame decorated with short lengths of dark red glittery ribbon and mounds of black netting to make a Halloween decoration.
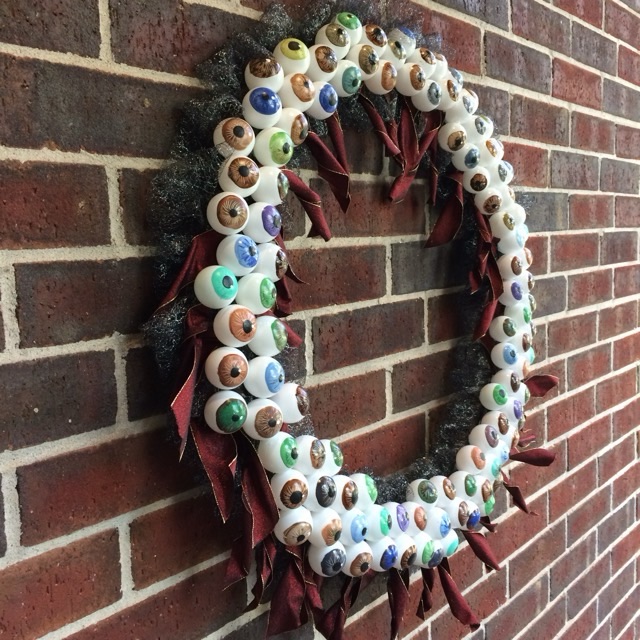
Photo description: front view of eye wreath made of ping pong balls and ribbonPhoto description: closer side view of the same wreath
This was a short-lived wreath. In storage the acrylic paints rubbed off the ping pong balls, and the hot glue released its hold. And while it was interesting to play with different iris colors, it didn’t take long for painting that many ping pong balls to get tedious. If I were to do it again, I would look into making the eyes more realistic, maybe with some clear epoxy, since the true impact of this piece is achieved on closer inspection. There would be fewer eye balls as well!
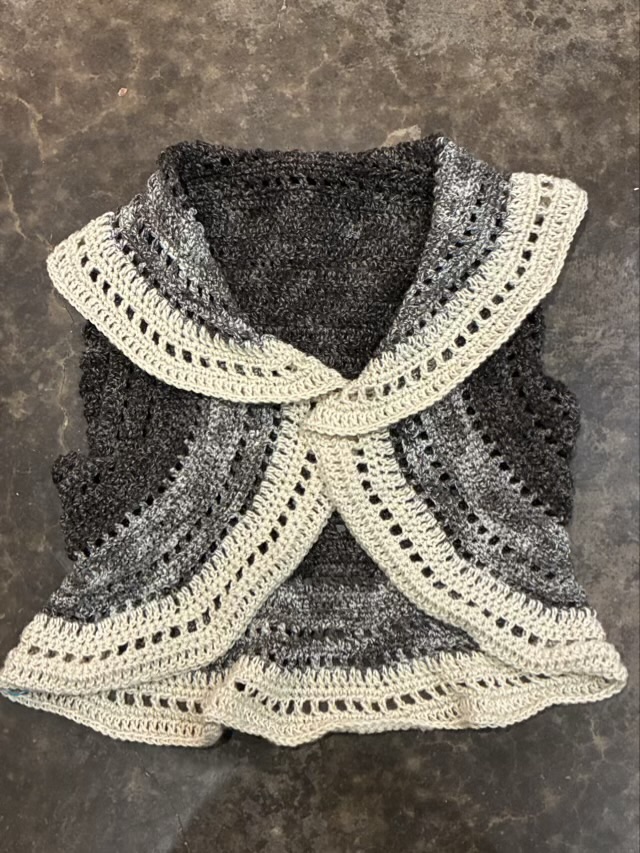
I find knitting and crochet patterns for clothing items very frustrating. There is the whole sizing issue – just making more rows or making the pattern “bigger” does not mean it will fit right when you’re done. Putting hours and hours into a project and then have it not be a useful item is defeating. I’m working on a circle vest, because I like vests, and they are generally easier to fit than items with sleeves. Up until this point I have followed the pattern by LazyTCrochet, checking fit as I went. I used the largest version XL, and added the “Plus size” extensions, which are a joke.
Photo description: circle vest crocheted with hand spun Jacob’s and Teeswater wool with color variation, NOT my pattern
Fitting for multiple body sizes is hard. Most designers add rows and call it “good.” Frankly, there are more body types than XS-5XL (this particular pattern went from S-XL). Arm circumference, bust size, height, arm length, waist size, shoulder to hip, are all so individual. I could flail and complain about pattern designers, but I think it is the crafter’s duty to know their body and learn how to make adjustments to fit. For me, patterns are starting places, they just have to be. For this vest, I’m going to add more rows in the same style as the rest of the vest, not only to balance colors, but to get more coverage. I did purchase this pattern, but it wasn’t expensive (warning sign), but I won’t be purchasing from the designer again.
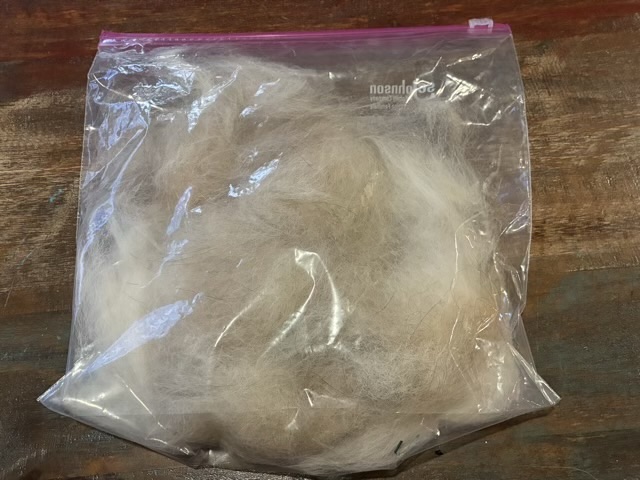
My friend brought me a bag of dog hair! For a spinner, this is an exciting thing, especially when the dog has an undercoat.
Photo description: white and fawn colored dog hair in a gallon plastic bagPhoto description: Baxter as a puppy. He is 30% Great Pyrenees, 30% Cattle Dog, 20% Boxer, and 20% Belgian Malinois according to a DNA test.
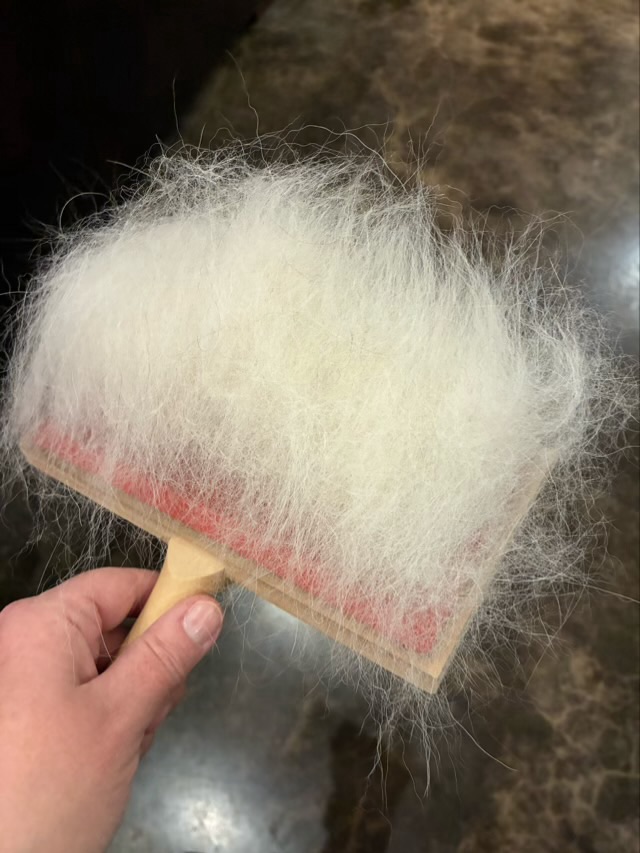
I chose to separate out the white and fawn colored hair, because it didn’t seem right to blend it when Baxter the dog is spotted. The hair was clean with only a slight doggy smell, so I did not wash it. I did card it with a fine toothed set of carders.
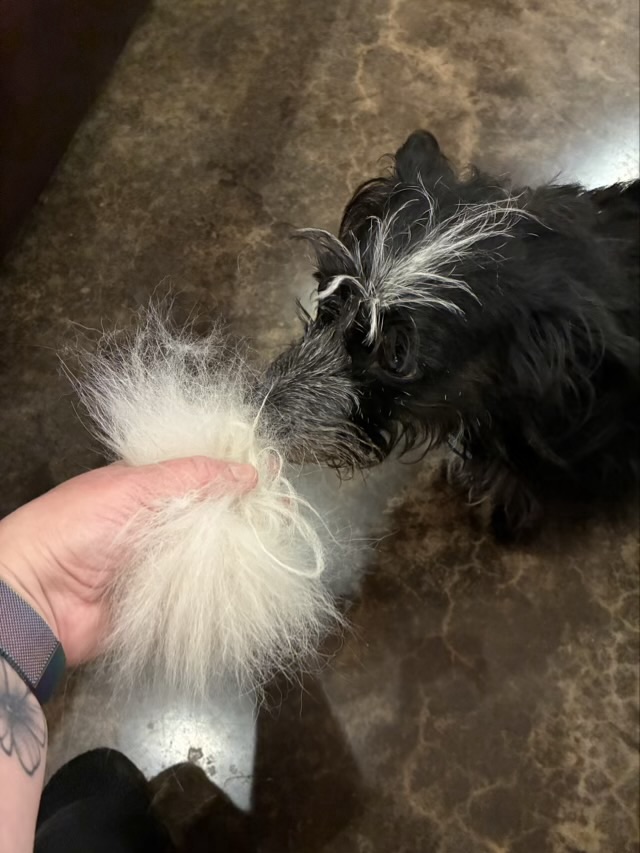
Photo description: the white portion of dog hair loaded on one carderPhoto description: Missy the dog is very interested in the smell of the carded fiber. (Her hair smooth and is very, very difficult to spin.)
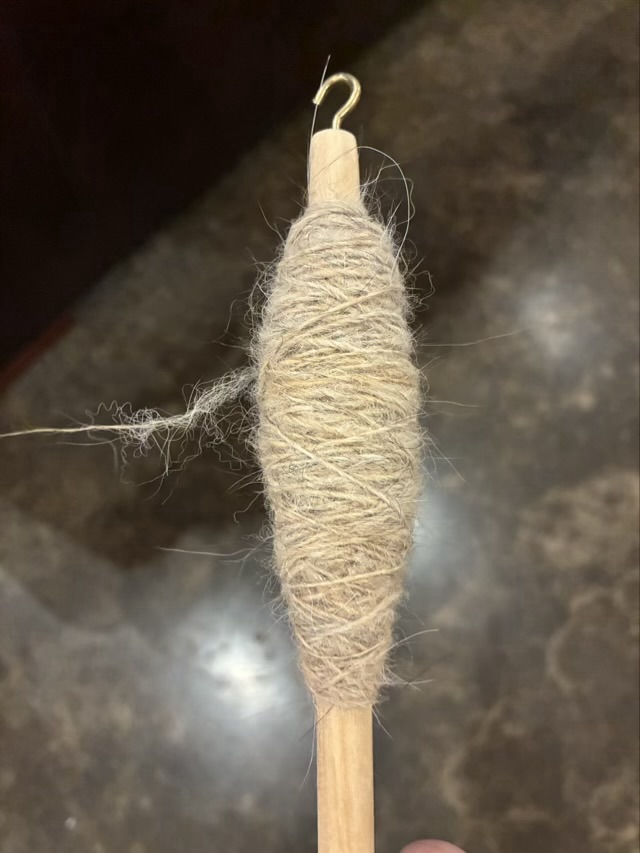
I chose to spin Baxter’s fur with a spindle shaft without a whorl, so I could have absolute control over the twist. It was a moderately difficult spin, not as easy as Samoyed, but still spin able.
Photo description: single spun dog hair on a shaft with cup hook
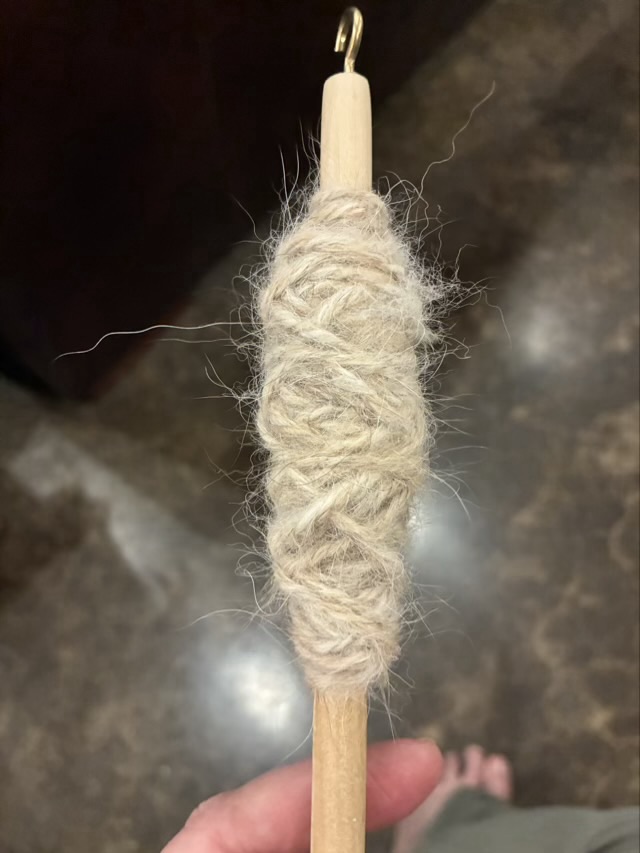
I chain plied the singles to make a three ply yarn. I like chain plying potentially delicate singles because if I do get a break, I can ply it together relatively easily.
Photo description: three ply yarn on a spindle shaft wrapped in a crisscross style
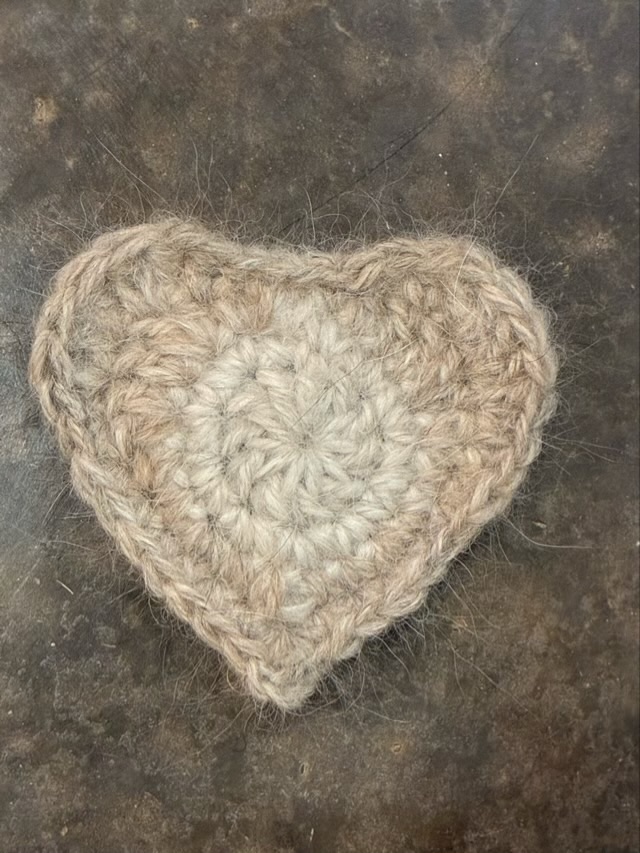
Because Baxter is a beloved pet, I decided to make a small keepsake with this yarn. I crocheted the white yarn in a circle, then used the fawn colored yarn to crochet a heart shape.
Photo description: heart crocheted from two colors of hand spun 100% dog hair
I believe scent is an important link in memories, so I did not block or wash the heart, but instead placed it in a plastic bag to preserve the scent so it will be a comfort when my friend pulls it out in the future.
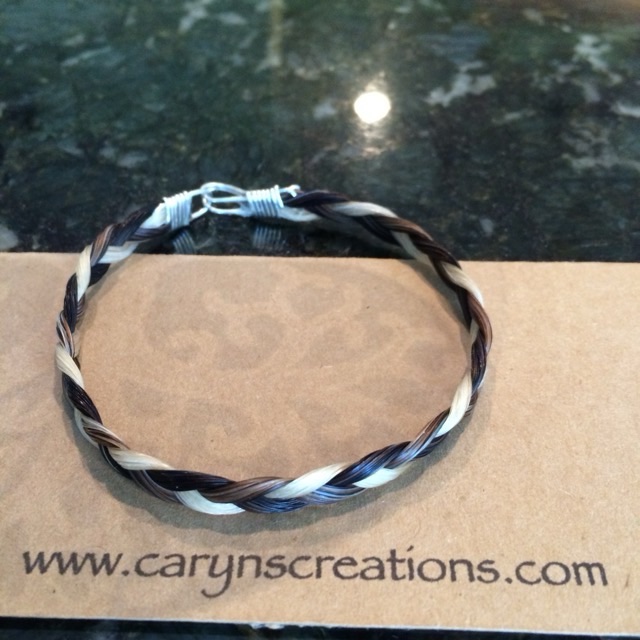
In September 2016 I made a braided horse hair bracelet for a friend with tail hairs from her three horses.
Photo description: three color three strand flat braid with sterling silver hand made clasp
There are other jewelry makers that glue the ends into metal caps. I don’t trust glue to hold, so prefer to pair glue with a mechanical join as well, in this case crimping down a wire wrap on the ends of the braids. When I do this again, I will do a different clasp, because the clip is difficult to get on, but easy to accidentally pop open.
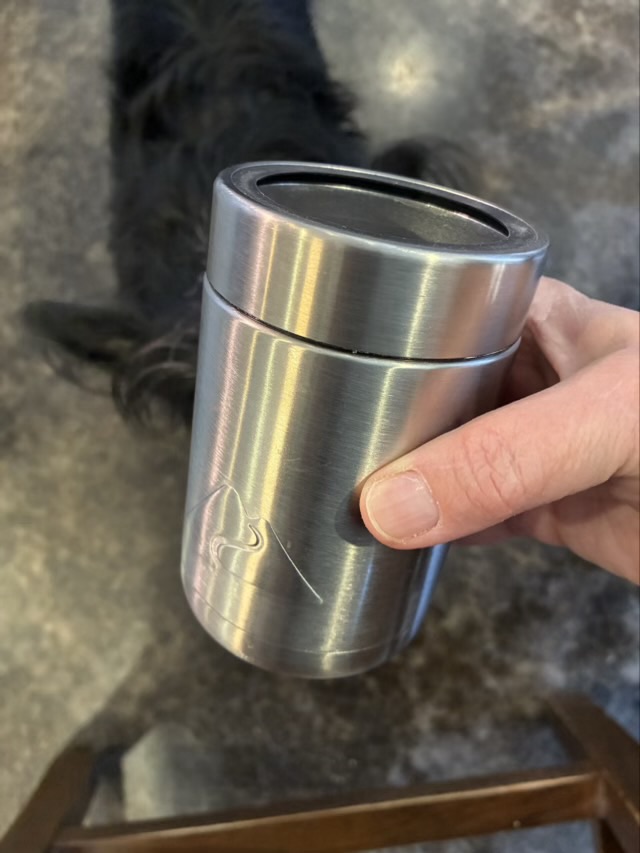
I wanted a travel case for my tiny Turkish style spindle, so went digging through my cupboards. I found a stainless steel can cozy that was just the right size, but didn’t have a lid.
Photo description: metal can cozy with open lid, curious dog in the background
I measured the space and used my laser cutter to cut and engrave a piece of thin birch plywood. I sealed the wood with modge podge (white glue), which also holds the circle in place.
Photo description: same can cozy with a wood insert graved with my logo of a tree and roots
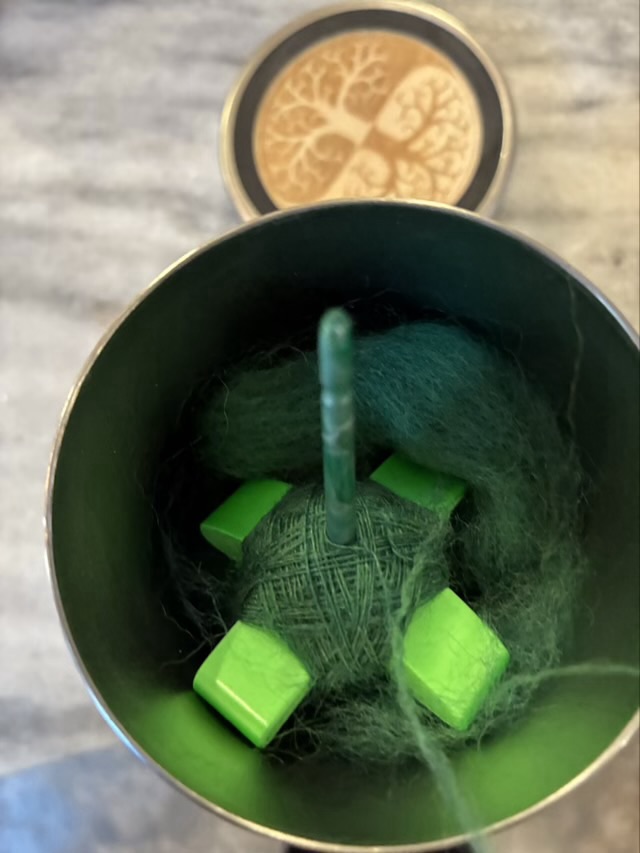
The can fits nicely in the bottle pocket on the side of my purse and fits a handful of wool and the spindle inside.
Photo description: Femto spindle by Turtle Made inside the repurposed can cozy
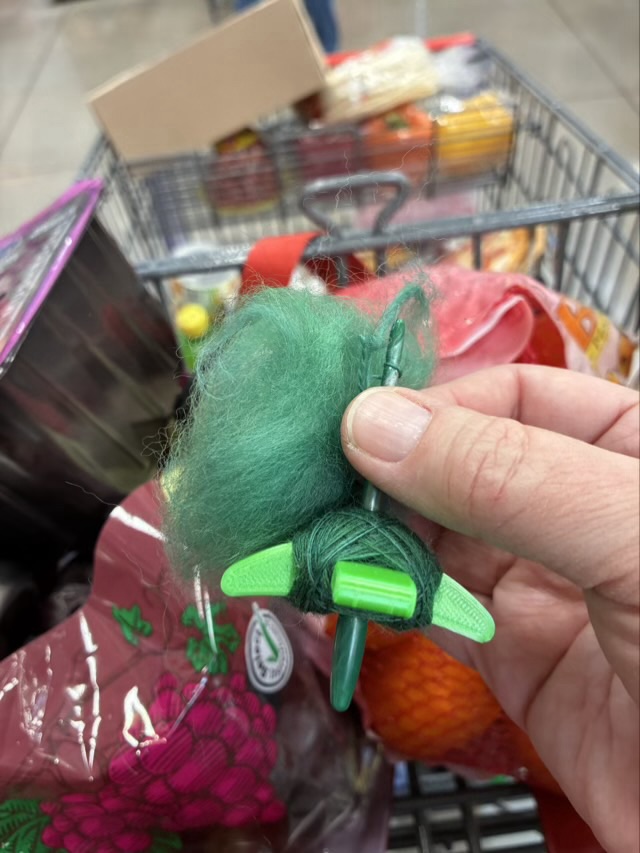
And yes, I really did pull it out and do some spinning waiting in the line at grocery store!
Photo description: spindle with in progress spinning with a grocery cart in the background