Loops, a mixed review

I originally purchased the Loopity Loops yarn for my kids. I thought it would be a less frustrating introduction to knitting, as you don’t need needles and don’t have to worry about tension. My eldest fully immersed in the project, made a small blanket, then bought enough yarn for a large throw, and finished it within a couple days.
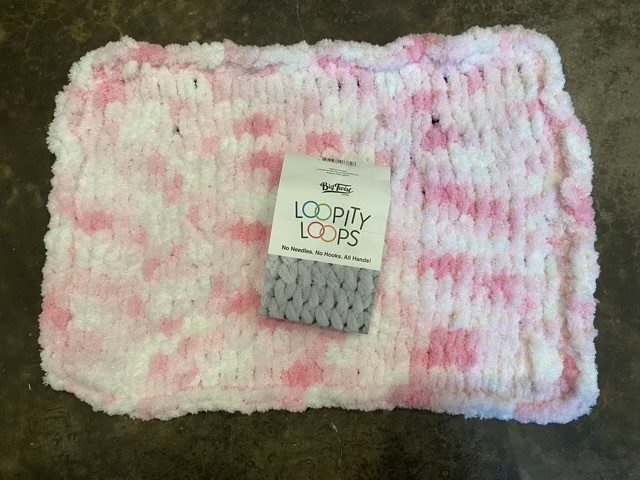
Photo description: small rectangle made from Loopity Loops yarn

My youngest struggled with the project, and after sitting in a box for months, I picked it up and gave it a go. This is not knitting. The end result looks similar, and it is loops going into loops, but it takes a completely different set of skills to find and link the loops than it does to make knit and purl stitches on needles. It takes fine motor skill and careful attention to detail to not miss loops. I had to rip out a couple times because I skipped a loop on accident. The yarn is not robust enough to take too many rip outs, and stretches out after washing. The actual loops are just big enough to get a finger into to pull a loop through, but are too big and make a loose knit. If it were regular yarn, I would use a smaller needle size.

But cats love it. I put the small rectangle I made in a basket.

Photo description: Loopity Loops yarn rectangle in a basket

It didn’t take long until the basket sprouted a feline.
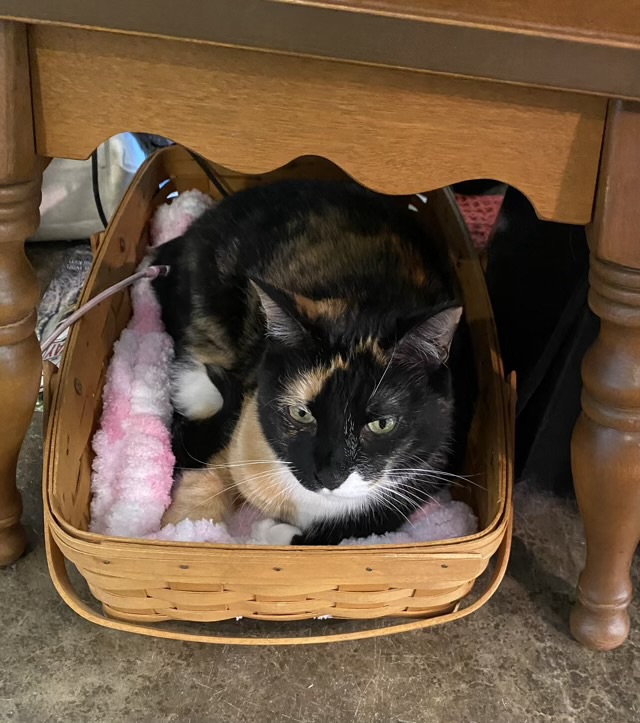
Photo description: calico cat in a basket with a Loopity Loops pad

Cats like my eldest’s blanket too, to the point of destructive loving. It had to be washed and put away due to drool and pulled loops.

So this is a mixed review. The loop yarn is an interesting concept, comes together quickly, and cats love it, however it is fiddly, easy to miss loops, isn’t robust, and cats love it.

Throwback Thursday: Freeform lace Crochet

In December of 2014 I was crocheting up a storm. Sometimes when I look back at old photos I find things I forgot I made and find a technique that I would like to explore more.

Today’s throwback is for a lace cowl I crocheted using partial circular lace motifs.

Photo description: red crocheted lace cowl on the back of a leather couch

I like the finished look of this freeform lace. I’m wondering if I didn’t do more because of the brain ache, or if I just became distracted by something else. Either possibility is probable.

Reed coaster experiments

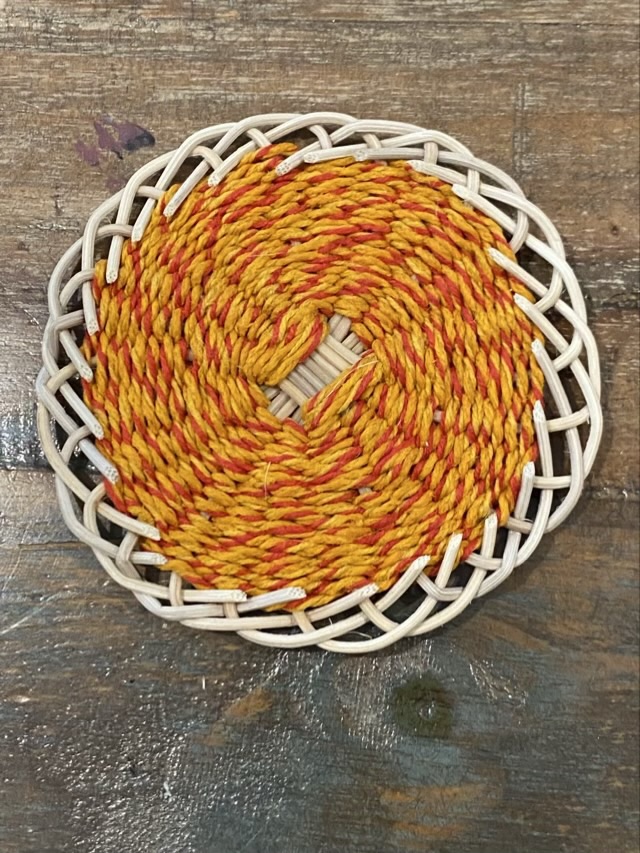
As with all my crafts, after I’ve made a few my mind wanders and I wonder how other variations might work. With the reed coasters, I tried weaving with hemp cord, and a different rim finish.

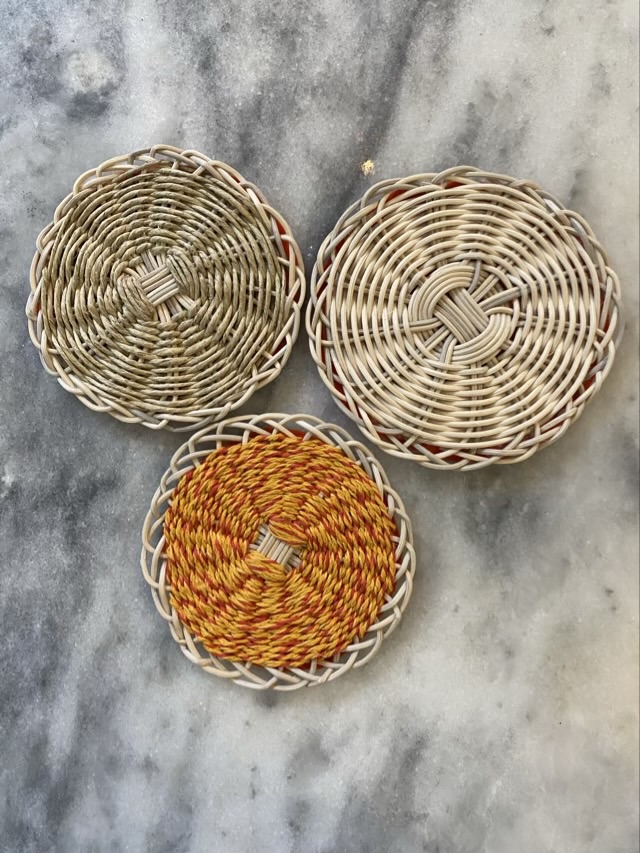
Photo description: reed coaster woven with natural hemp cord and finished with a woven edge instead of a tucked edge, back side shown
Photo description: reed coaster woven with orange and red dyed hemp cord, back side shown

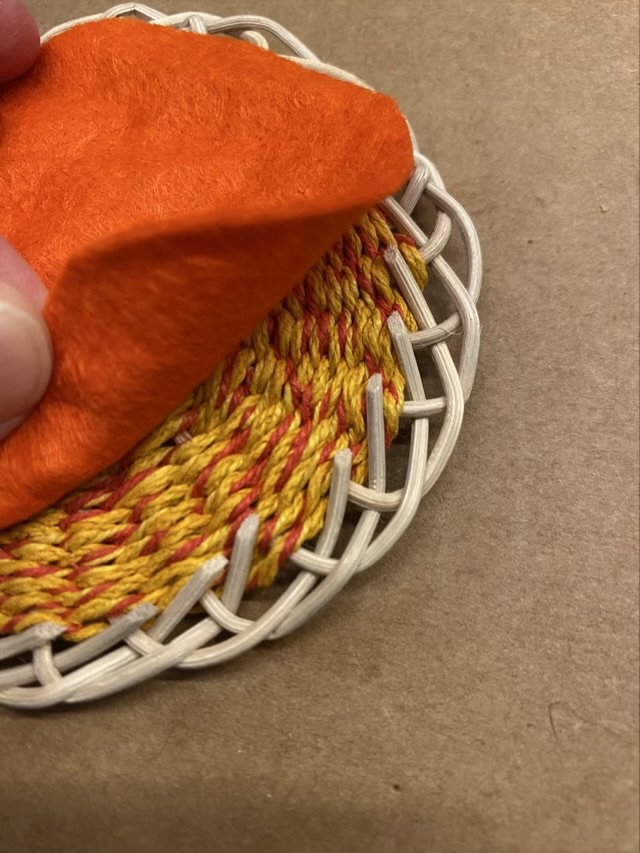
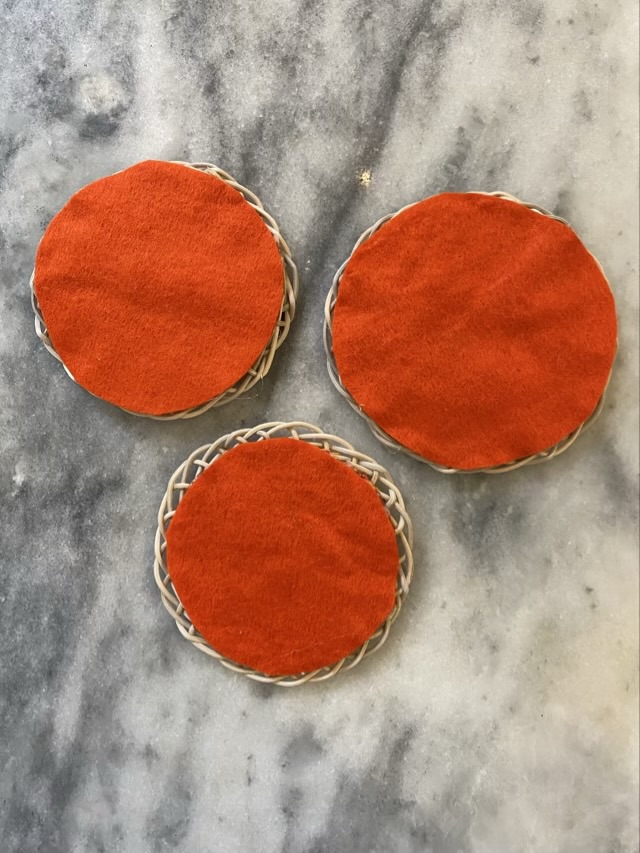
The “bob” edge (behind, over, behind) leaves the ends of the reeds sticking up. I trim them flush, but being a belt and suspenders type person, used hot glue and a layer of felt to make sure they don’t wiggle free and to protect any surface they are set on.

Photo description: showing the cut ends of the reeds before I hot glue down felt to secure them and protect surfaces
Photo description: orange felt backs for three coasters
Photo description: front side of three different reed coasters

Why buy a wool winder

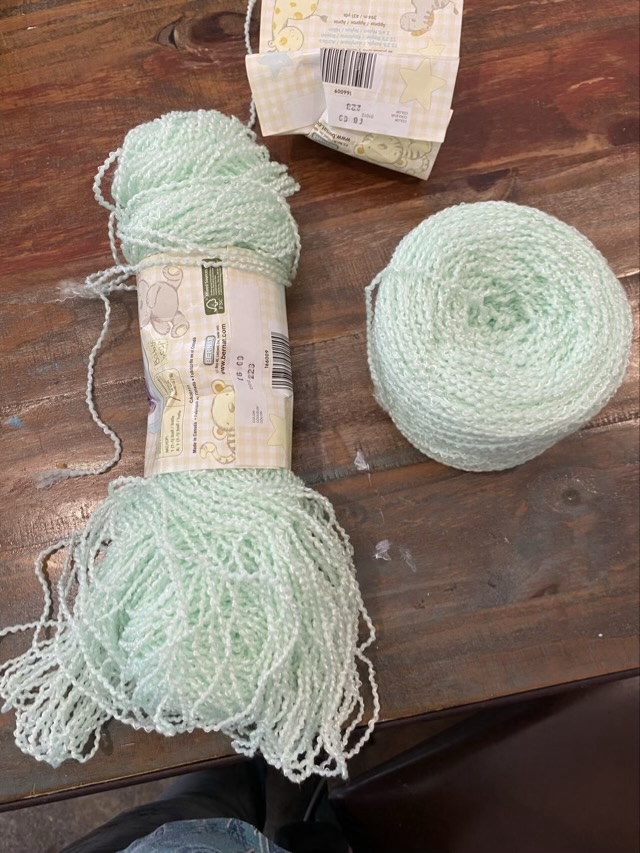
Even if you don’t spin your own yarn, I would argue that buying a wool winder should be the next purchase for the new yarn crafter, after yarn and needles or hooks. Why? Because of exploded skeins like the one below.

Photo description: exploded skein with the yarn in a state of mess on the left, neatly wound yarn cake fresh from the winder on the right

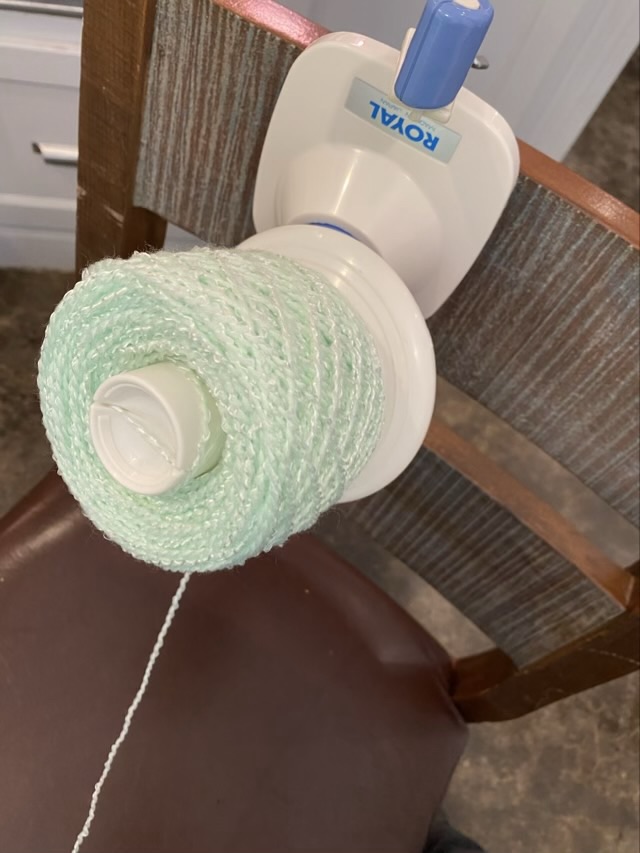
Can you wind your own balls of yarn without a wool winder? Yes, of course, but it takes more time and two hands. The wool winder gives me some extra holding power, so I can gentle tease the yarn from the snarled mess into a neater form without said form rolling off the table and onto the floor.

Photo description: plastic Royal wool winder mounted on the back of a chair

Having a wool winder also opens up more yarn buying opportunities. Many yarns in local yarn shops (LYS) or fiber shows have some beautiful yarn sold in hanks, large circles of yarn that must be wound off before use. Most yarn shops and fiber shows also have people manning a winding station and will wind off your yarn for free or a small charge. But what if you forget to stop at the station? There are choices, but an inexpensive wool winder is a worthy investment. Plus, it is satisfying to see the yarn build up on the winder.

After the winder, I recommend some kind of yarn swift, to hold the hank open. You can use a willing set of hands, or the back of a chair, but swifts are also a fulfilling basic machine to watch at work.

Calculating yardage

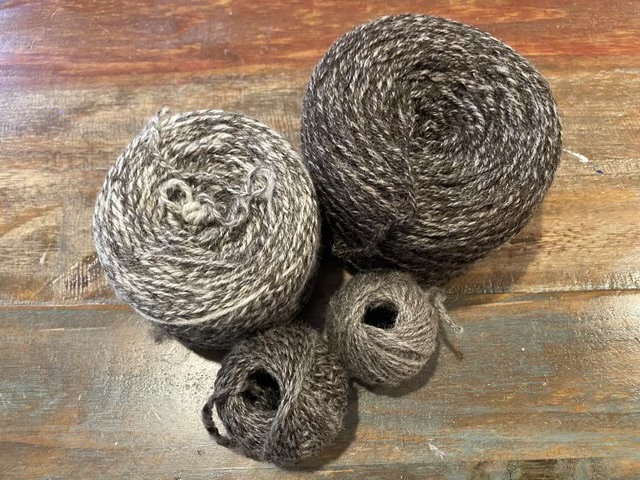
I’ve wound my handspun 3-ply Jacob’s wool yarn into center pull balls. But how much do I really have?

Photo description: two cakes of yarn and two center pull balls of yarn in different shades

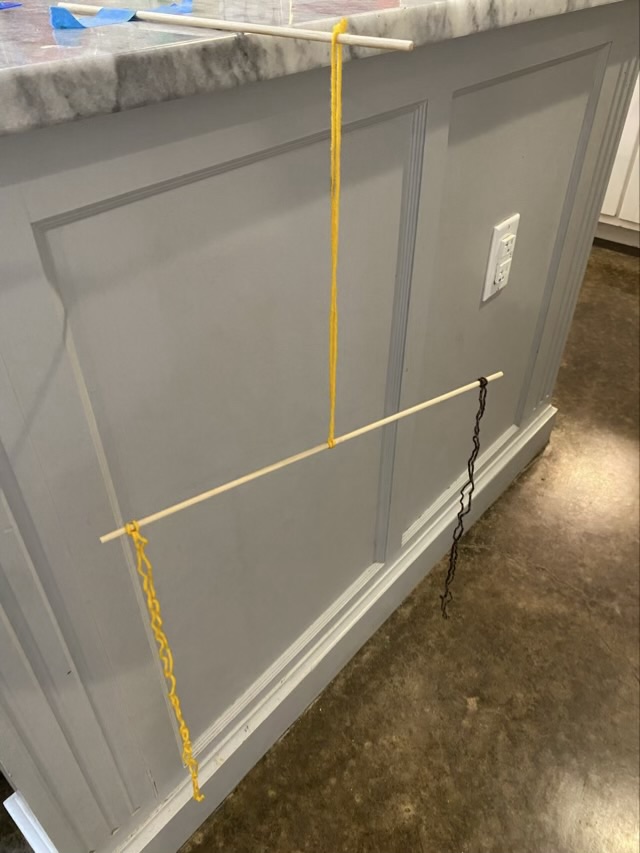
Hand woven magazine published an article about yarn balances. I followed their instructions to make a balance and used acrylic yarn of a known weight per yard.

Photo description: yarn balance with known acrylic yarn on the left and unknown yarn on the right

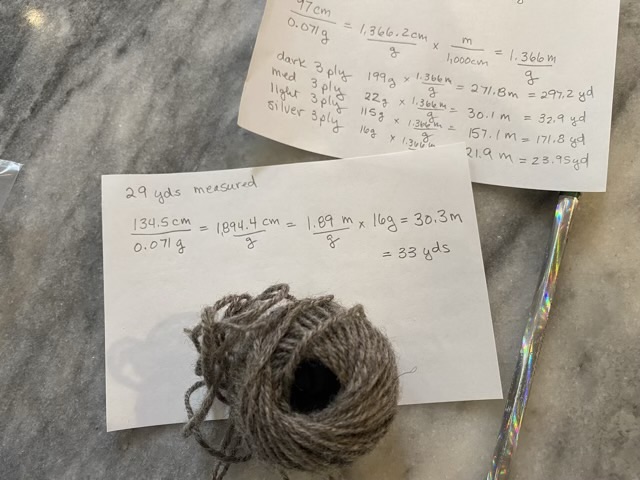
Because of my scientific background, I have to do my math by using the factor-label method (here is an explanatory video). I know that the yarn on the left is 142 grams per 241 meters, so my 120 cm weighs 0.071g, a weight I would not be able to measure with a kitchen scale. My hand-spun yarn that balances measures 97 cm. I now have the weight per length and can calculate yardage. (Oh yes, I completely mix my metric and standard measurements, but as long as all the labels cancel properly, we’re golden.)

Photo description: scratch pad with hand written yarn math for all four shades of yarn

To see how accurate the calculations are, I measured the lightest ball of yarn by laying out a yard with tape on a counter. I measured 29 yards. I put a section of the yarn on the balance, did my calculations and predicted 33 yards. This is a 12% difference in weight, which I find an acceptable margin for error. When planning a pattern, you should have at least 10% more yarn than what is called for. In the case of my hand spun yarn, I will pick a pattern that needs at least 12% less than 530 yards I have.

Photo description: silver ball of yarn with scrap paper hand written math

This was an interesting exercise, and confirmed what I felt when looking at the yarn: it isn’t enough to make a vest. It may be enough the make a hat or two.