Plying Teeswater wool

I’ve spun up three bobbins of my Teeswater wool, so it is time to ply. I use the built-in bobbin holders on my Ashford Traveller spinning wheel and have two points of control. My right hand holds the three strands apart by putting each strand between different fingers, and my left hand slowly lets in the twist, then feeds it onto the jumbo bobbin. I’ve found that with slow and steady progress I don’t need to put a brake on the bobbins because they don’t spin out of control.

Photo description: looking down at my three bobbins of single spun Teeswater wool
Photo description: three ply Teeswater wool yarn on a jumbo bobbin

I have more Teeswater roving, so I’ll go back to spinning singles. I also have another jumbo bobbin, so I can leave the three ply on this bobbin to rest.

Nearer to you

Missy the dog tries to lay right behind my feet when I’m spinning, which makes it hard to treadle. So I put her bed to the side, which was an acceptable offering.

Photo description: Ashford Traveller spinning wheel, Svaha Genetic plants dress, small black dog on a blue round bed

I’m currently spinning Teeswater wool on my Ashford Traveller spinning wheel. Teeswater is listed as a critical in the Livestock Conservancy’s list of Heritage Sheep Breeds. I purchased roving from a rancher in Michigan, and I am enjoying spinning the fiber.

Found yarn

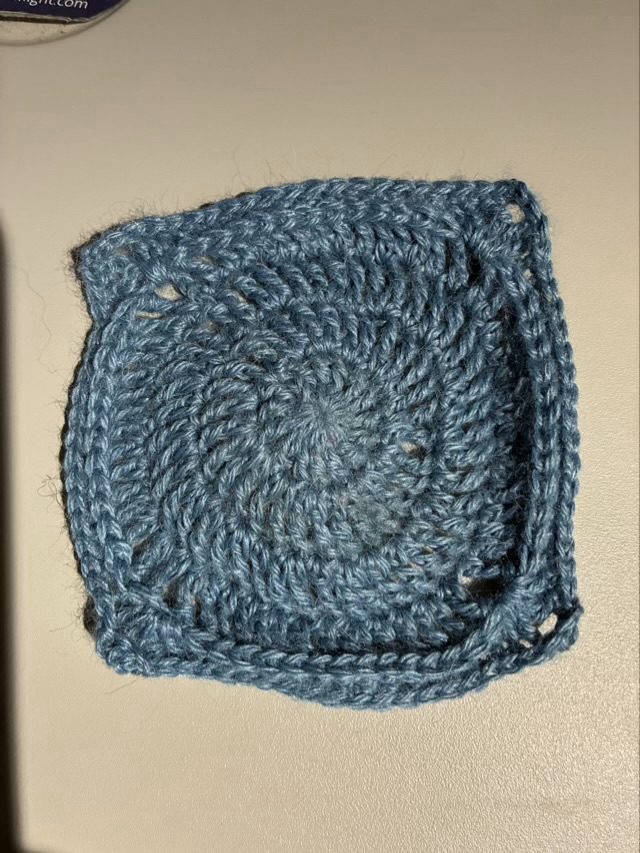
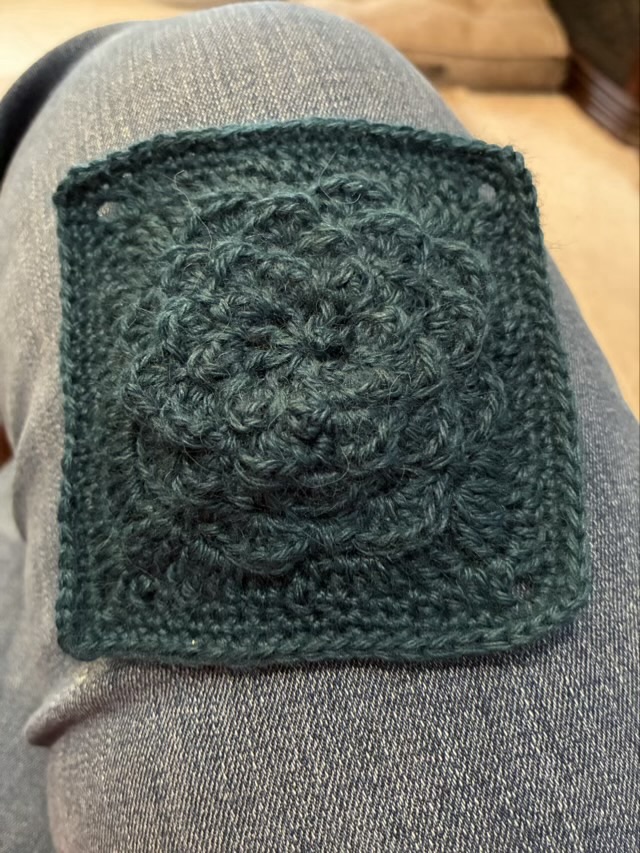
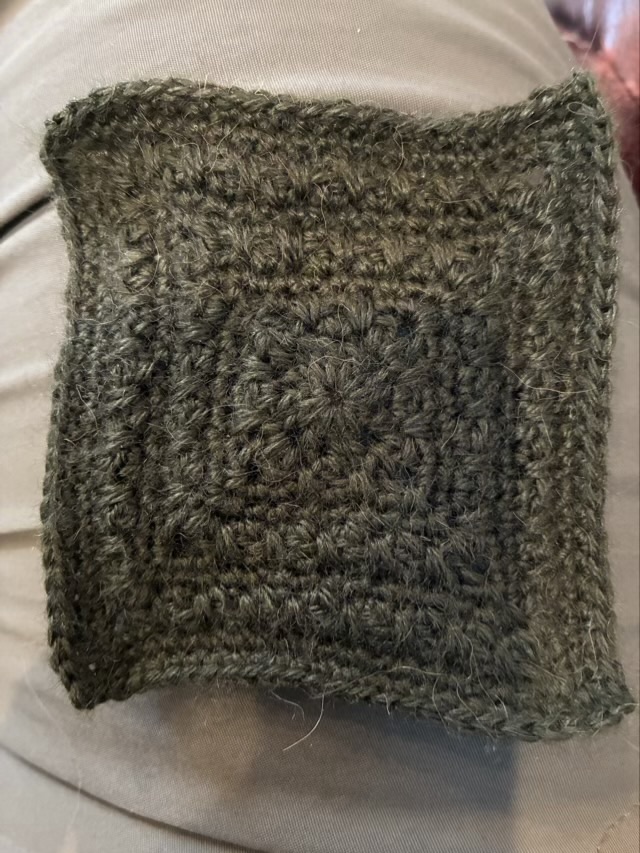
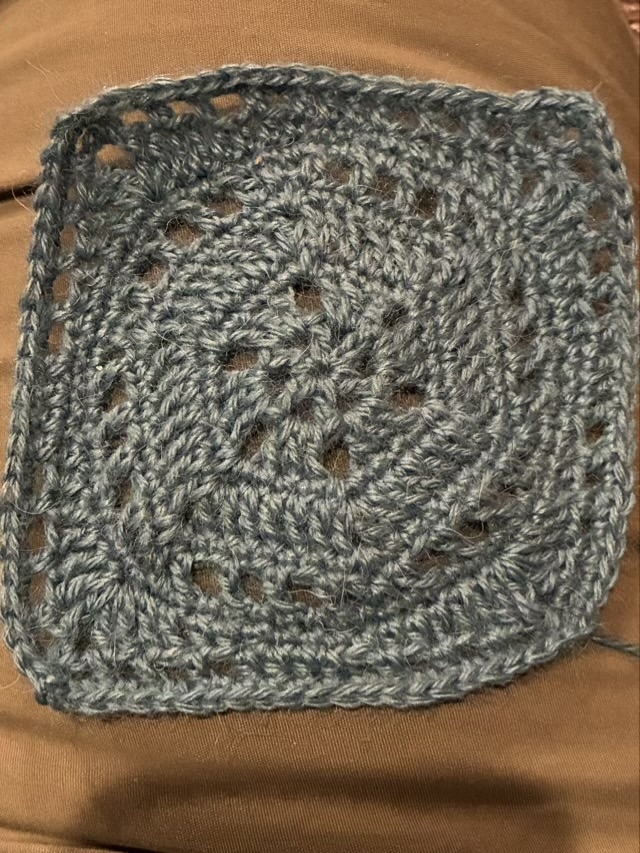
I spun and plied angora rabbit hair back in March. I stuck the small ball of yarn in a project bag and promptly forgot about it. I found it again 8 months later and this time made the swatches from it that I intended to do in March.

Photo description: four ply angora rabbit yarn swatches. Top left: nälbound circle, top right: knit, bottom left: double crochet, bottom right: zoom loom weave

These swatches are made from unprocessed 100% angora rabbit fur. I took what was in the bag I bought from the breeder and spun it, no washing, carding, or combing. The yarn does shed a bit, but not significantly, and did fine especially with the abrasive nature of weaving and nälbinding.

Throwback Thursday: ribbon wreath

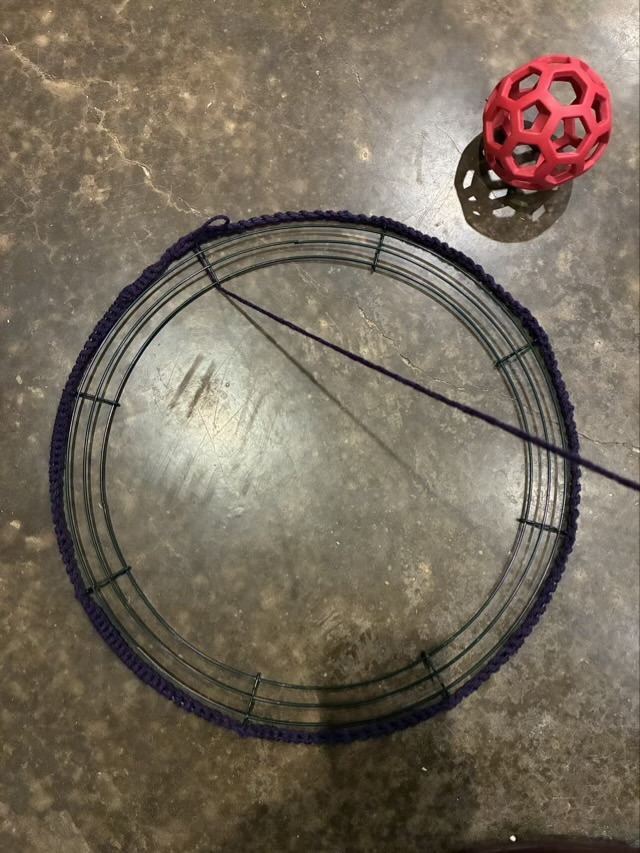
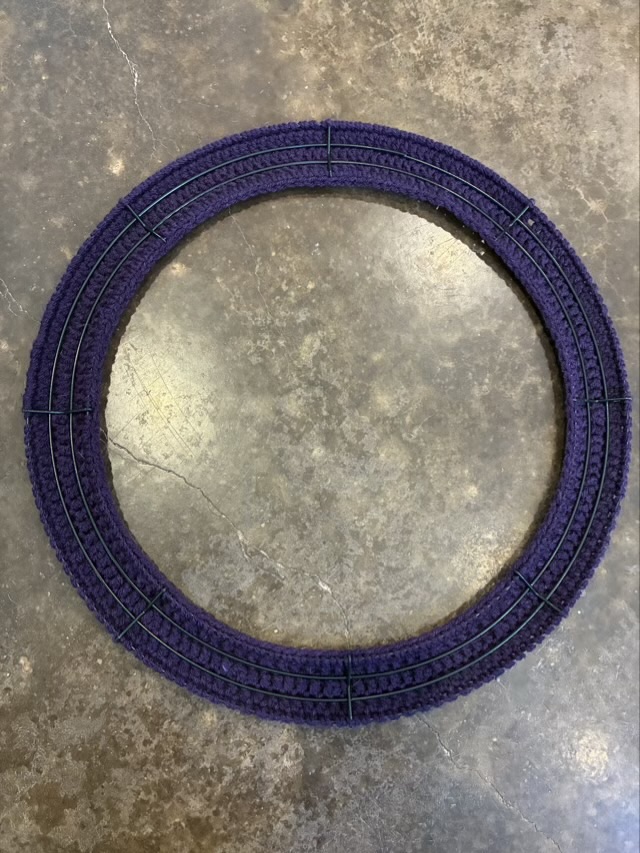
Sometimes things just don’t work out the way I hope. In December 2015 I made a large wreath from poultry wire and ribbon. It took me over a week to get all the loops of ribbon installed, and I had to buy more ribbon because I underestimated yardage. I should have made it smaller, but the thought of undoing it was worse than just pressing forward.

Photo description: hollow tube wreath frame made from poultry wire
Photo description: closeup of how I attached the wired ribbon to the poultry wire frame
Photo description: in process picture with looped ribbon work in stripes
Photo description: finished wreath sitting on a table that is three feet deep, the wreath overhangs the table
Photo description: wreath hung on an outside window because it was way too big for a door

The little bow I put at the bottom was woefully out of proportion to the huge wreath, but at that point I never wanted so see another loop of ribbon, possibly ever. I also didn’t care for the overall look when finished. I did learn from the process. I learned that looped projects take way more material than wrapped (logical). Storing such a large thing is difficult and the poultry wire frame didn’t hold up to rough handling. Ribbon is expensive, especially before the holiday sales.

Exit hole

I built a cat house bench back in August 2018, before I started this blog. The outside cats never really used it. I cleaned out the old straw and evicted the insect residents.

Photo description: 7-year-old storage bench that is really an insulated cat house, entrance on the right side

I decided to cut an exit hole, so there was an escape route. I didn’t want it to be a wind tunnel, so I cut it into the side of the insulated box.

Photo description: same bench but now closed and a new exit cut into the side

I used a saws all to cut and rather lost control as my cuts are diagonal rather than straight. Serendipitously the two cuts are parallel, so that’s a bonus, even if they are crooked.

I put lavender inside to deter bugs, and put down some fresh straw, since I’ve read that when fabric scraps get wet they don’t insulate where straw insulates even when damp.

Photo description: inside of the bench showing new straw and both escape hatches

While I was at it I also caulked in the gaps on the top that were letting in the damp during heavy rains. We’ll see if the modification made any difference to the local colony. Winter is coming, but it is Texas, so it will flirt with fall for a while longer.