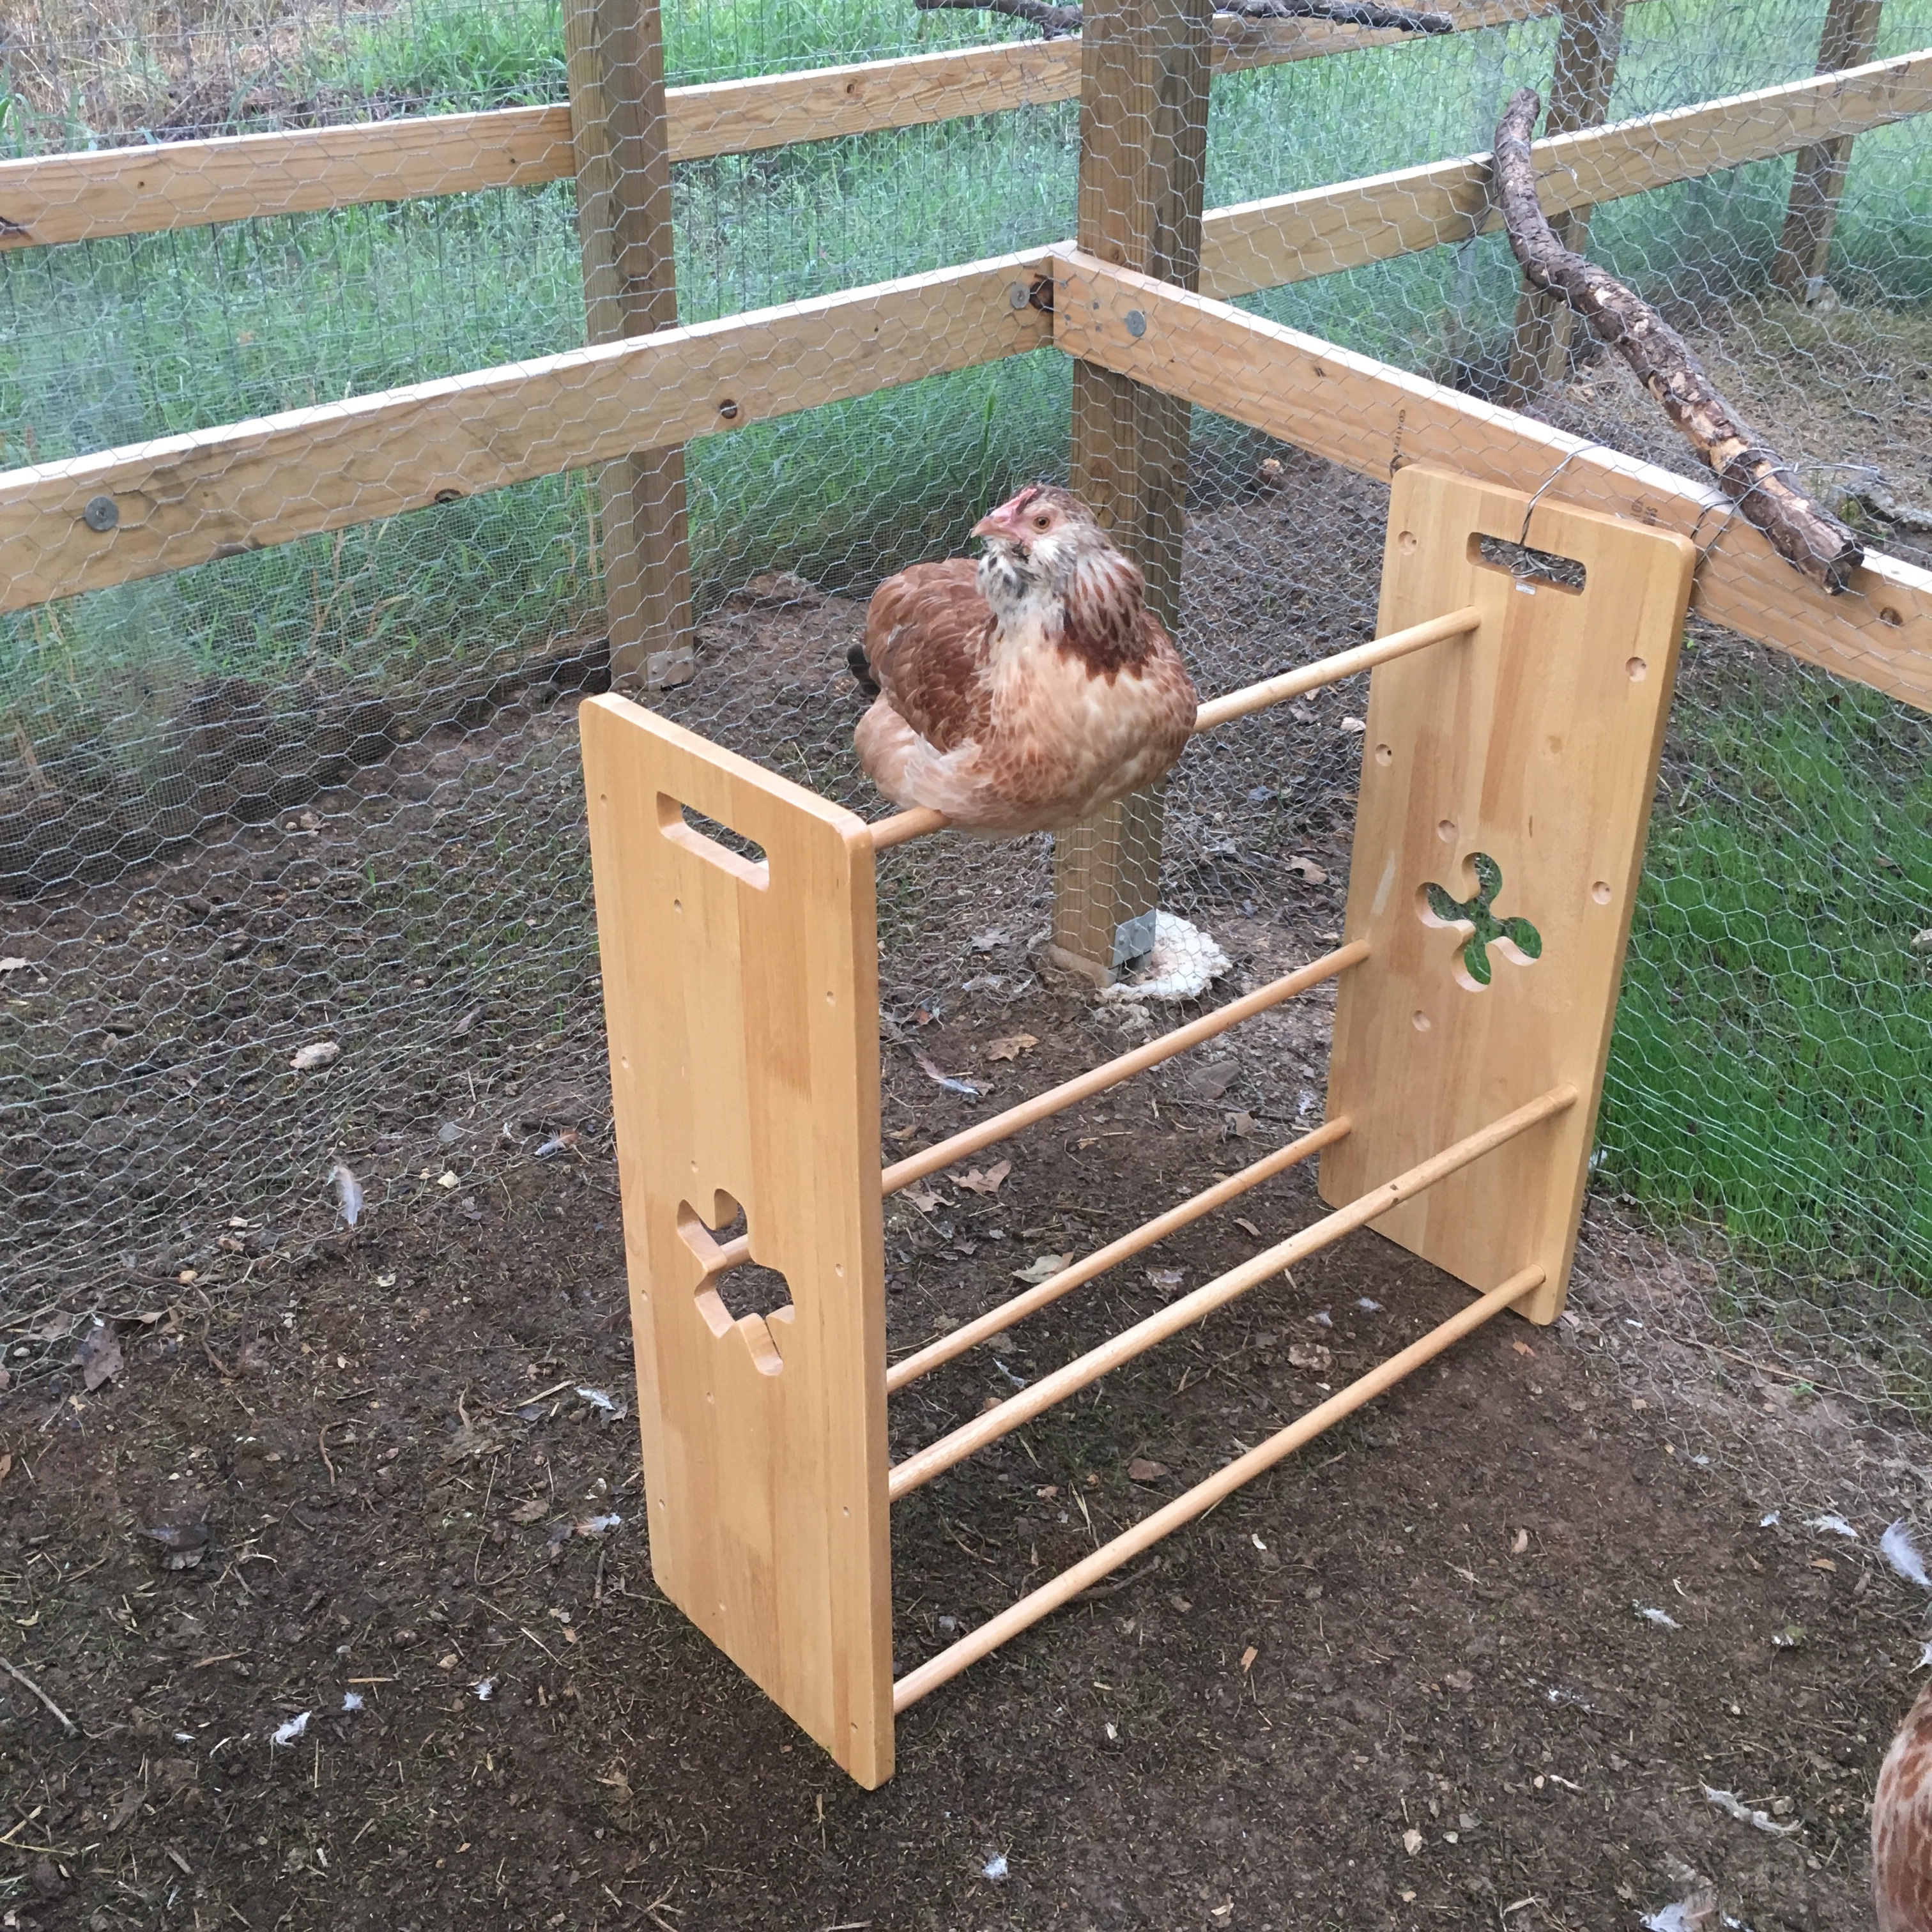
I added some chicken enrichment to one of the runs: a repurposed toy organizer! (Given to me by a friend, thank you again!) I removed some of the rails to give the chickens more room, and they appreciate the gesture. I have seen up to three chickens sitting on this, but wasn’t able to get a photo.
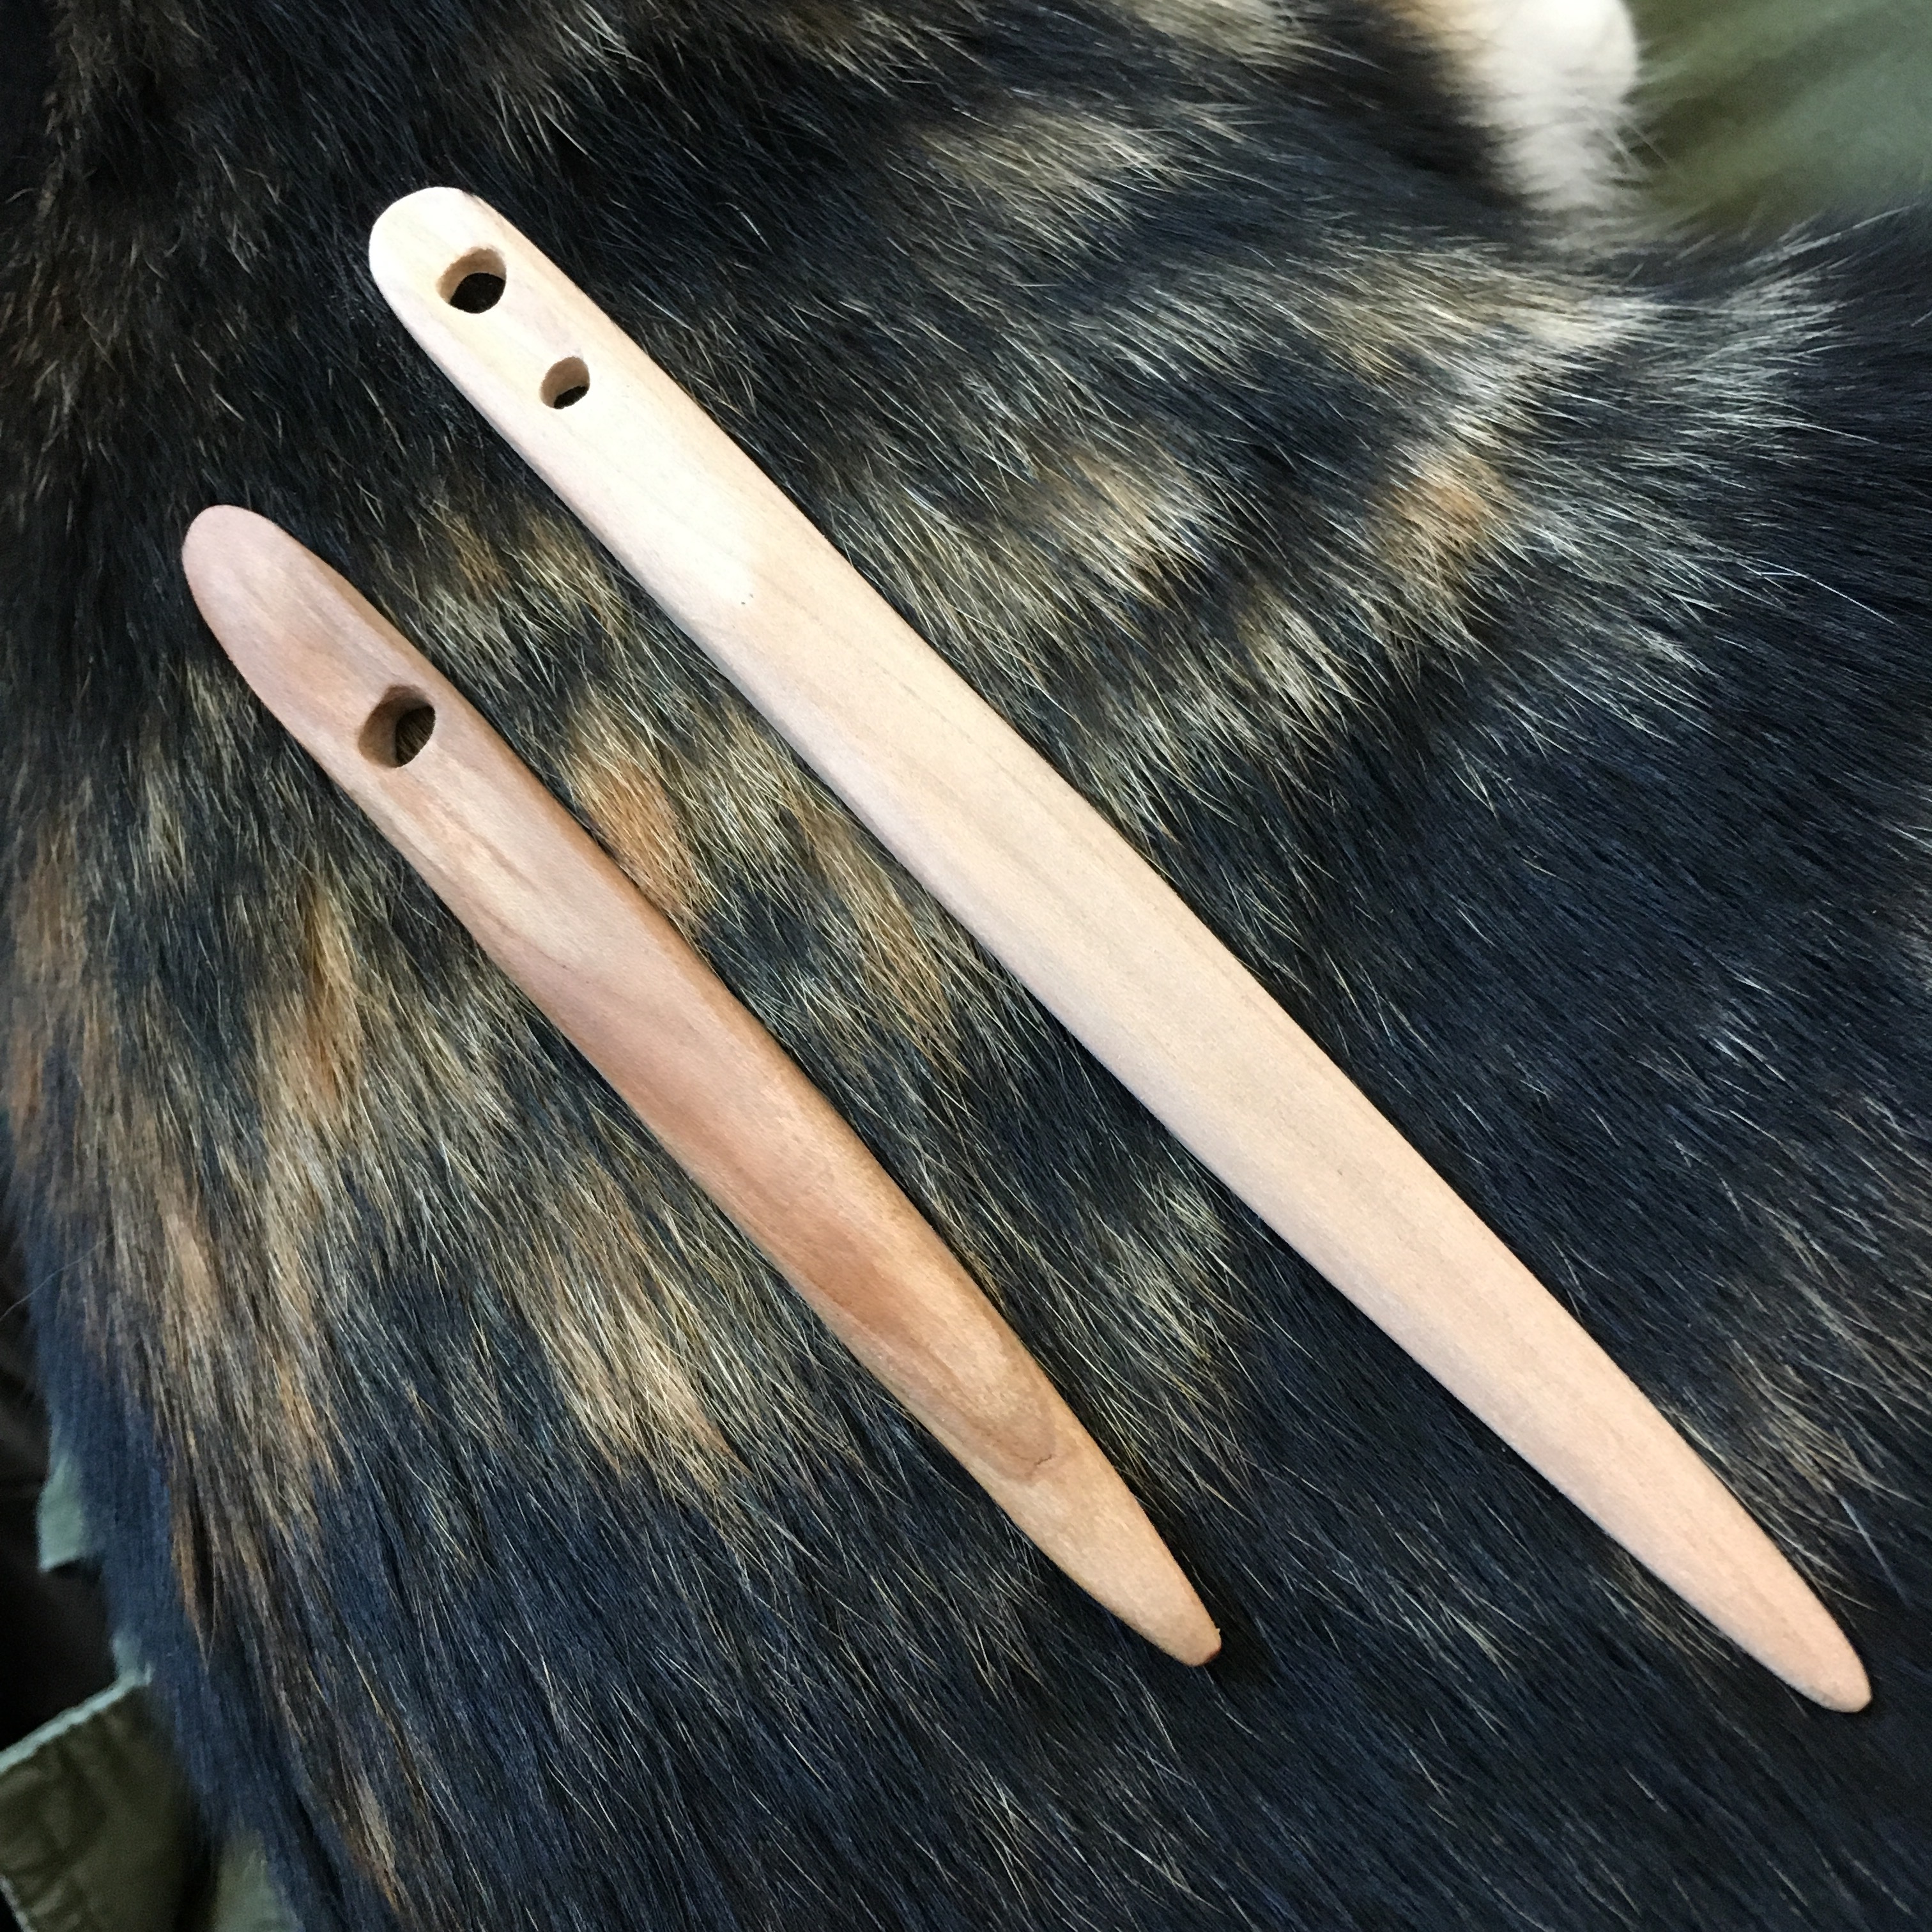
Hand made nals for nål binding both from cherry wood. One on the left has been used, one on the right has not.
I made myself a new nal for nålbinding; a little longer and with two holes so I can work with longer lengths of yarn. I thought it was interesting that the previous nal darkened so much after just two projects. I made them both from cherry wood, both from scraps from the same plank.
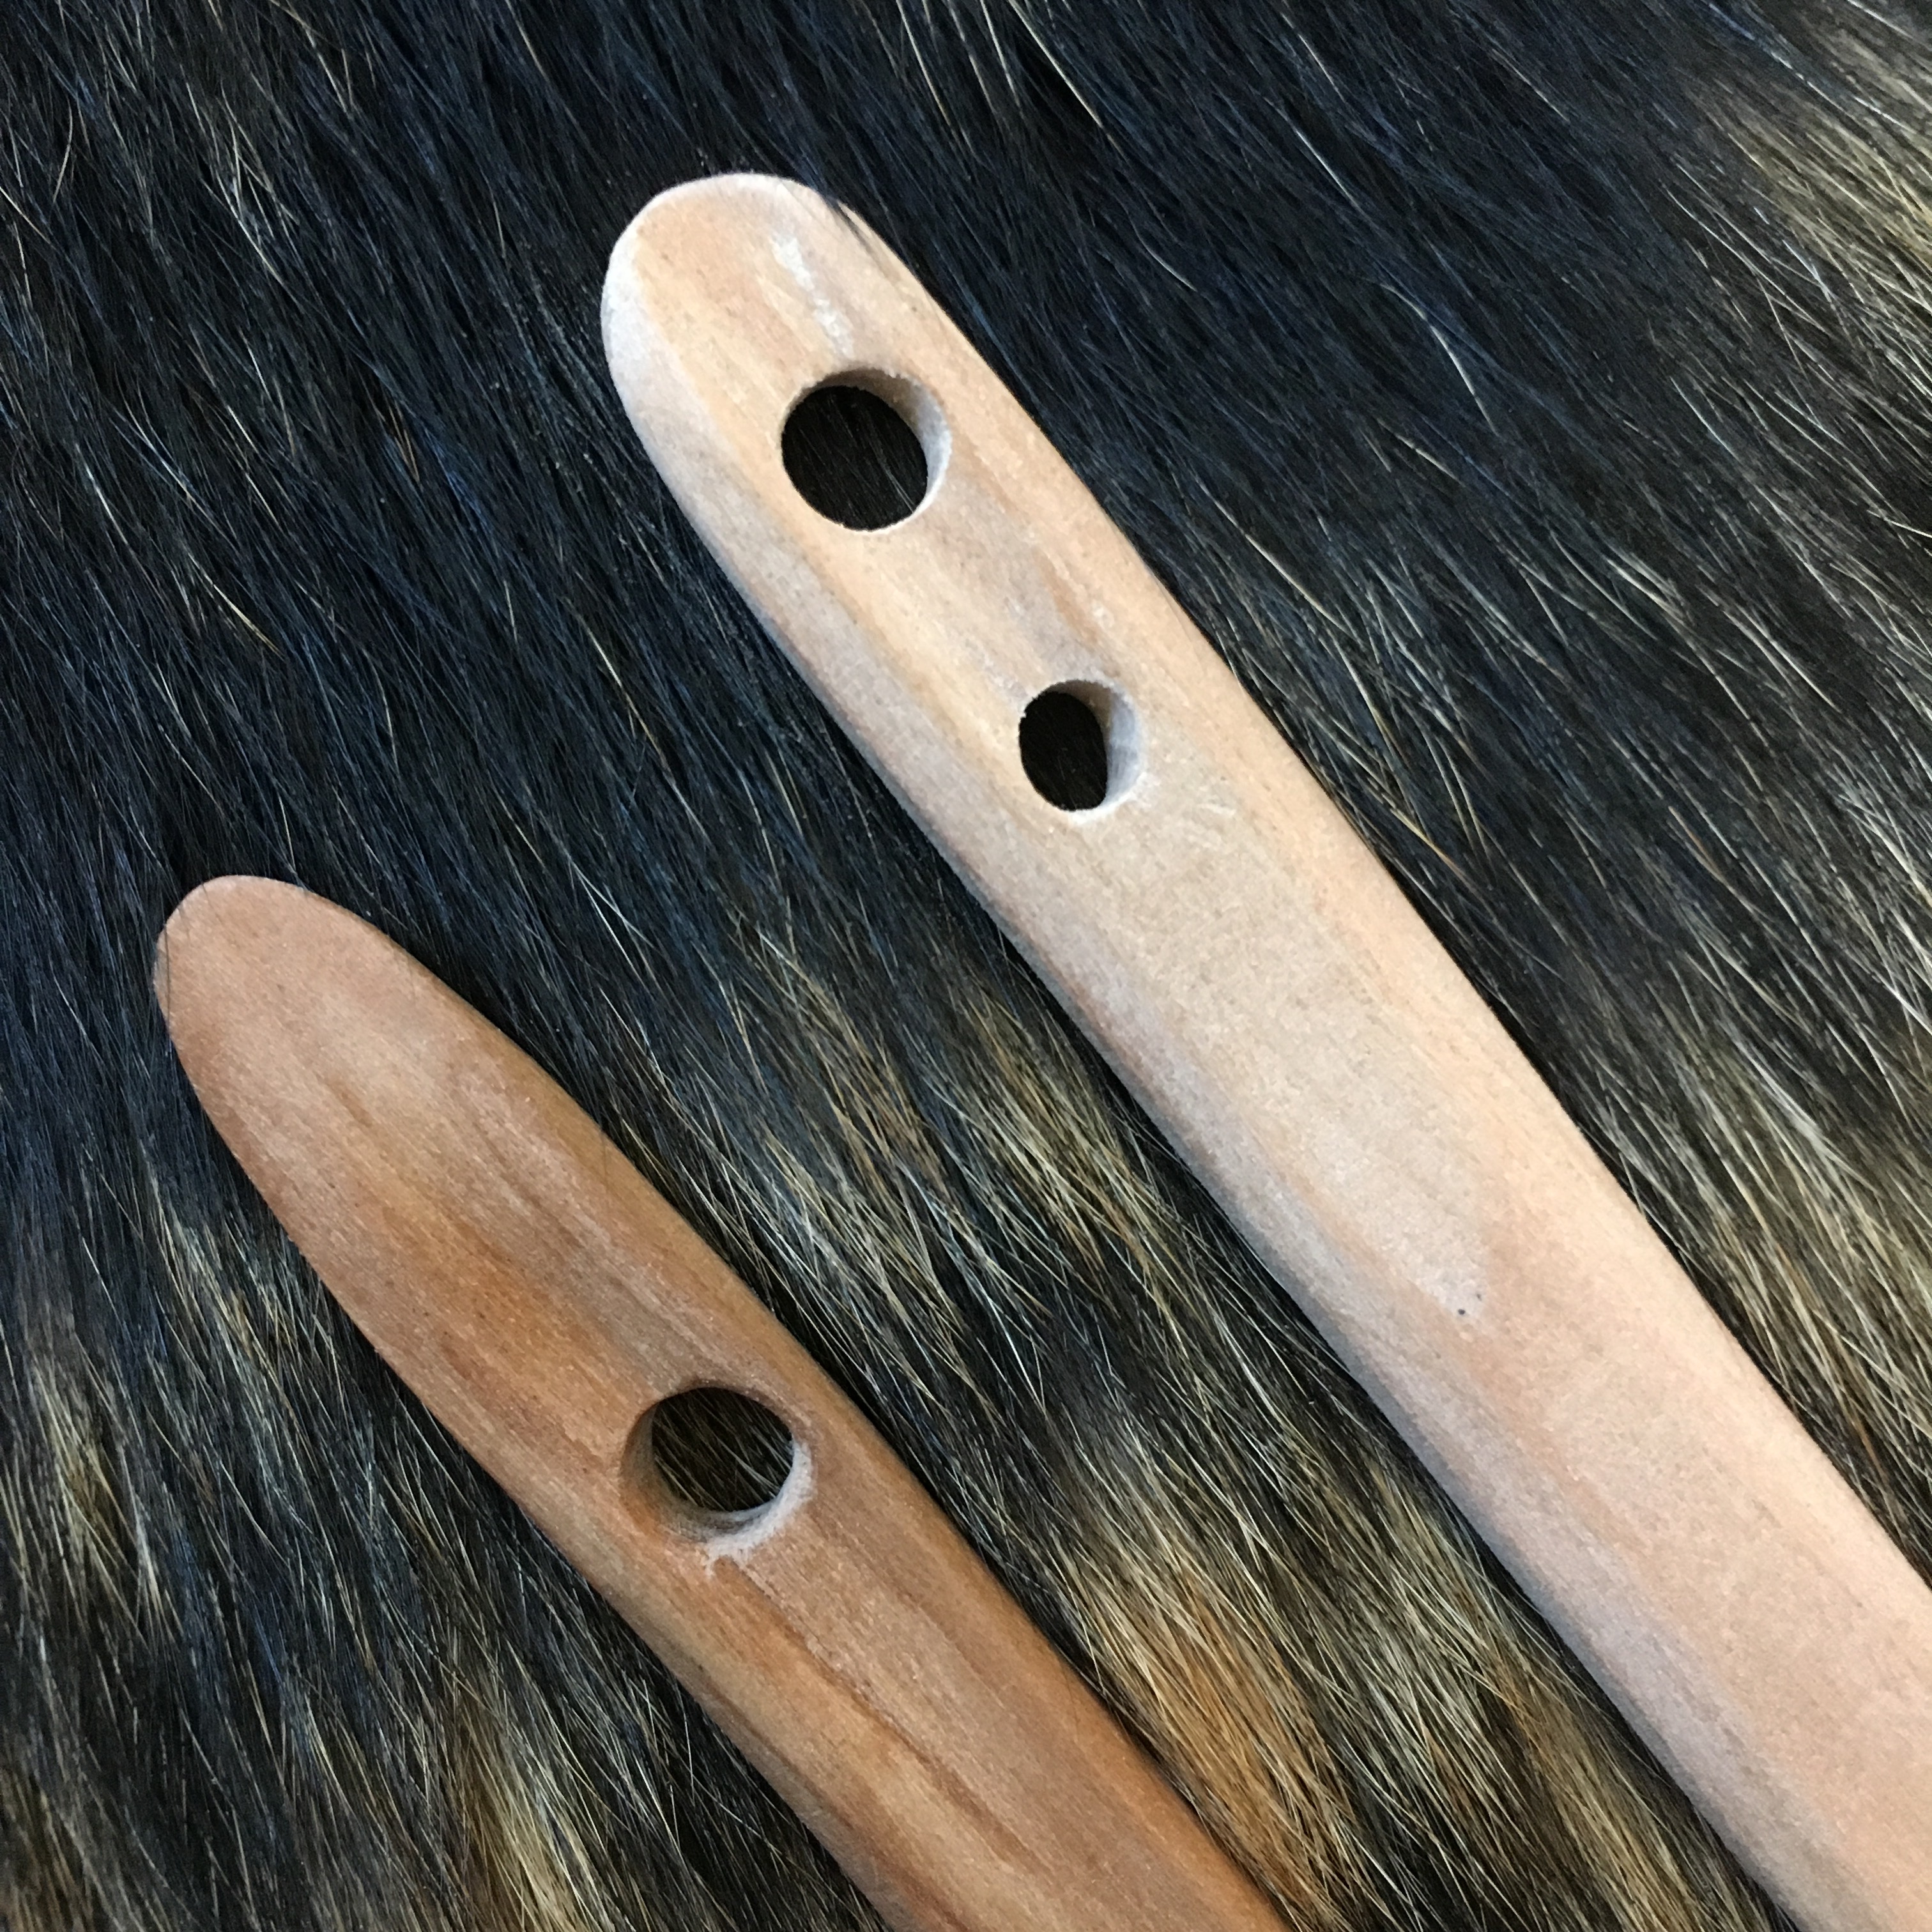
Hollowed out eyes, to better allow yarn to pass through the work
I saw another crafter with a nal that had been hollowed out behind the eyes. I like that this helps the yarn pass through the loops better, so I used a small gouge to do that to my nals as well.
Yes. I took the pictures on my calico. She was handy.
The chickens are still a little overwhelming for my youngest, and sitting on one of the benches inside is still too much. So I started to think about a way to make her a bench so she could sit outside the runs and watch the chickens. (We are all about little steps.)
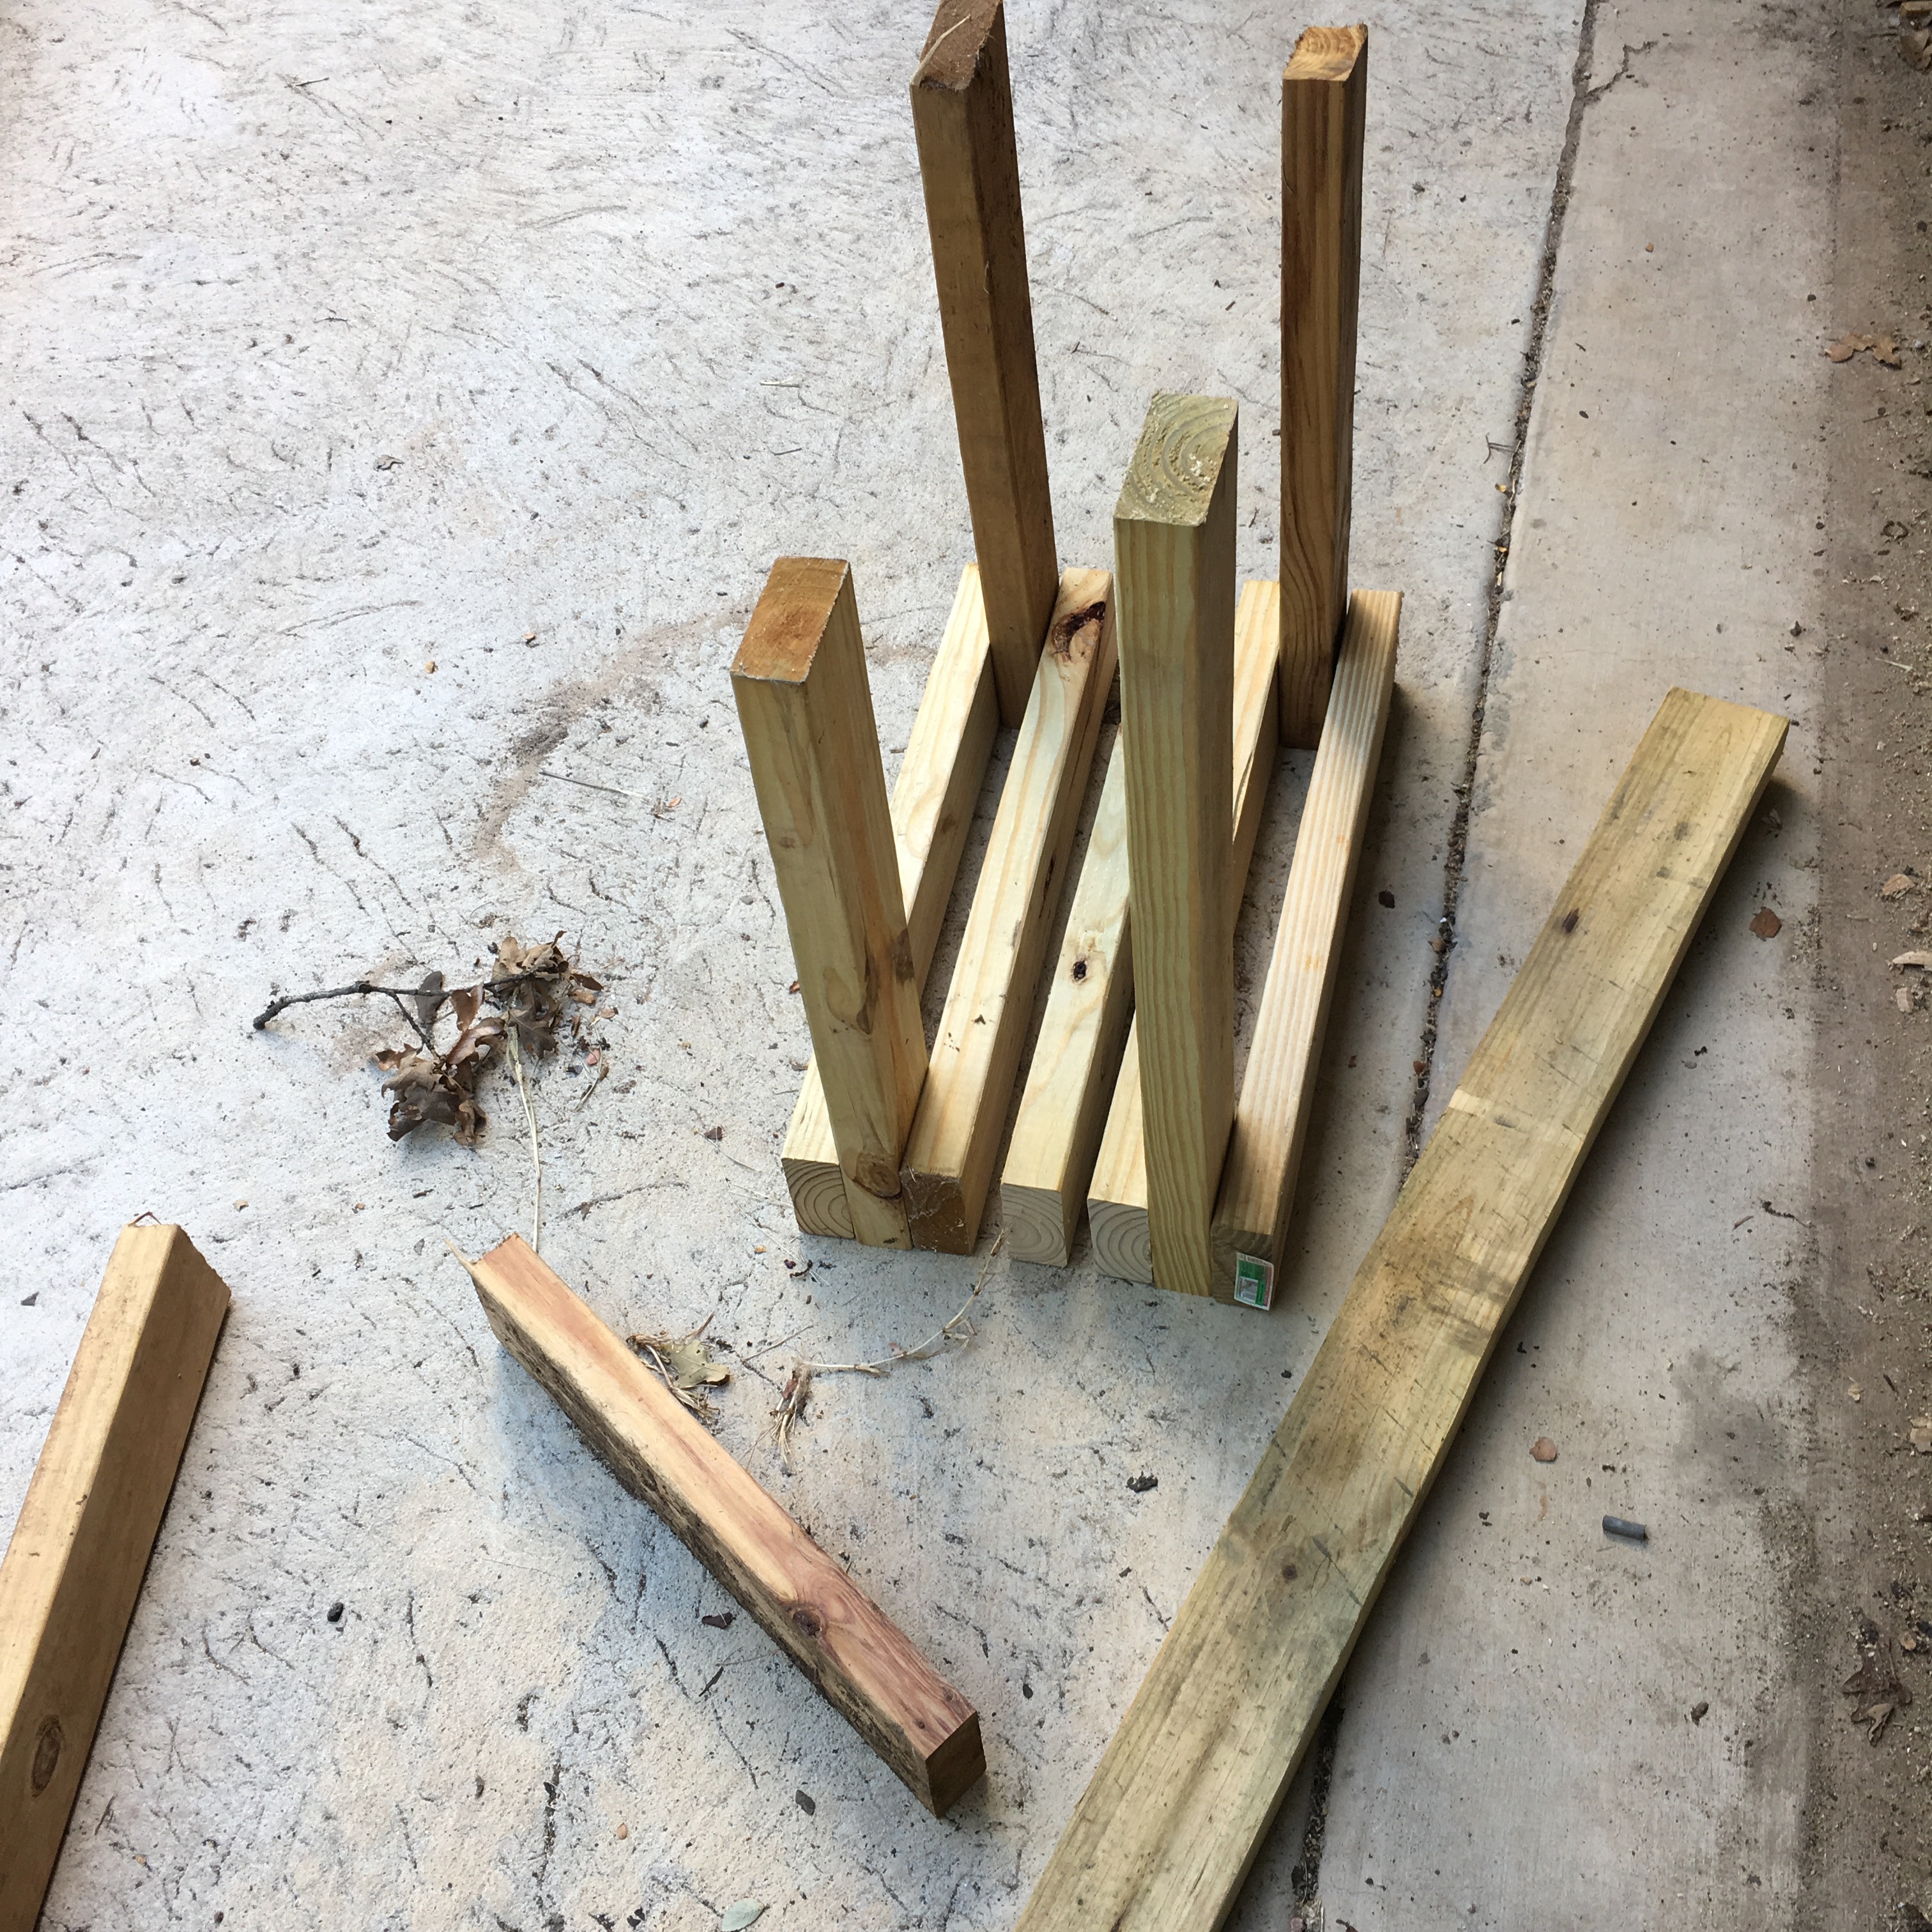
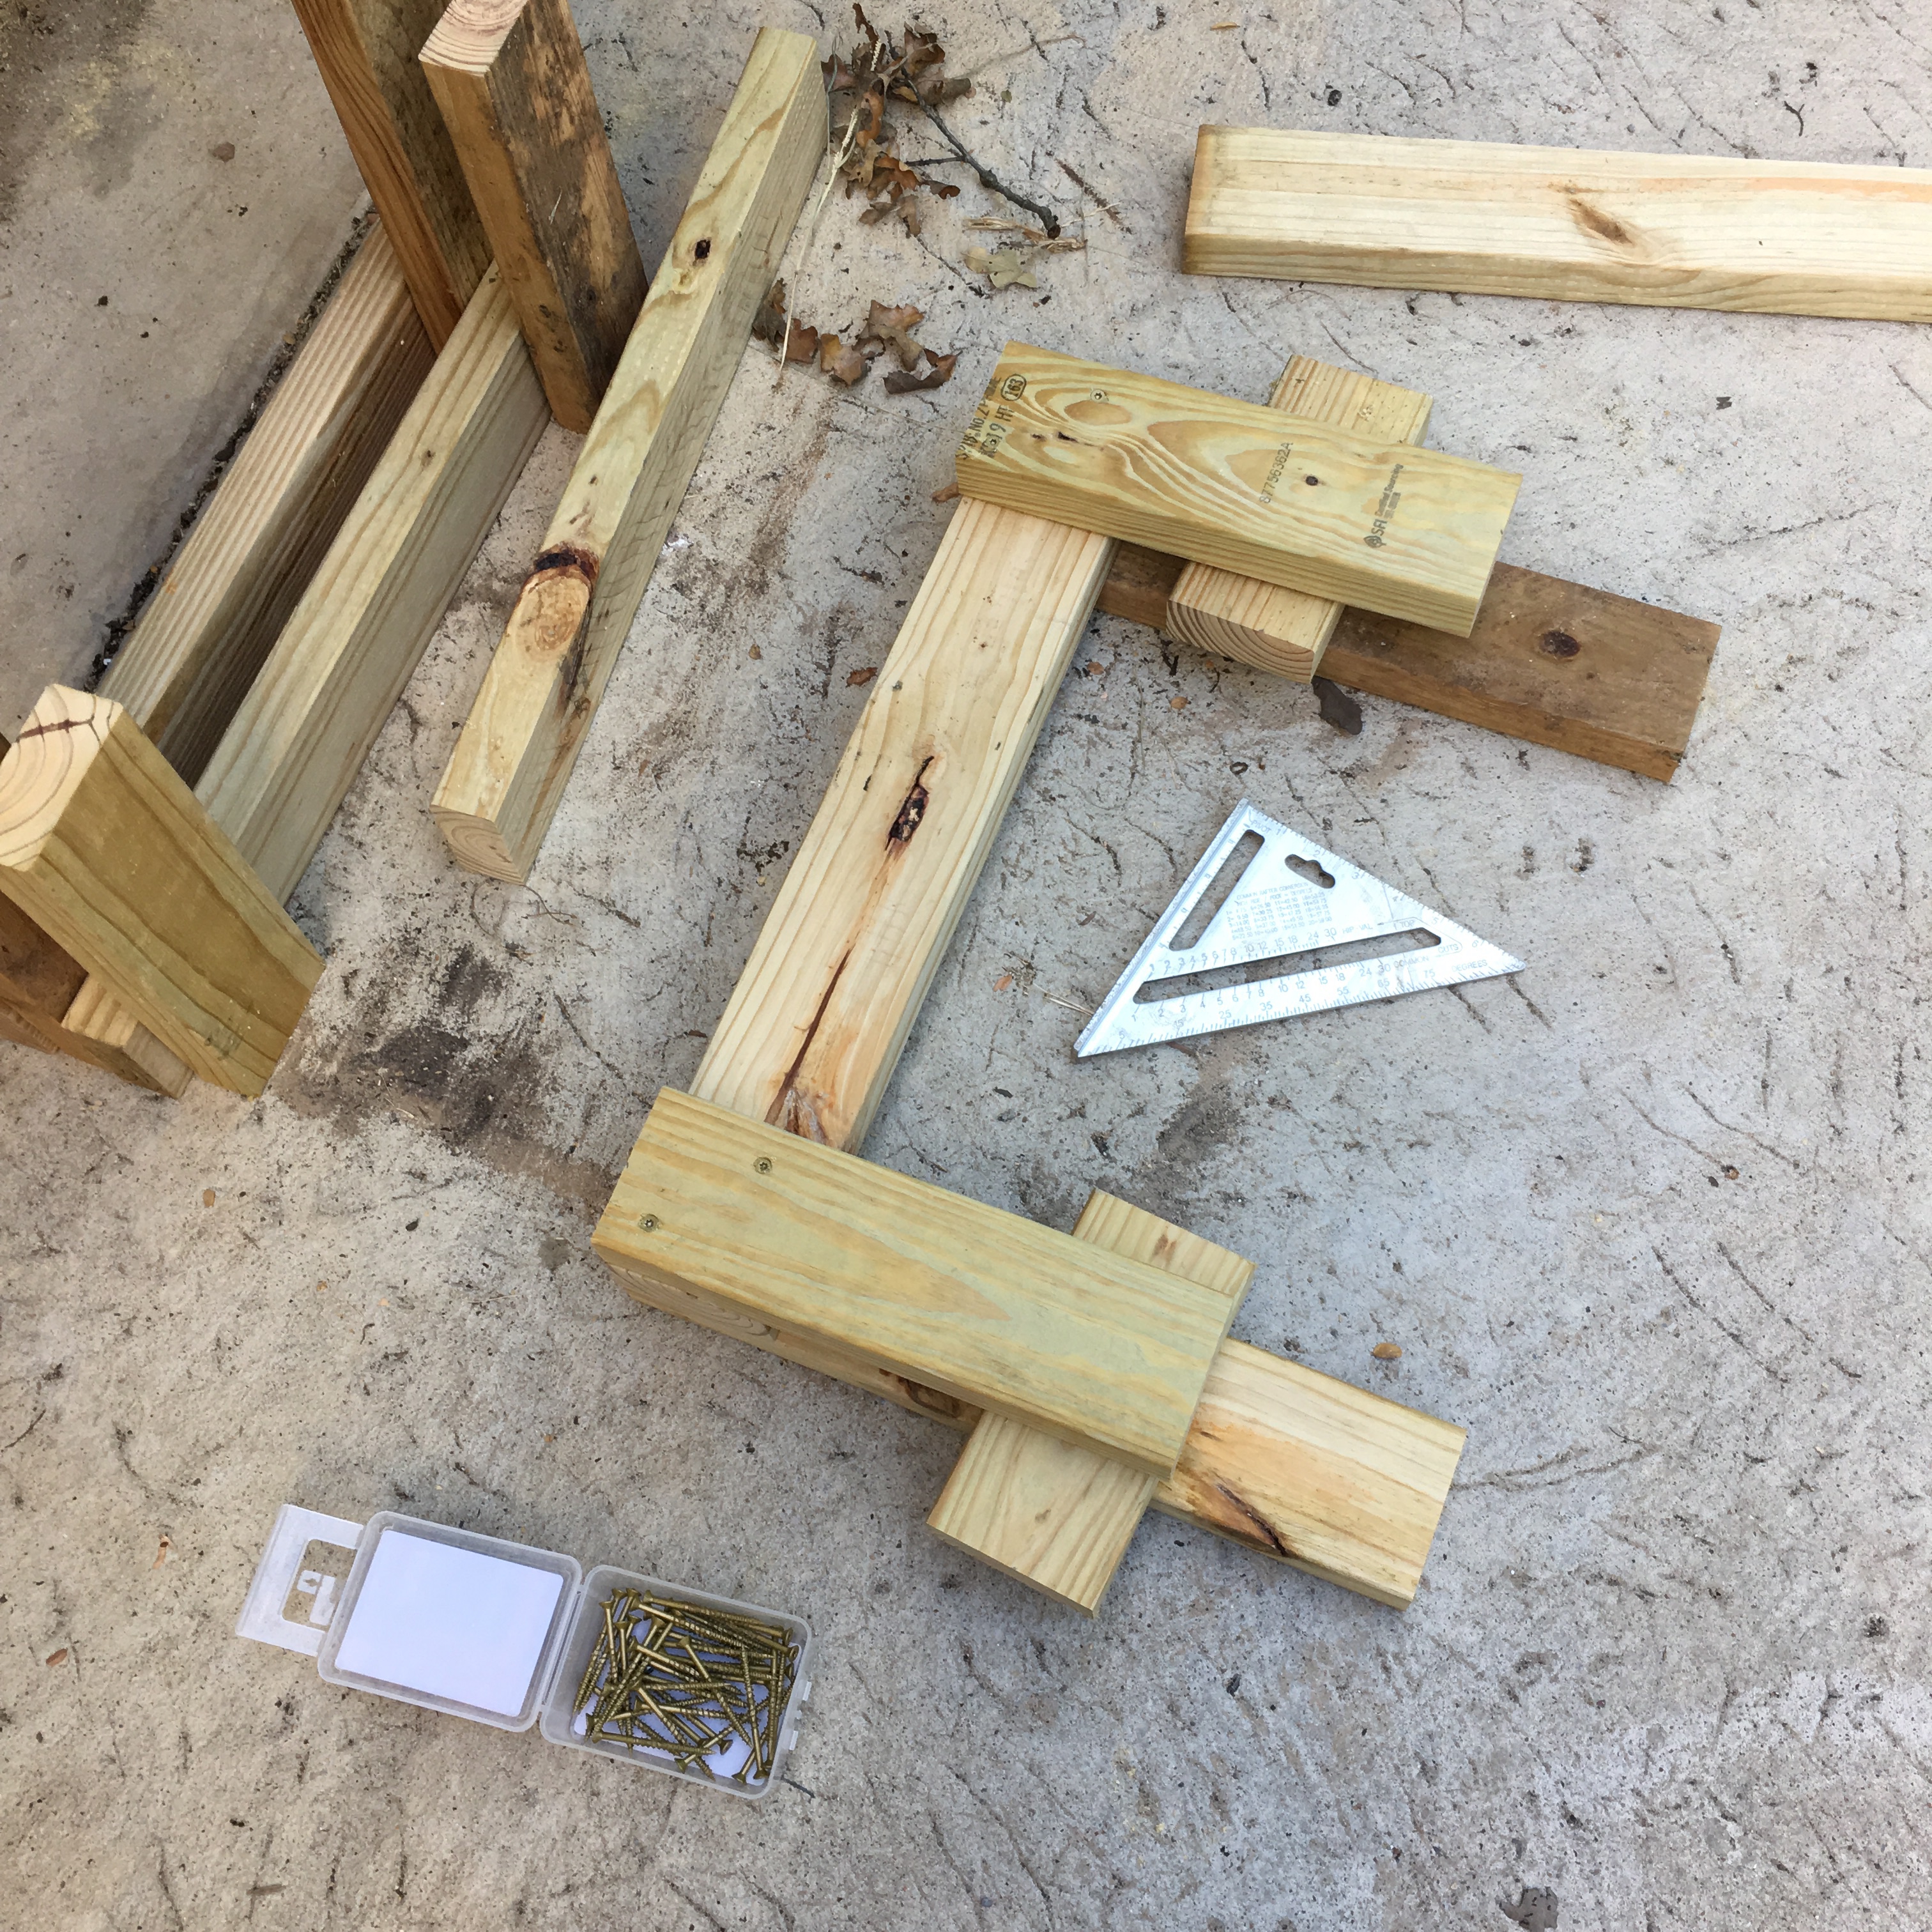
The size of the bench was determined by the size of my scrap. I measured out everything and cut it (I recommend cutting the cross pieces on the legs after assembling everything else; the dimensions changed after I screwed it together). I then used 2 1/2” self-tapping screws to join the pieces, checking square for each leg piece.
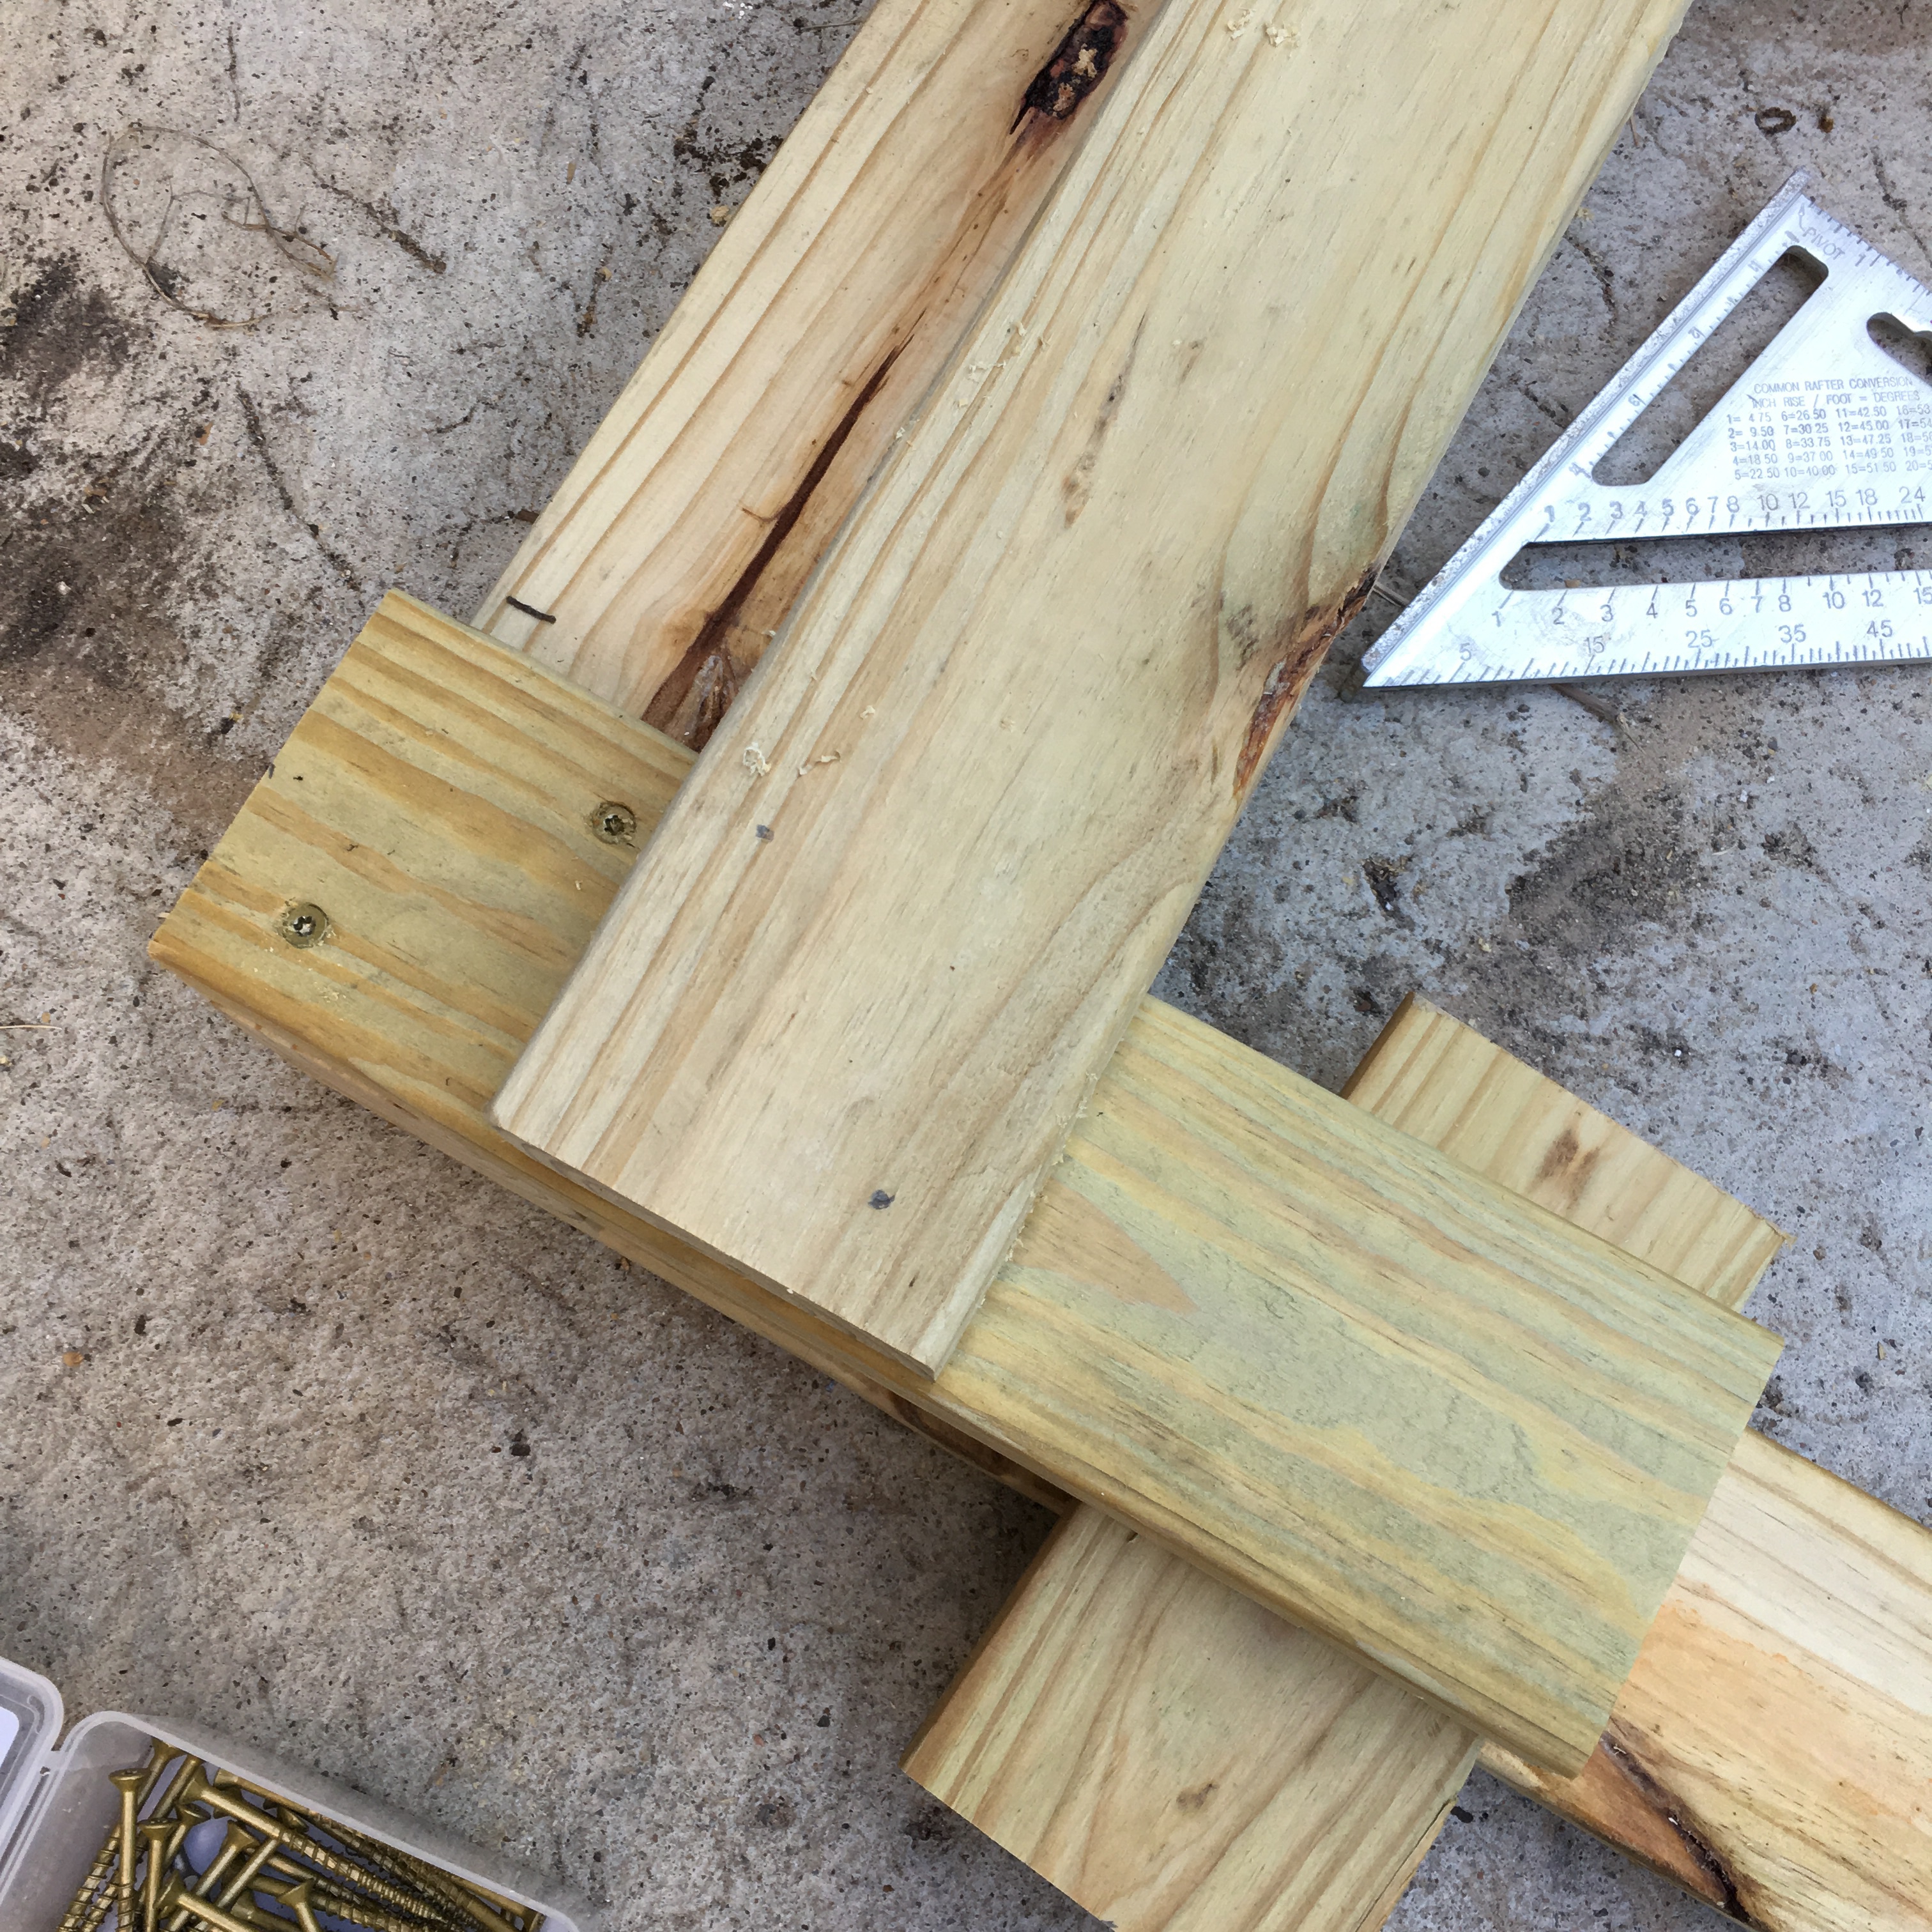
I marked opposite corners for screws
I used opposite corners for each piece as I assembled so I wouldn’t accidentally run one screw into another. I also used more scrap to support the leg pieces as I assembled.
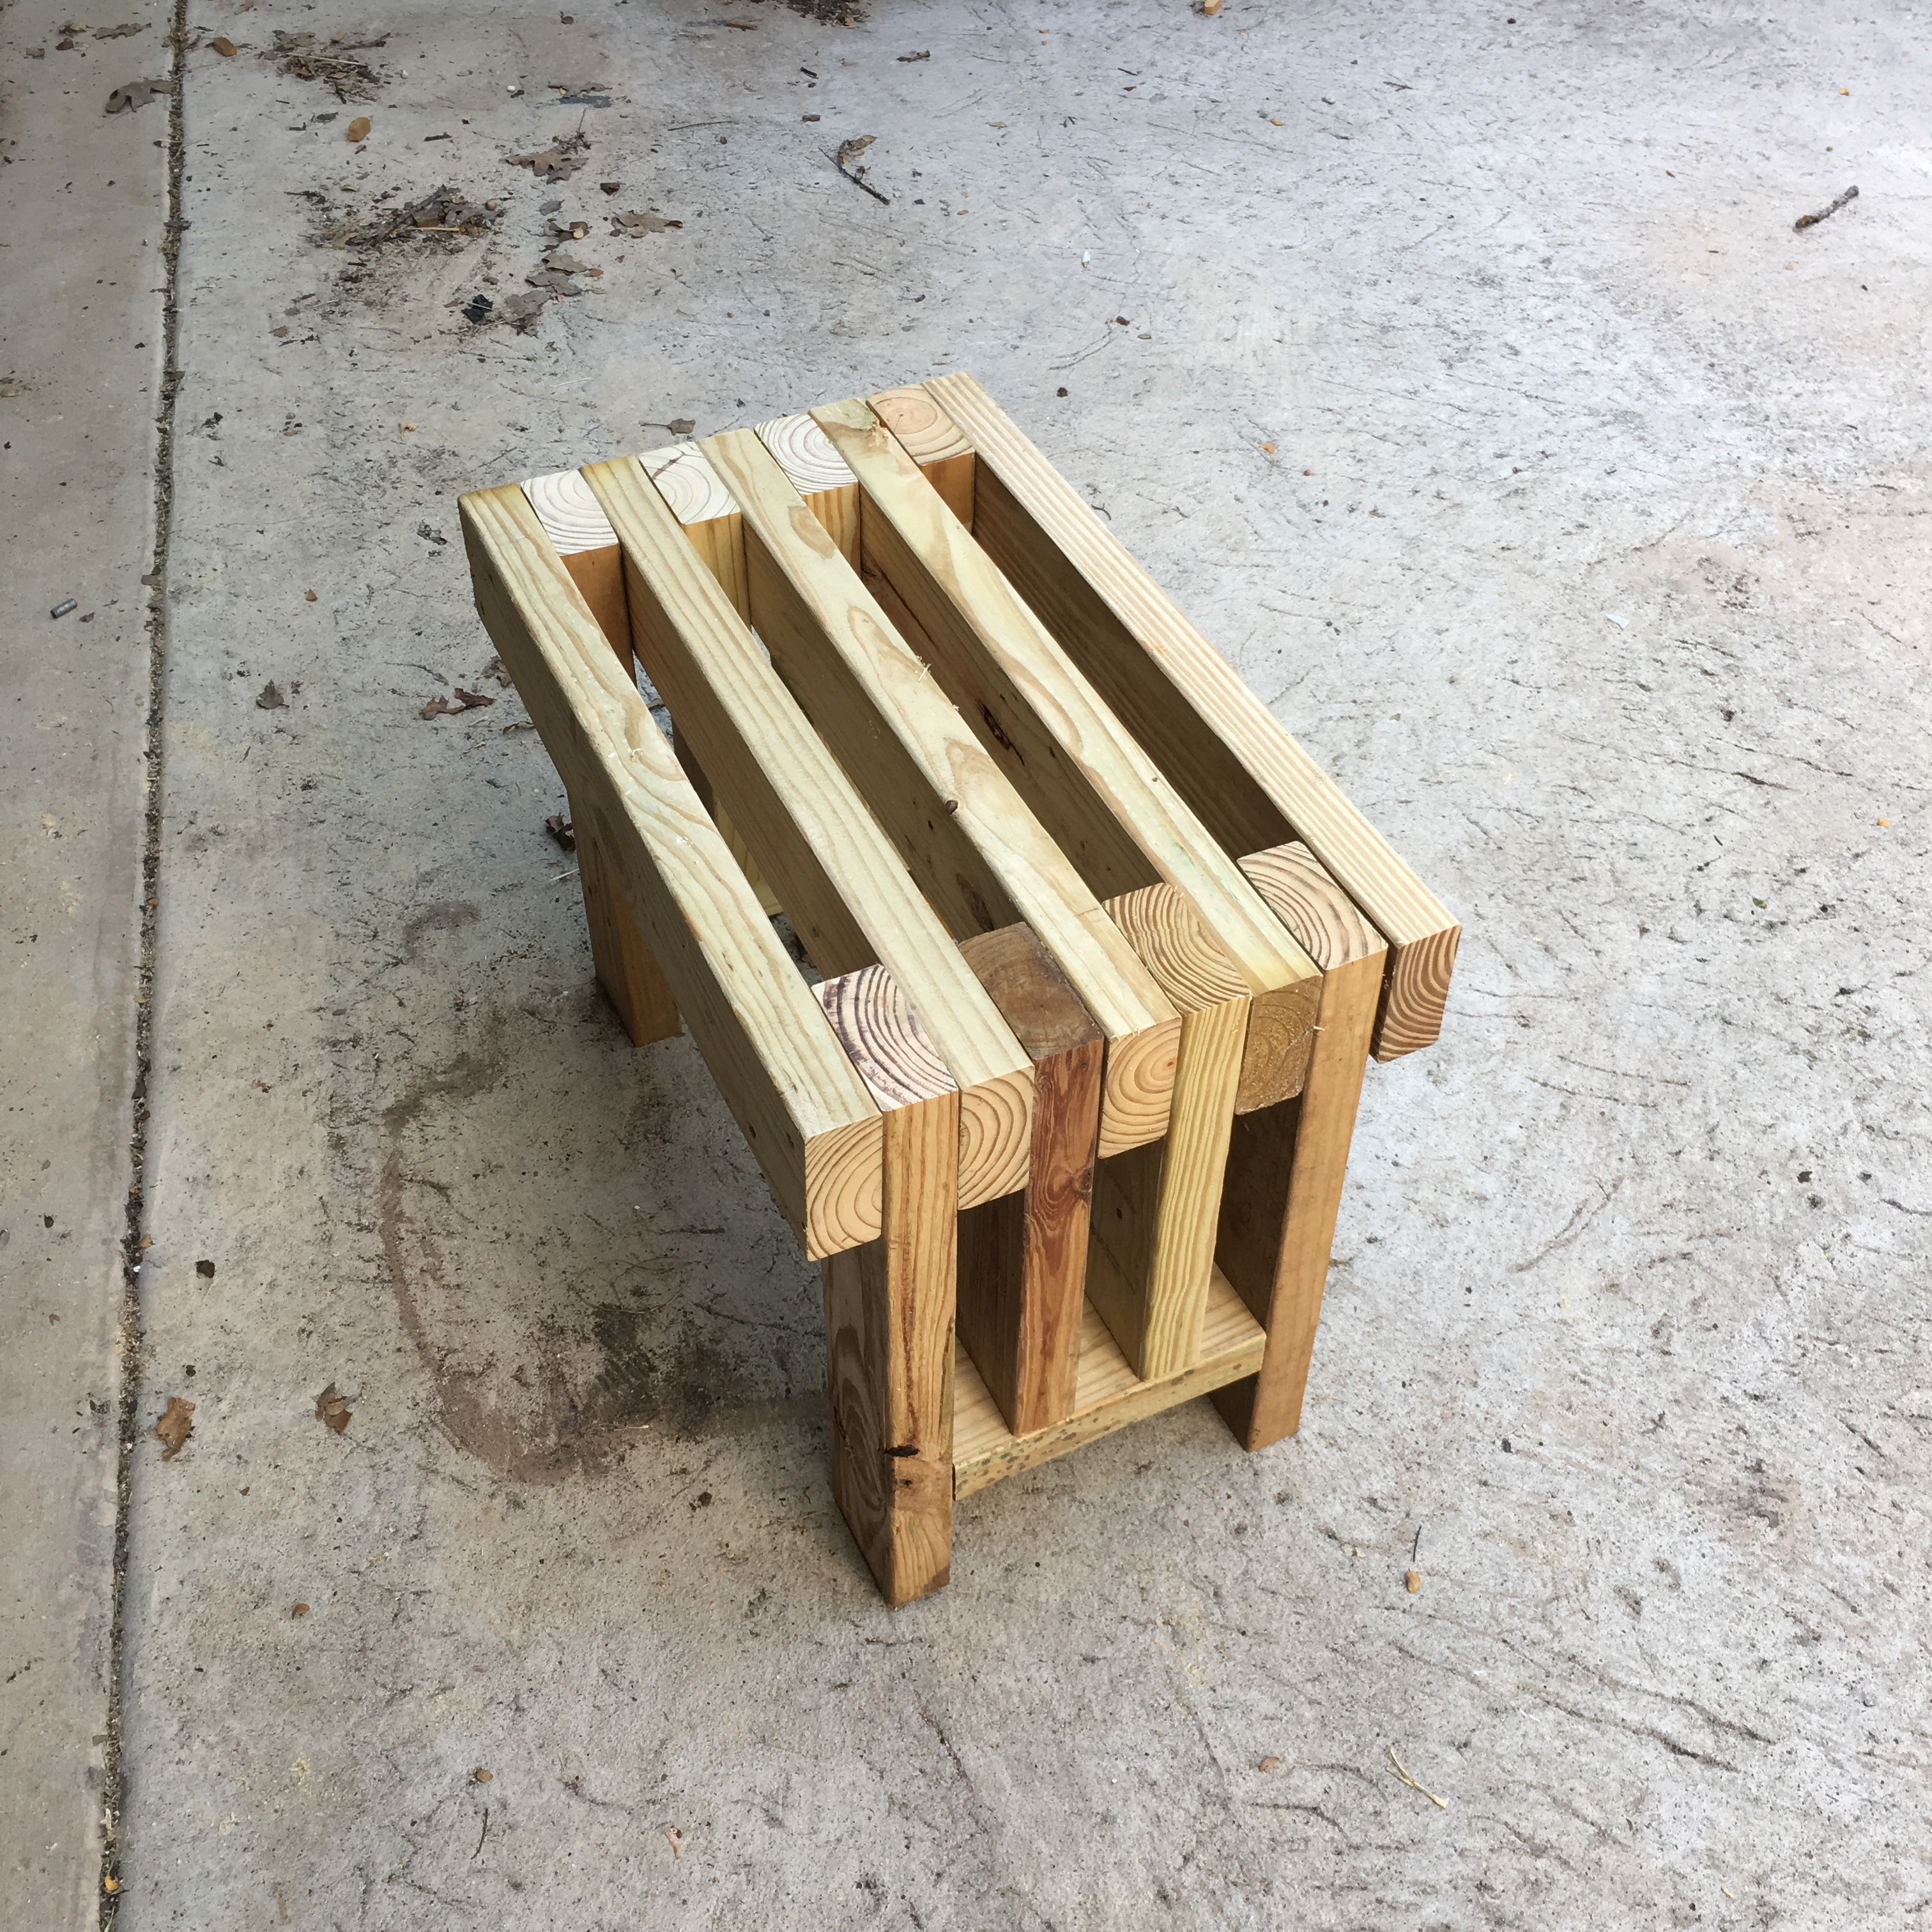
Assembled seat
After the seat was assembled, I sanded surfaces and the edges.
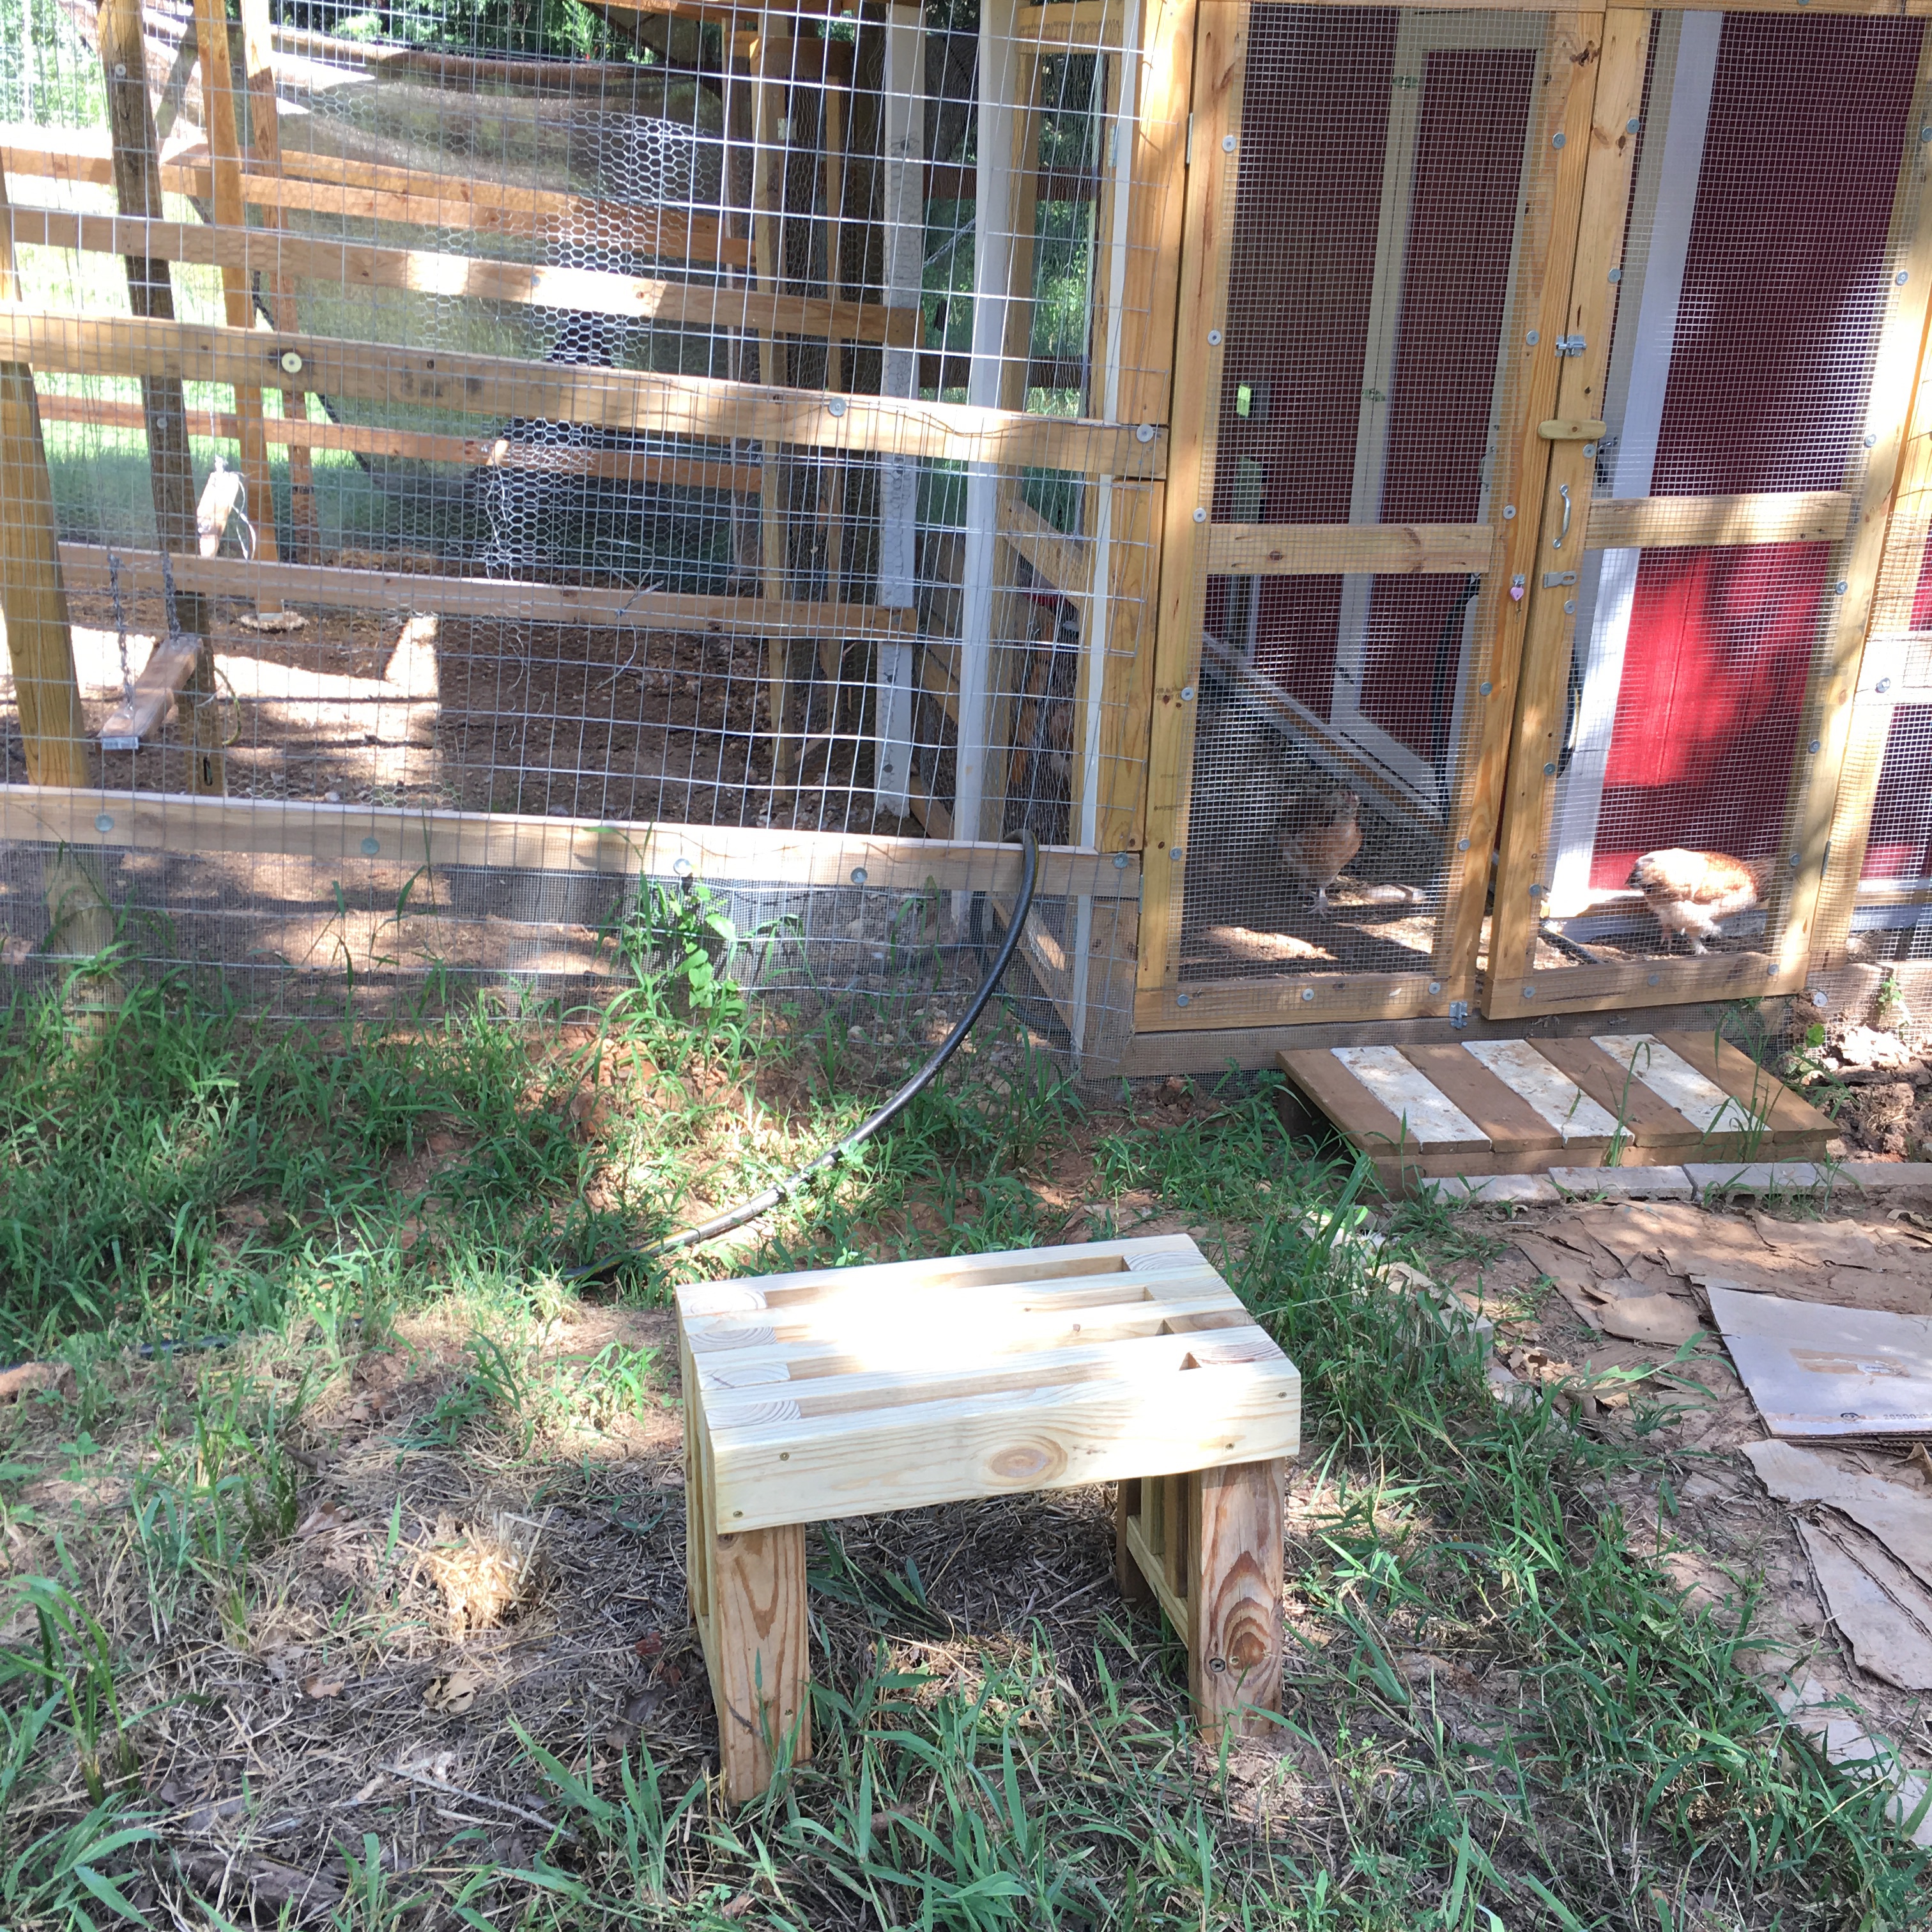
Completed seat ready for chicken watching
I quite like the little seat, and where it is sitting. I think surrounding it with mint plants might be in the future. I already have one chocolate mint plant out there. Sight and smell therapy.
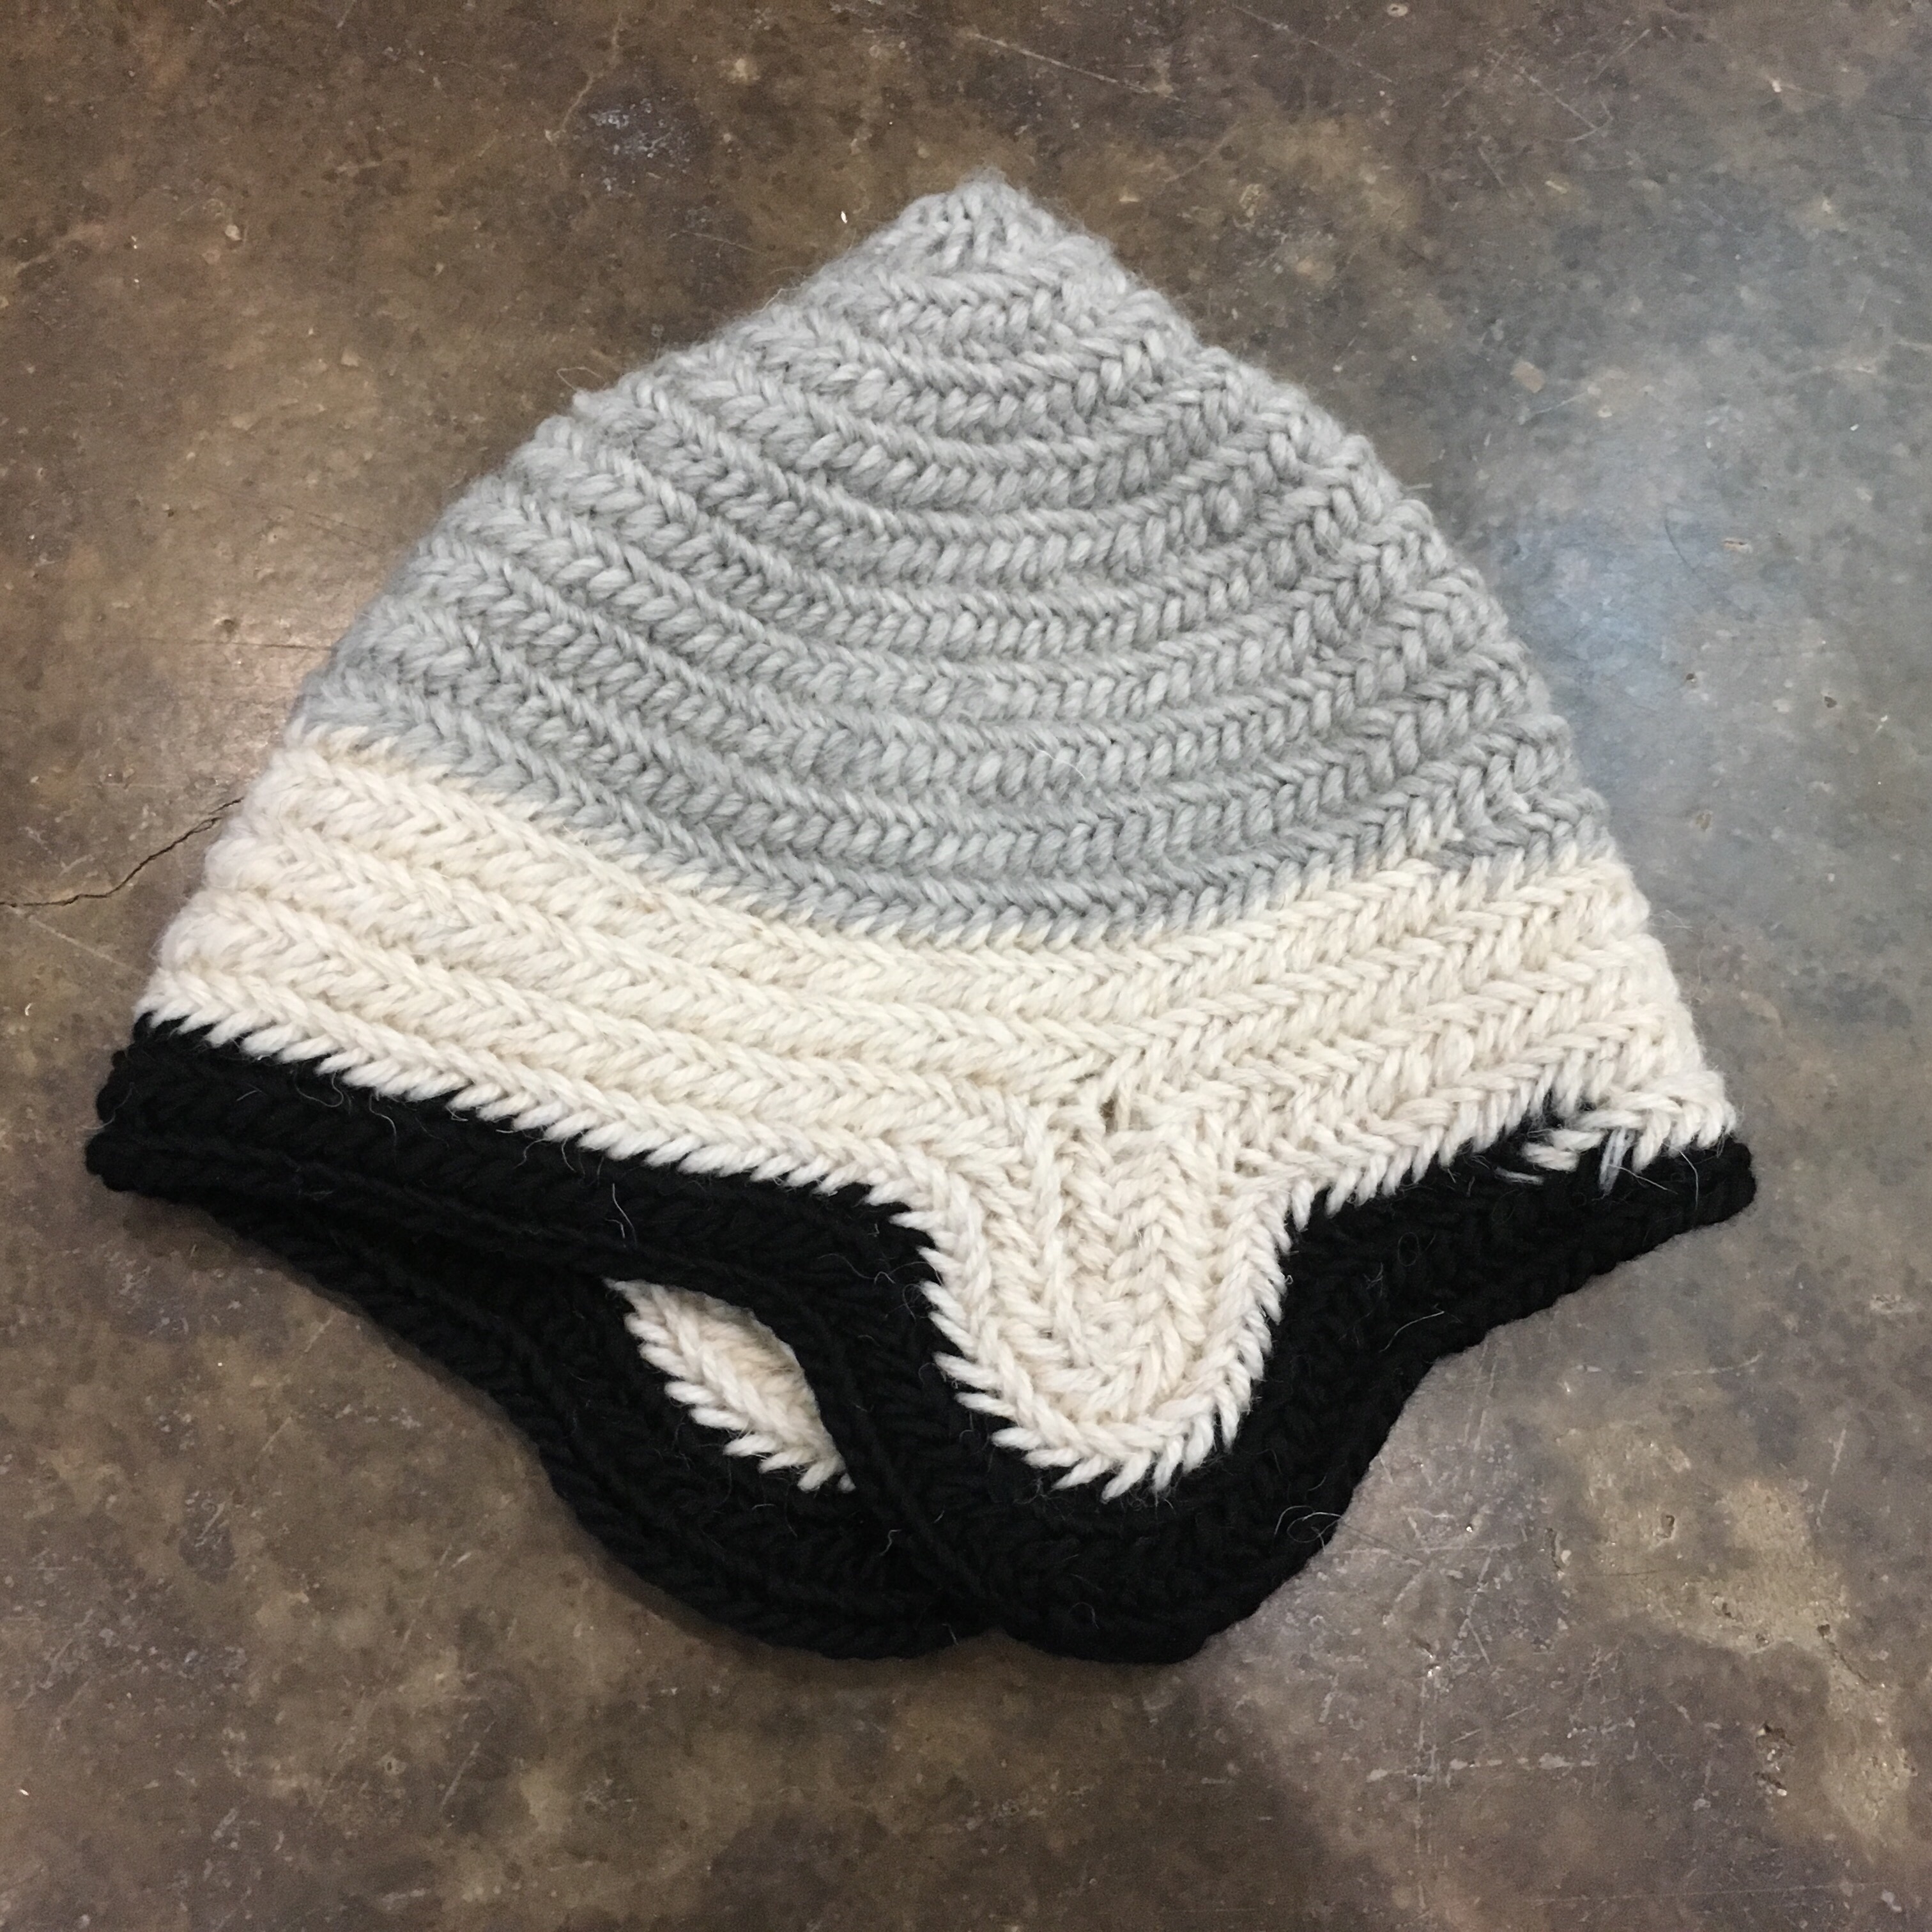
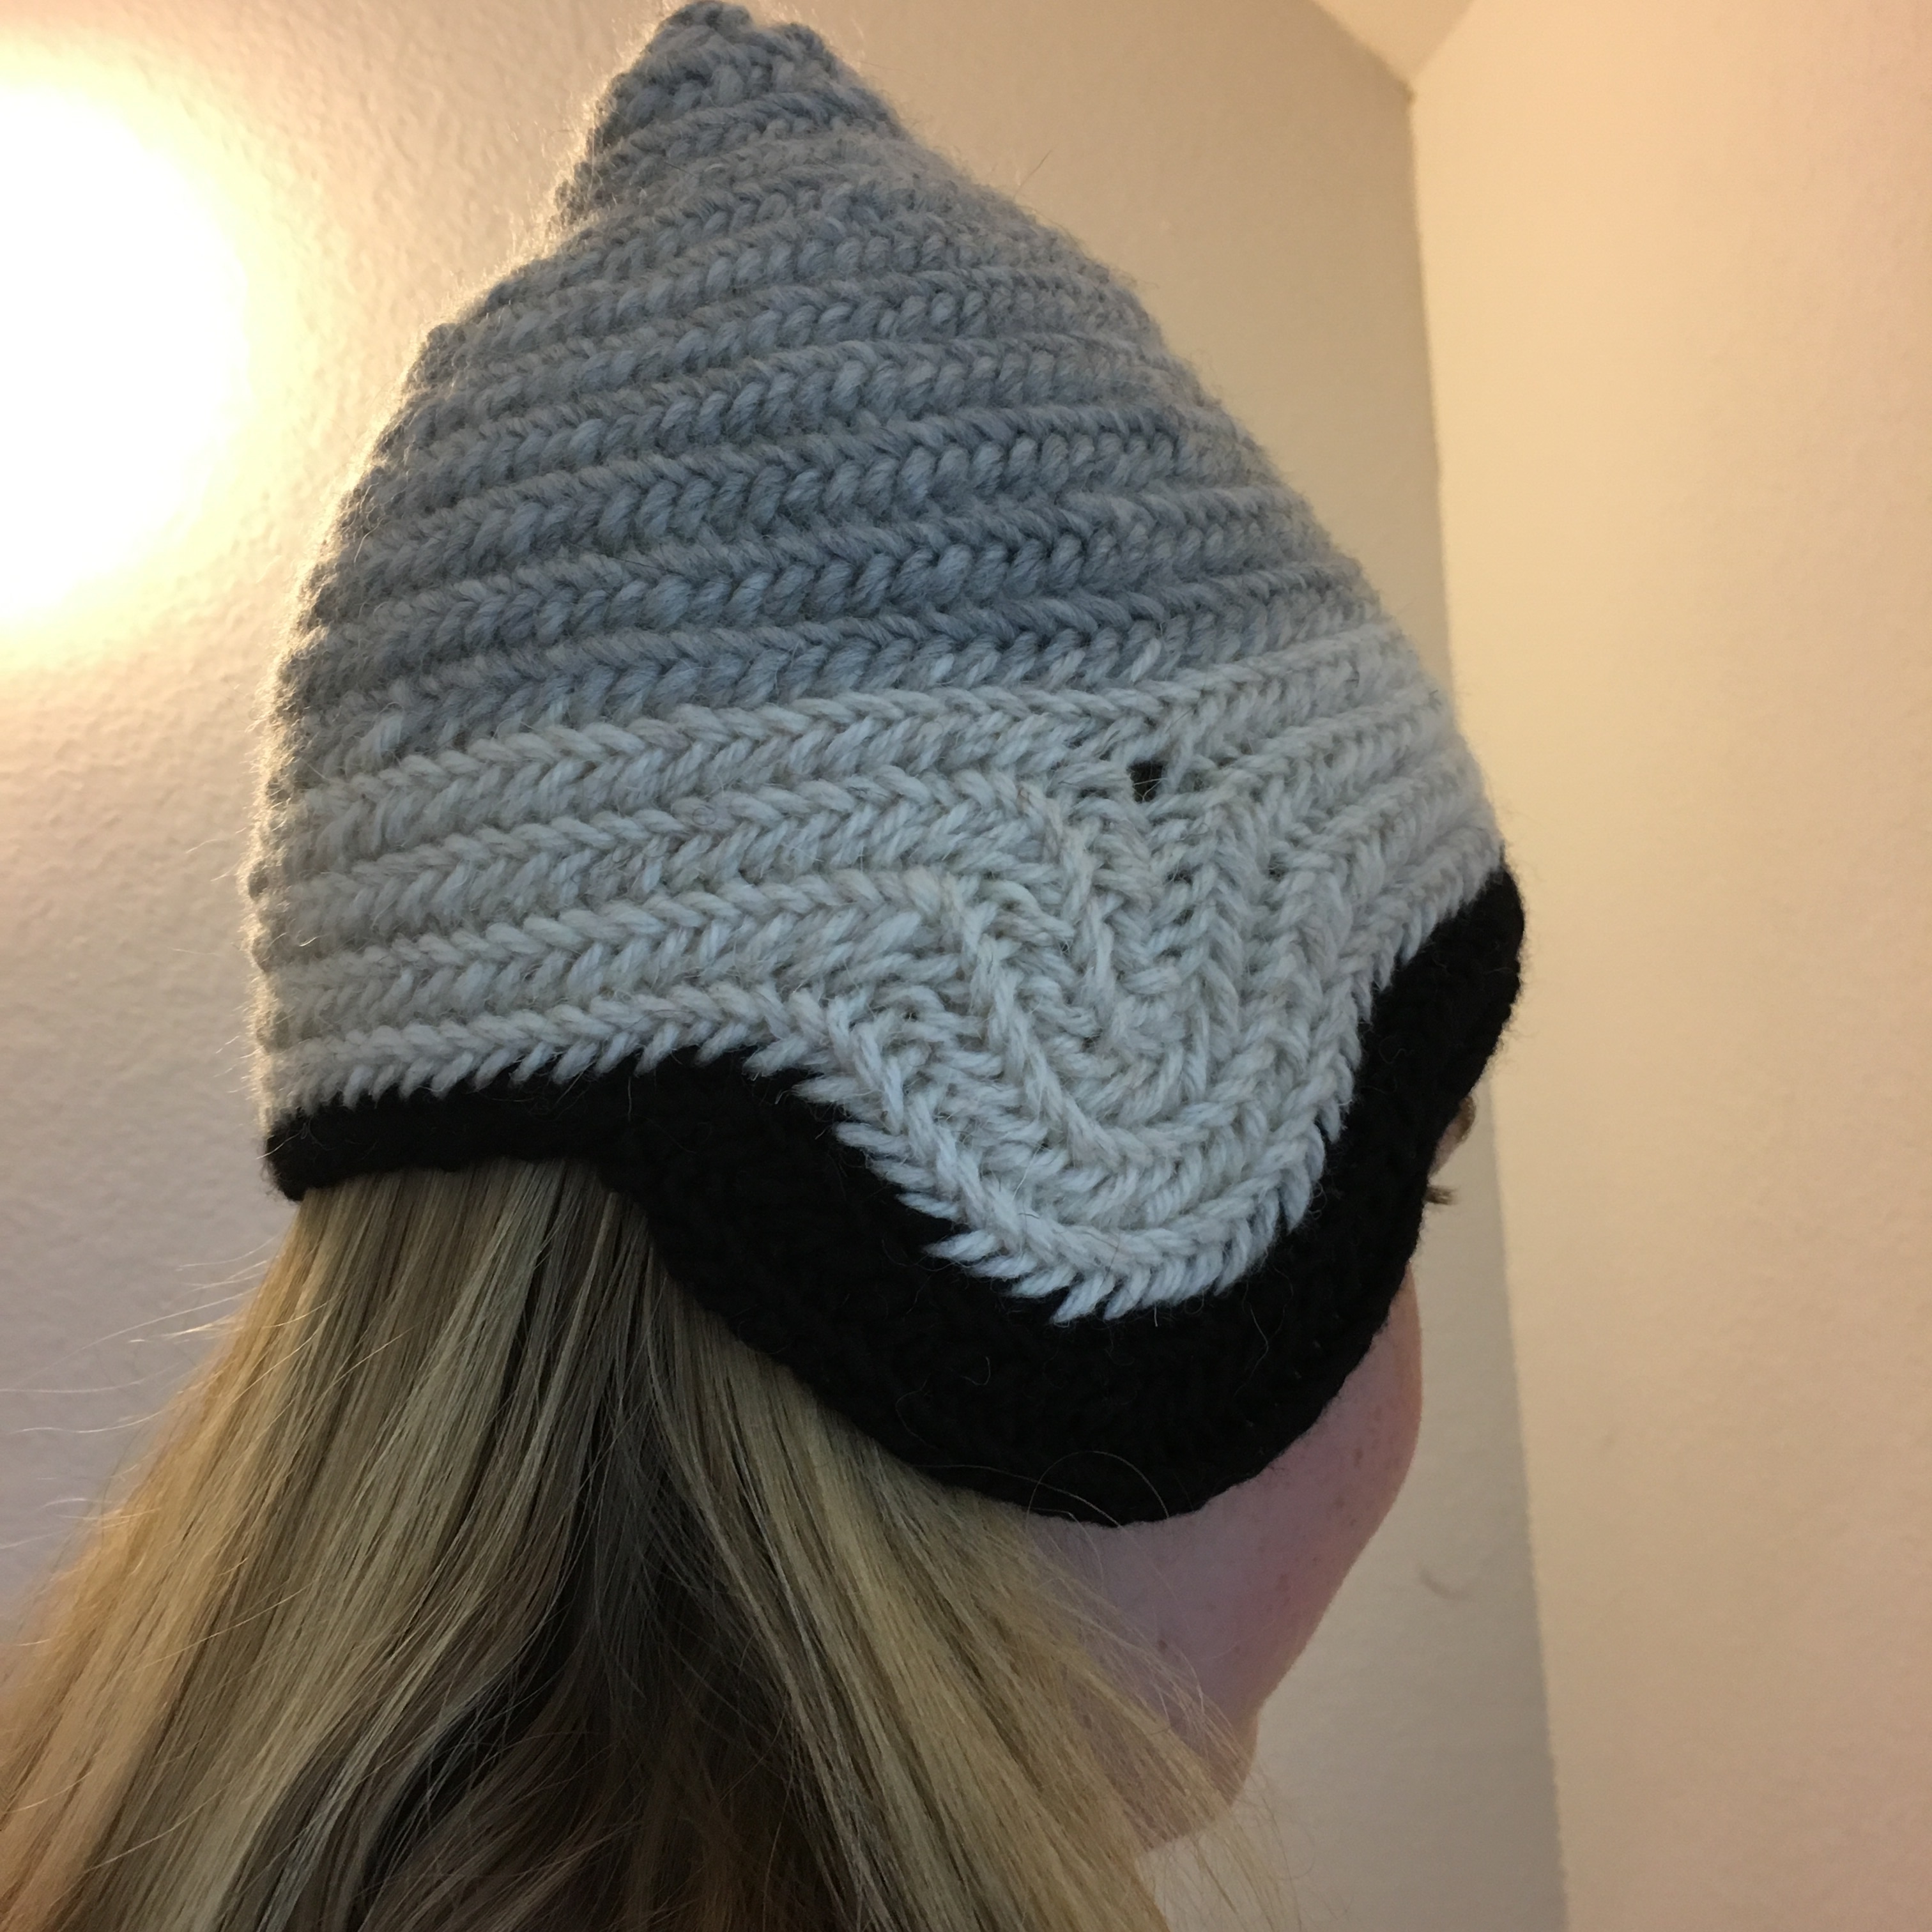
I am continuing my nålbinding practice. I used up more scraps of wool yarn in my stash to make a hat! It has a slightly pointy top; I need to work on making flat circles, but I’ve seen several pictures of nålbound hats with a pointy top, so I’m going to call it a design choice (as in I chose not to pick out the stitches and try again). There is a time to unravel and a time to push through. Mostly I push through!
Wool hat made with the Mammen nålbinding stitch
I’m glad I did push through on this, because it seems like it will be a good warm hat. The last rows are made of soft merino wool, which really makes it comfortable to wear. And I love the ear flaps! My ears are usually cold walking in the winter. I love the spiral construction, and I figured out how to finish and blend in the final stitches. Now to go raid the yarn stash and see what else I can use up.
Small pocket size (or no pockets at all!) in clothes drives me crazy. But finding cargo shorts, capris, or trousers in woman’s sizes that fit nice is difficult. Either they have useful pockets, or they fit nice, not the two together. Grr. I get that women usually have purses or bags, so don’t “need” pockets. I like having my phone with me, especially when the kids are in school. I also have become quite attached to my instant information (and if I don’t write something down right away, I will forget), and don’t want to walk to my purse to pull out my phone to look something up. (I’d likely forget what I wanted to look up anyway; my phone is my assistive technology.)
So I came up with a way to add a pocket. I like the mid-leg pockets because there is less stress on the phone (I’m not sitting on it!). I tried some surface pockets, but these inside pockets hold the phone better and look nicer.
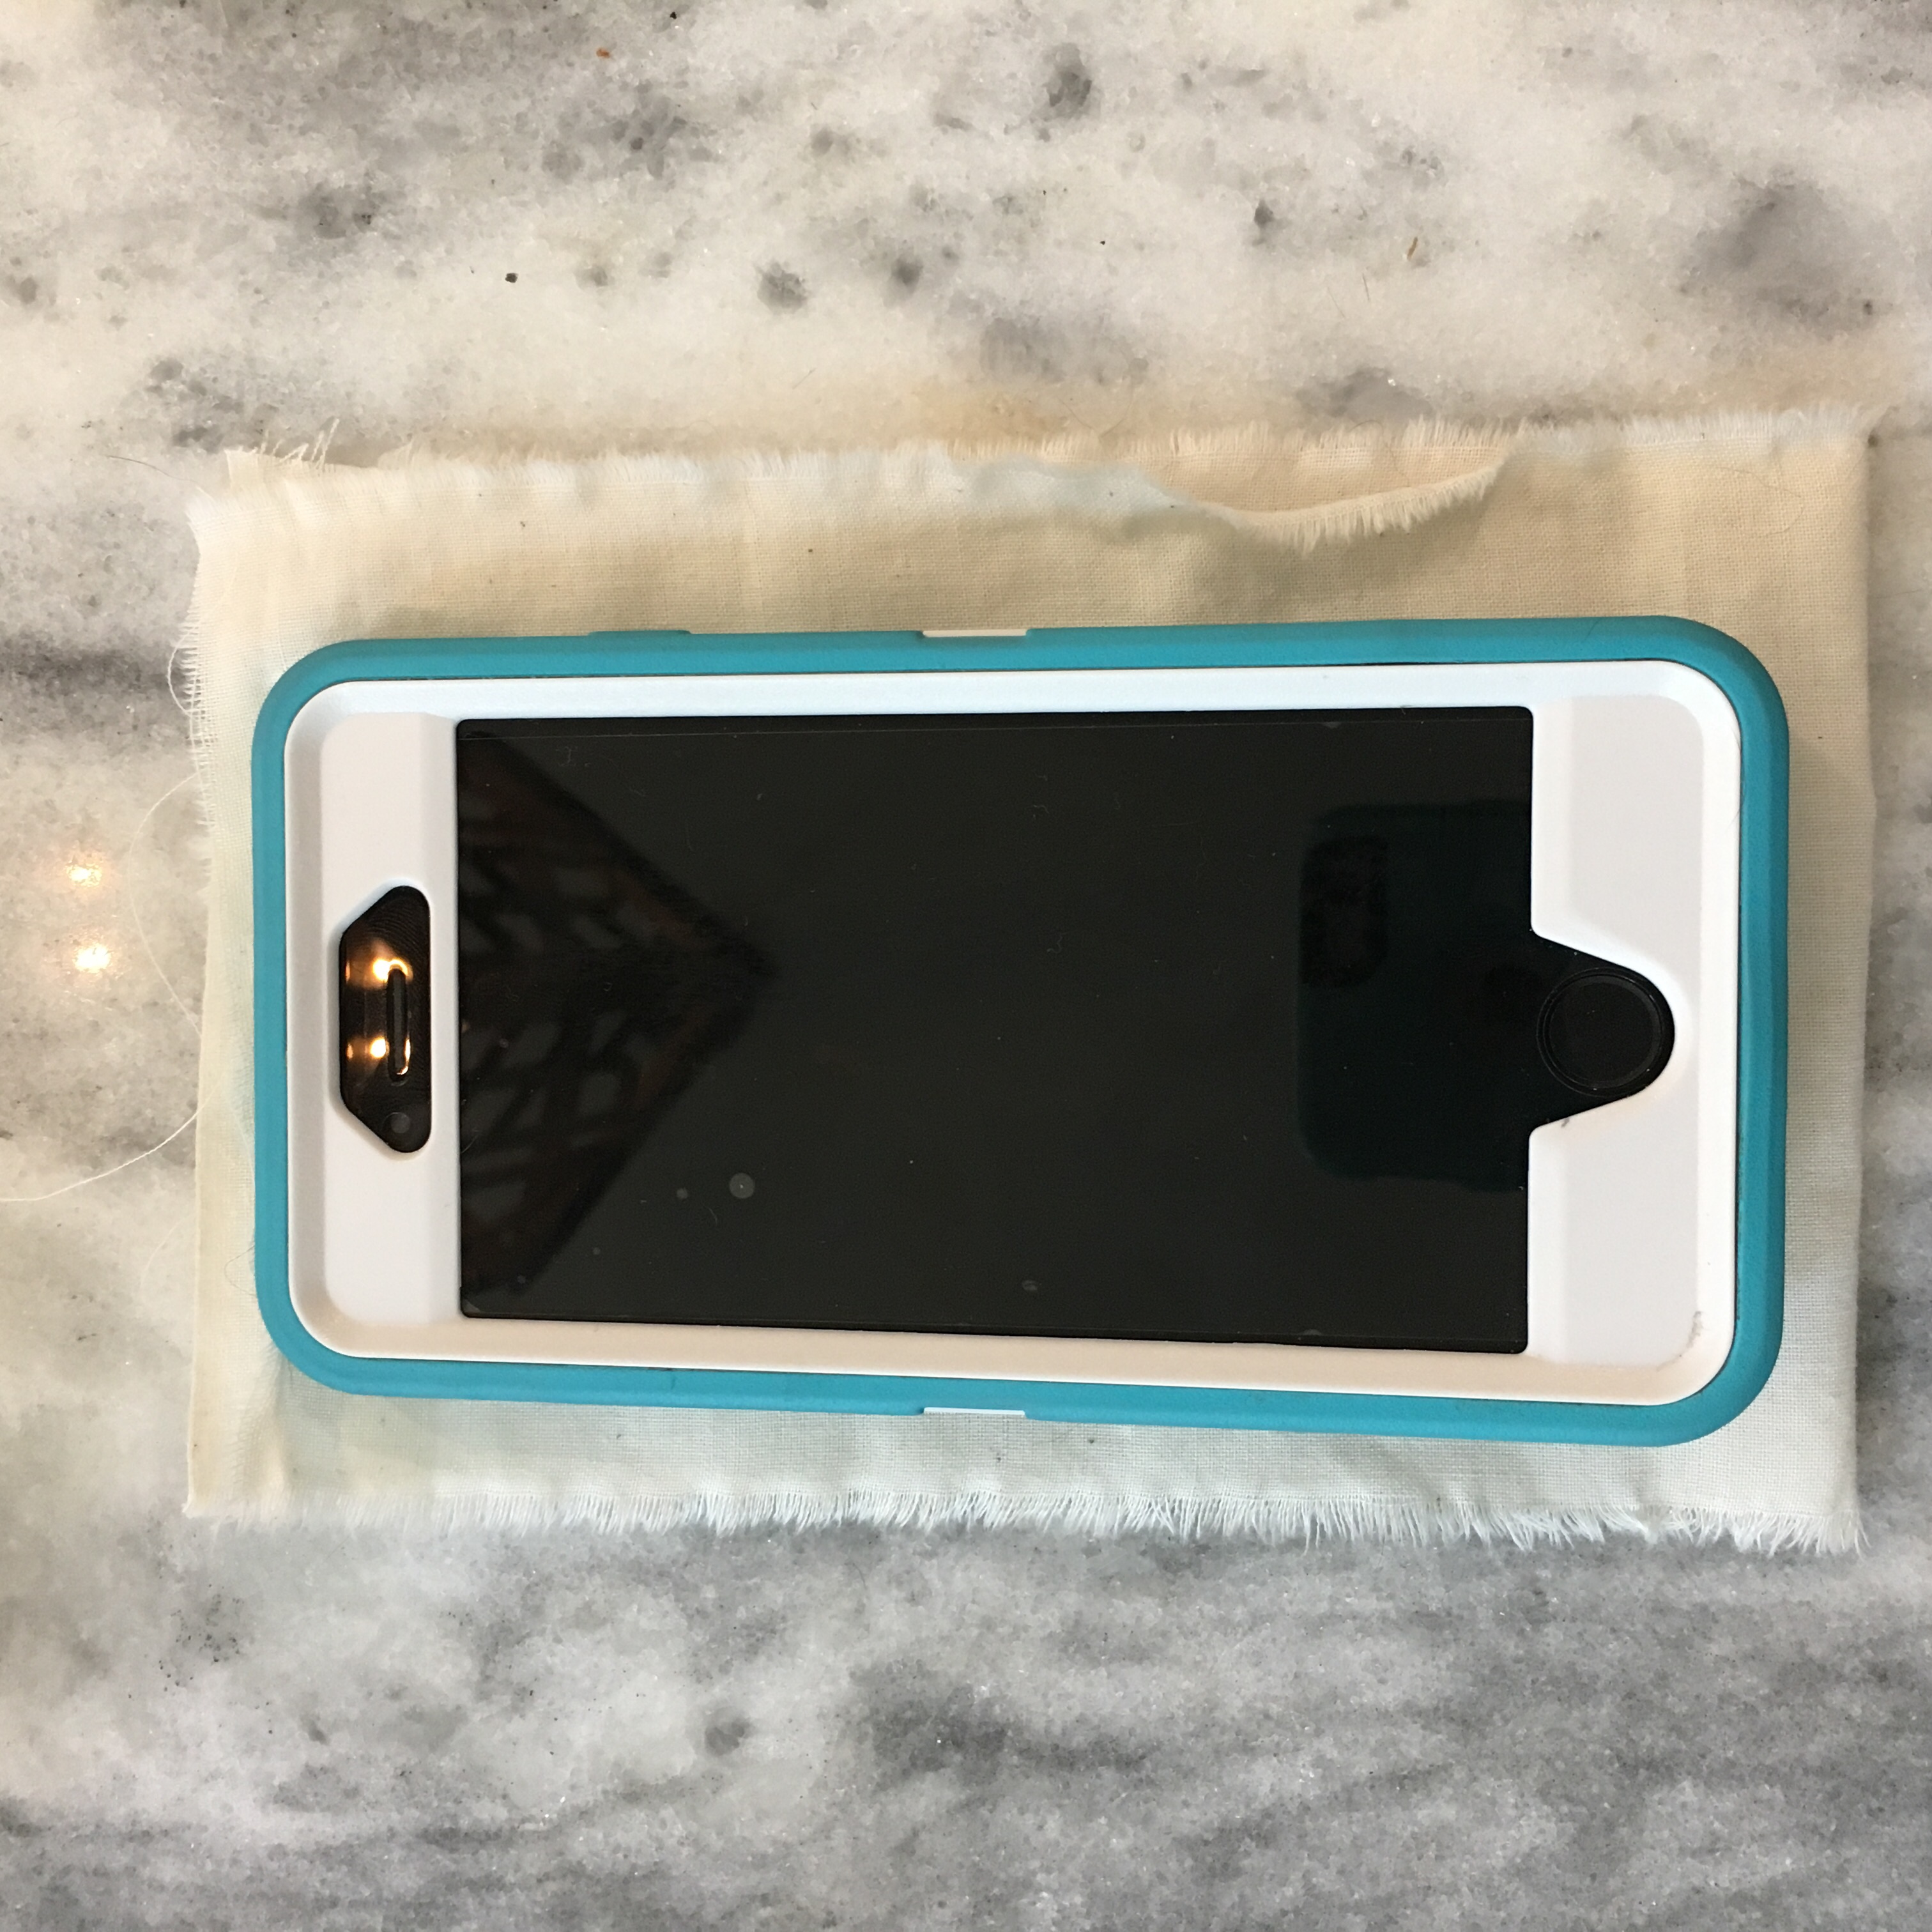
To make the pocket, cut a piece of fabric about 1 1/2” wider than your phone, and twice the length plus 2”.
Measuring fabric for pocket
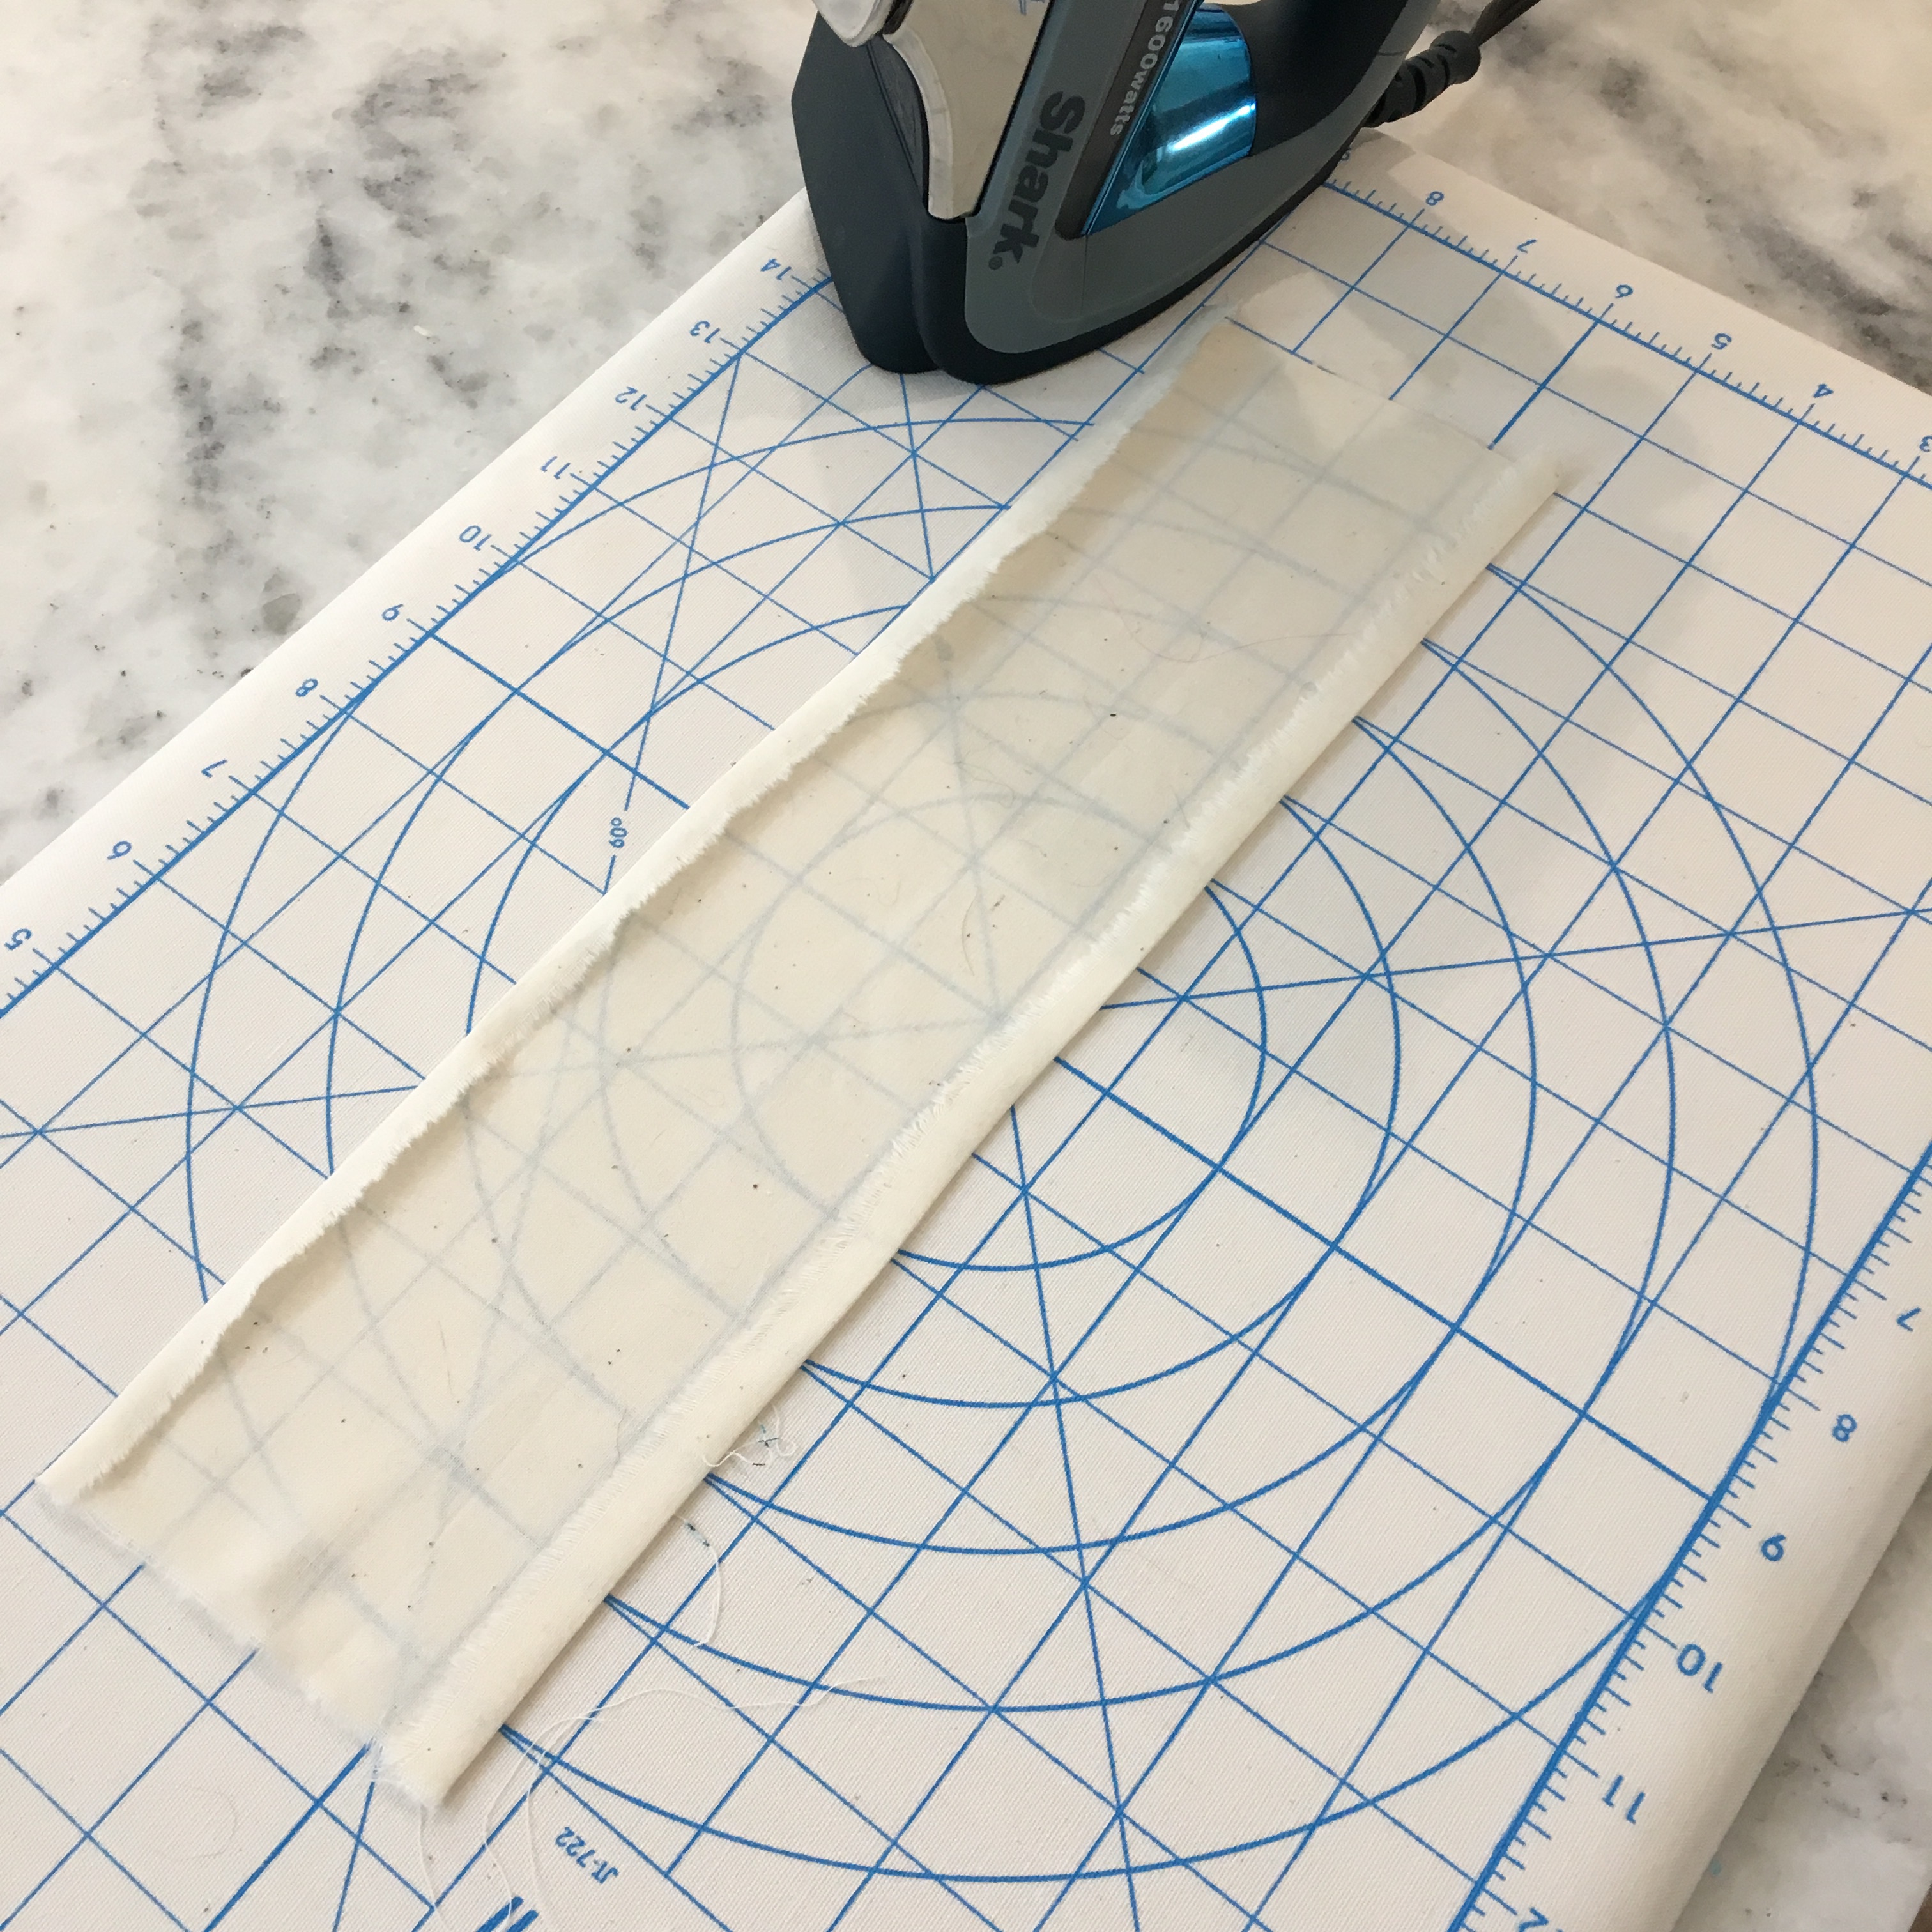
Iron about 3/8” up the long sides of the fabric.
Iron folds
Put on the garment and mark where you want your pocket opening. Cut a slit the width of the ironed fabric.
Cut a slit in the garment (measure twice, cut once!)
Turn the garment inside out and pin the right sides of the pocket to the right sides of the cut.
Pin the pocket to the garment
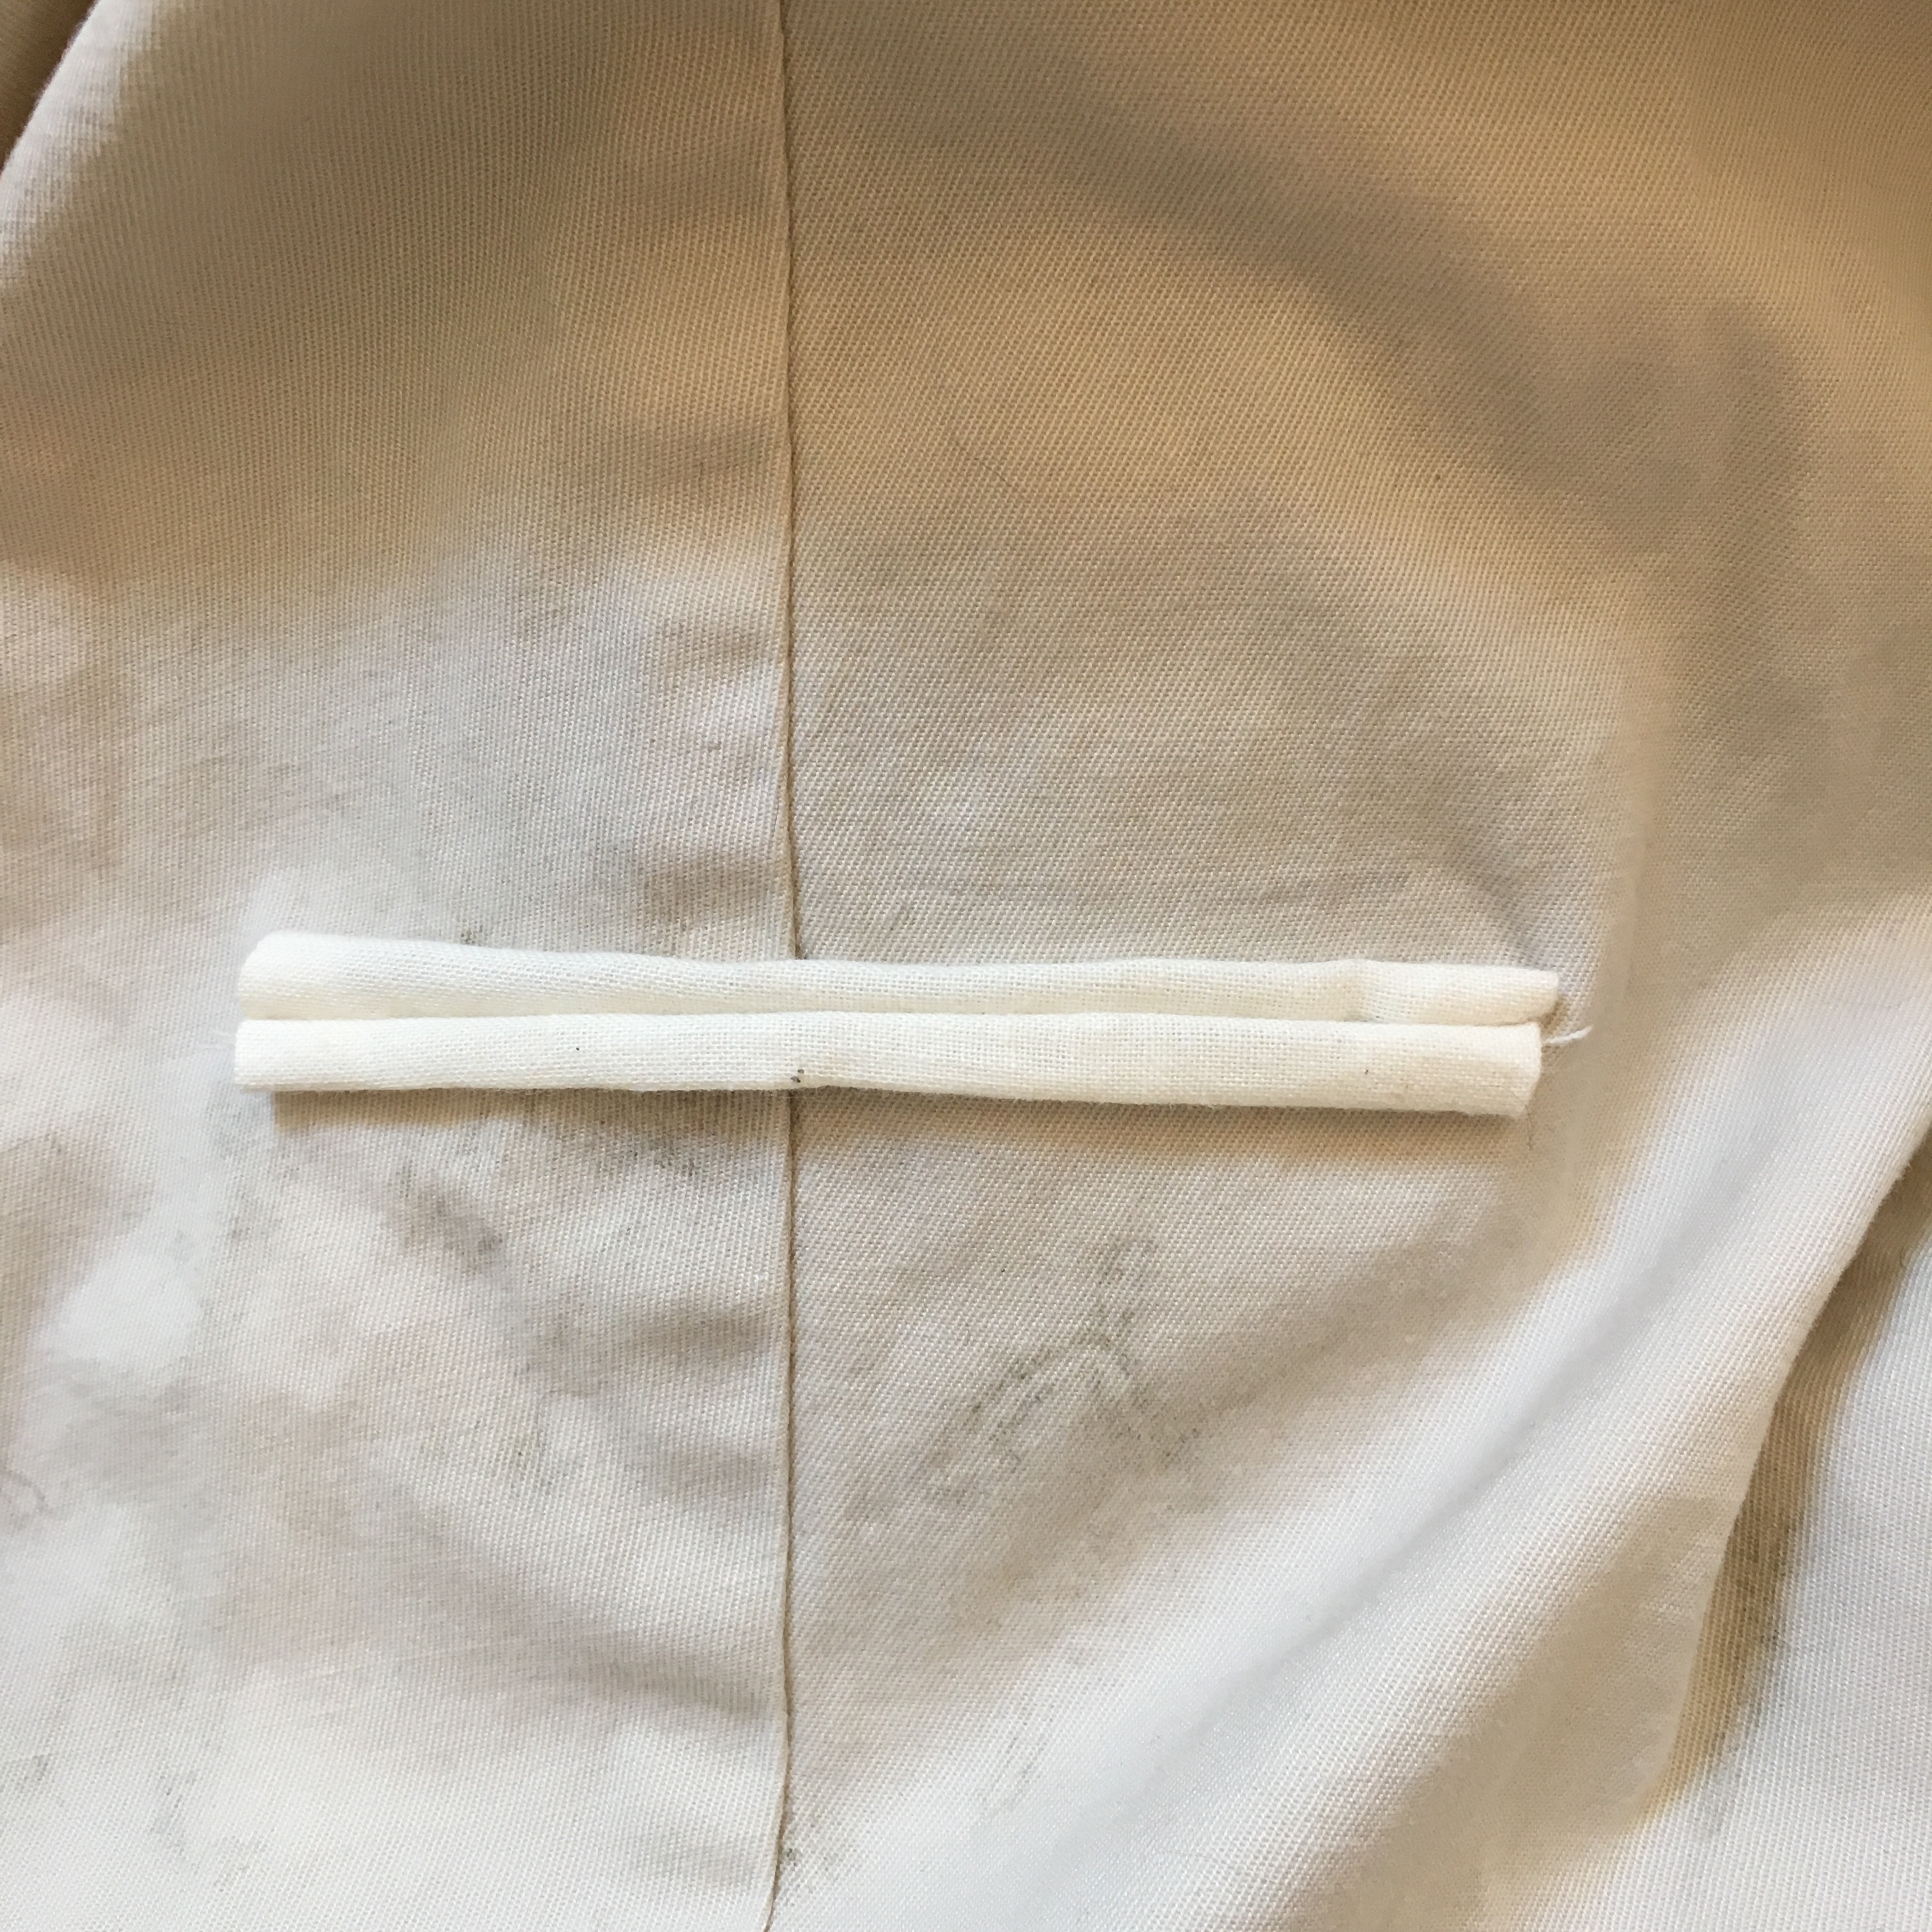
I used a whip stitch to sew the edge all the way around. Remove the pins, and turn the garment right side out and tuck in the pocket. Lay the pocket flat and adjust the pocket fabric to evenly fold around the cut (note, the garment fabric should not fold, just the pocket material).
Pocket material adjusted
I used a hidden stitch or hem stitch to attach the edges of the pocket material all away around. Make sure to add extra stitches at the ends of the cut to reinforce. Turn the garment inside out and sew the edges of the pocket closed. I used a whip stitch again. I saved this part until last because it is easier to adjust the folds with the sides of the pocket unsewn.
Sew up sides of the pocket
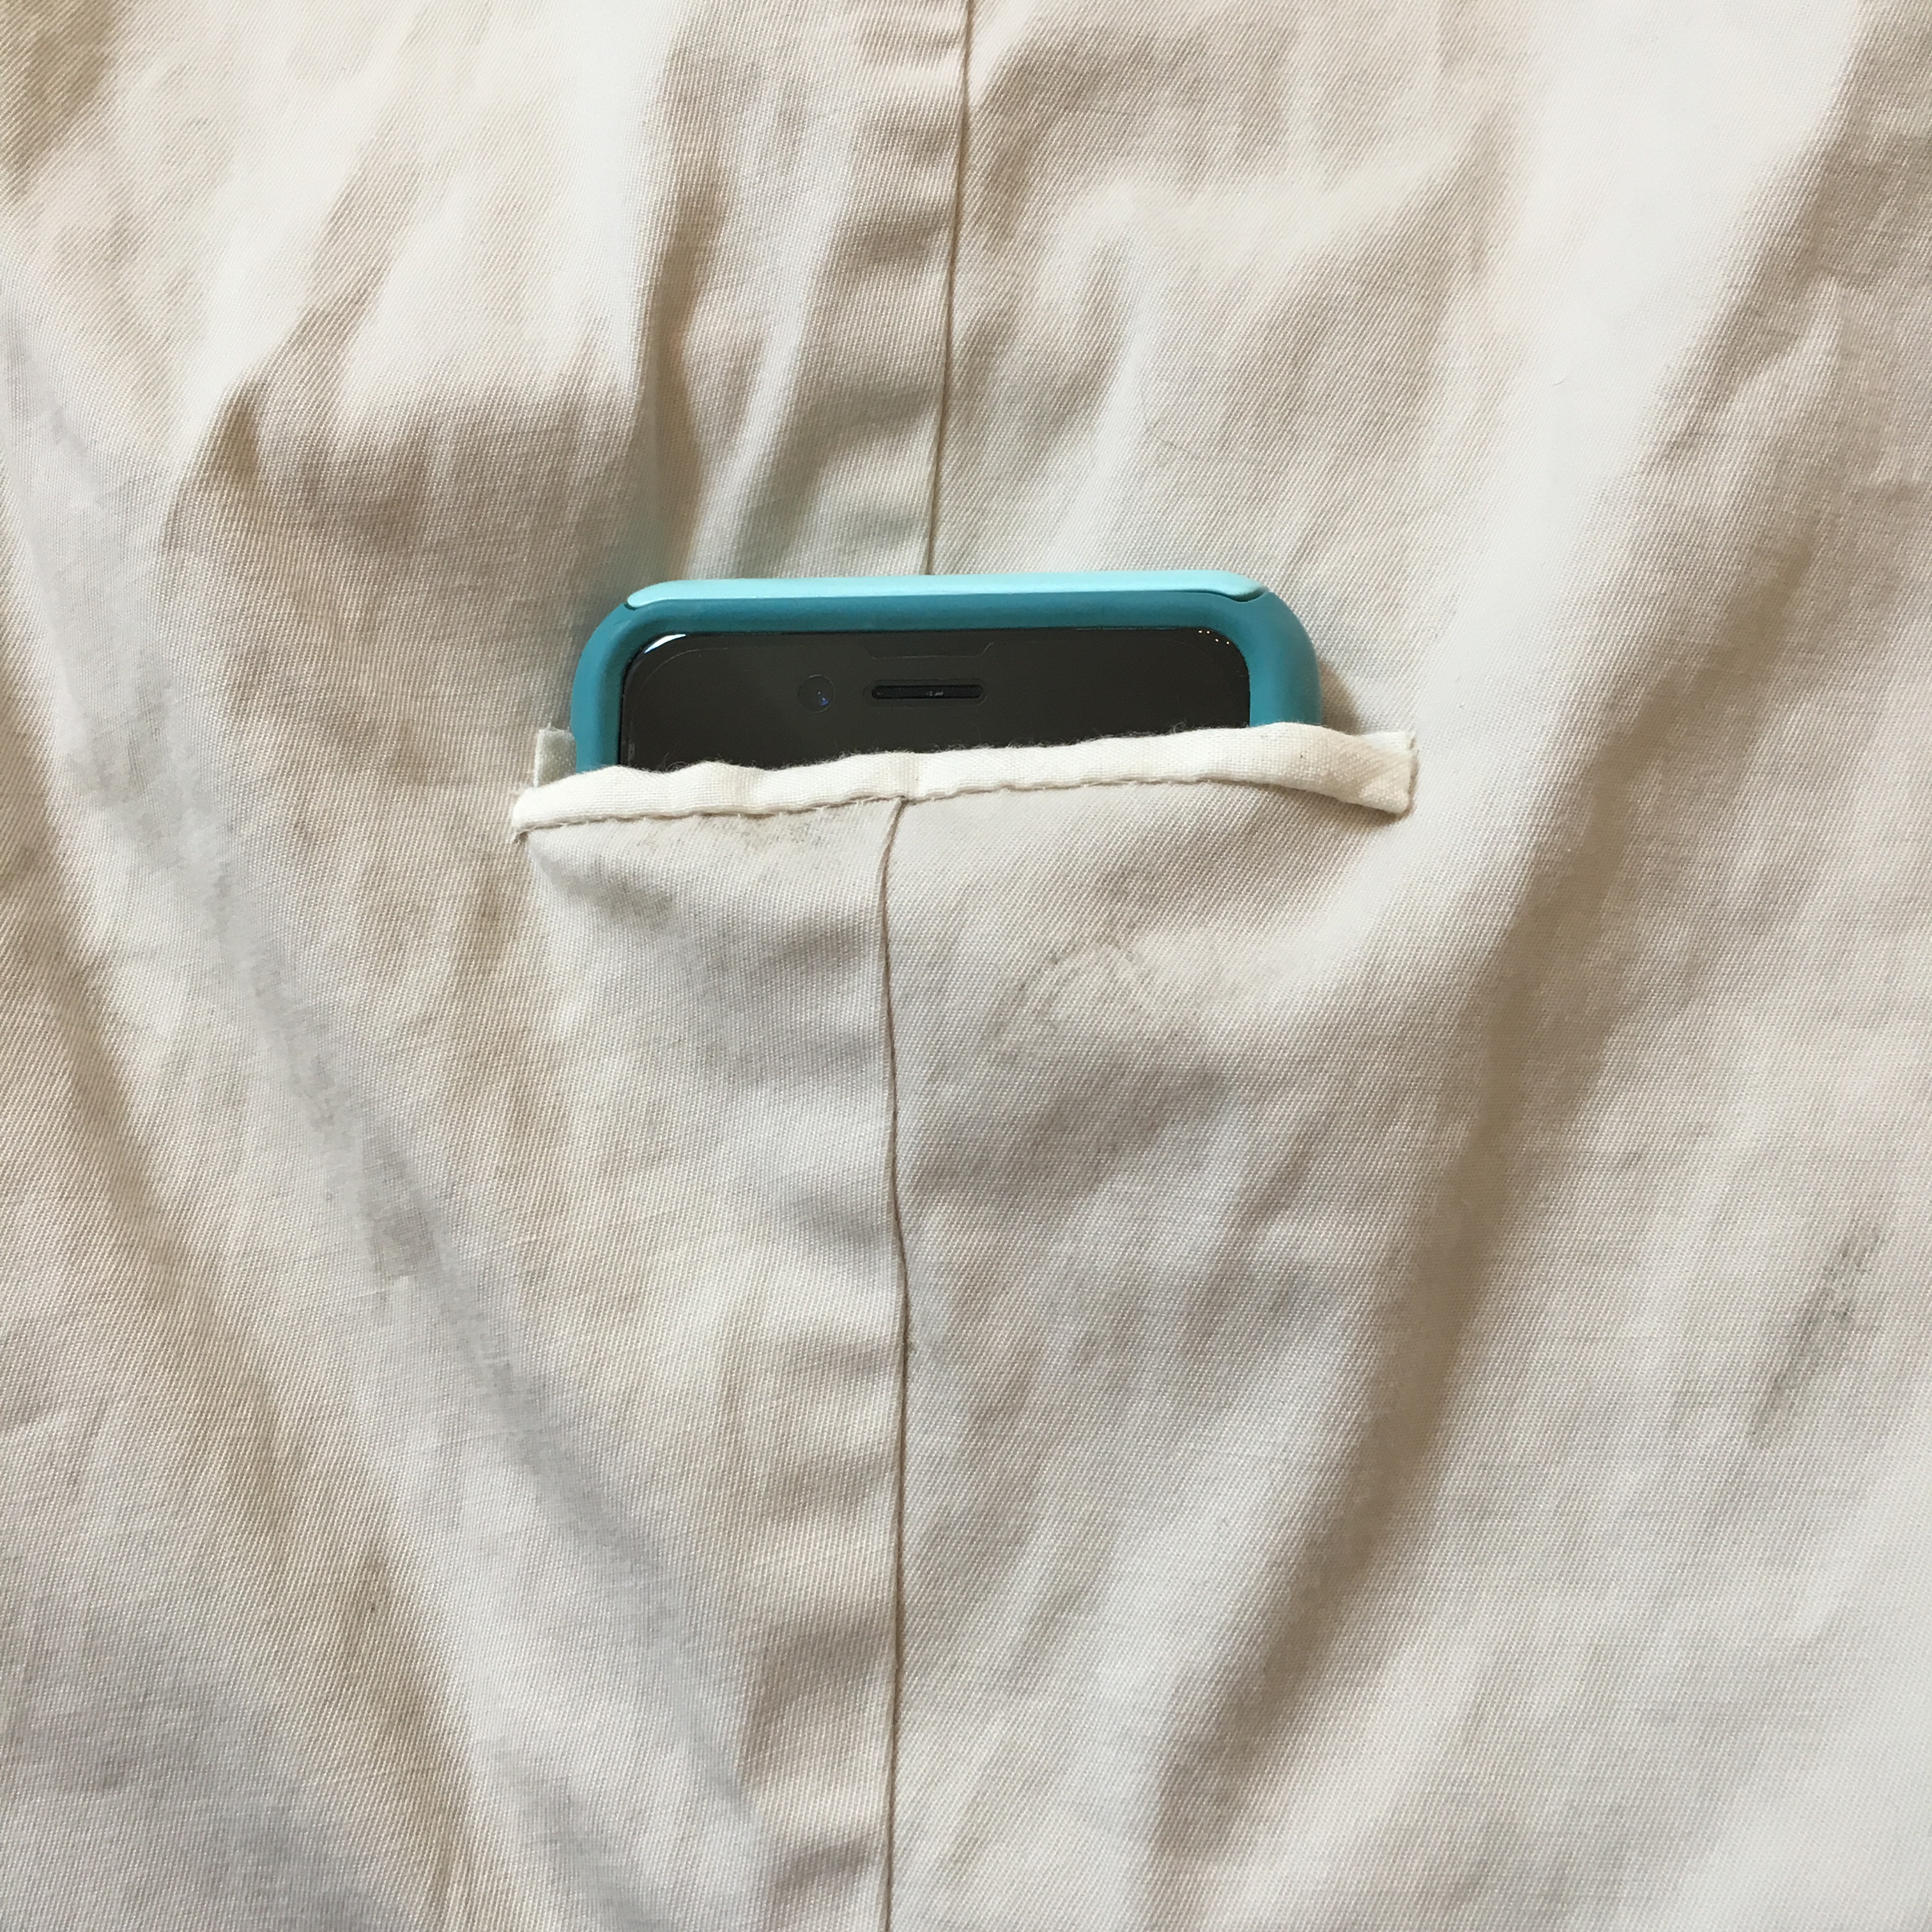
Yay! New functional pocket!
Added phone pocket
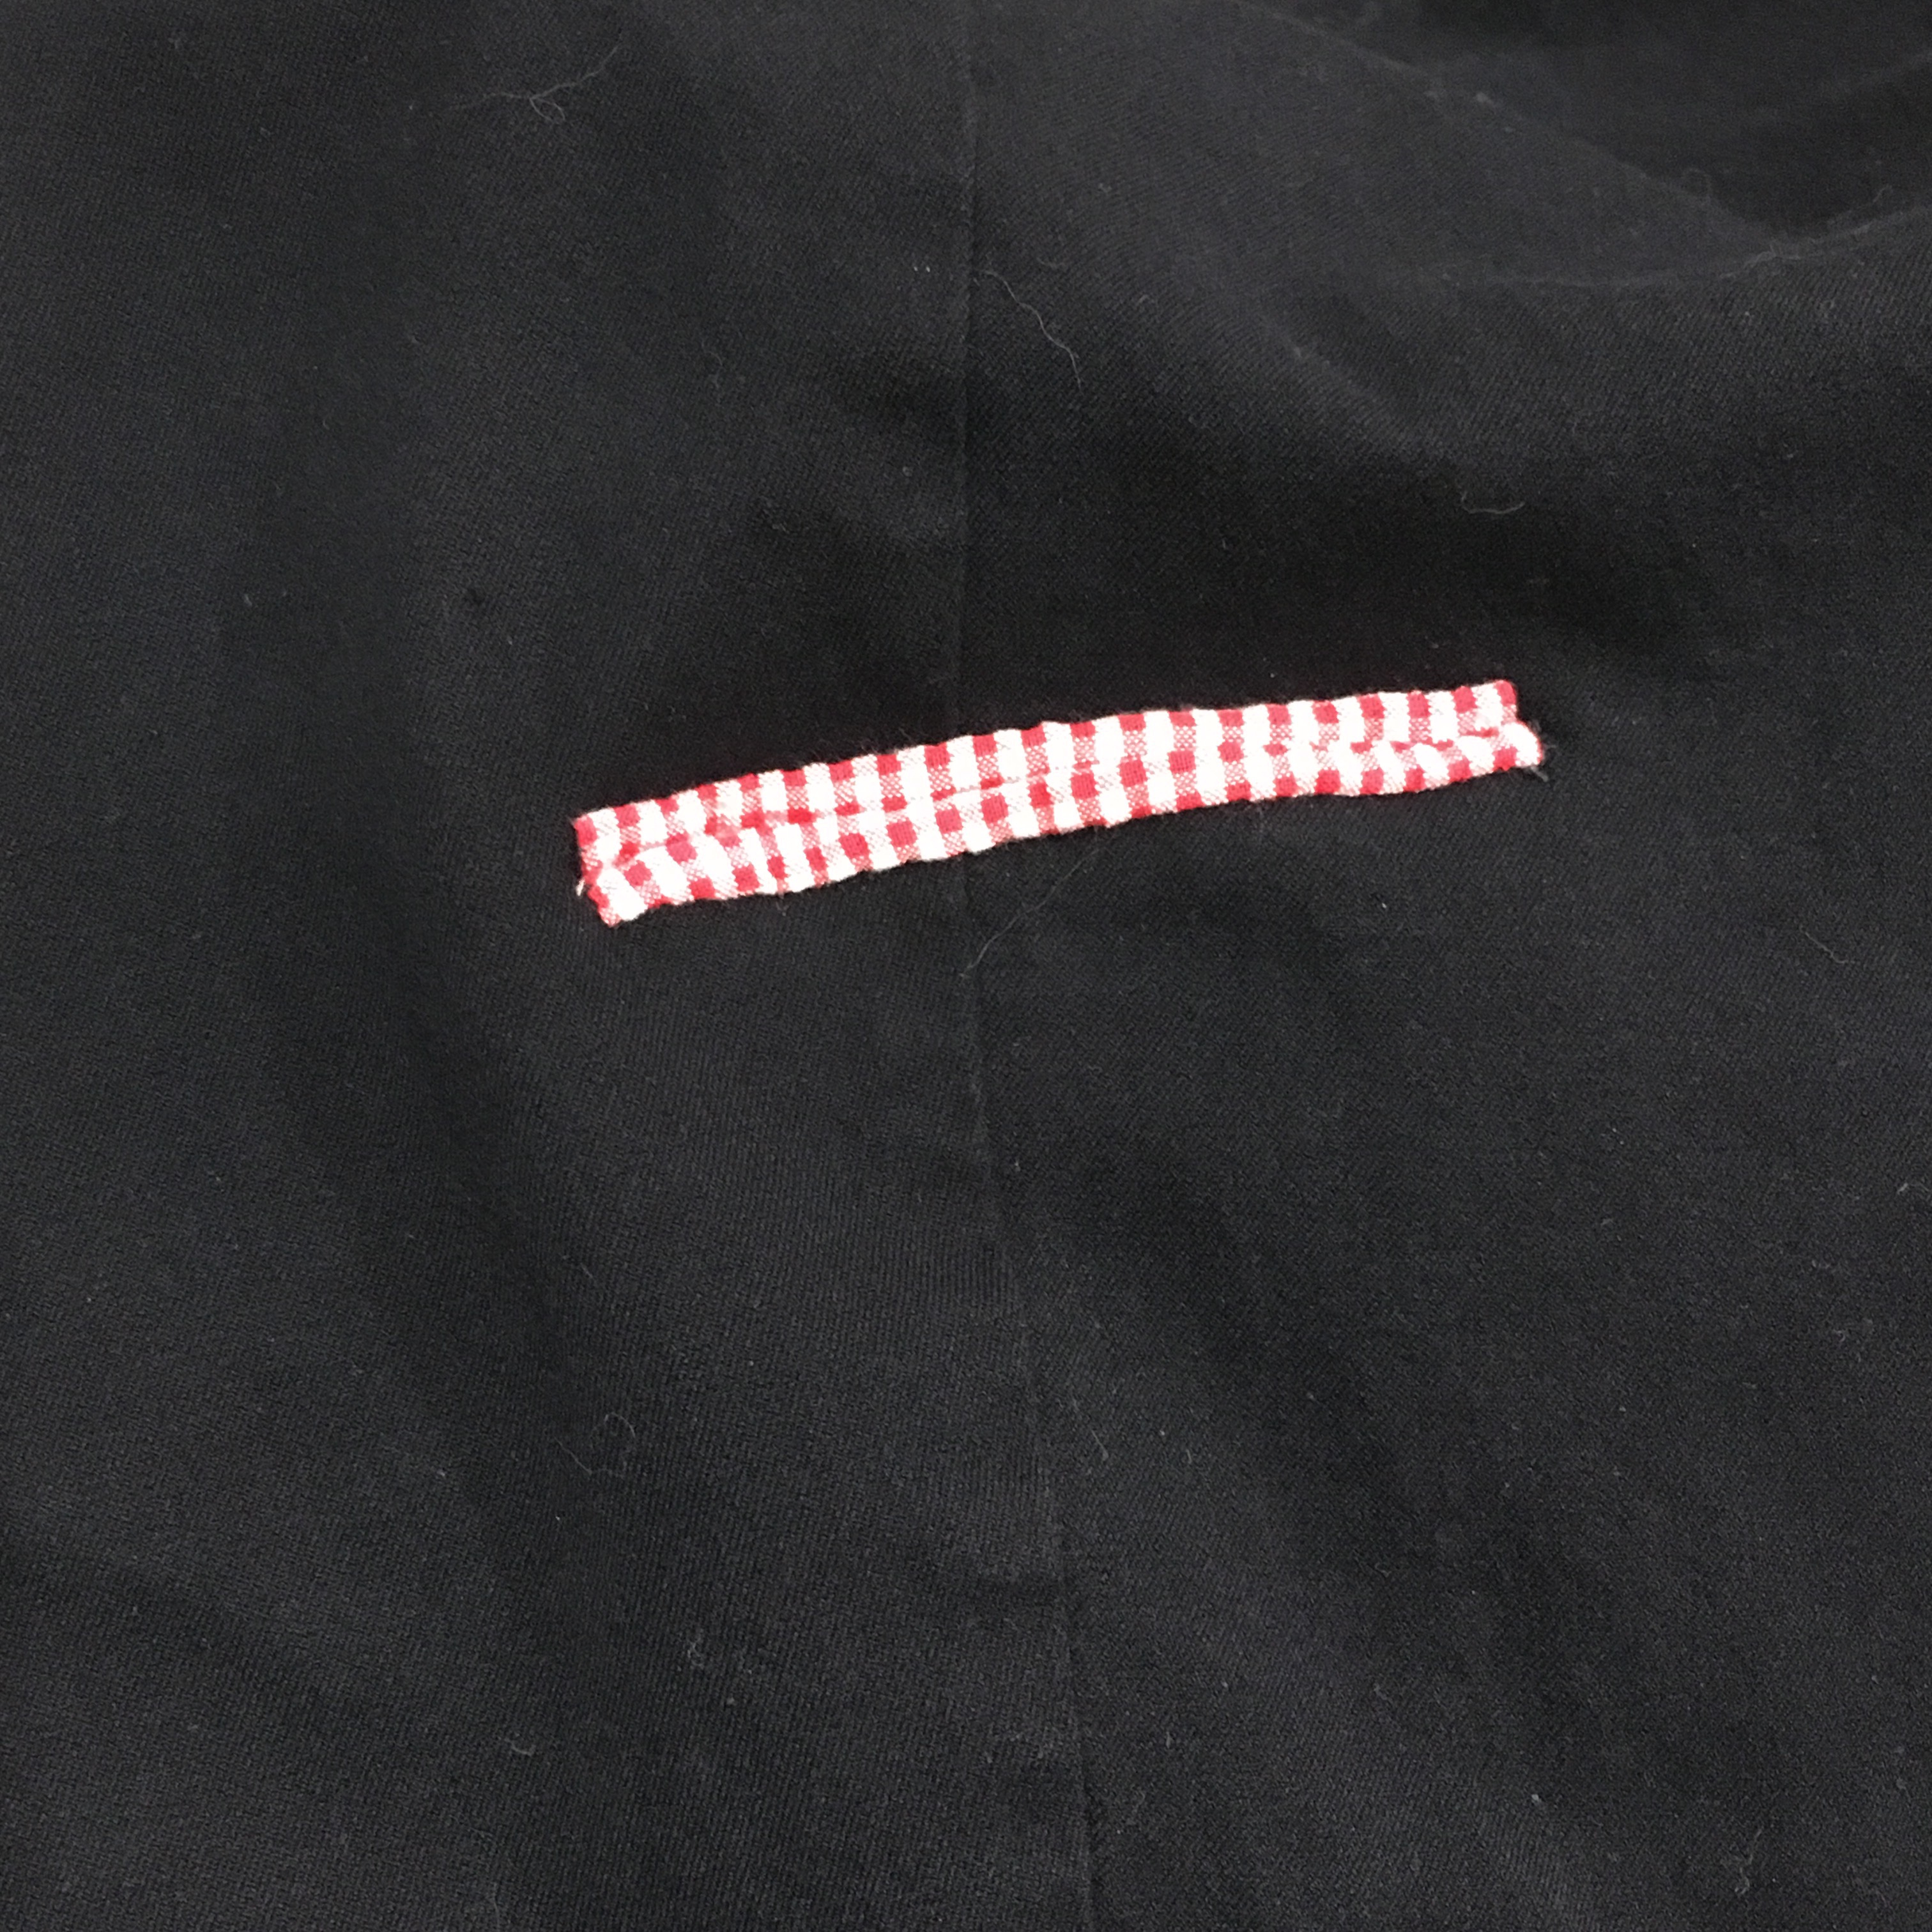
If you want a bit of pop, you can use a contrasting fabric.
Contrasting fabric pocket
And yes, I hand sewed the whole thing. I like hand sewing; I can stitch while sitting in my chair in the living room with my family, and I find it relaxing.