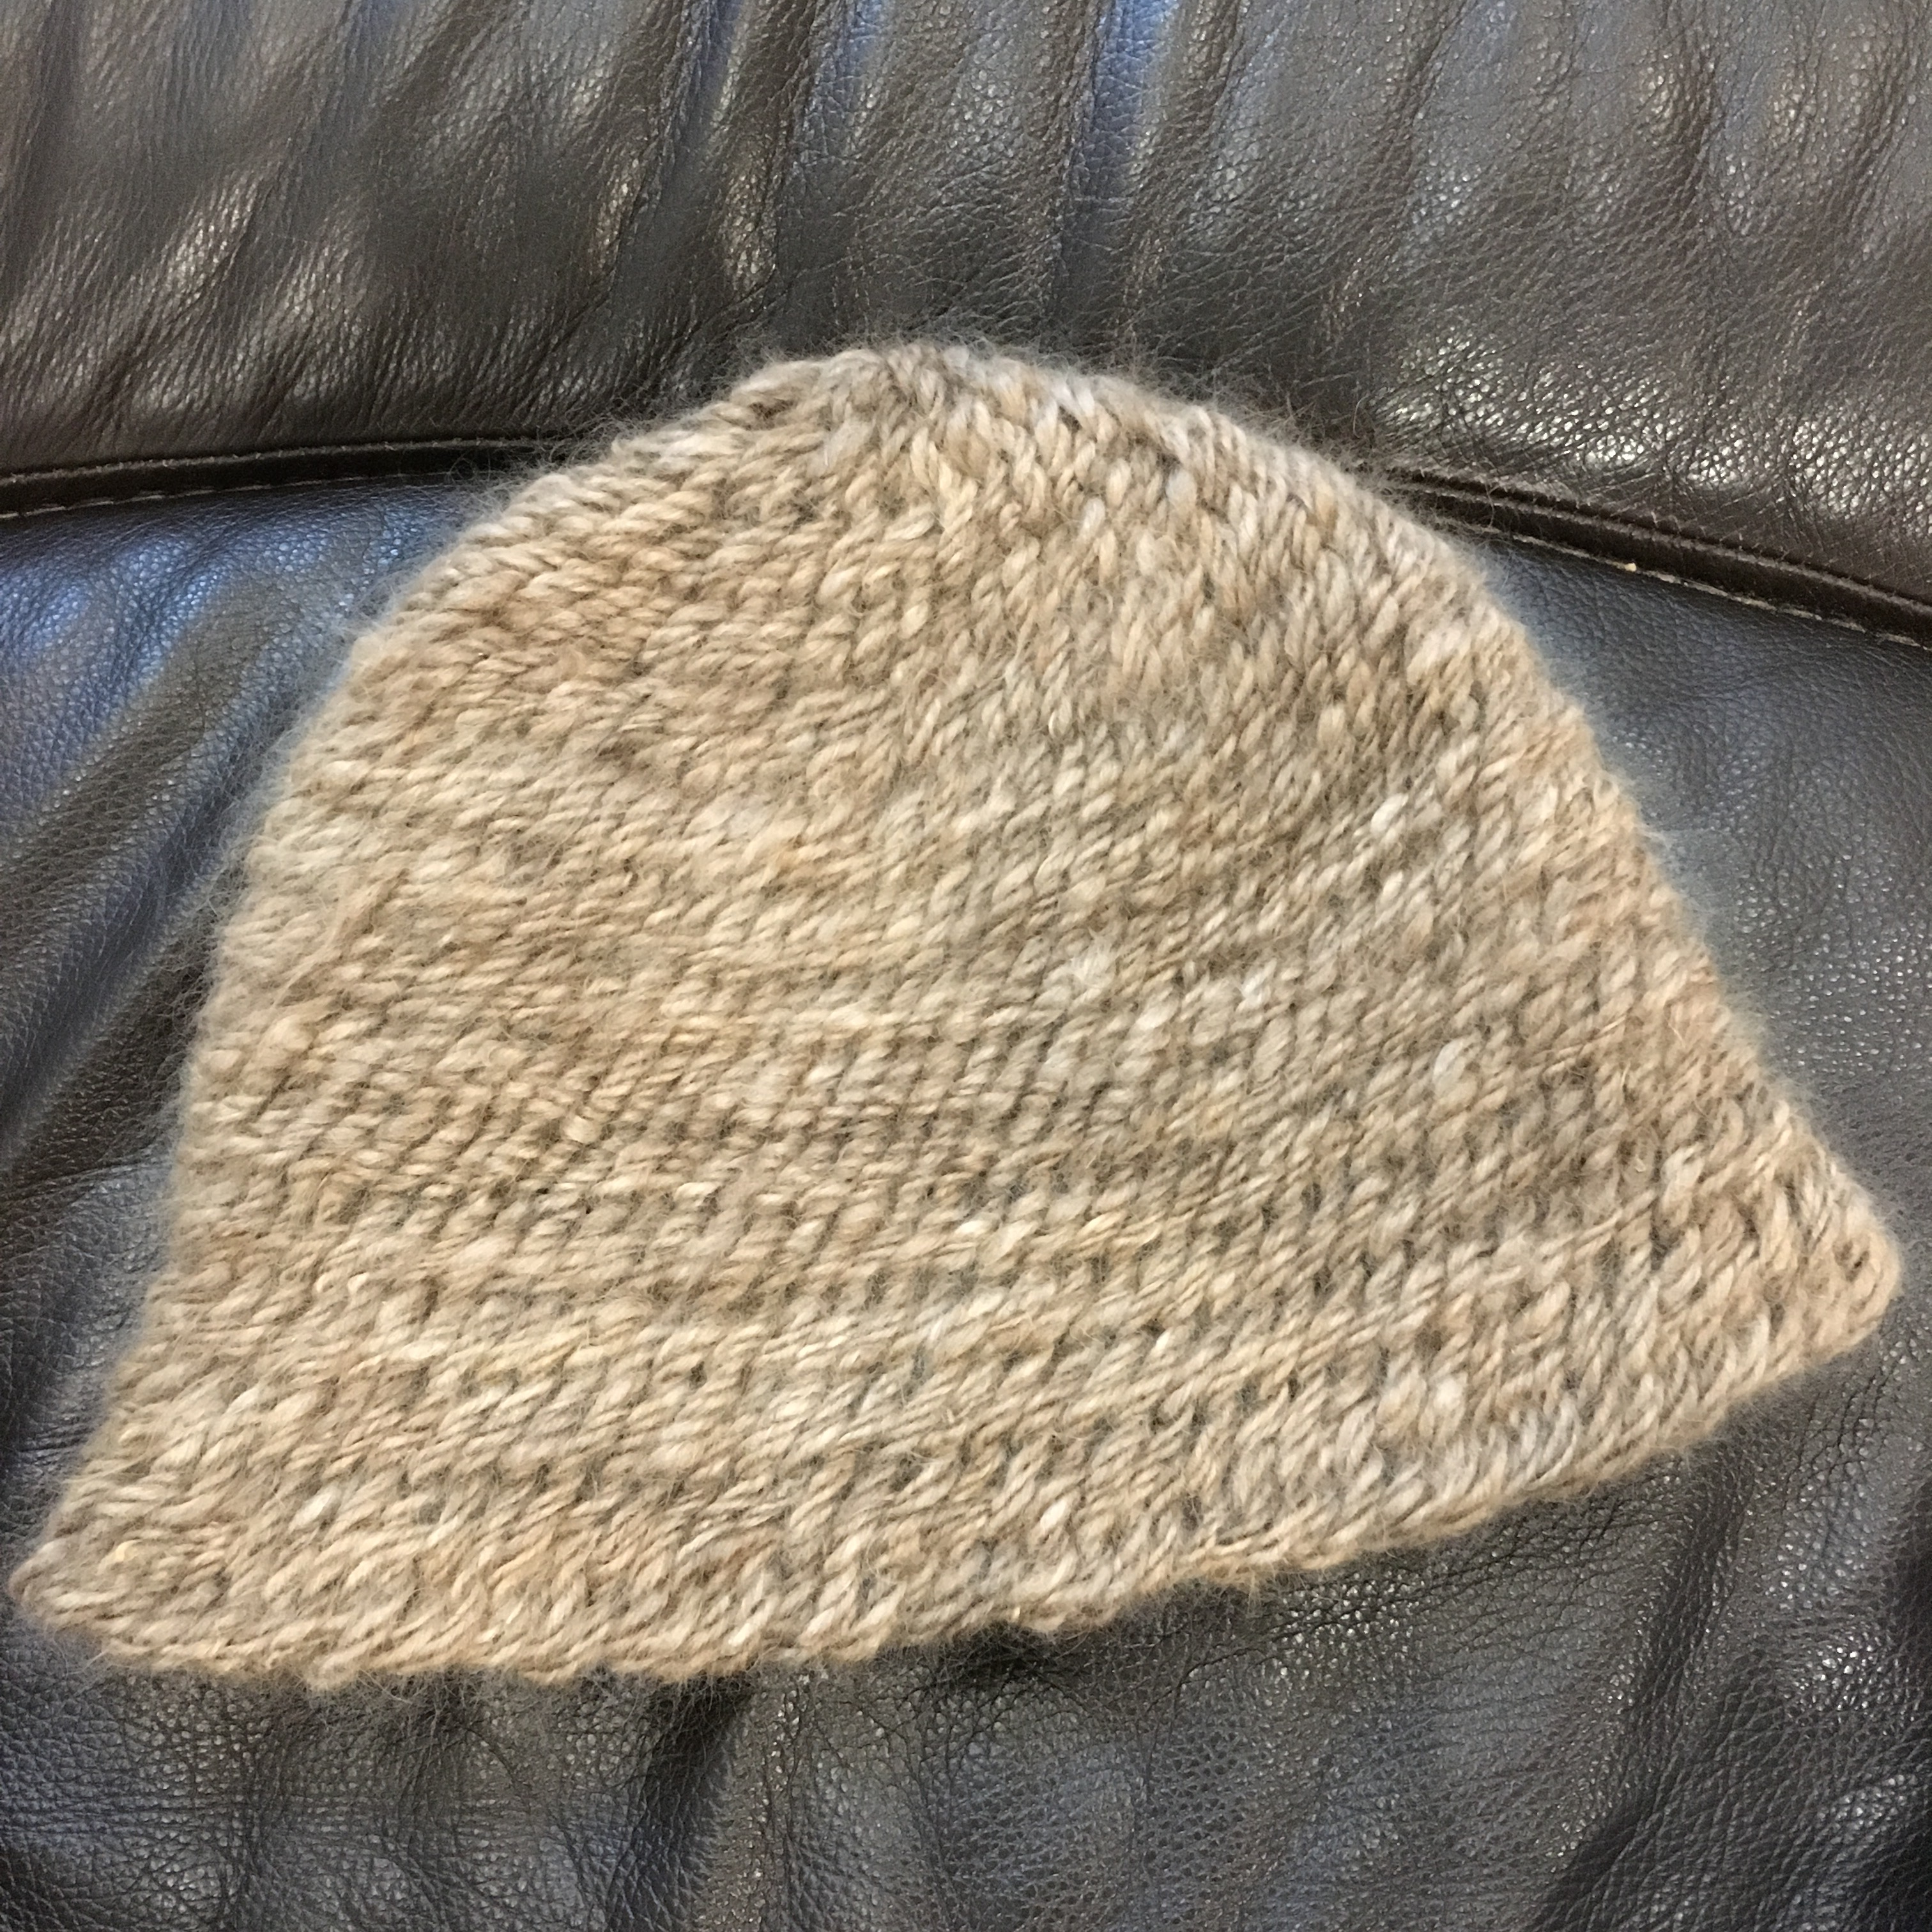
100% mohair, natural color (no dye), hand spun, 3 ply, nålbound with York stitch, cloche style hat.
York stitch hat
I love how the Z twist of the plied yarn goes perfectly with the York stitch so it looks like the twist goes from the crown to the brim. The mohair also has a lovely shine and an epic halo.
My youngest modeling the hat
My youngest wanted to be my hat model this time. The hat is a bit on the big side for her, but it is easier to see the mohair halo when the hat is being worn!
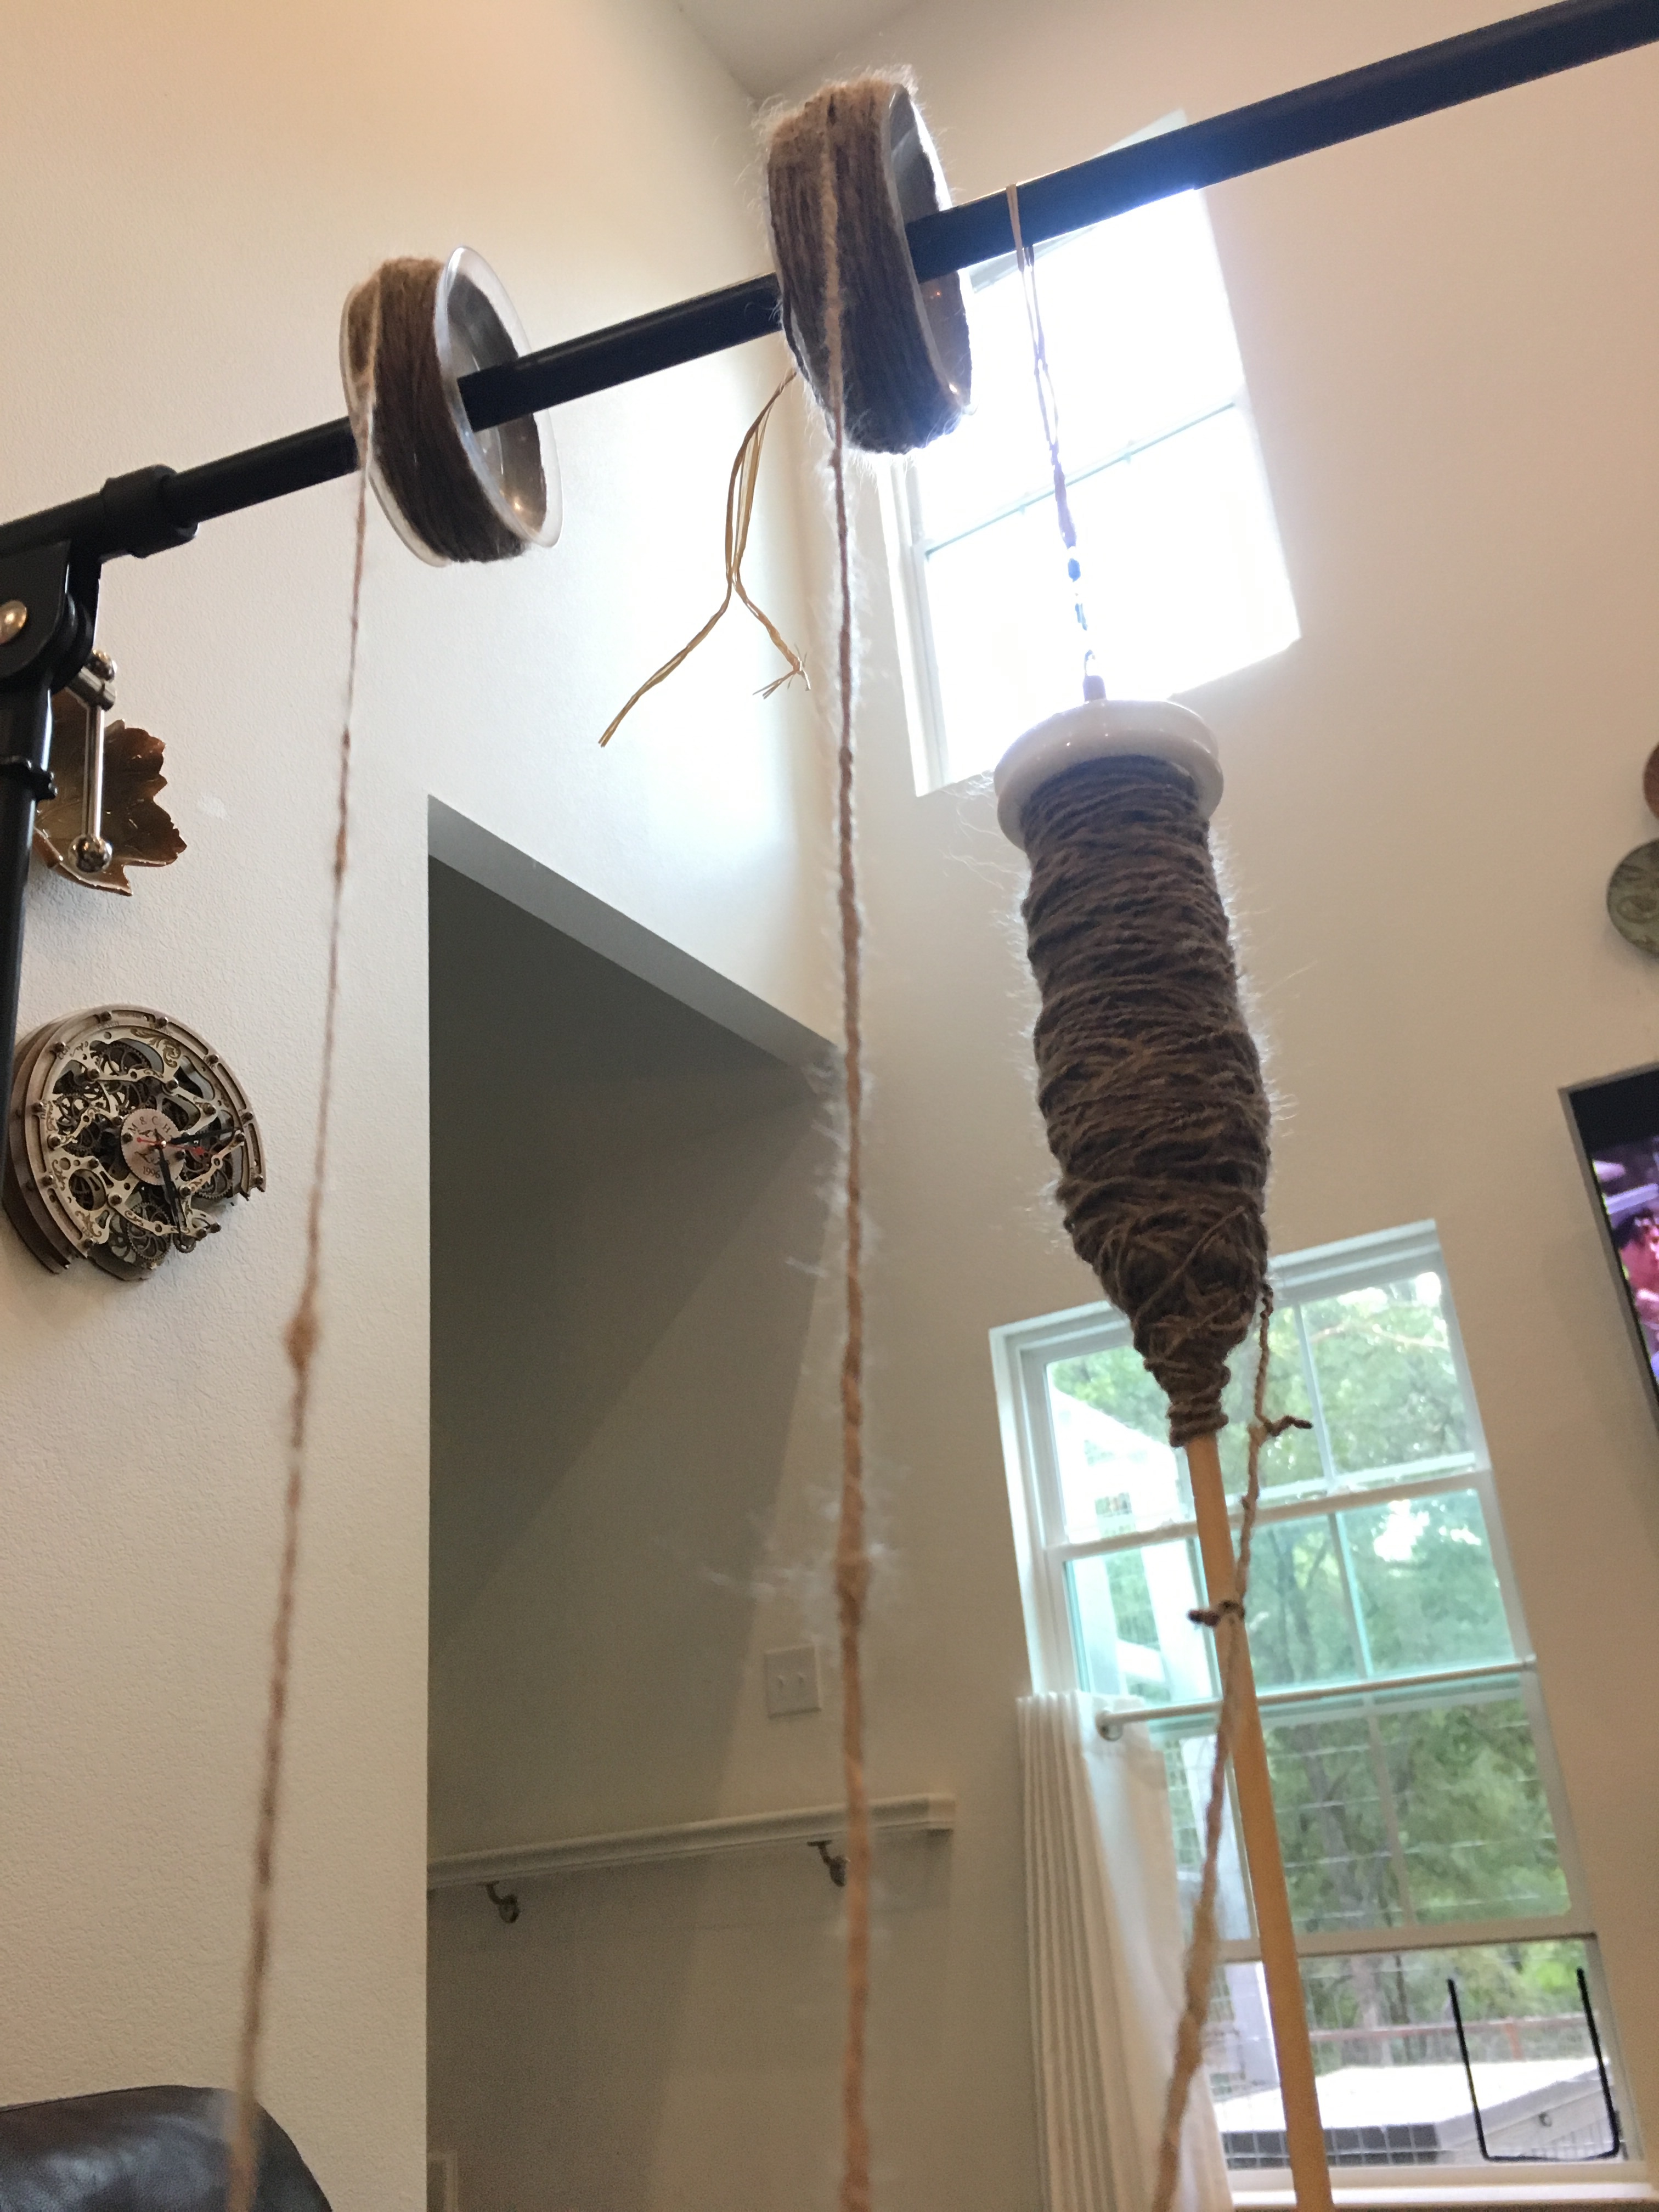
I have six bundles of Rutabaga’s fleece, so I decided to wash three, spin them separately, then make a three ply yarn. I don’t have (and haven’t yet made) a lazy Kate to hold the spools and spindles while I ply, so I hung them up to keep things from tangling. It worked pretty well.
Spools and spindle hanging from a microphone boom stand
I used my Turkish spindle to ply because I left the last third of the single ply on my top whorl spindle. Plying involves twisting two or more strands of single ply yarn together, using the opposite twist. My single ply has an S (counterclockwise) twist, so I plied using a Z (clockwise) twist. Plying is much easier than spinning because there is no drafting! Although I did have to watch for tangles. Having the yarn under tension because the spools were suspended helped. Here is a short video.
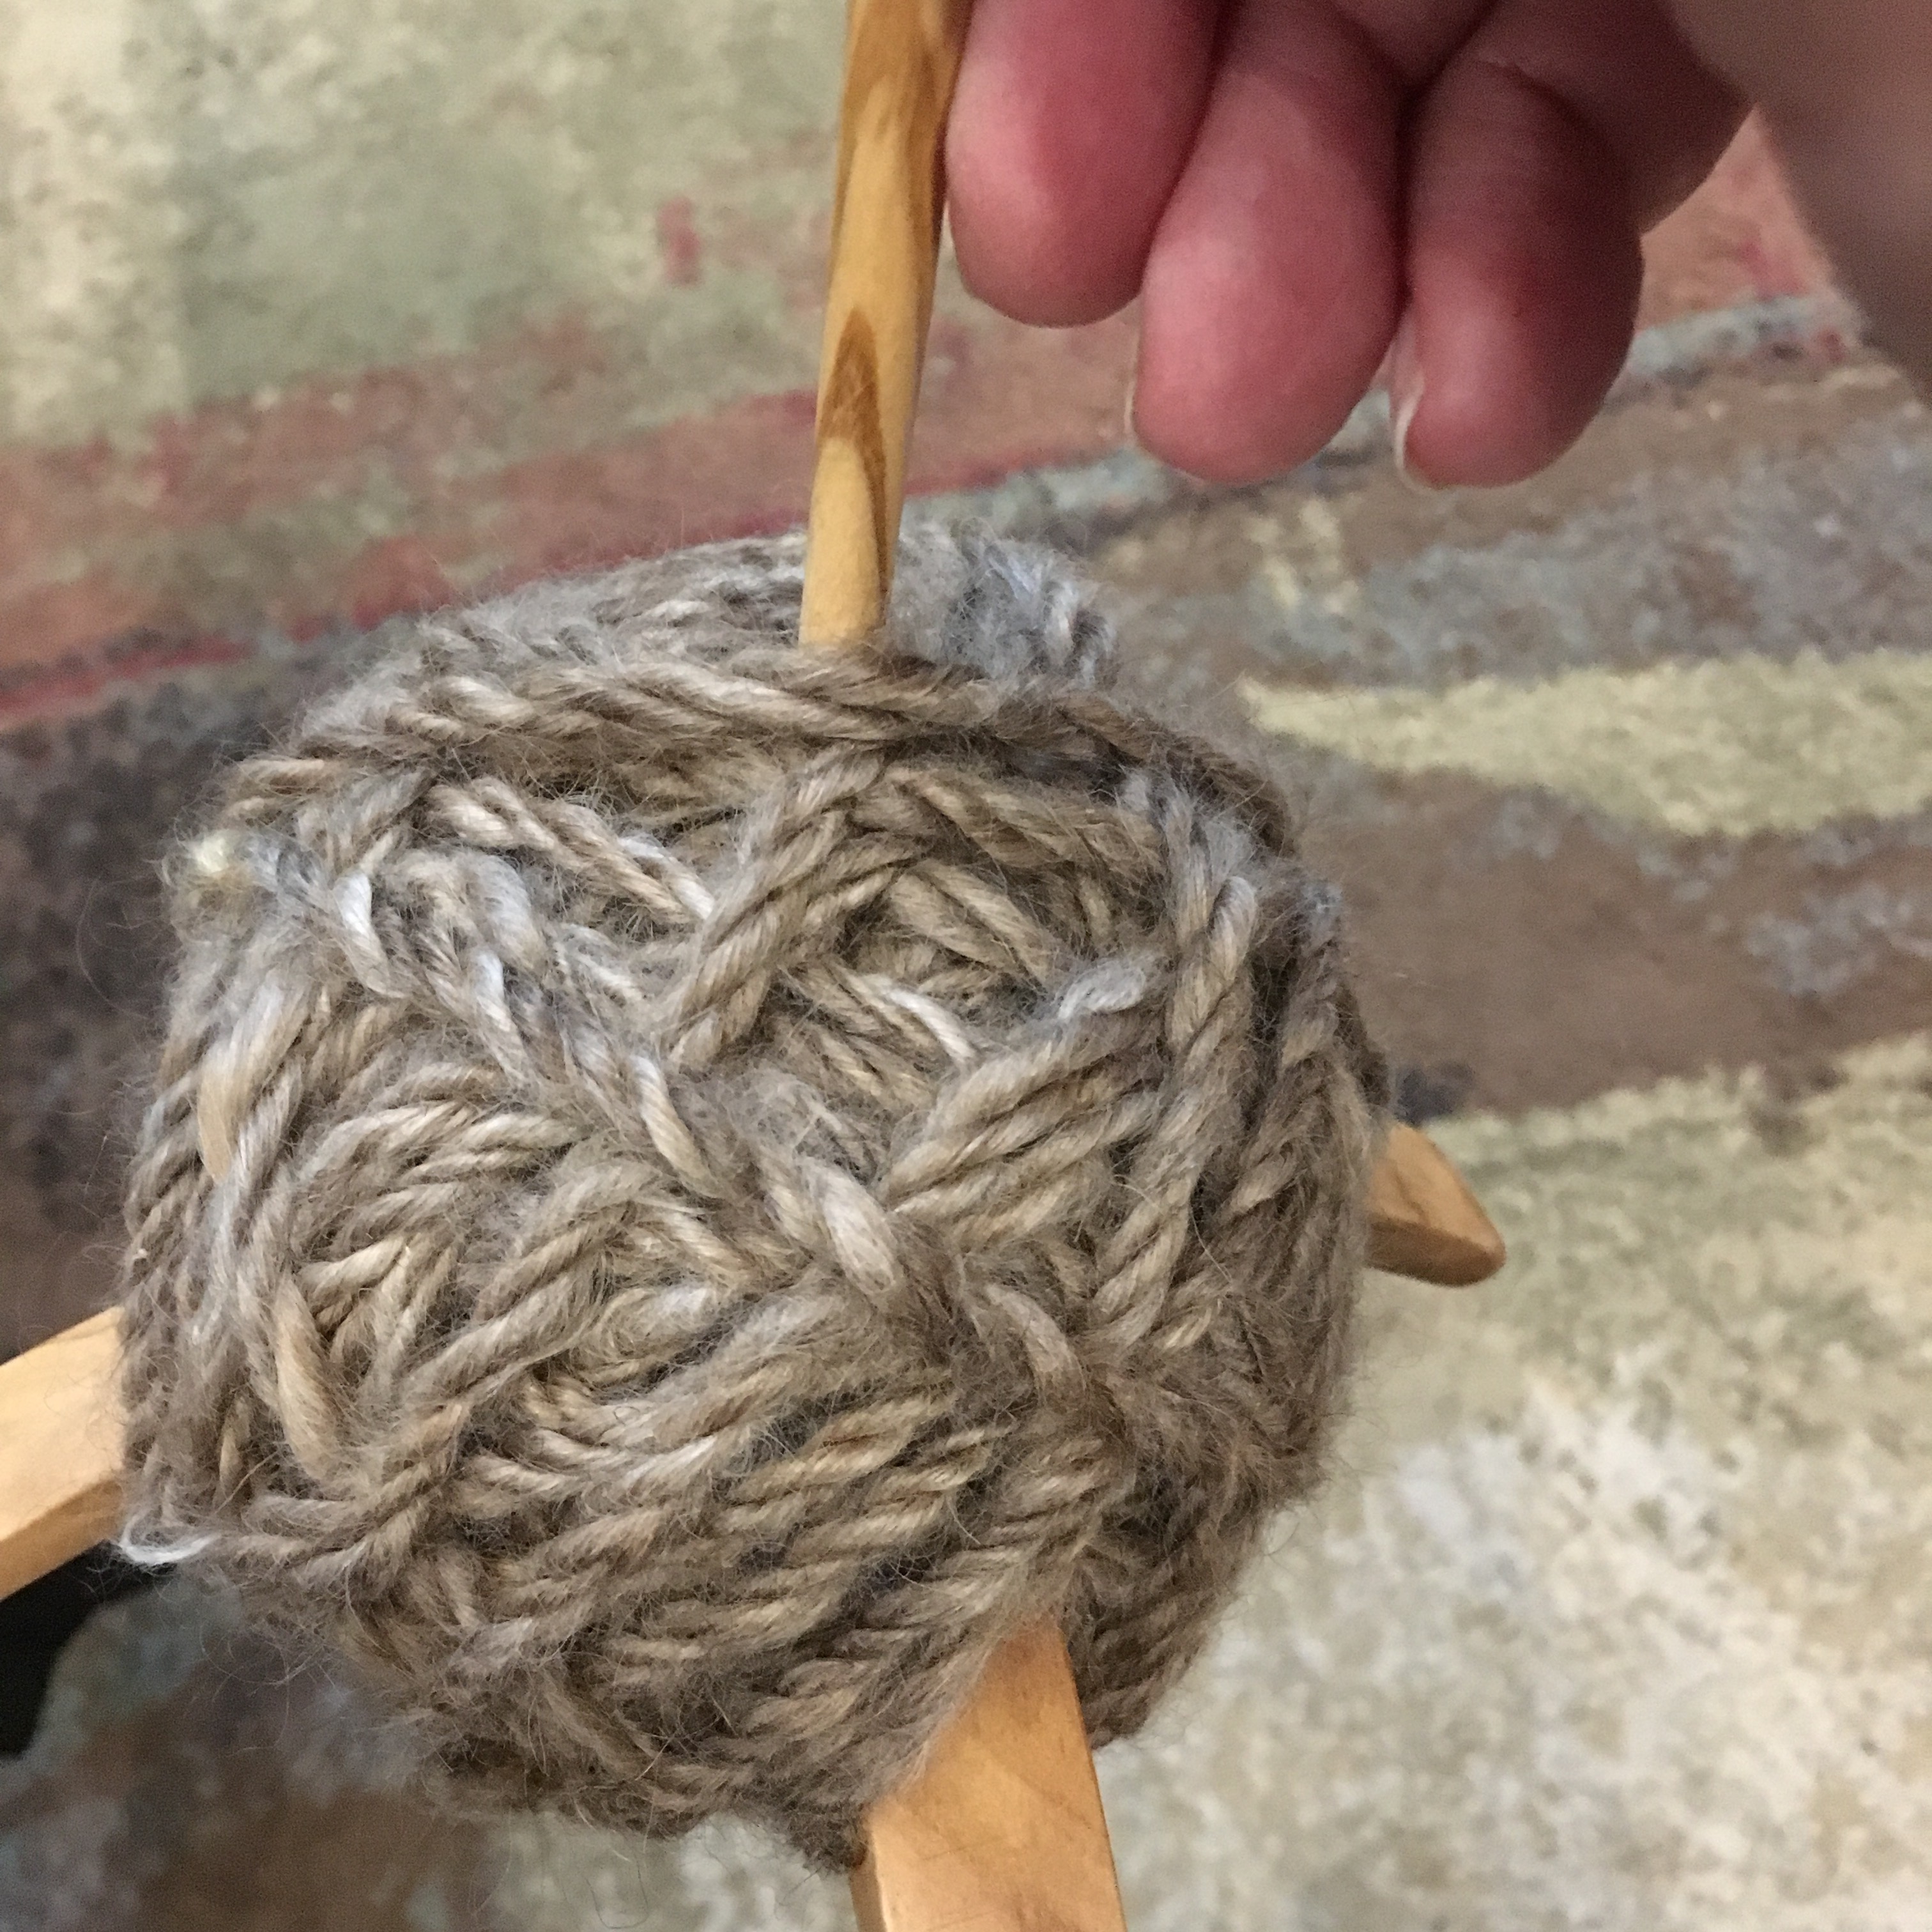
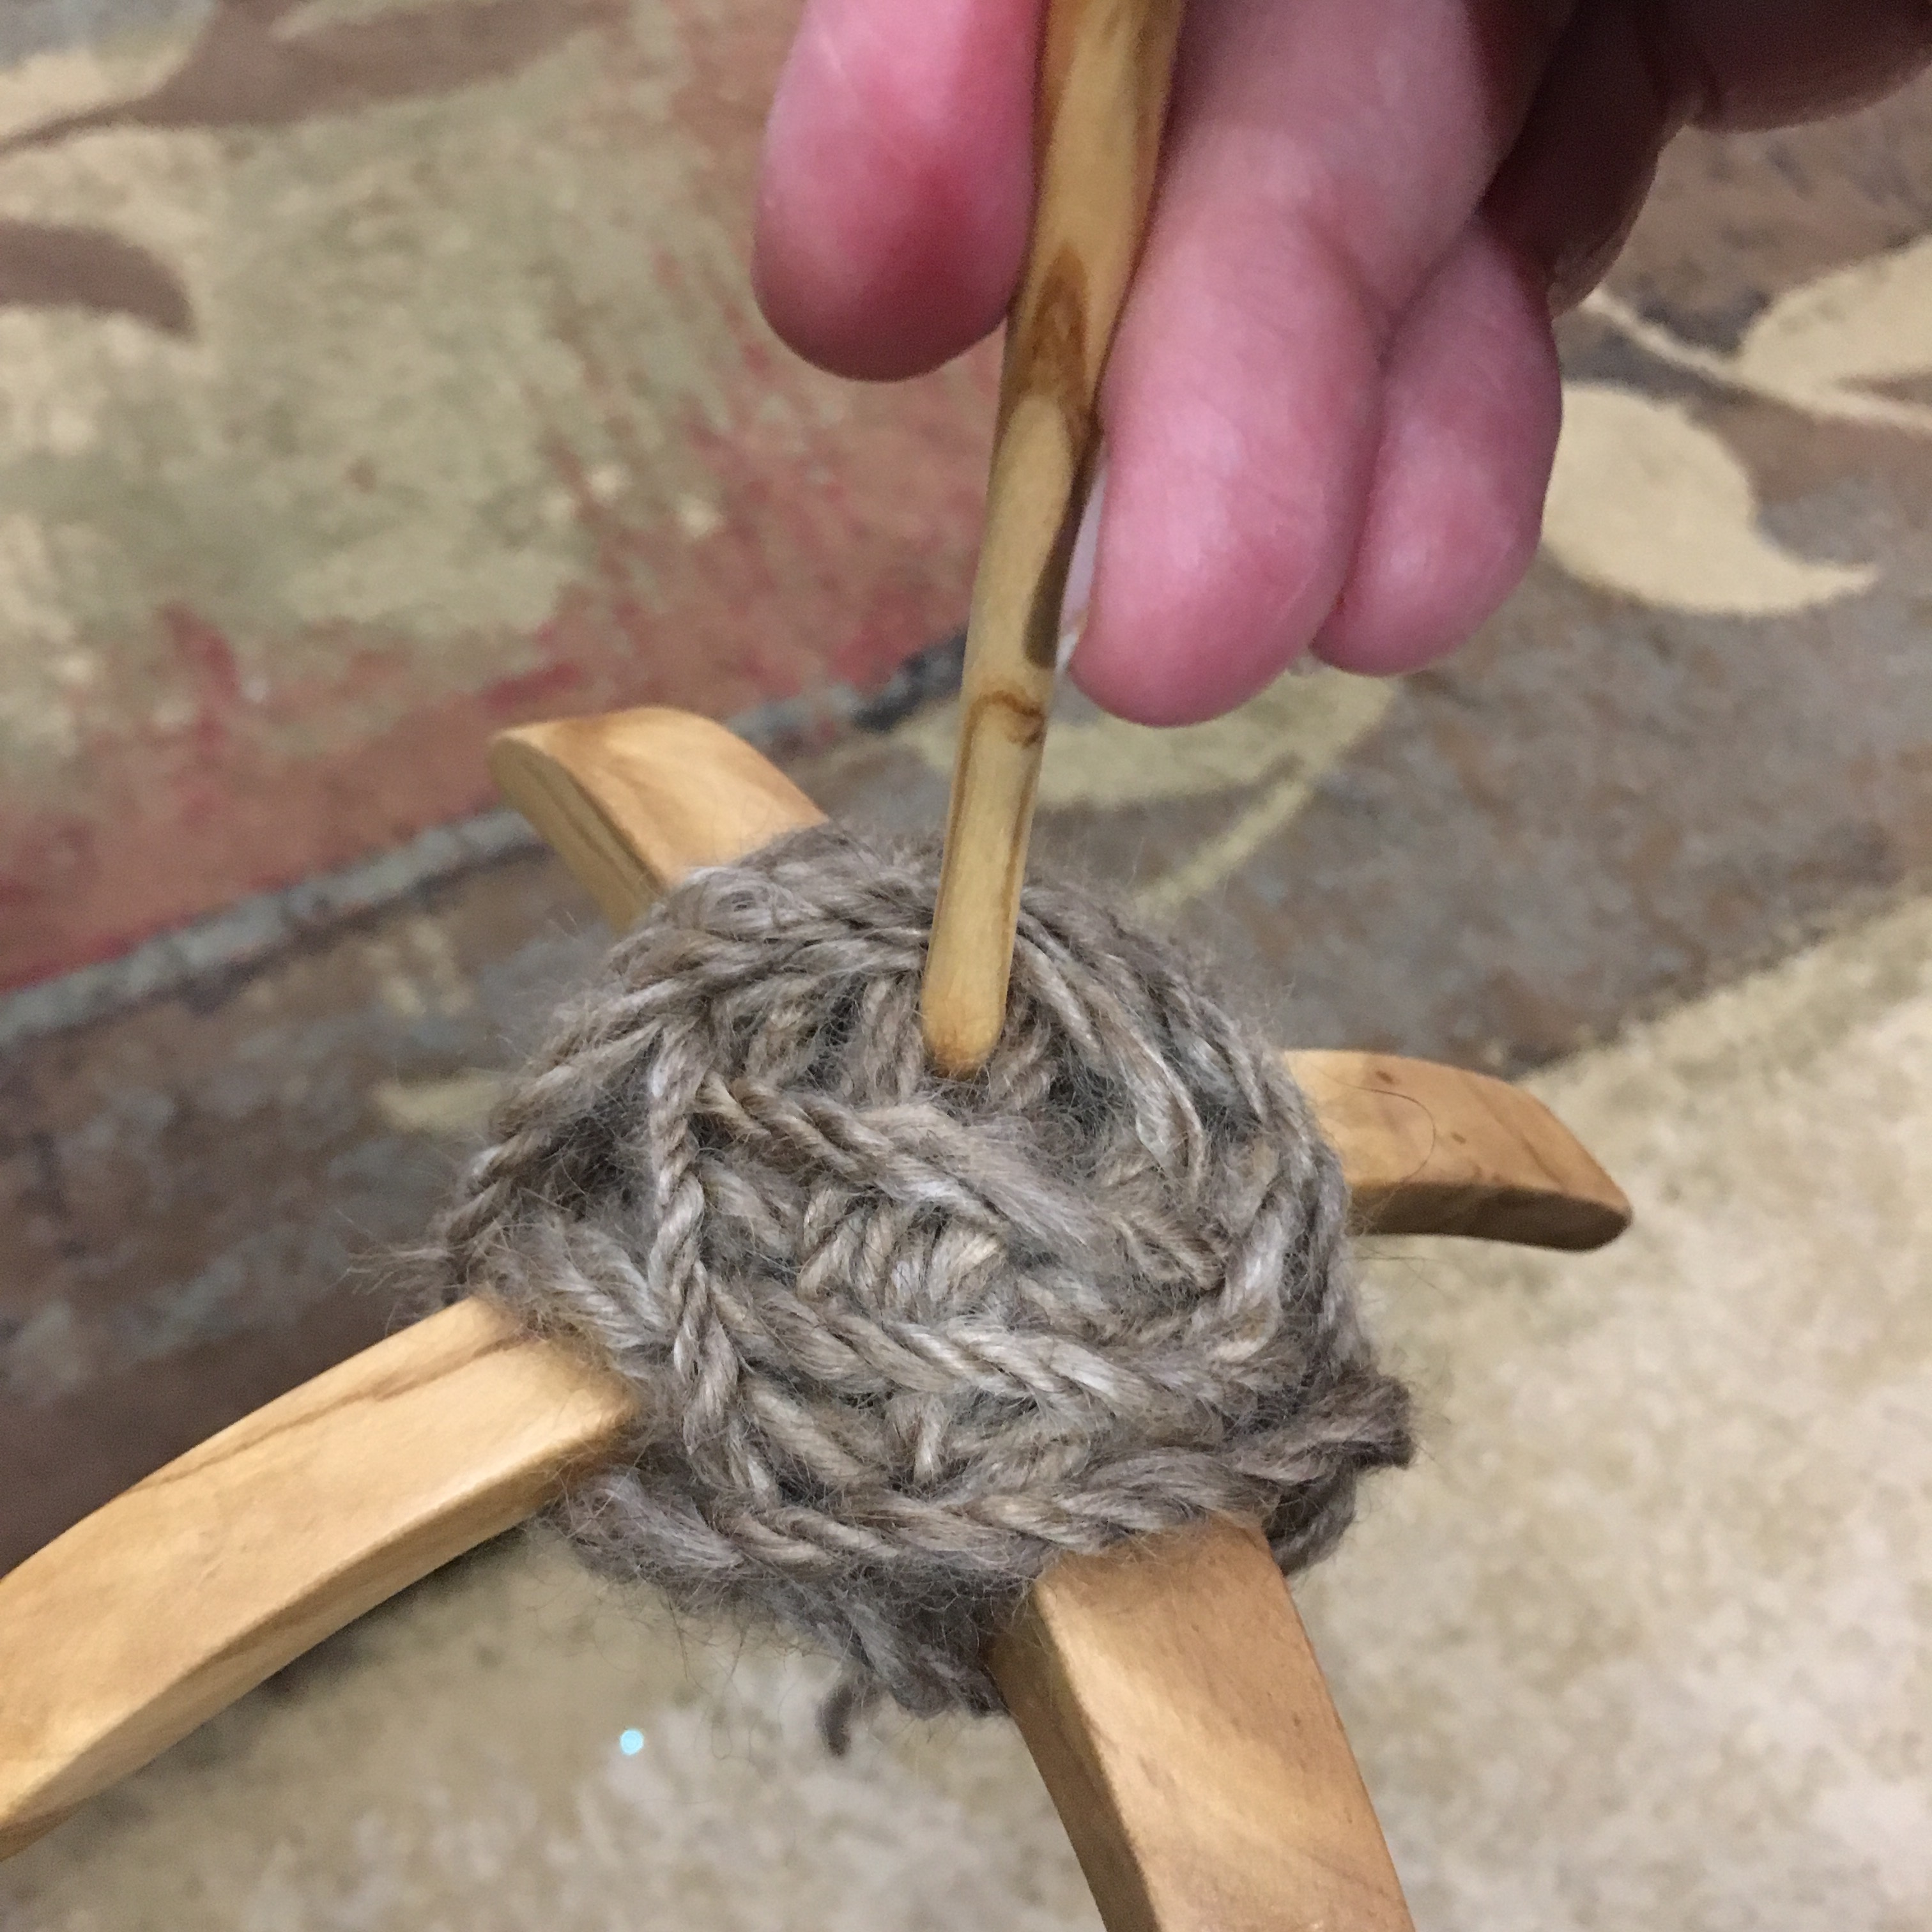
Three ply mohair yarn
My single ply yarn wasn’t perfectly proportioned, so I ran out of one strand first. Rather than waste the ends of the other two, I chained plied the remaining yarn. Chain plying is like making a chain in crochet; by drawing a loop through another loop. It results in a three ply strand, but you only need one source of single ply rather than three. I had read that mohair was not a good candidate for chain ply, but I honestly can’t tell the difference in the finished yarn.
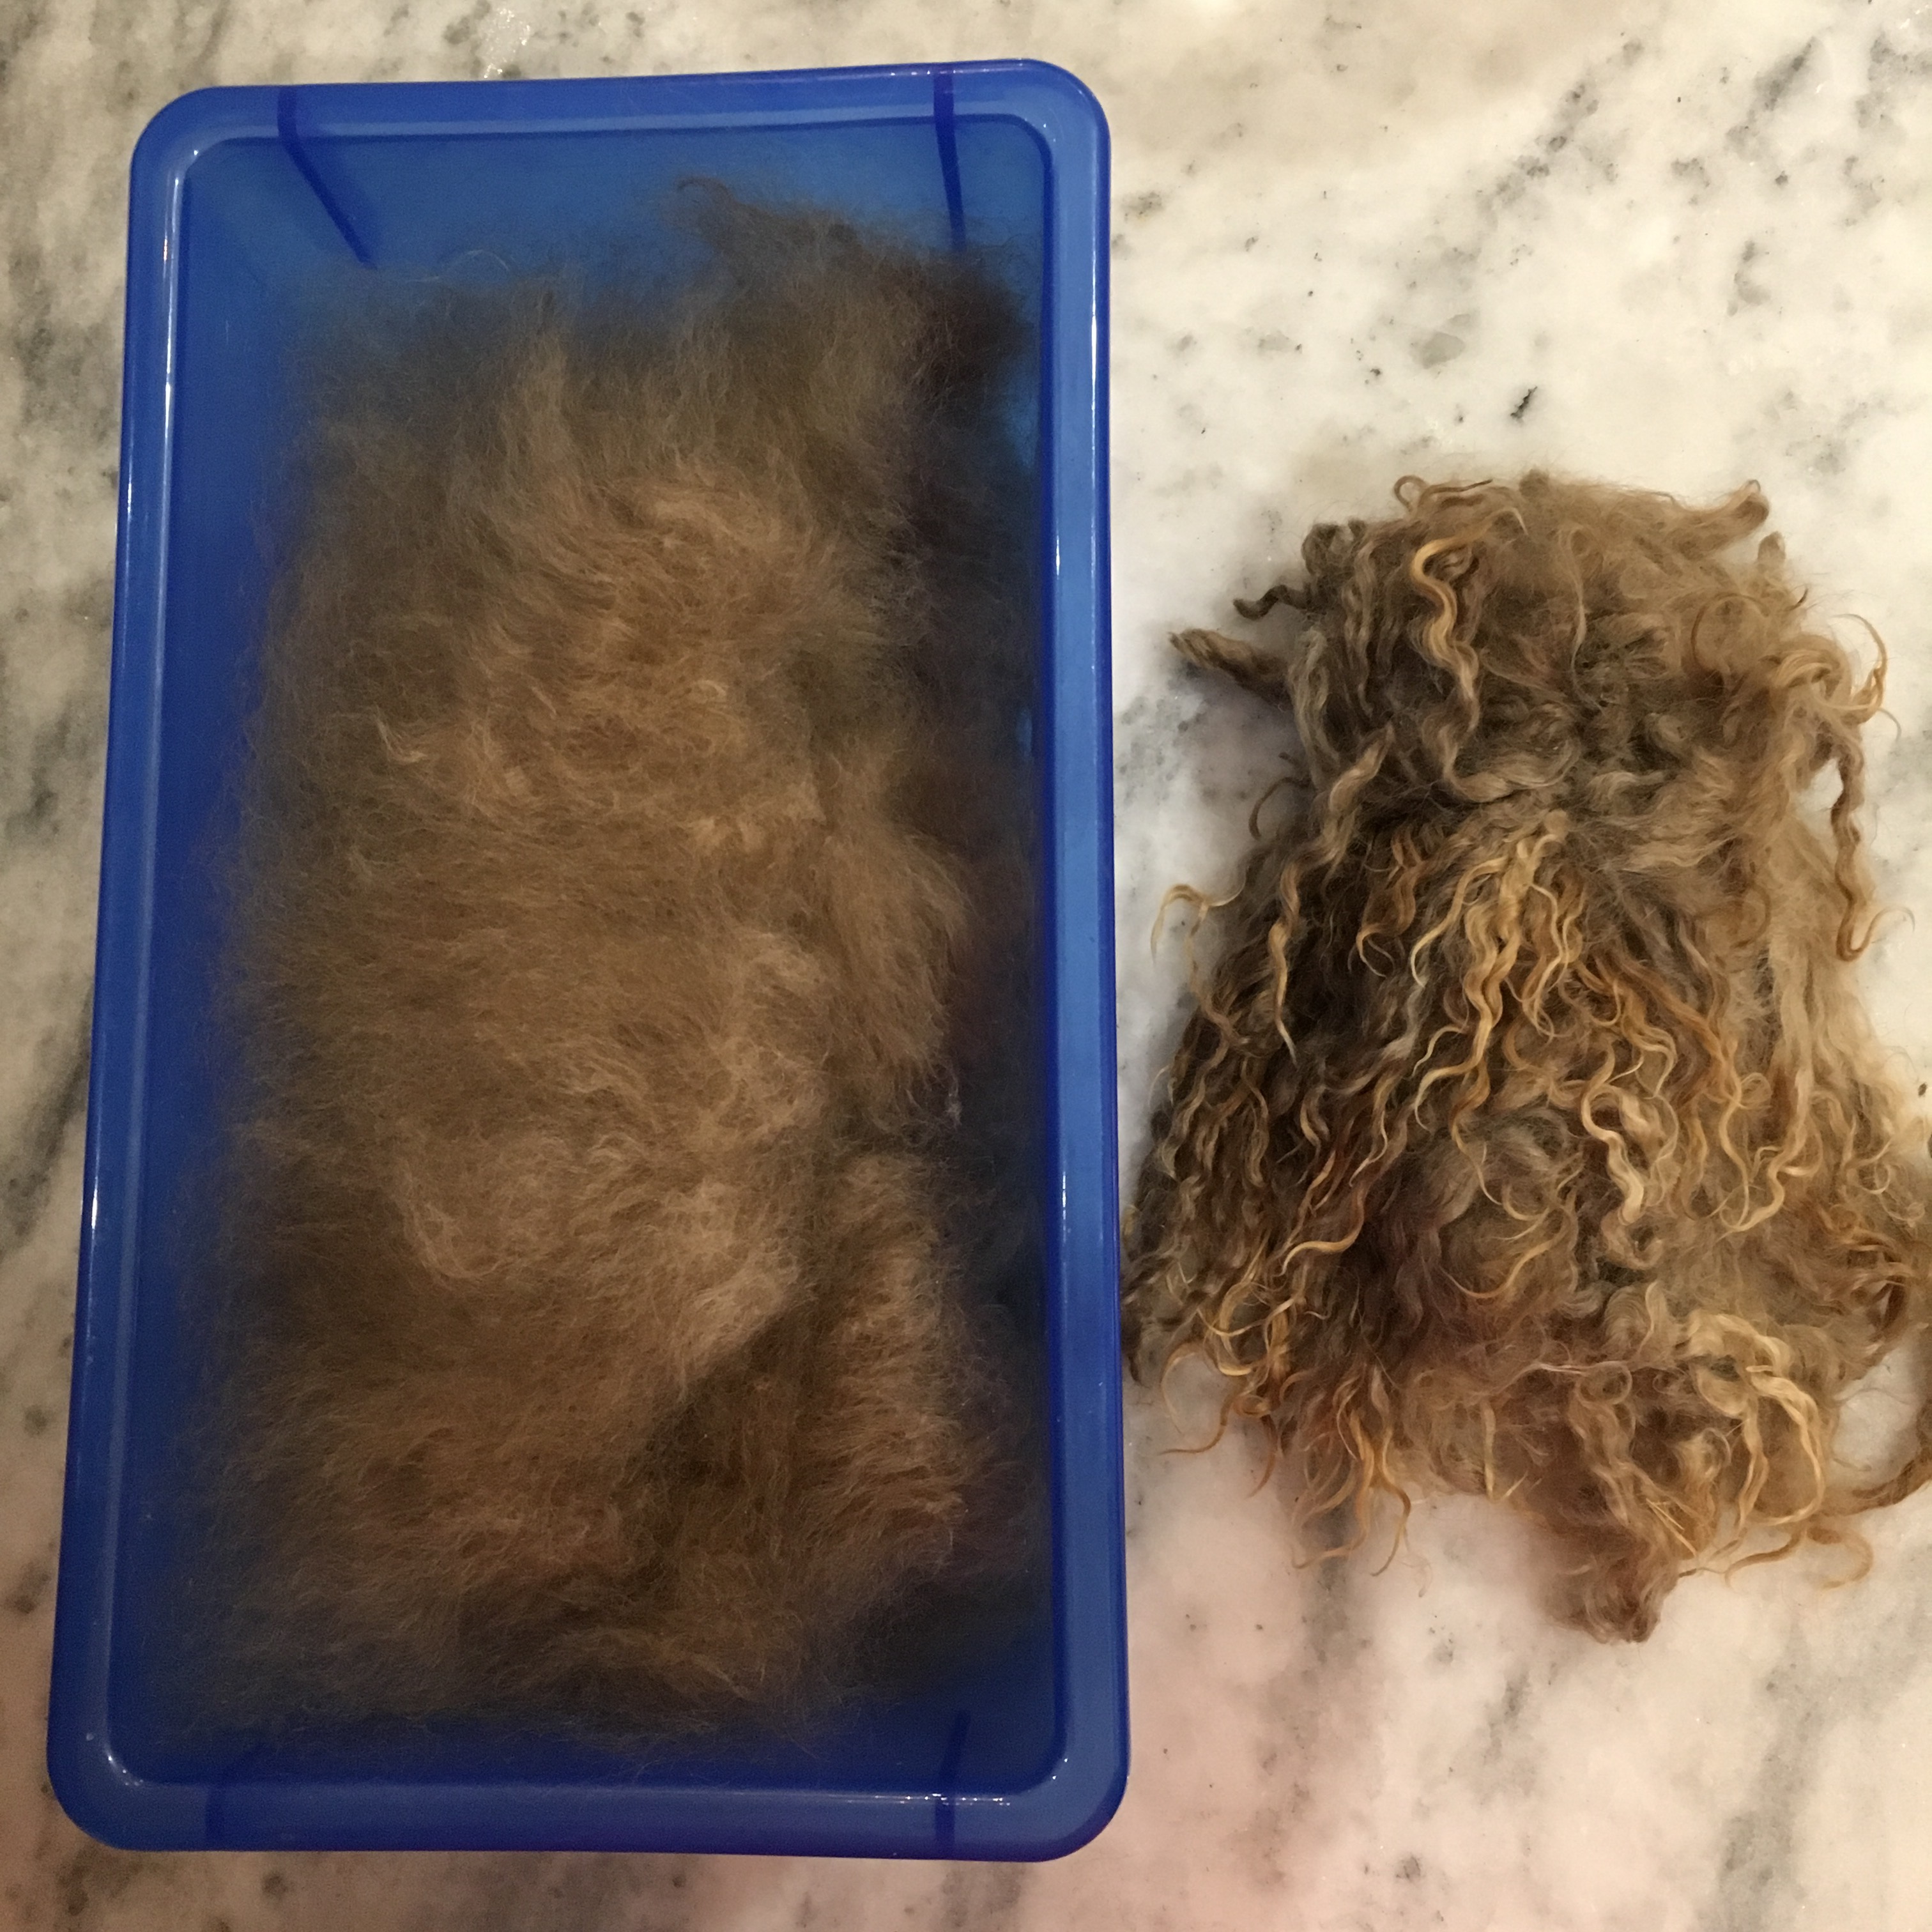
I washed some of Rutabaga’s fleece! I bought the goats’ first clip from the grower Merrytale Farm, and the owner also sent me a picture of Dottie (mom), Rutabaga, and Sasparilla (Rutabaga’s twin) to use in this blog. I absolutely love that I know the name of the animal that provided me fiber!
Angora goats, picture by Merrytale FarmWashed and carded colored mohair (left), same amount of skirted fleece (right)
I washed this fleece the same way I did Dottie’s, and it came out well. Where I just flicked open the ends of the locks of the adult mohair, Rutabaga’s first cut locks were smaller, so I used two wire dog brushes to card small portions. I then spun a handful of fluff at a time. I am still at the park and draft method of spinning, but I posted a video to show what I’m doing.
Using a top whorl drop spindle to spin single plyTransferring single ply yarn from the spindle to a spool (yes, I figured out a way to spin with the cat on my lap)
I like my Frankenstein’d top whorl drop spindle with the long shank because I can spin it by rolling it along the arm of my chair and spin with the cat on my lap. She appreciates that too.
I no longer wonder why spinners need display cases or large jars to hold all their spindles. Yes, I made another spindle today. I was supposed to do the filing. It isn’t hard to get distracted from that.
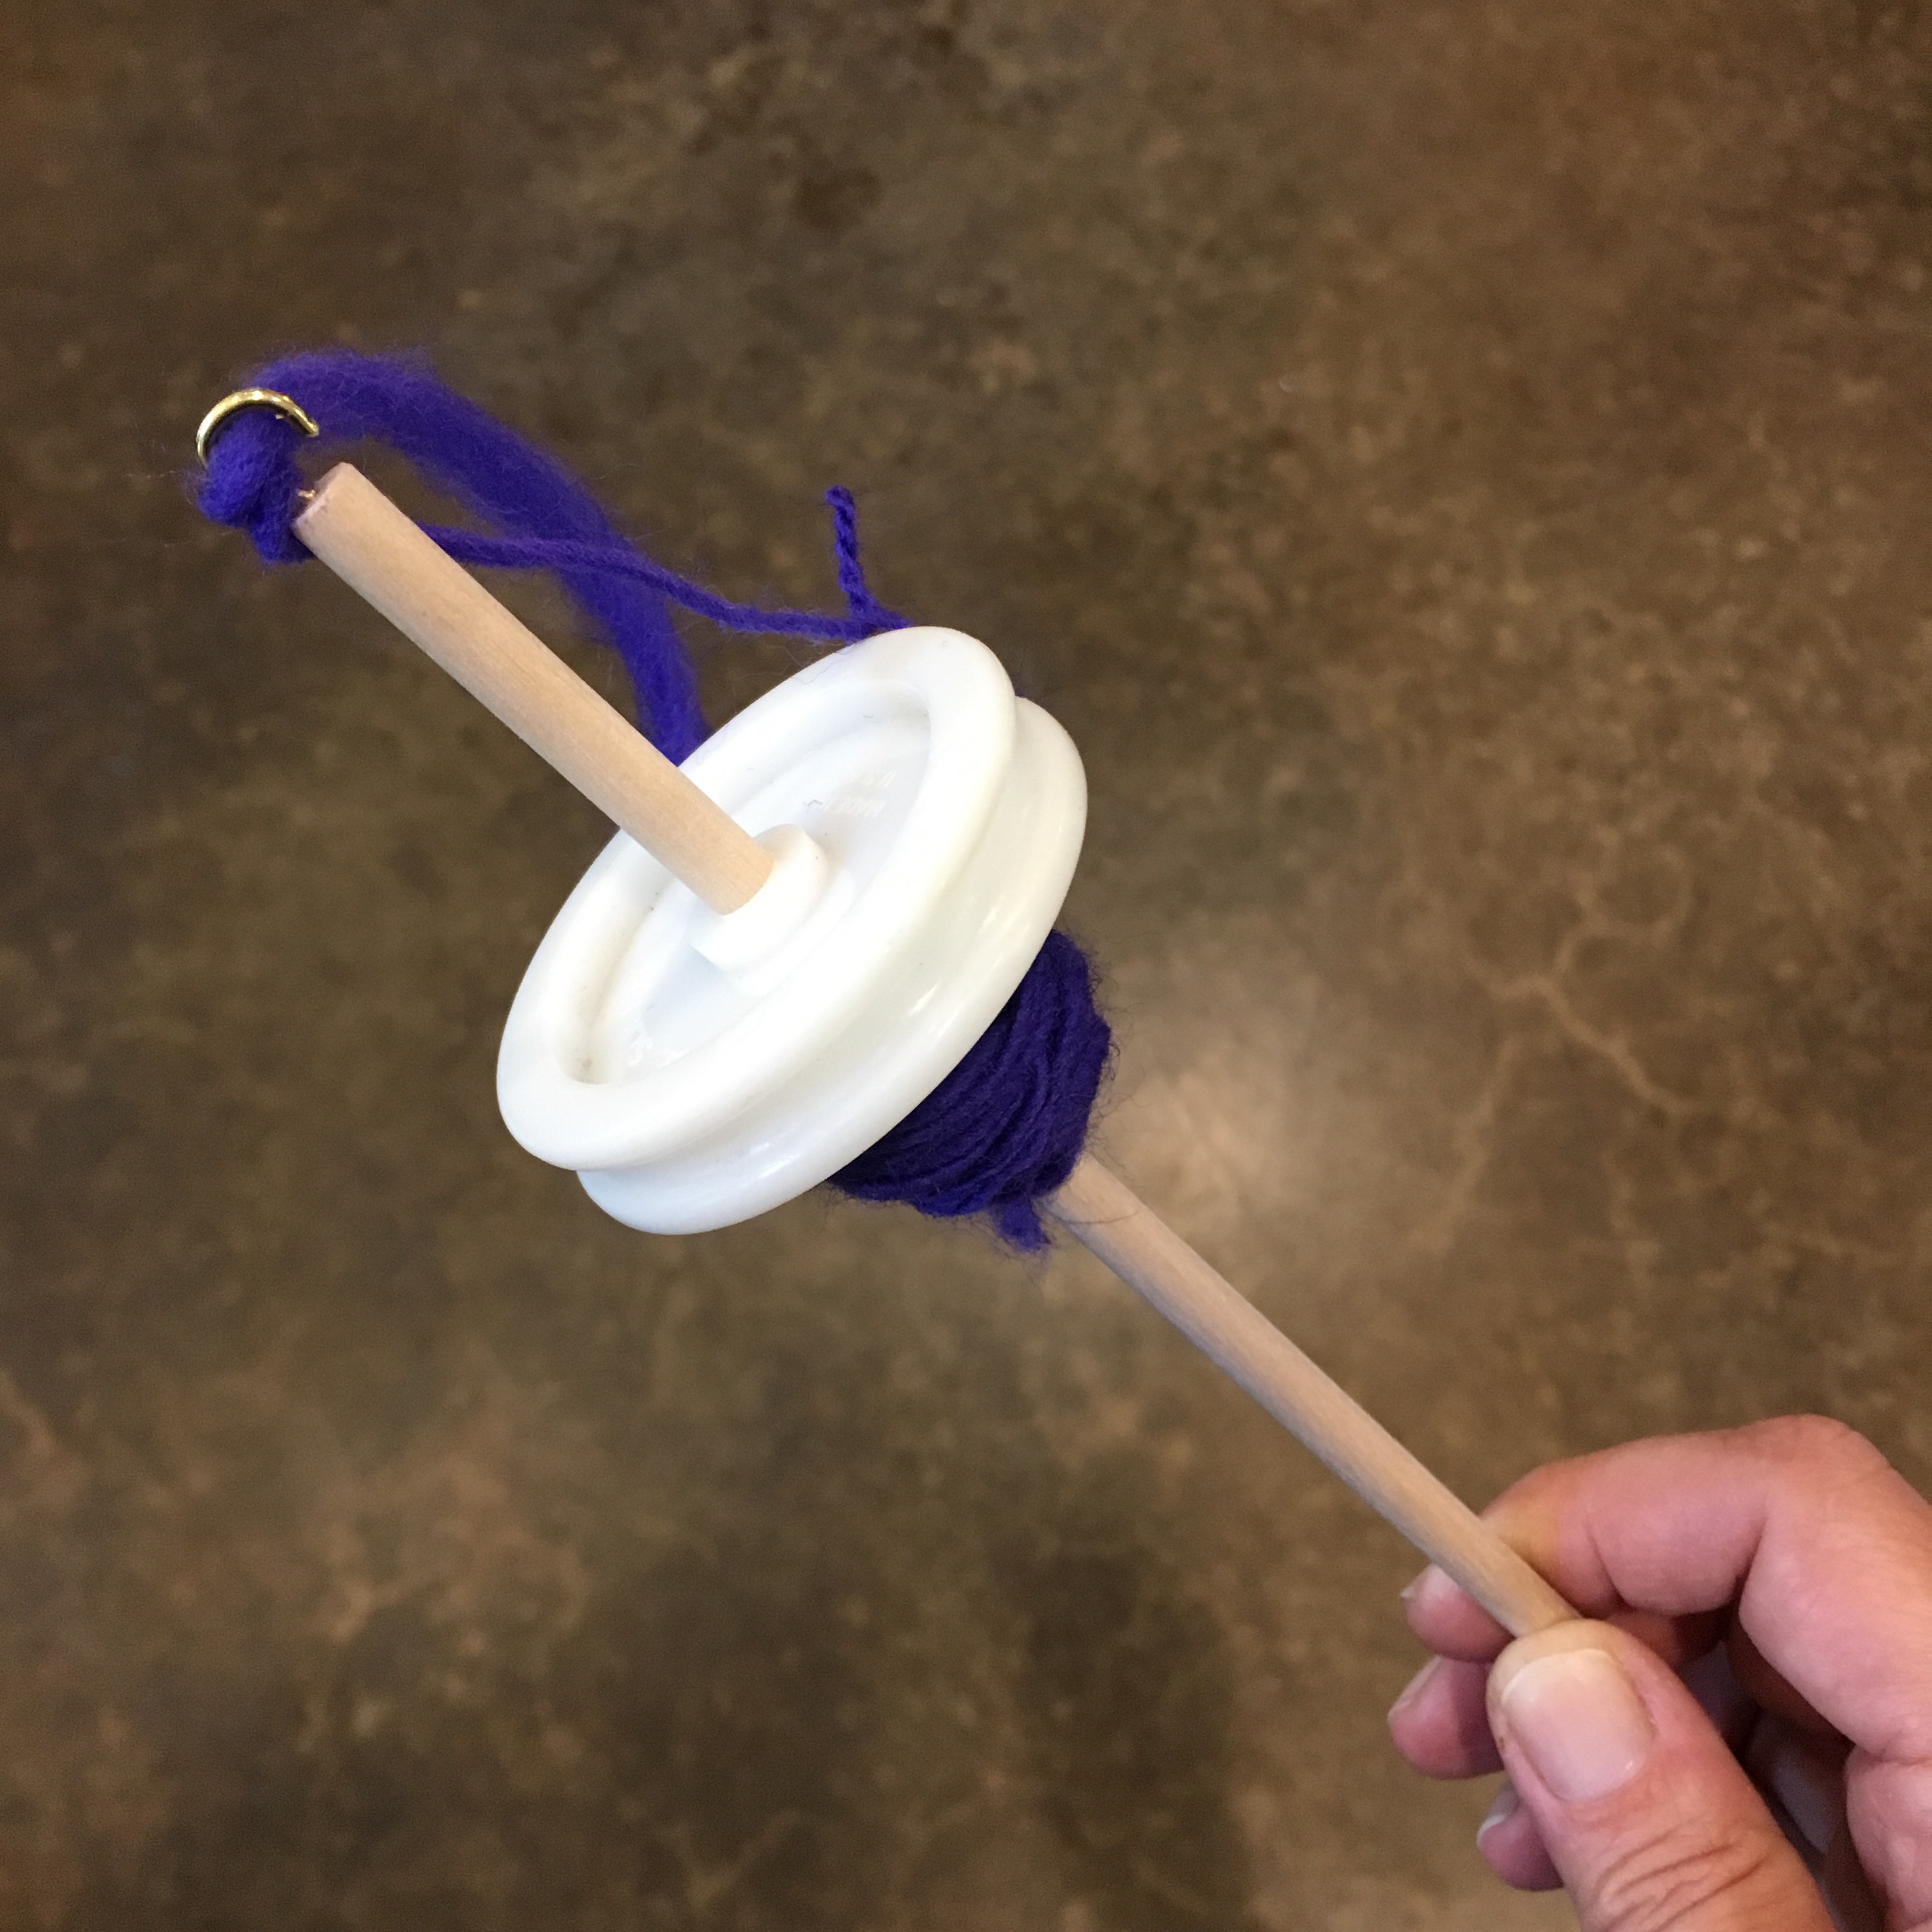
This spindle is an assembly of miscellaneous parts again, but it came together a little more smoothly. I had a leather edging tool and a dowel that fit perfectly in the center hole. I sharpened one end with a pencil sharpener, added a small brass screw eye, then opened it up with pliers to make the hook. To keep the whorl in place, I used a small rubber band. The whole thing can be taken back apart and repurposed if necessary too.
I wanted to try a top whorl drop spindle. I have no other excuse. Now my excuse for spinning immediately with it is that the cat sat on my lap and was sleeping, so I didn’t want to disturb her. (Good kitty!)
New DIY top whorl spindleMy spindles from left to right: top whorl, bottom whorl, Turkish, Tahkli
Ok, I admit, I’ve found myself searching the house for things to use as spindle whorls (the weighty thing on spindles that helps them spin longer). I wanted a lighter spindle, but one with enough oomph to still spin. I found an old button and a unused cabinet knob. I used a drill bit on the drill press to make holes in each item.
Old button (top), shaft, cupboard knob (bottom)
Then I needed a new shaft, so I repurposed a steel mandrel, which was used to make glass beads at one point in its life. I ground one end of the mandrel to a point, and flattened the other end with hammer. I used the band saw to cut a notch in the flat end to make a hook. Then I filed and sanded and sanded and filed until the hook wouldn’t catch on fibers.
Sanding the steel hook with rolled up sandpaper
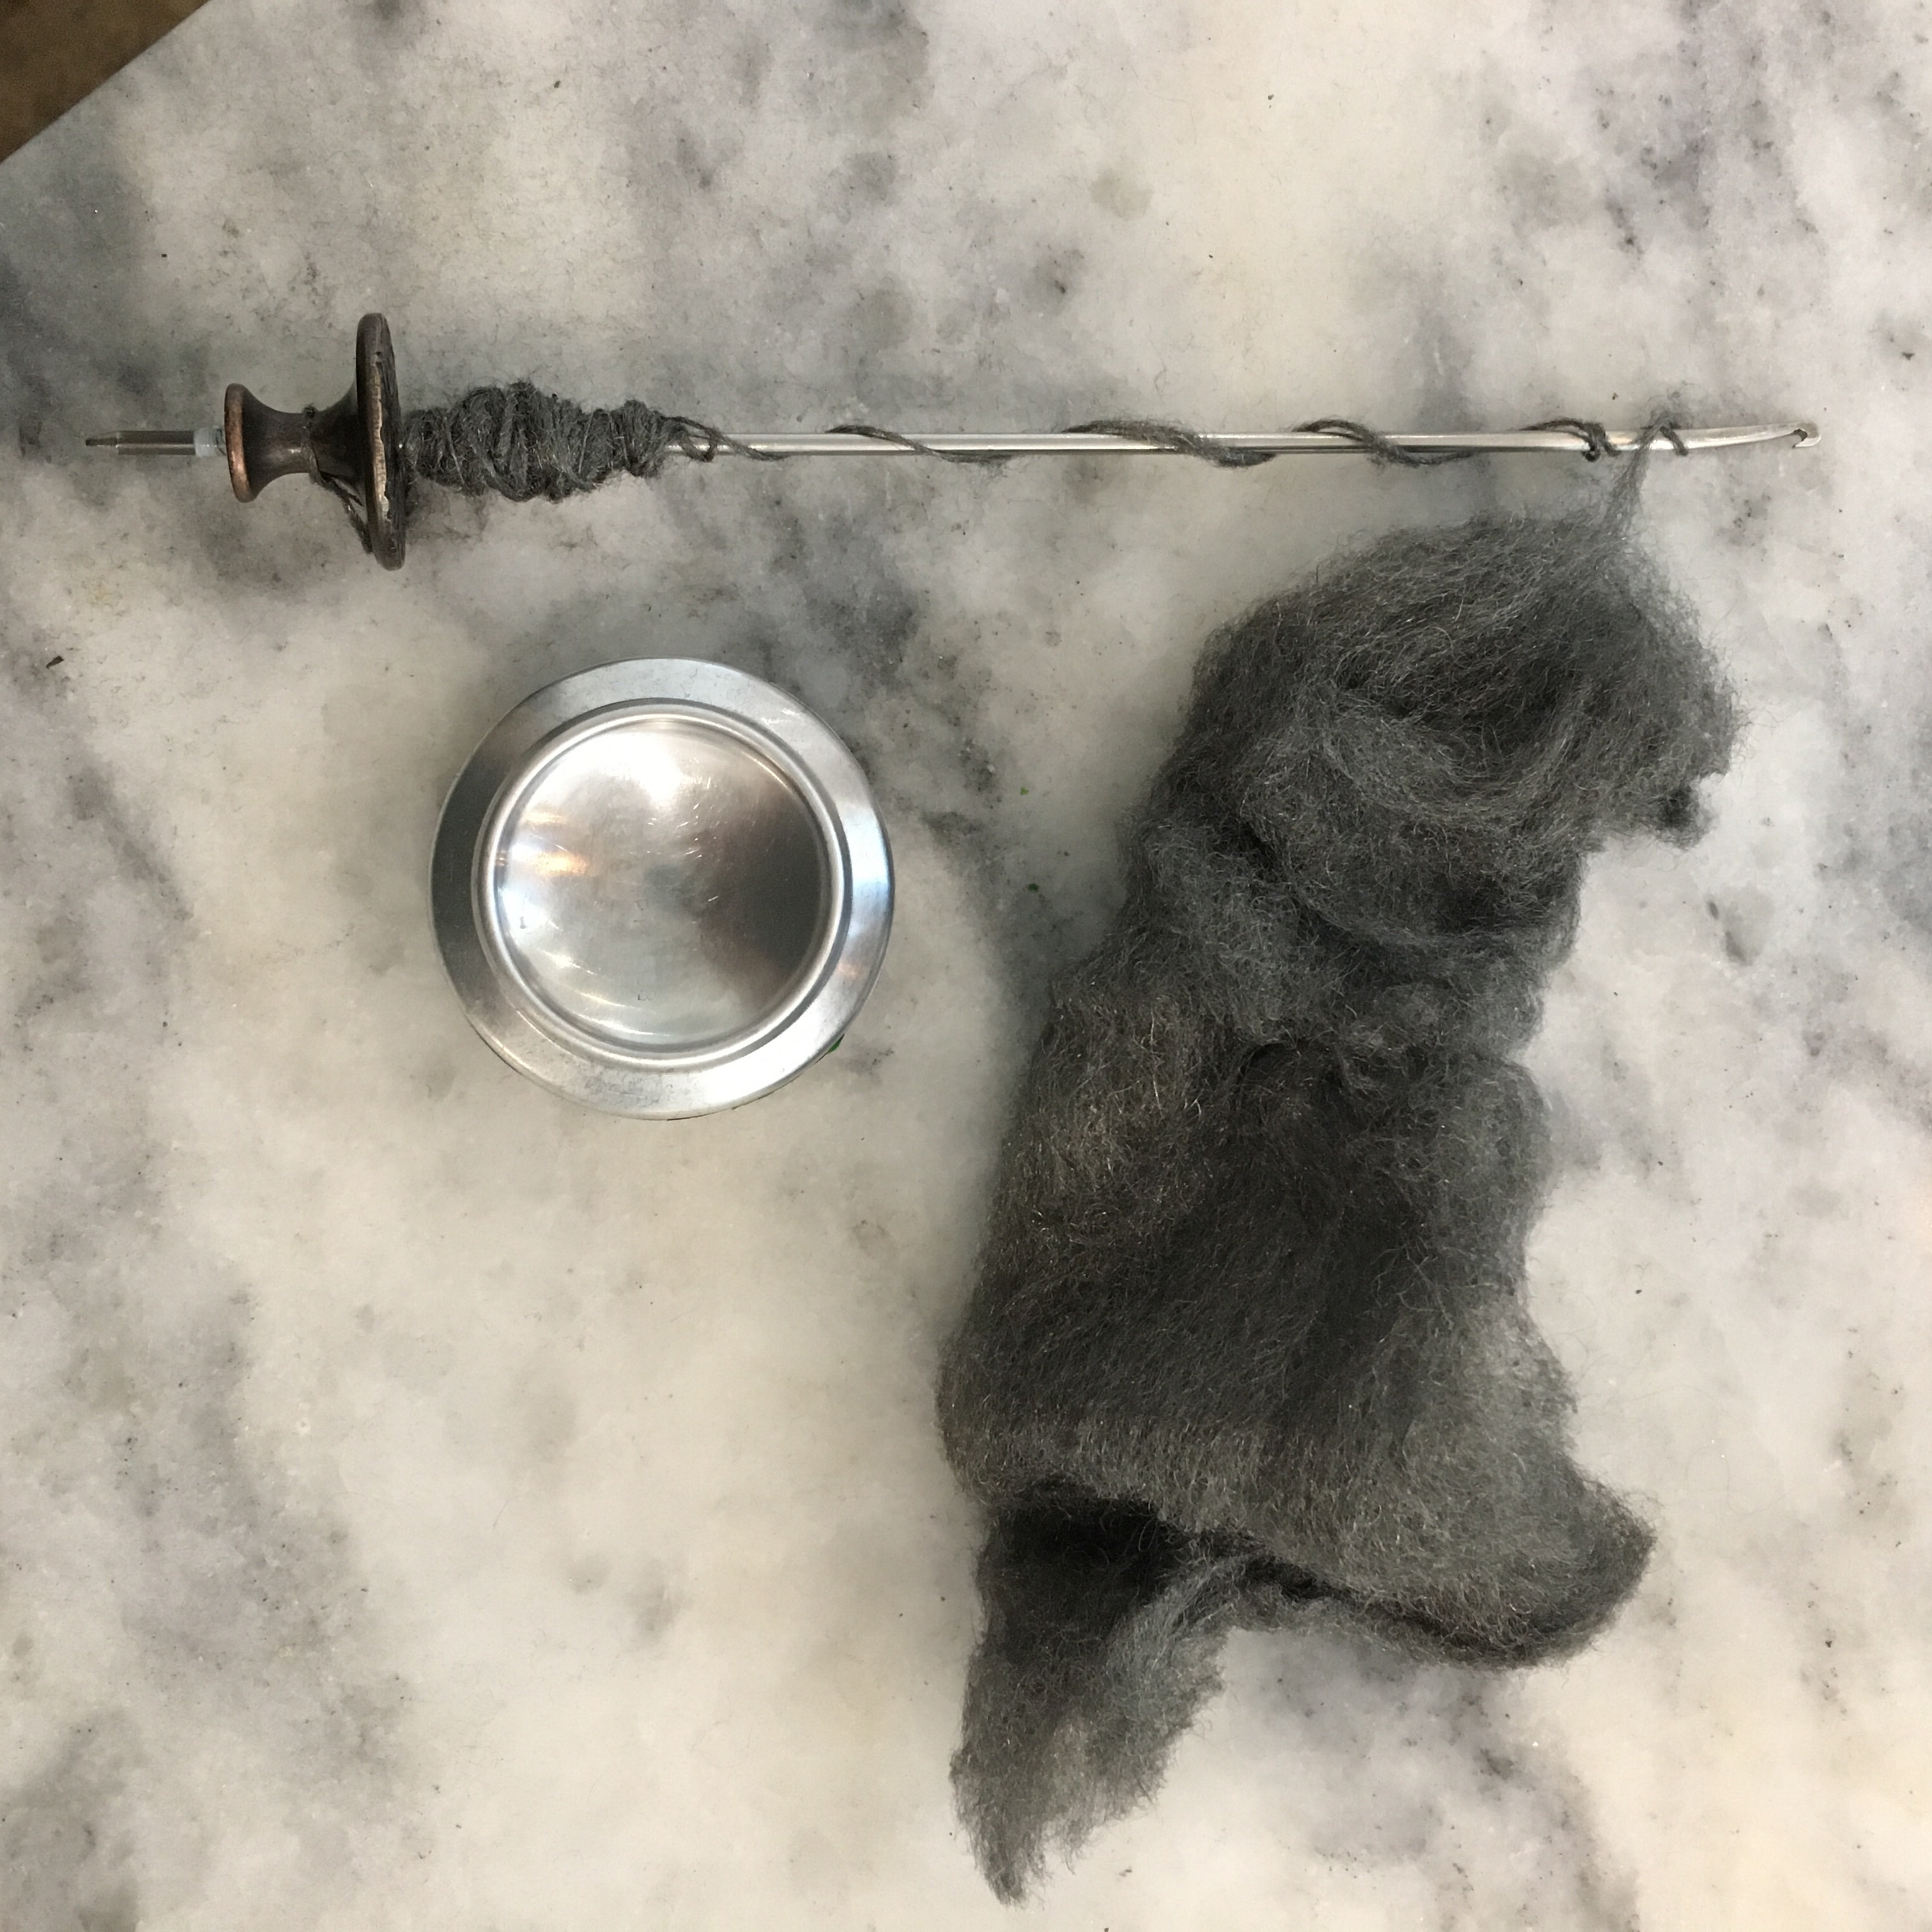
I smoothed the hook with fine steel wool, then tested the spindle by, wait for it, spinning the steel wool. Because… why not? I used the resulting yarn (wire? cable?) to further smooth the inside of the hook.
Testing the spindle
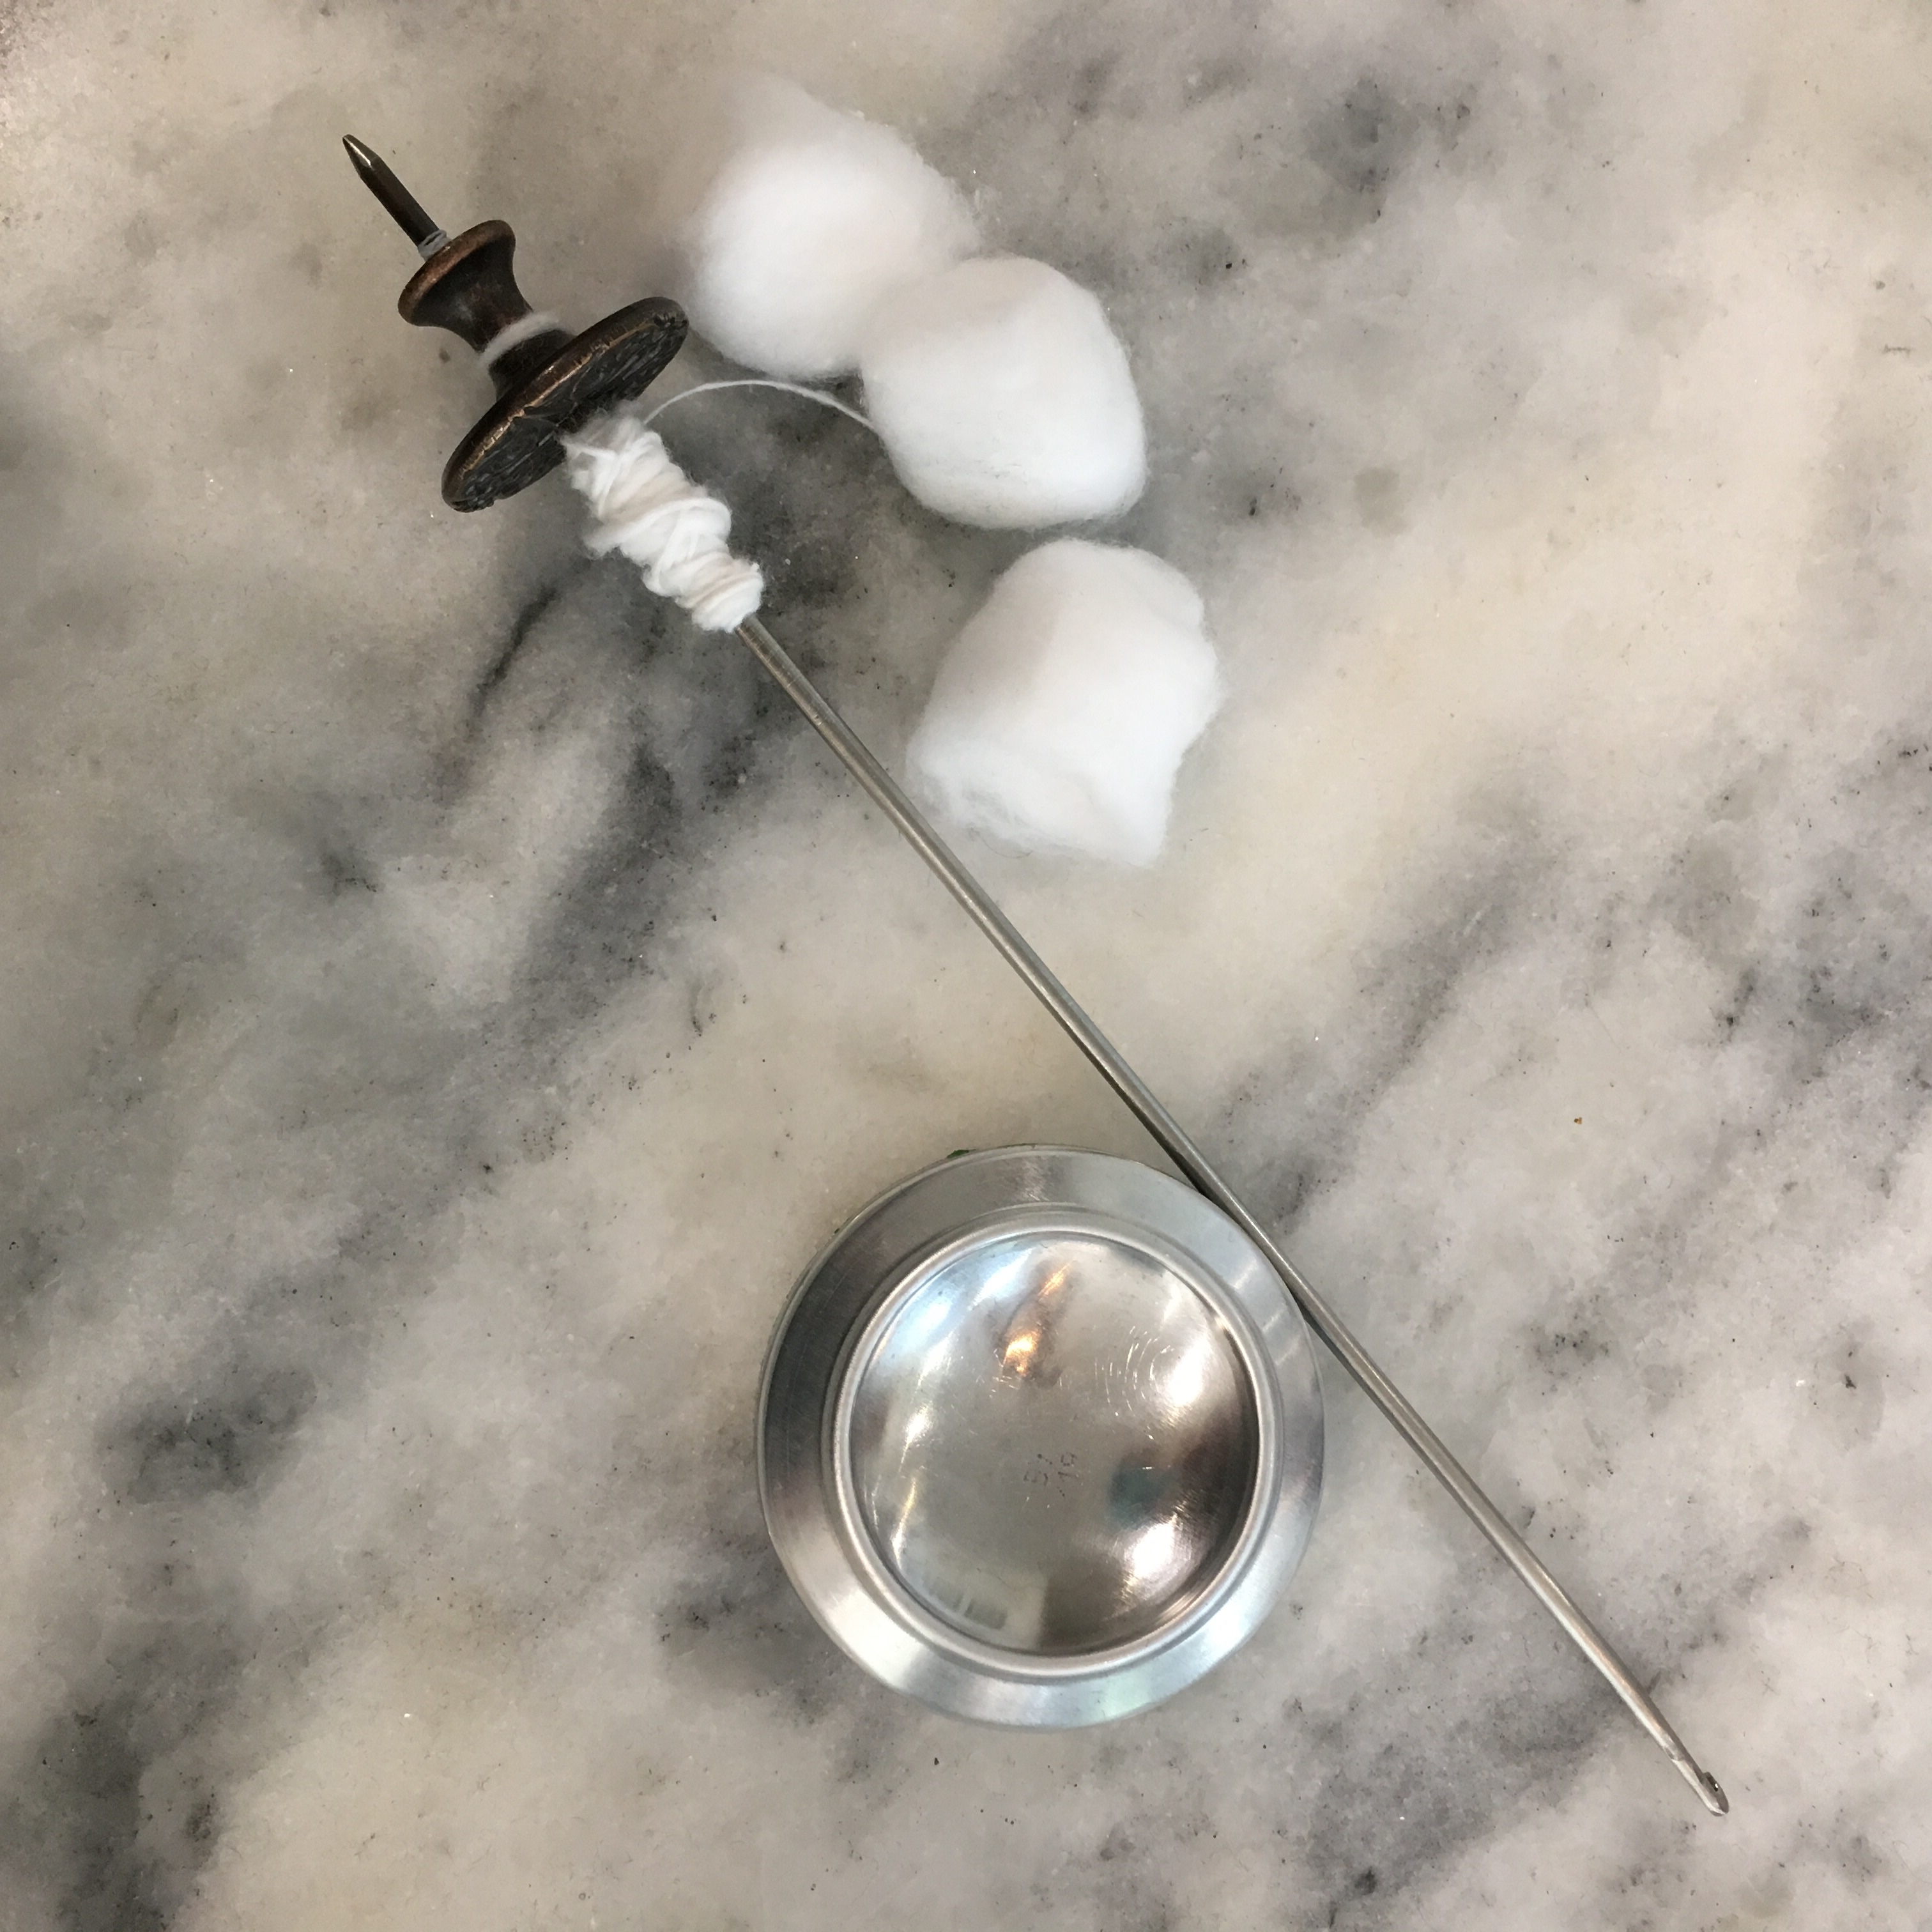
I then tested with cotton balls, which went MUCH better than the heavier supported spindle for me. I did have to go back and file and sand the hook again because, surprise, cotton is more delicate than steel wool.
Spinning cotton balls
I am going to continue to use a small rubber band to keep the whorl from slipping off the shaft, so that I can trade out whorls. The knob and shaft weigh in at 1.38 ounces, and the button and shaft are a lofty 0.81 ounces.