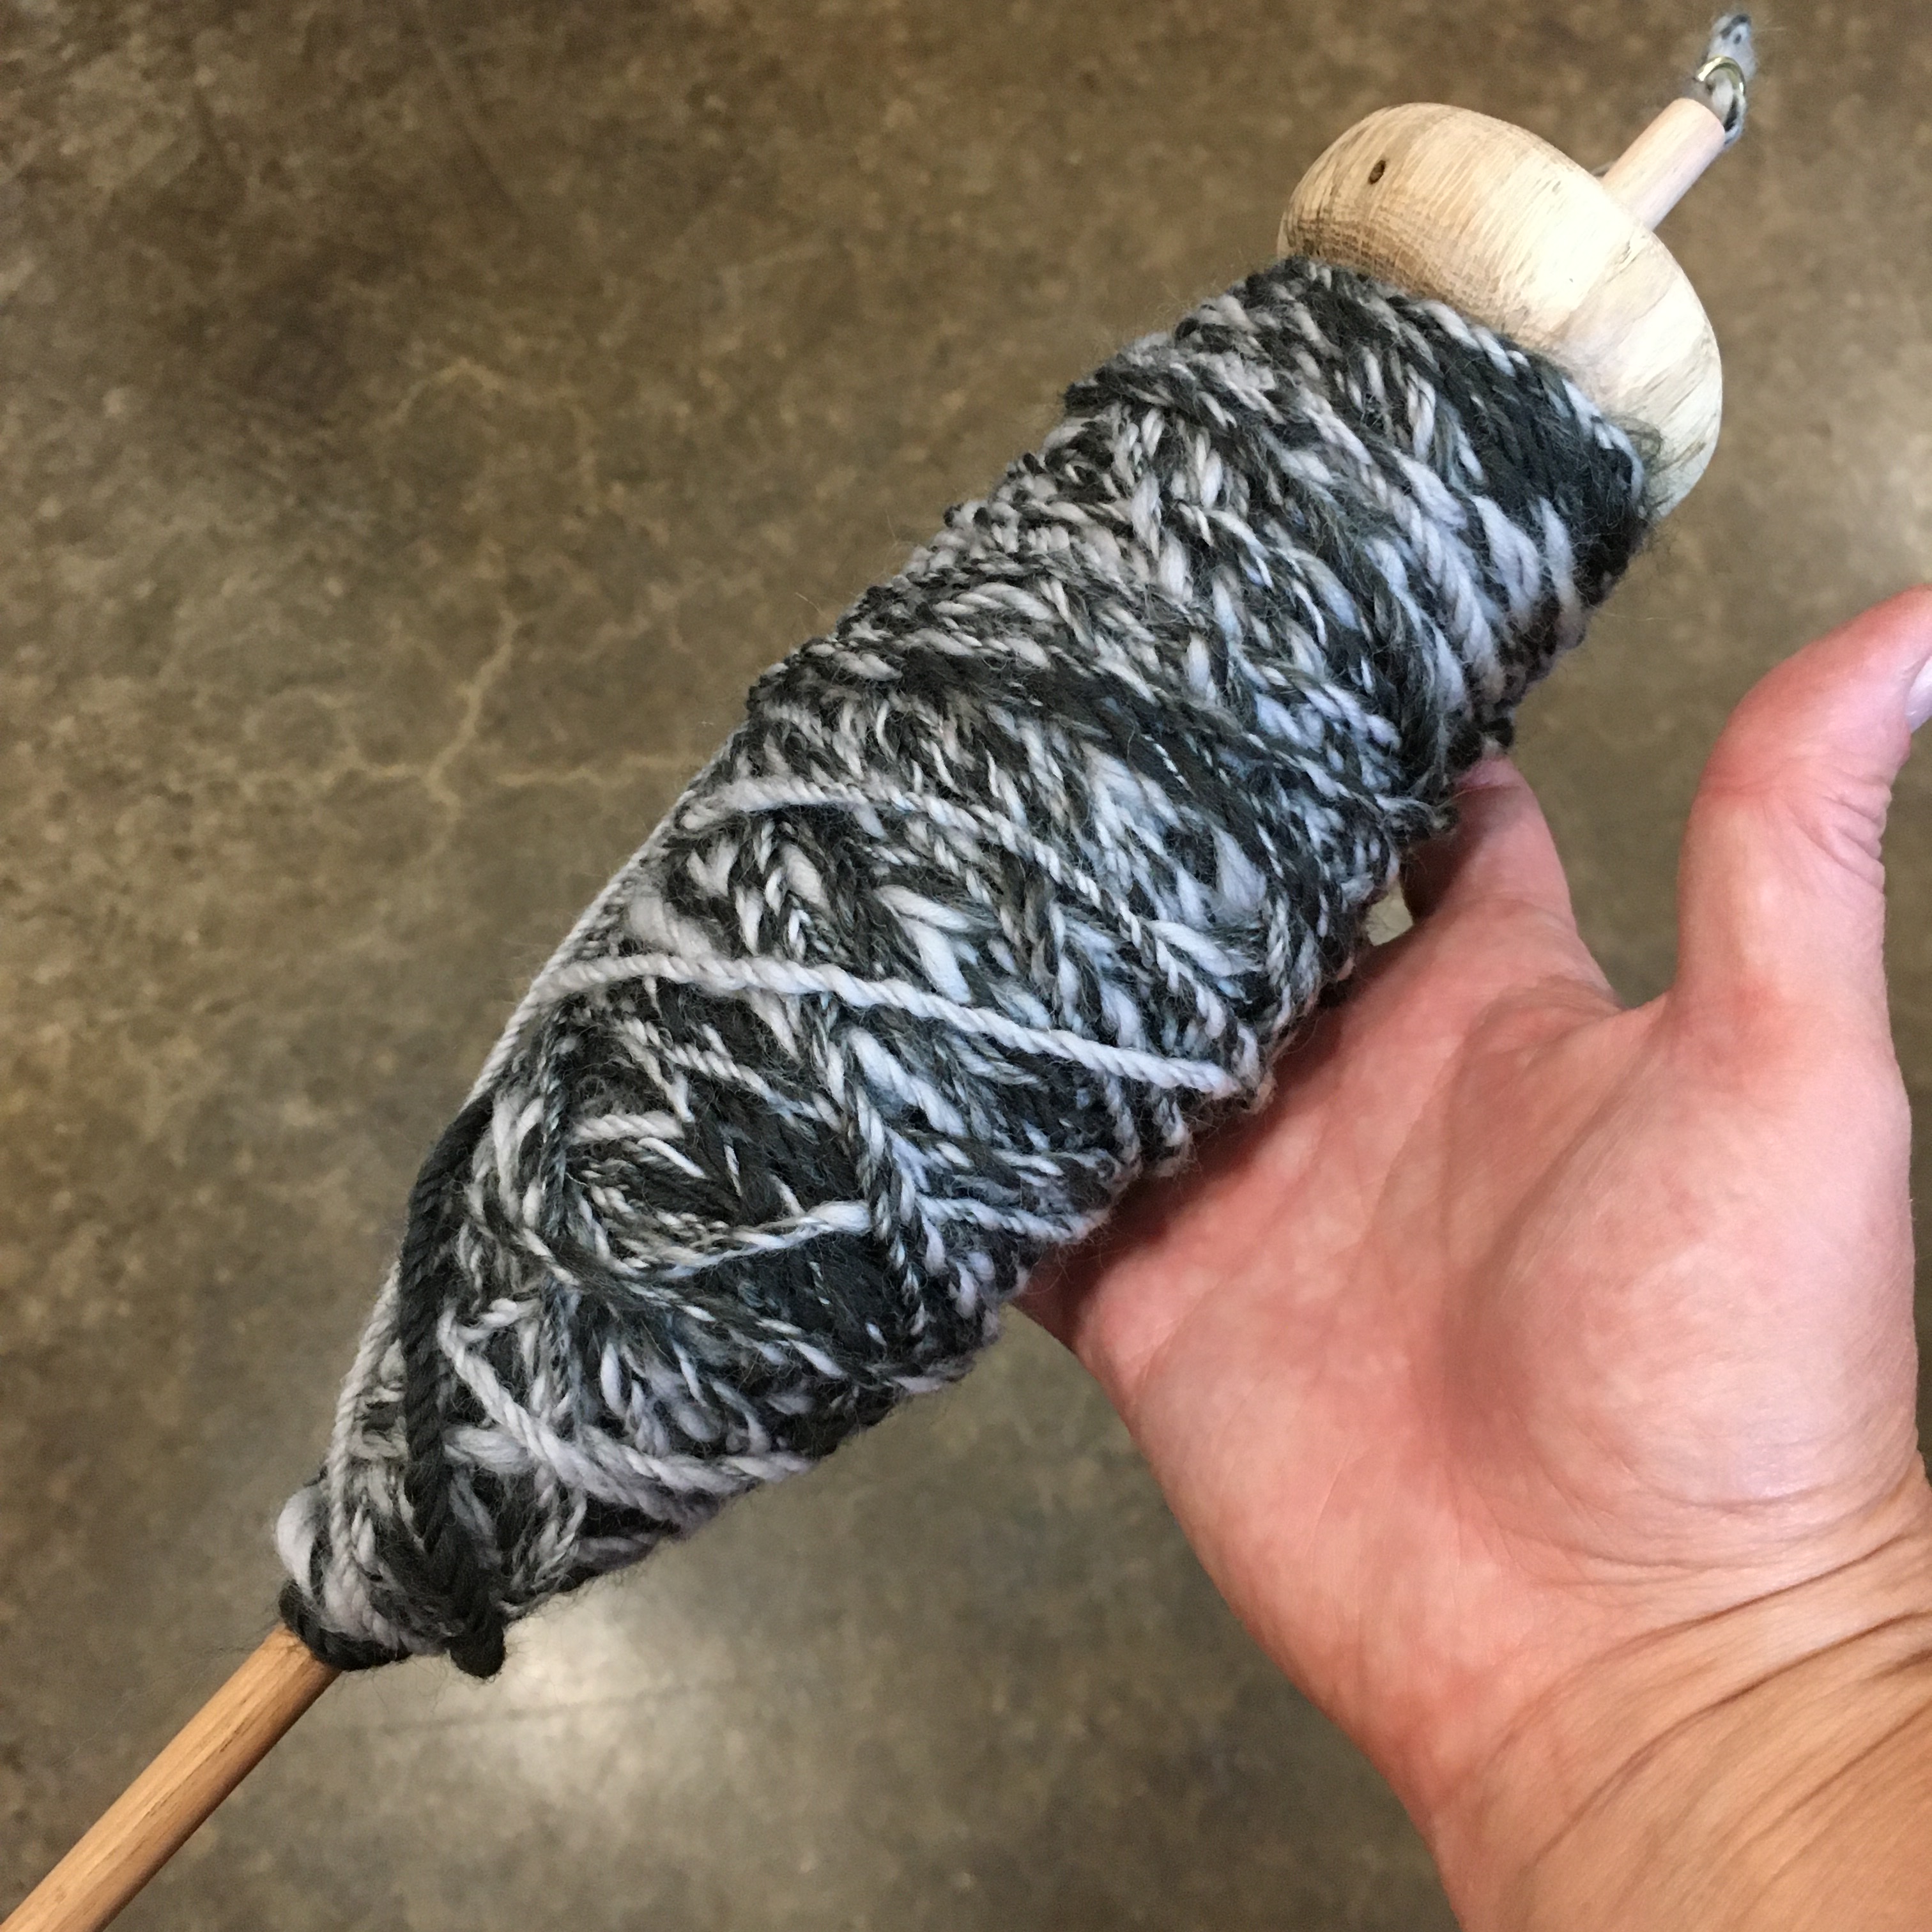
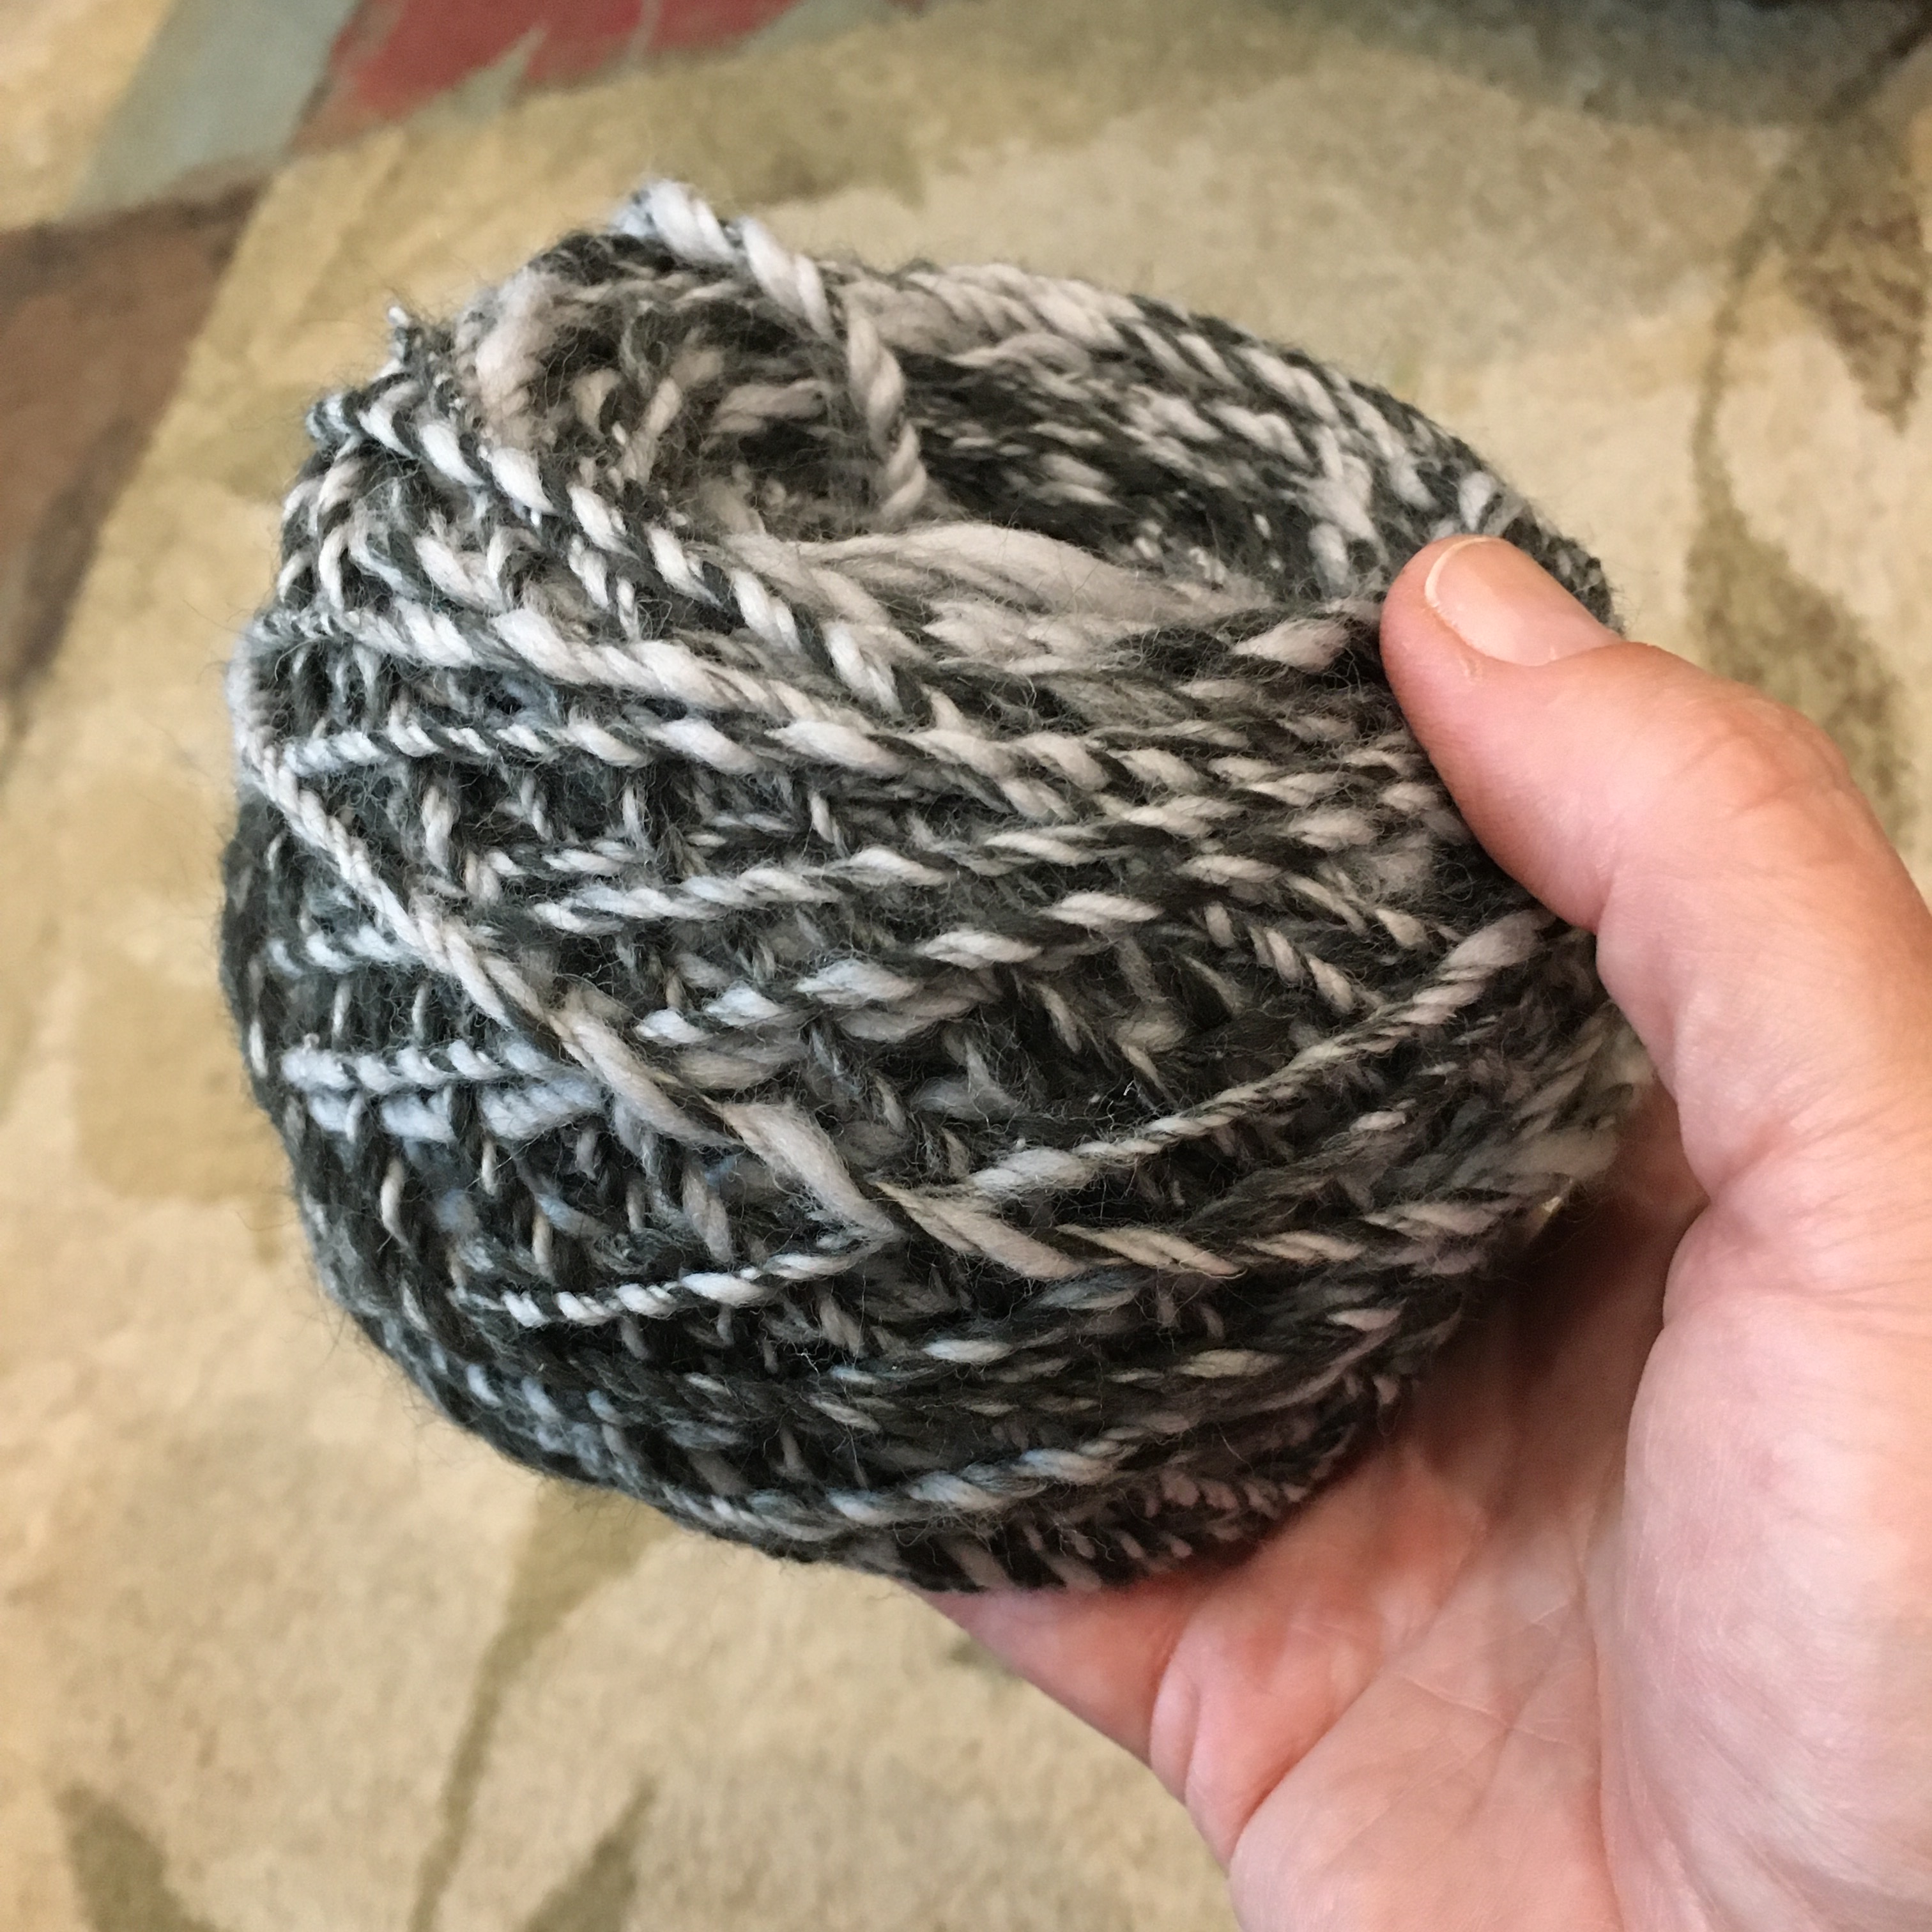
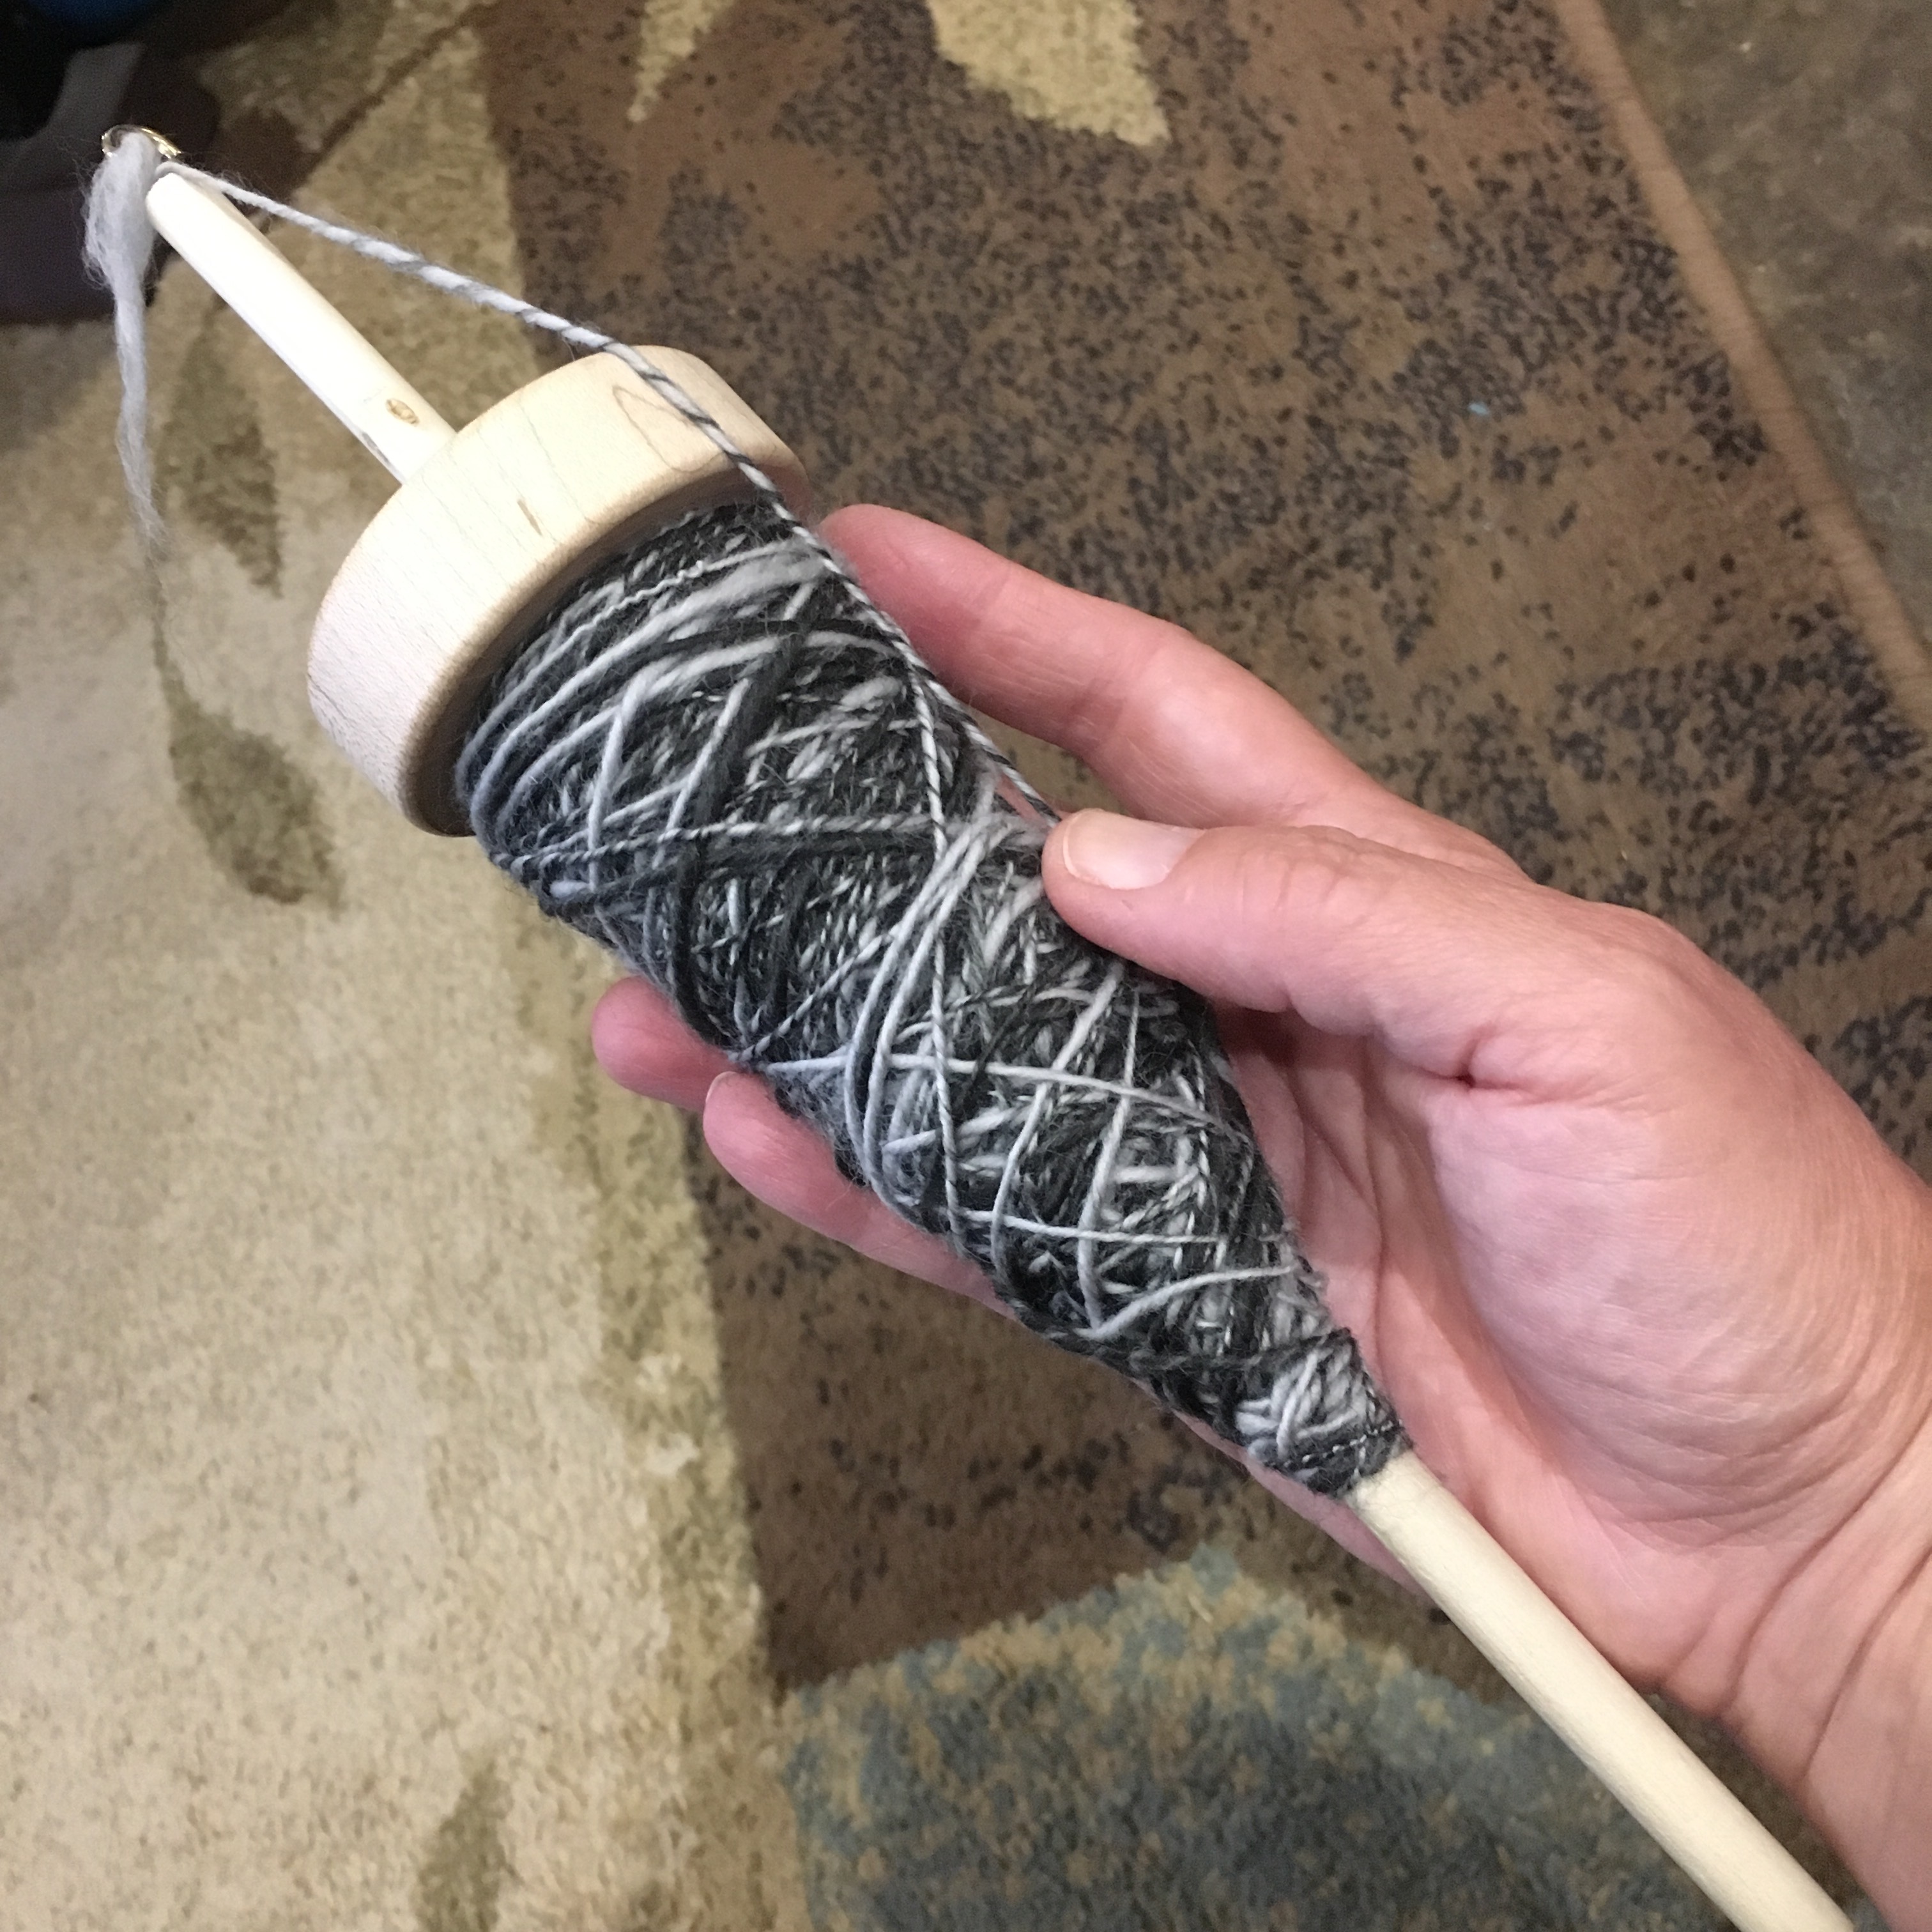
I probably went a little far wrapping the plied yarn around this spindle, but I was determined to get it all on. Me? Stubborn? Ha.
Packed drop spindle
I was determined to get it on one spindle so it would be easier to use my wool winder. It was easier, and the cake made by the wool winder is easier to draw yarn from than a ball (for me that is).
Hand spun merino wool made with two colors of roving on a top whorl drop spindle
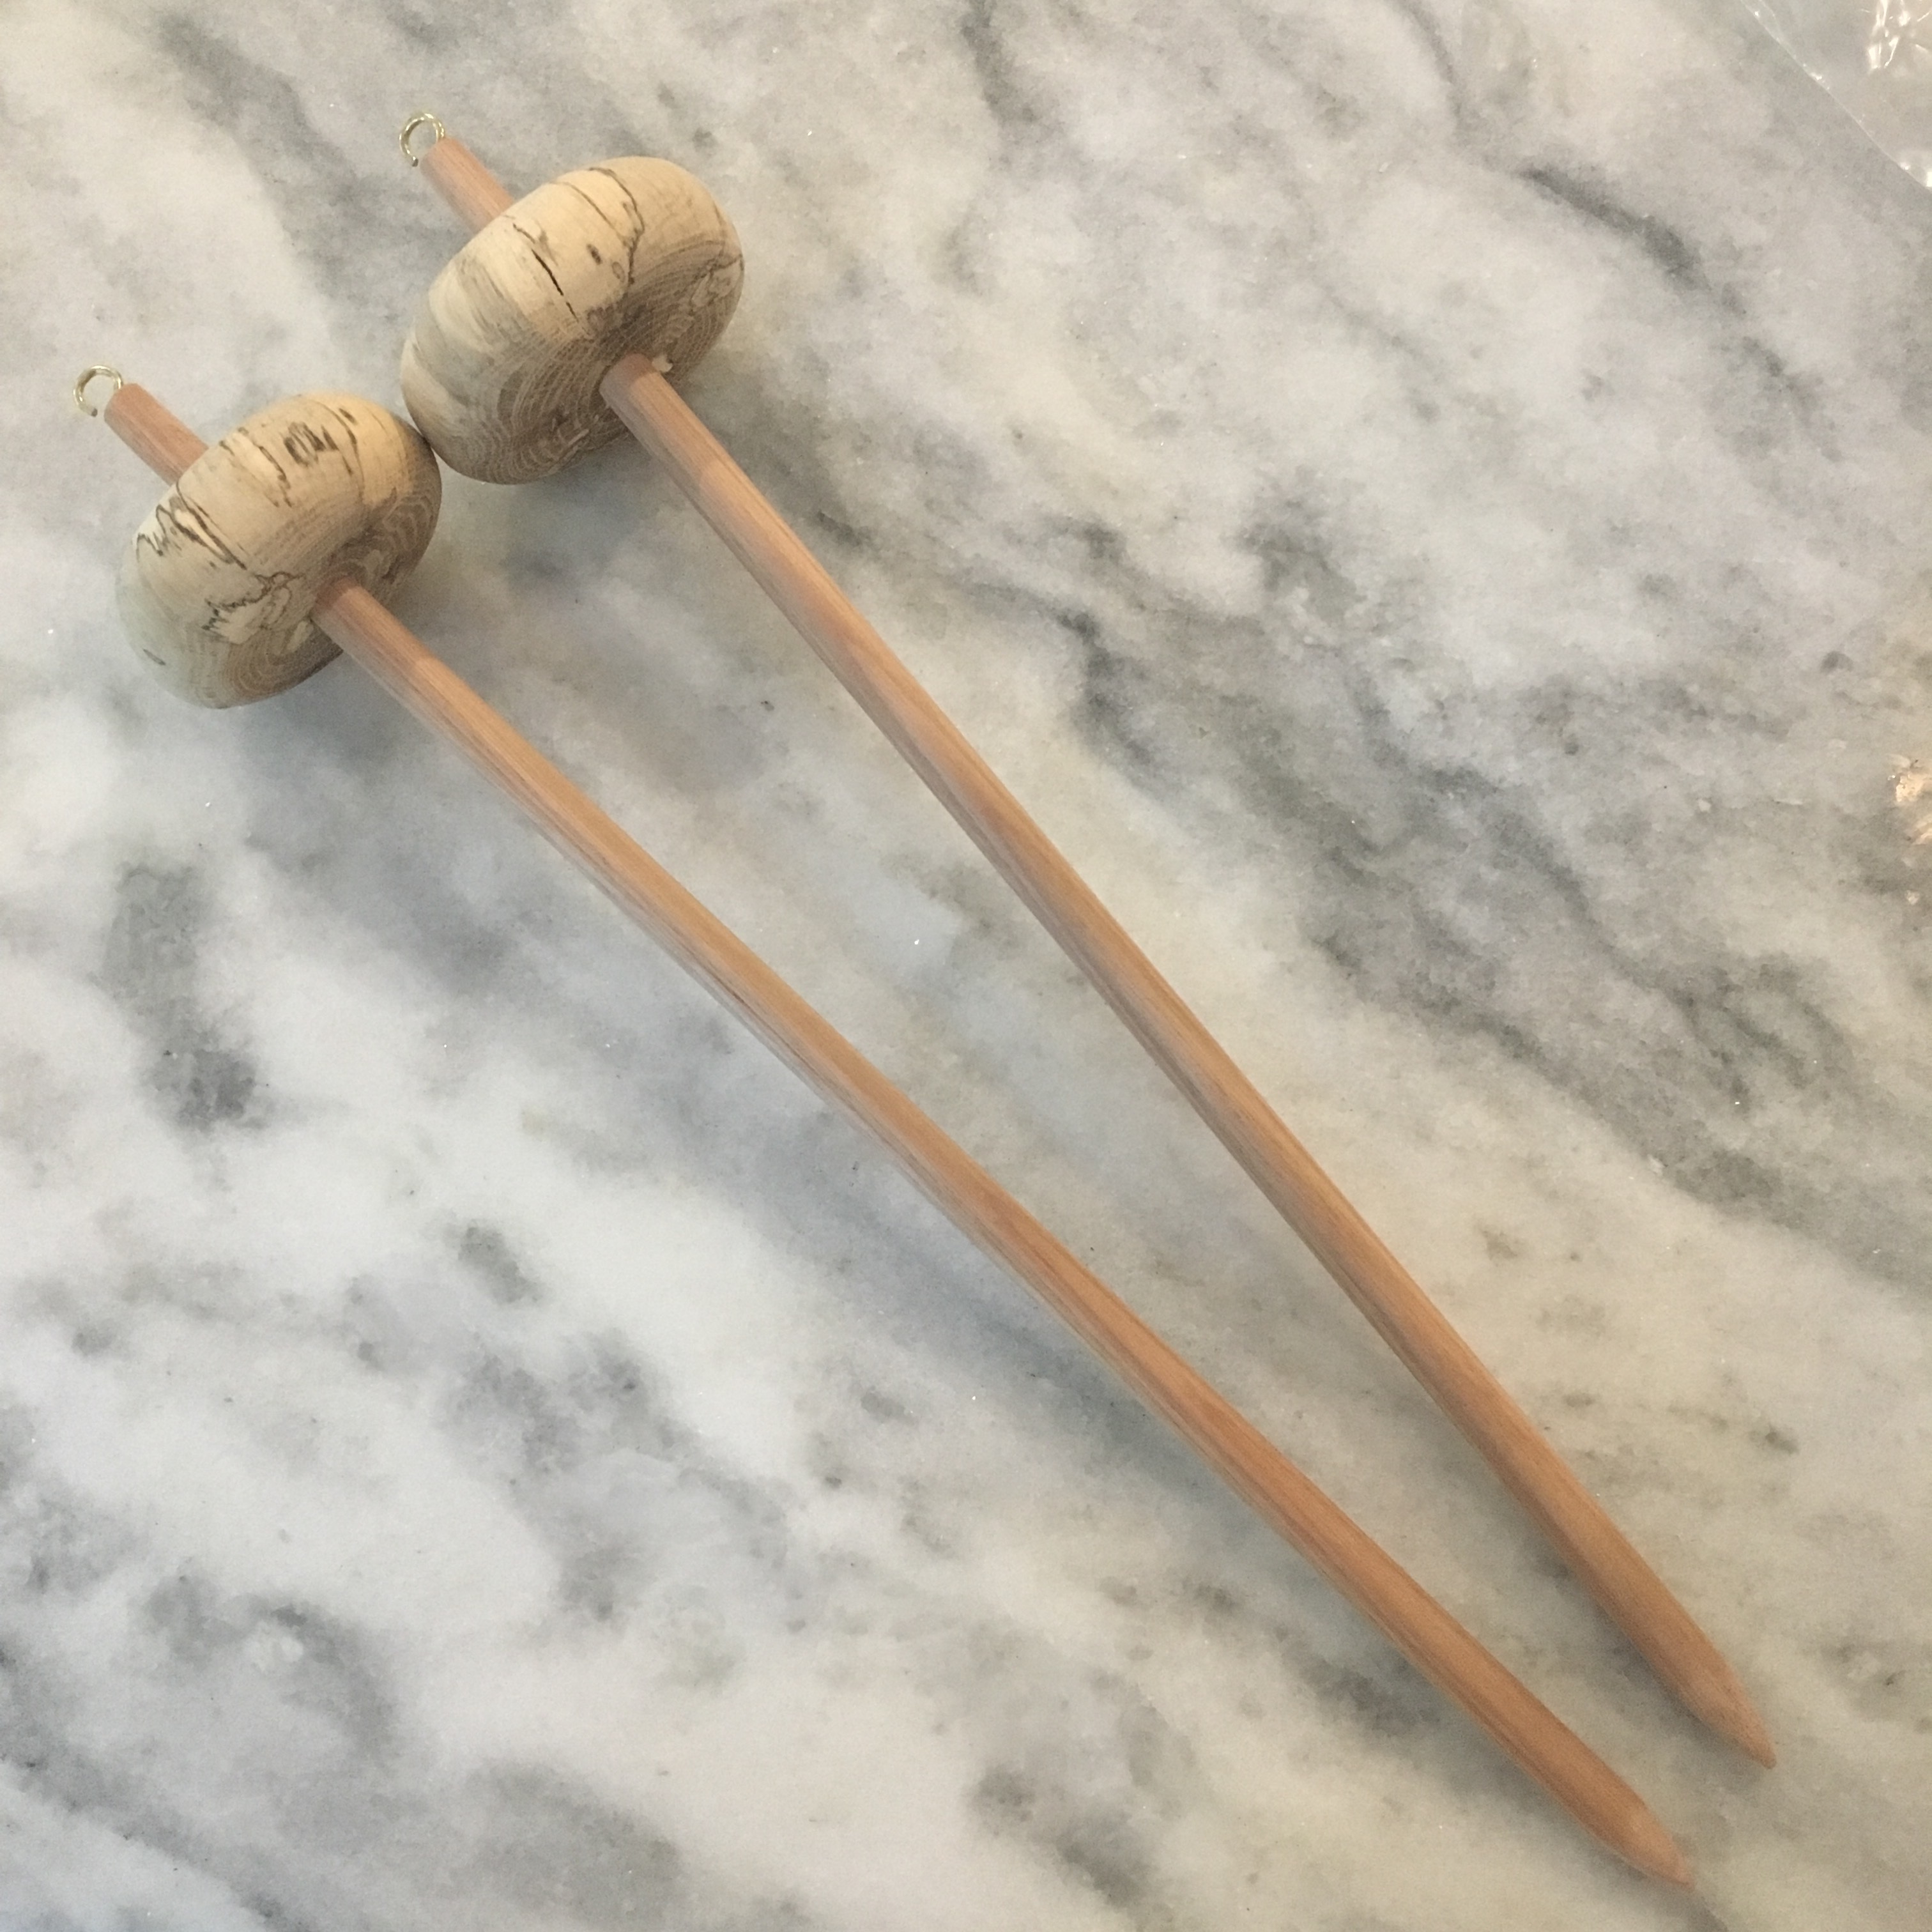
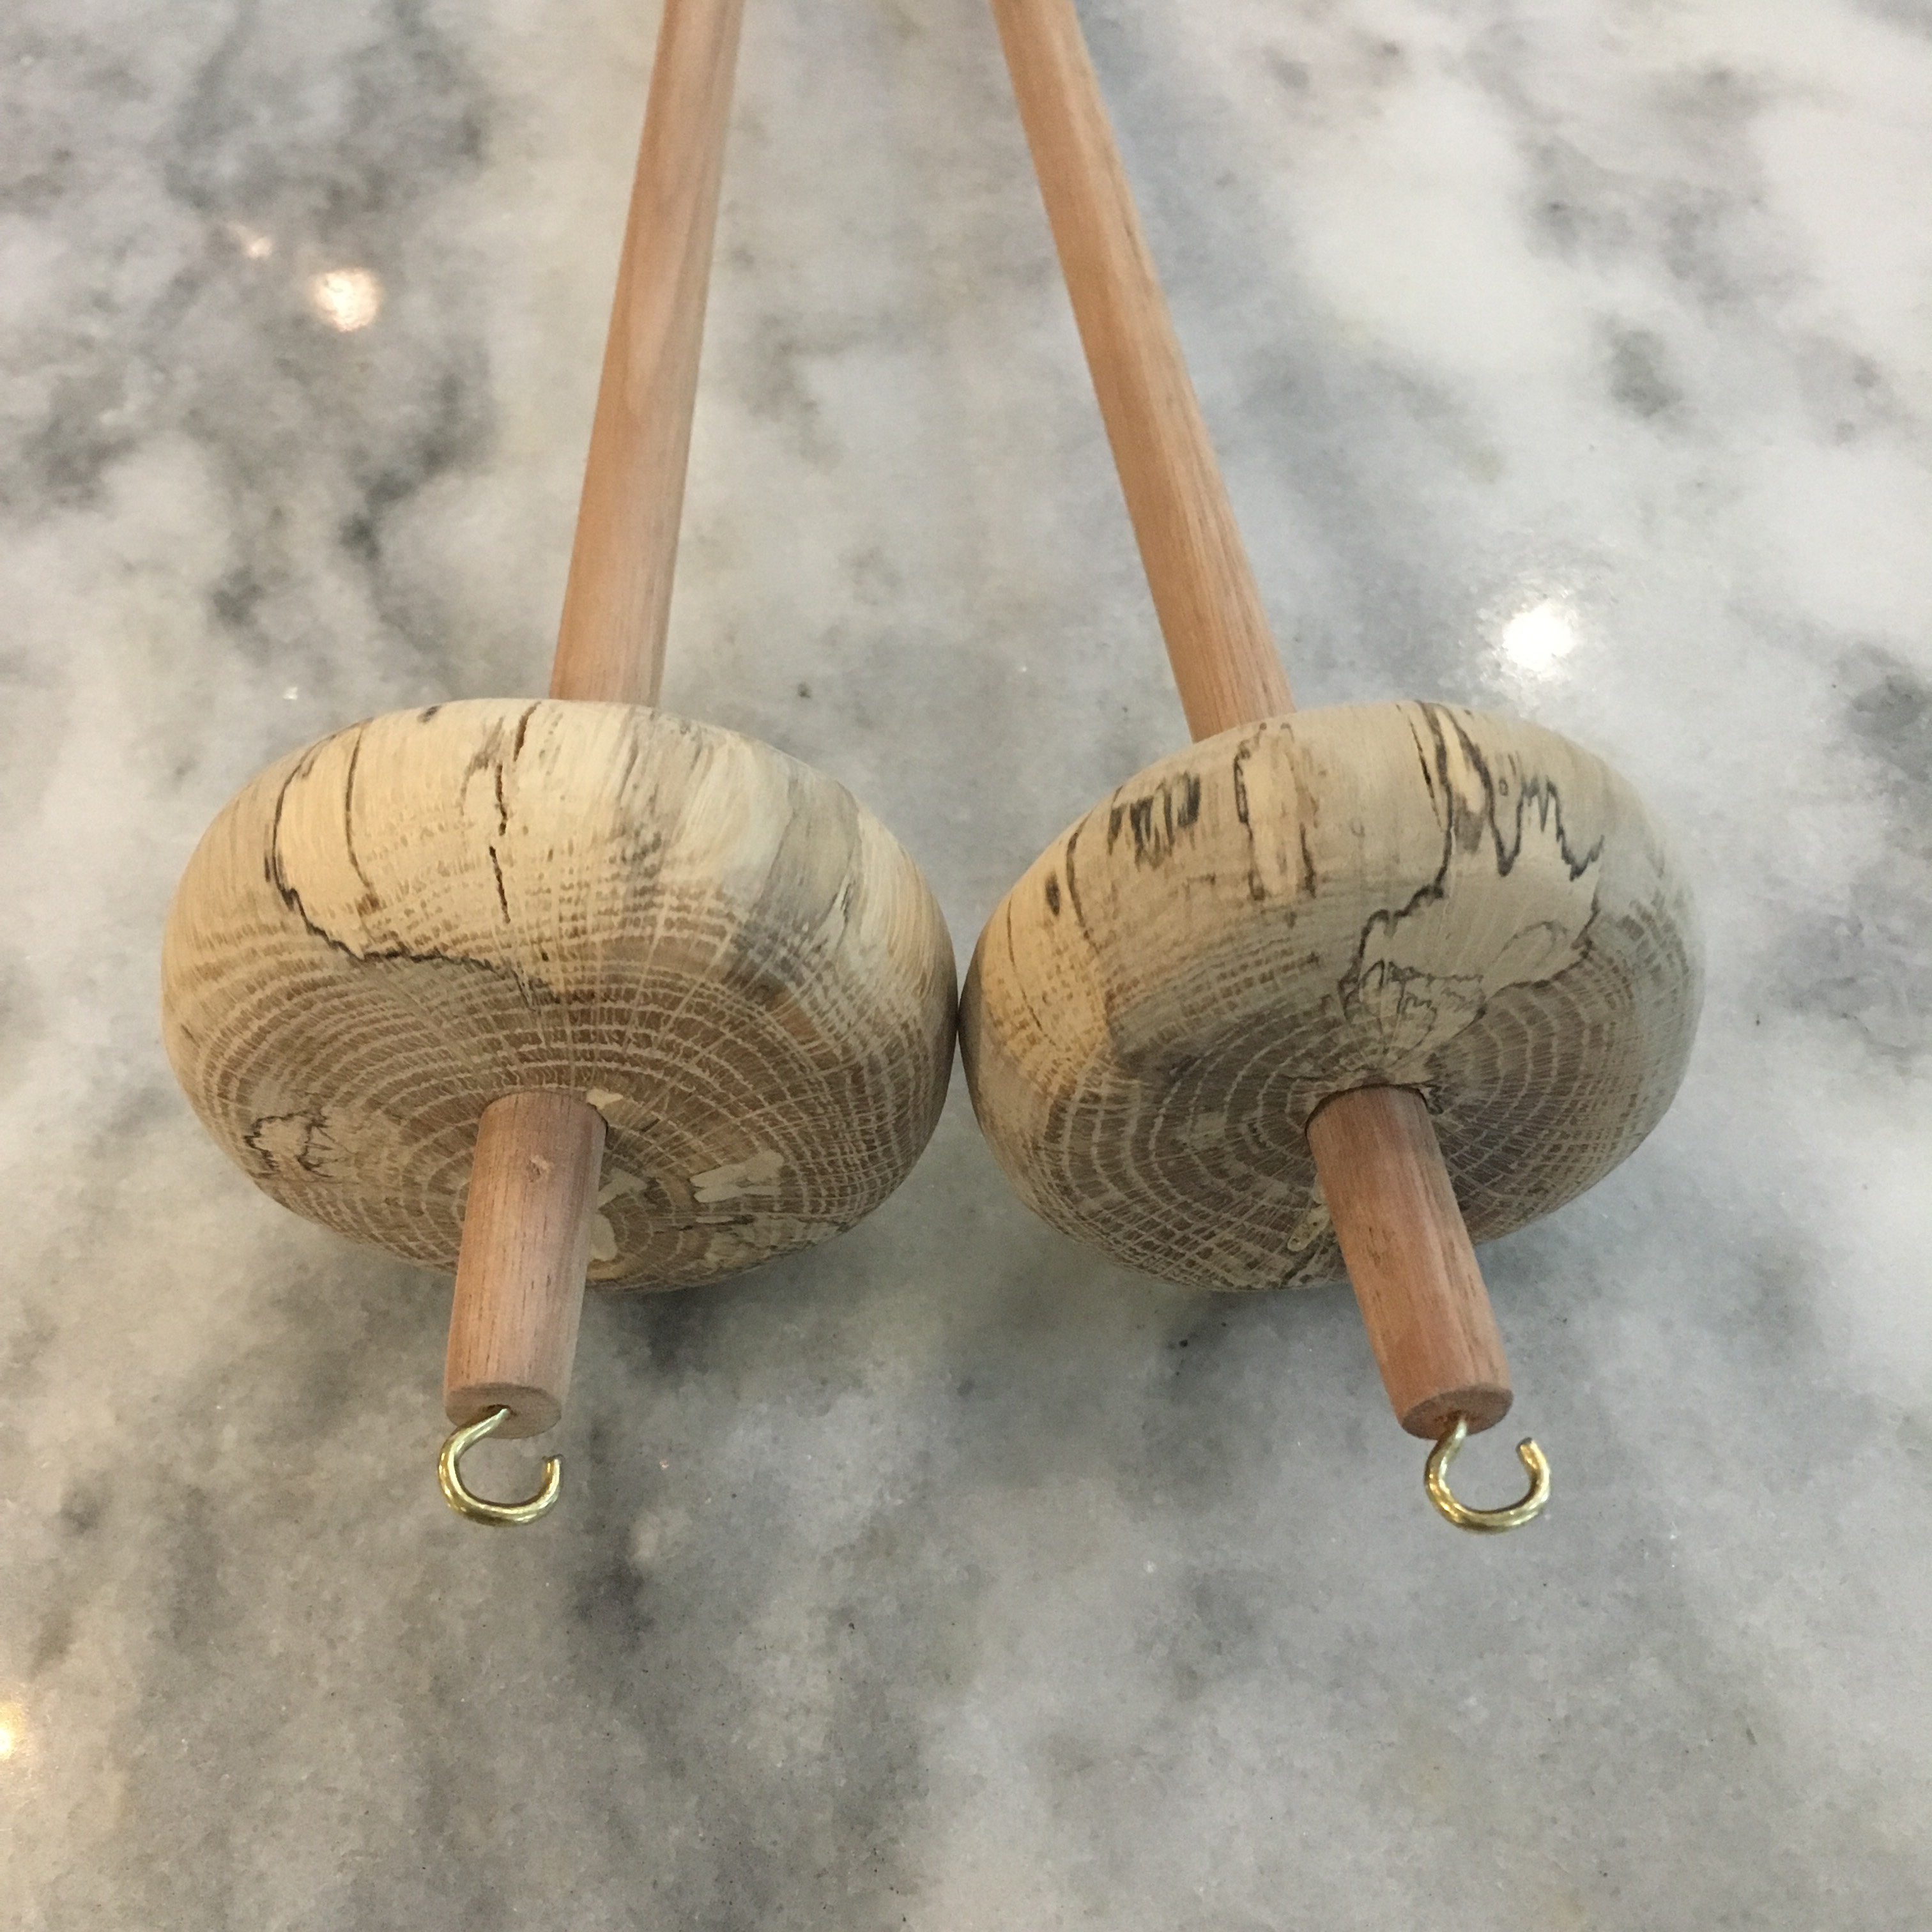
I can’t help myself. I find bits I can use to make spindles, then suddenly I have made another spindle. Or two.
The whorls on these are made from either post oak or cedar elm (we have both on the property). I took a branch that has been sitting my log pile for about a year, cut slices, then sanded the slices into donut shapes. The shafts are store bought dowels, with one end sanded to a point and the other end has the diameter reduced slightly to hold the whorl. They aren’t perfect, but they function ok and are pretty. It does make me want to get my lathe up and running again so I can make perfectly round whorls.
Update on Tigger: After Tigger freaked out and injured herself during the coop clean out, she went into isolation for two days. We wrapped her foot, which made her limping worse, took off the wrap in the morning, and that evening she perched all night. I let her out in the morning and she seems right as rain.
Update on Navi: Although Navi is gaining weight, her crop is large and squishy again. So she went back into isolation with copper sulfate drinking water. One bird out, one bird in.
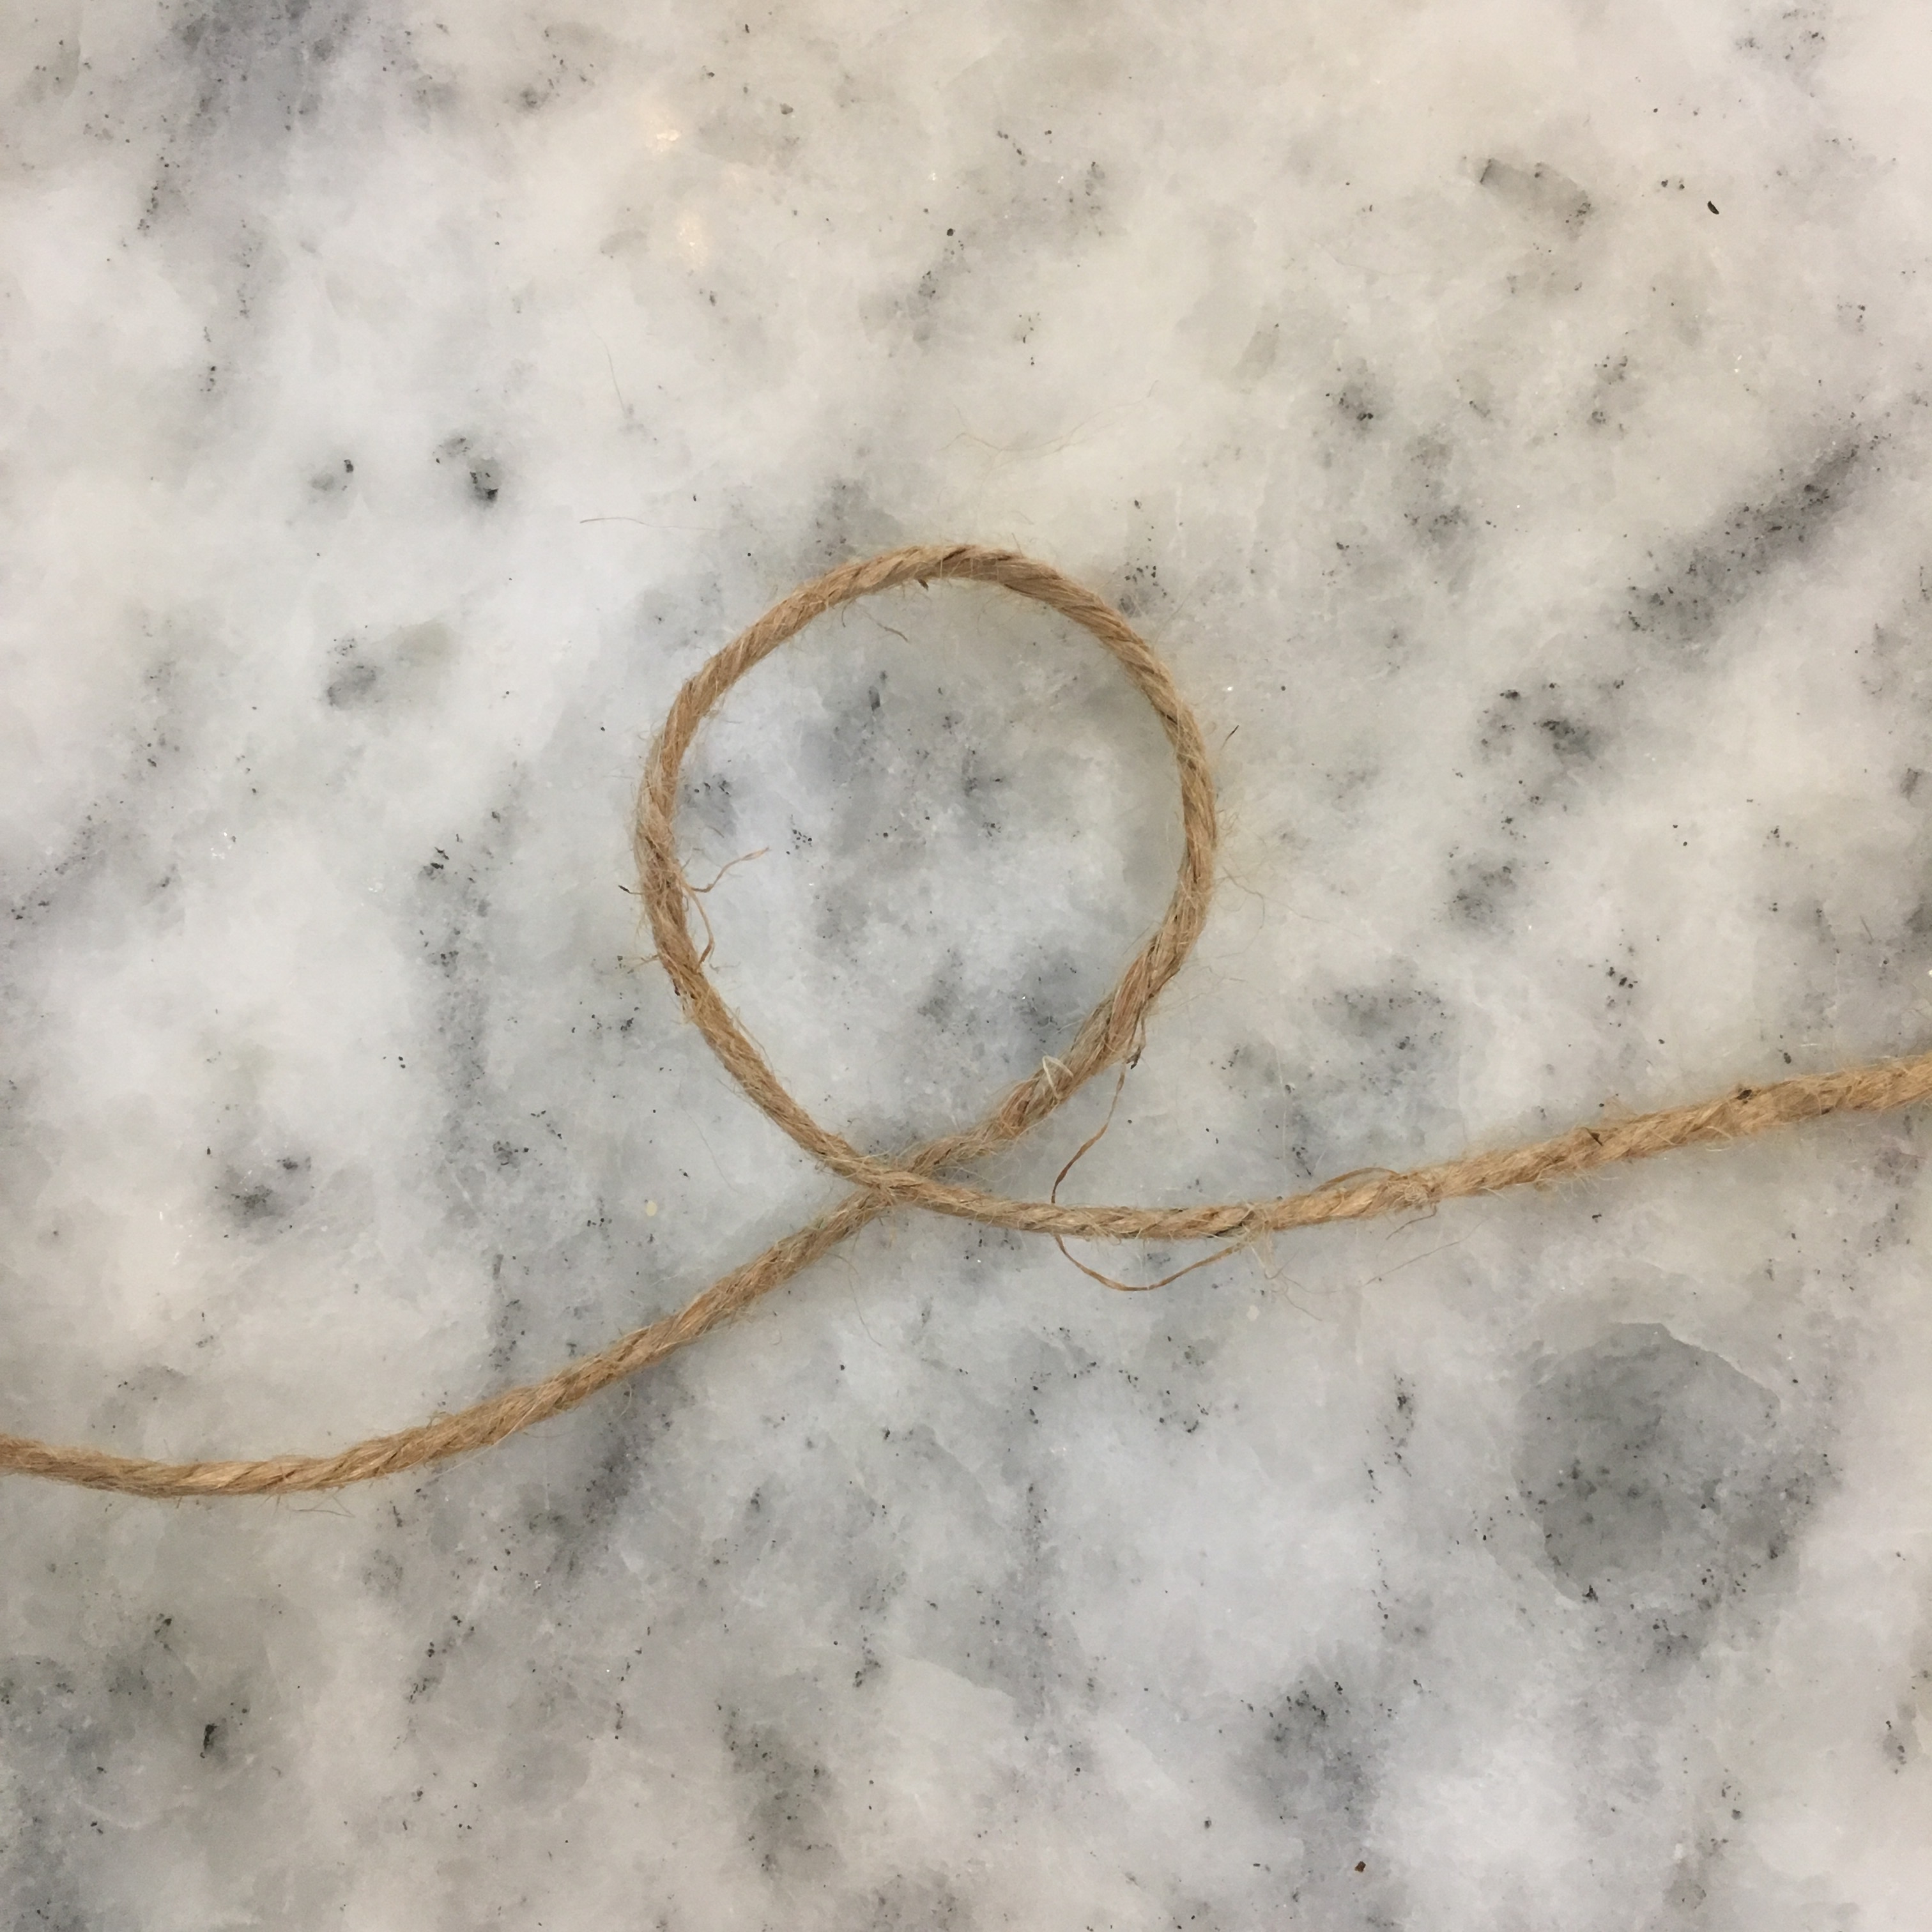
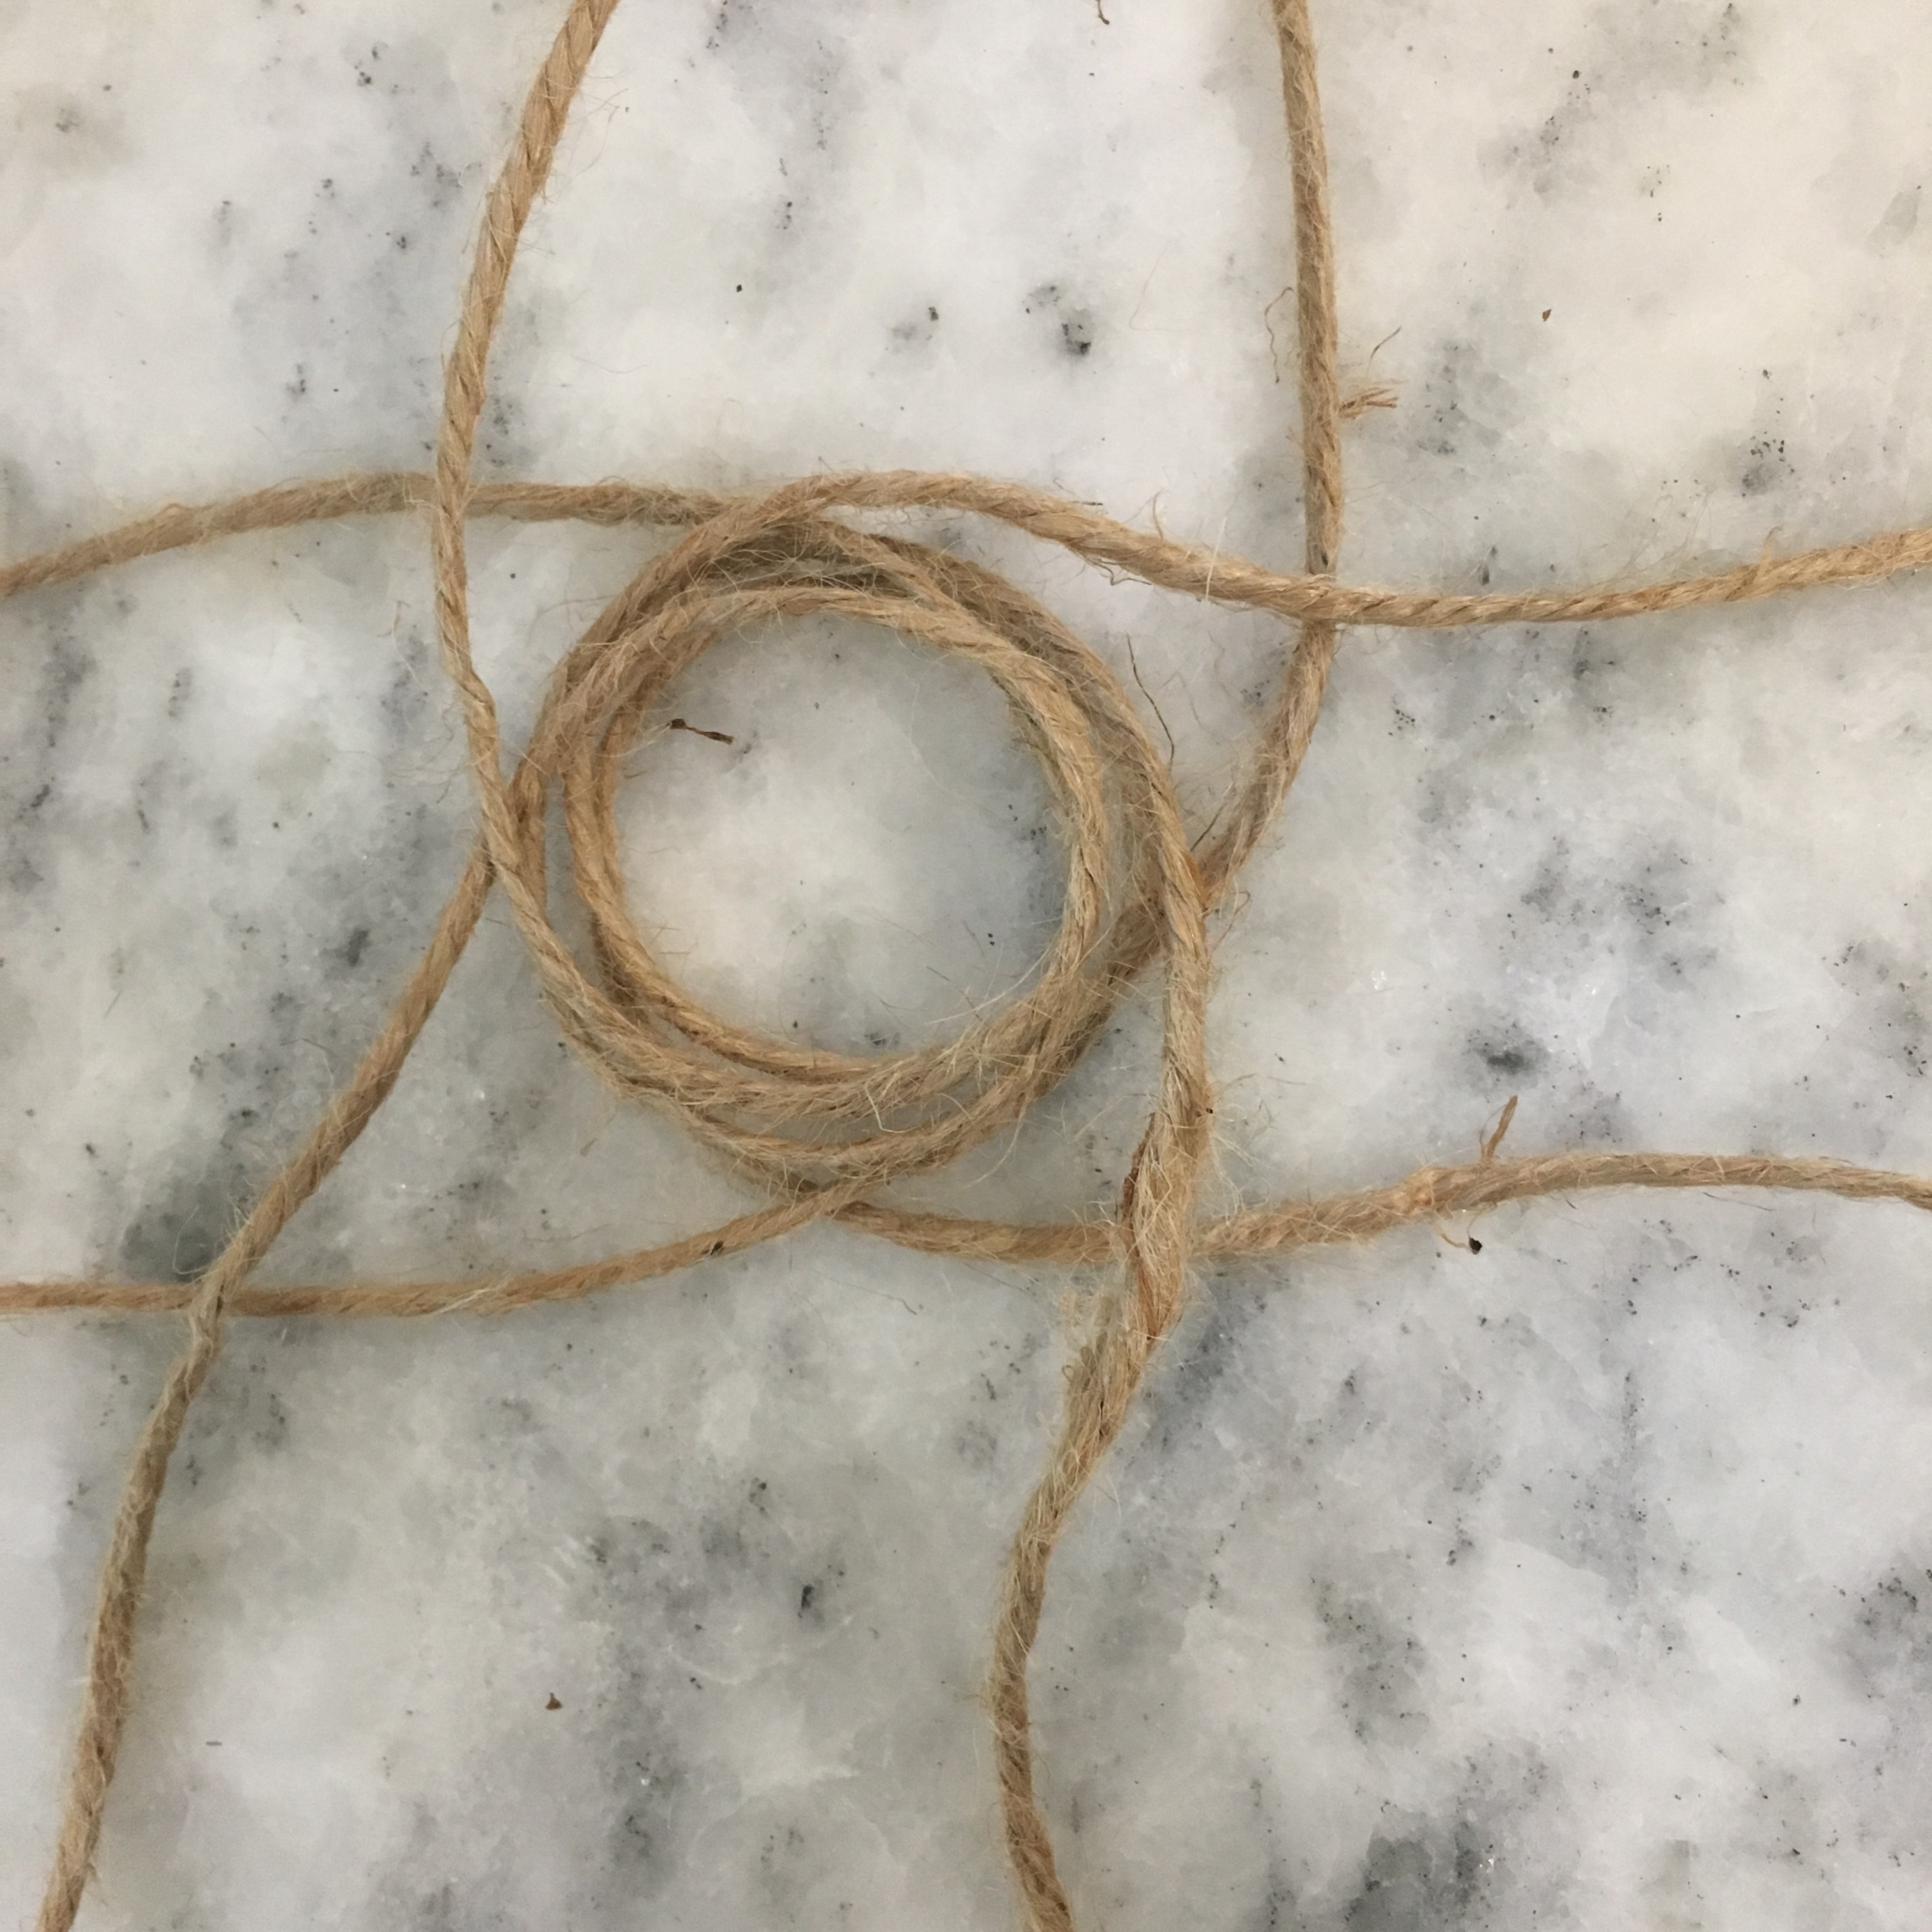
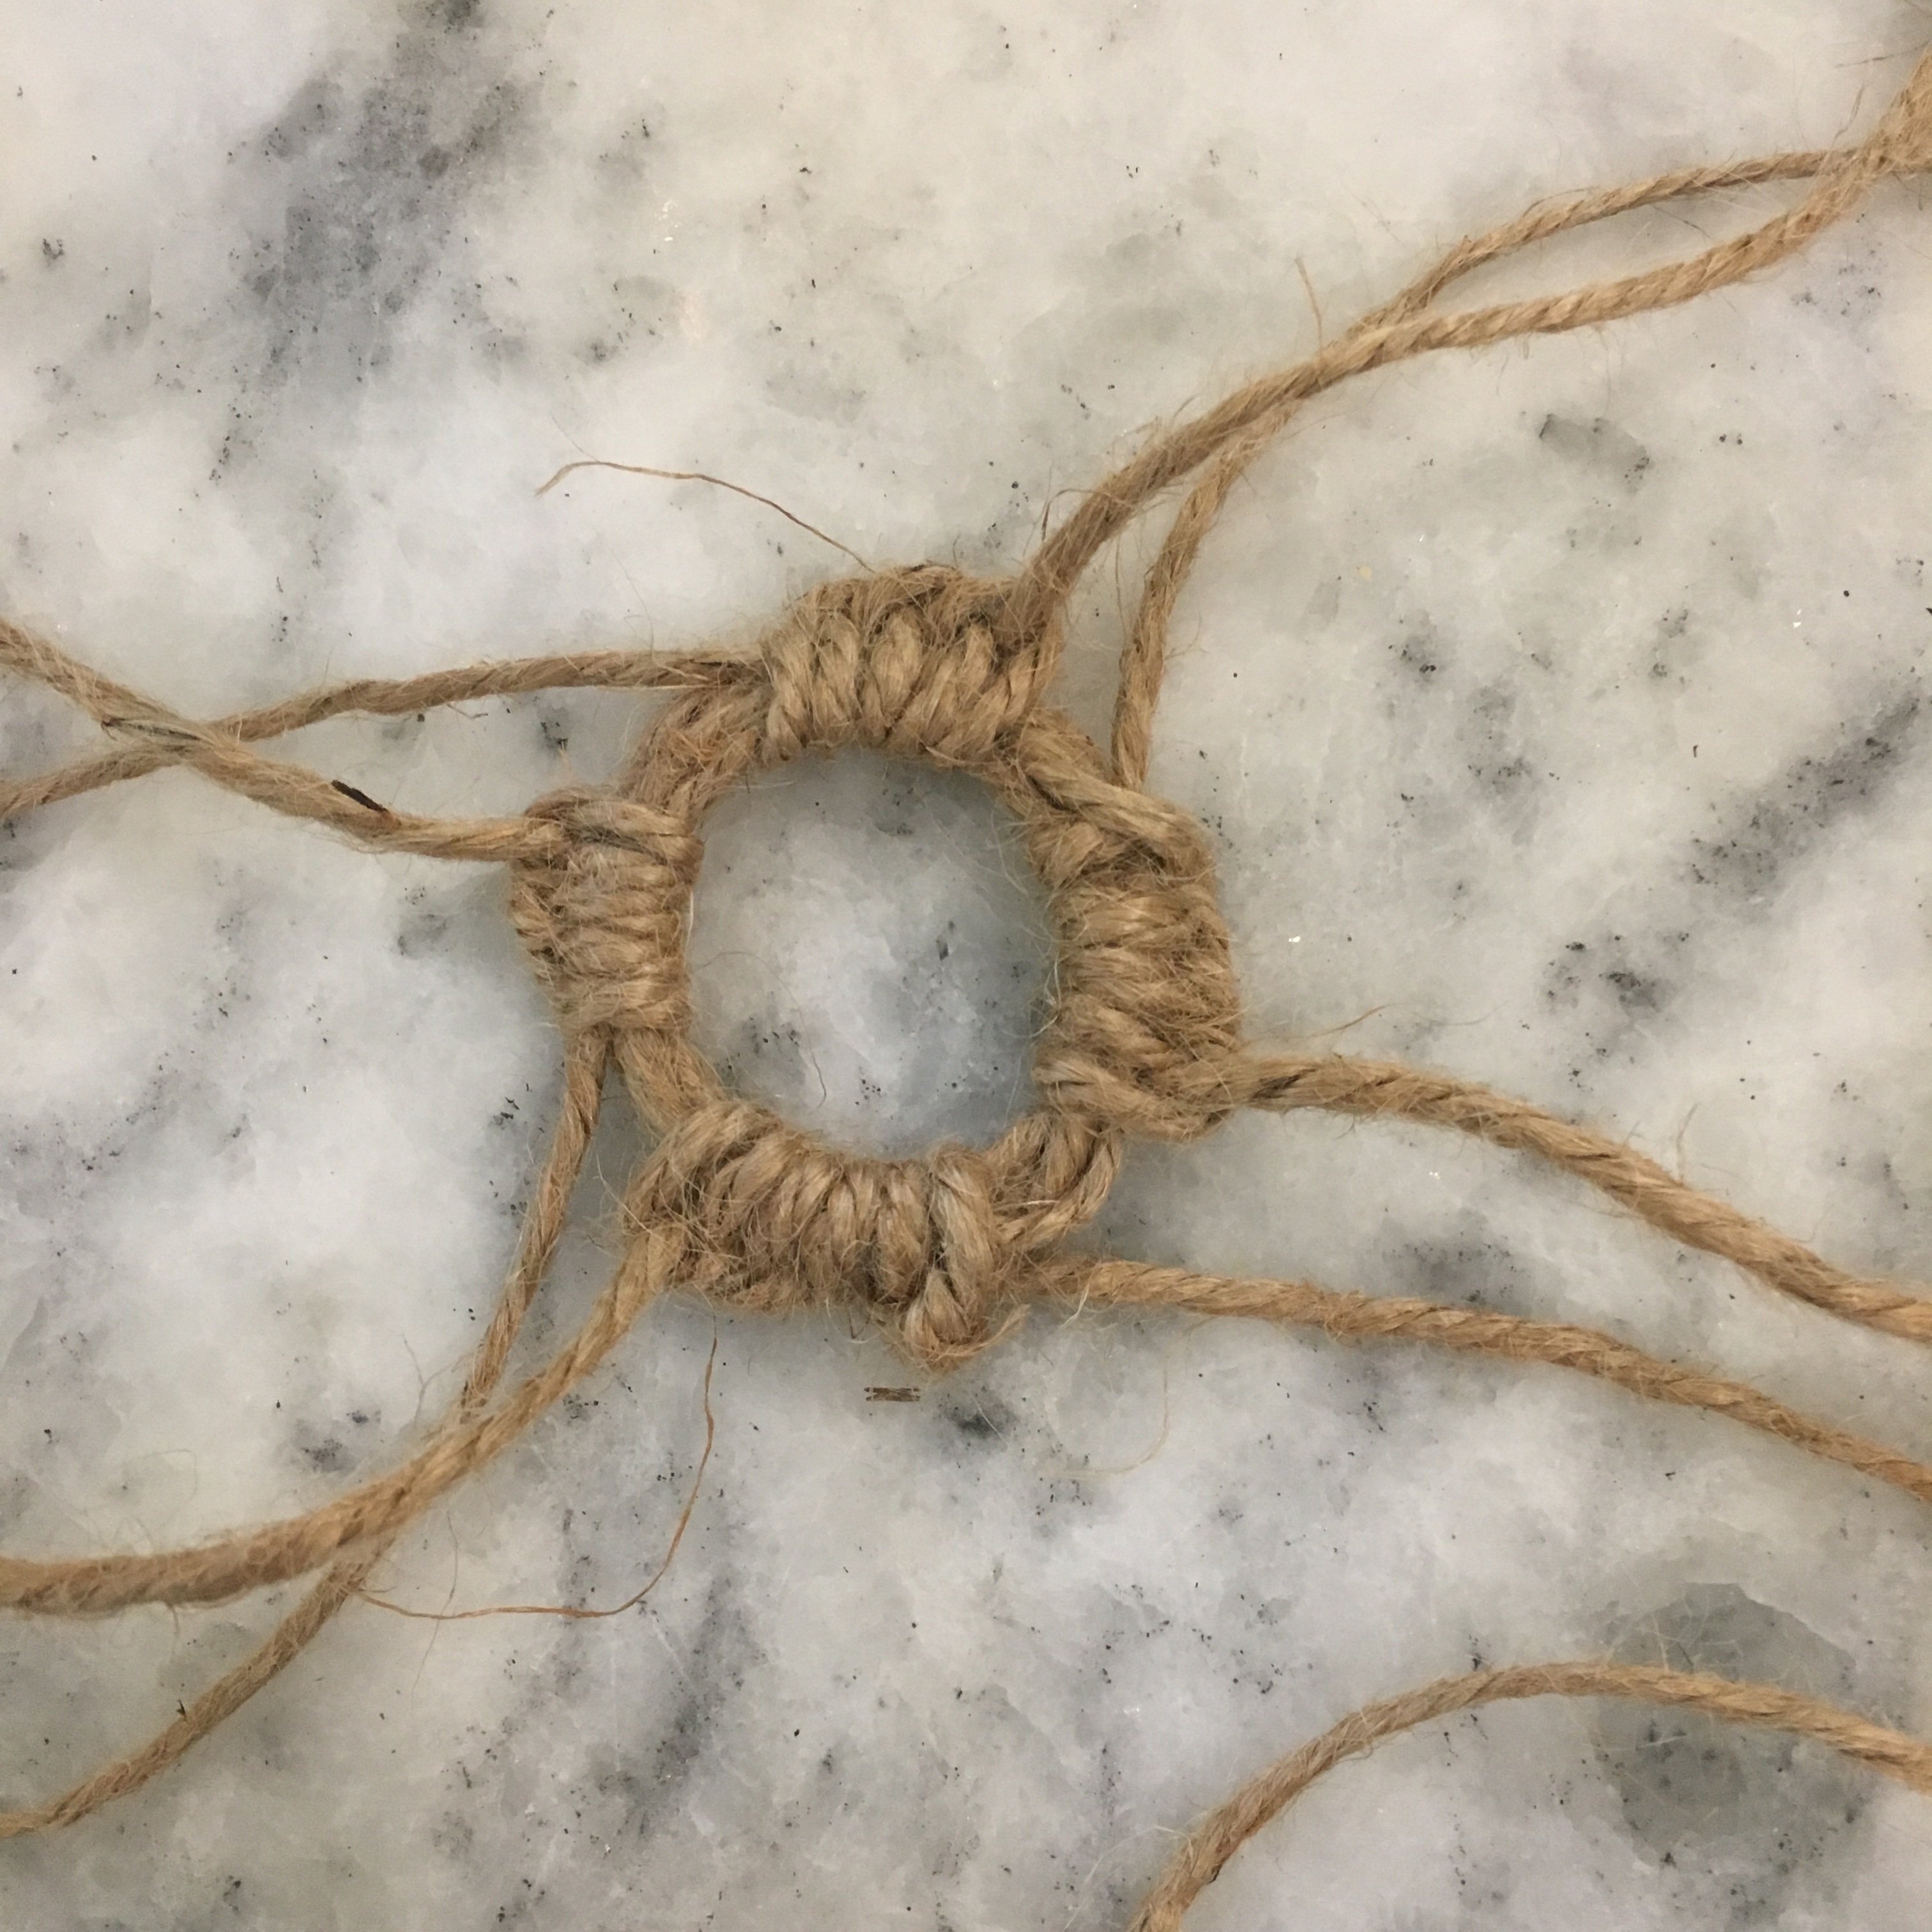
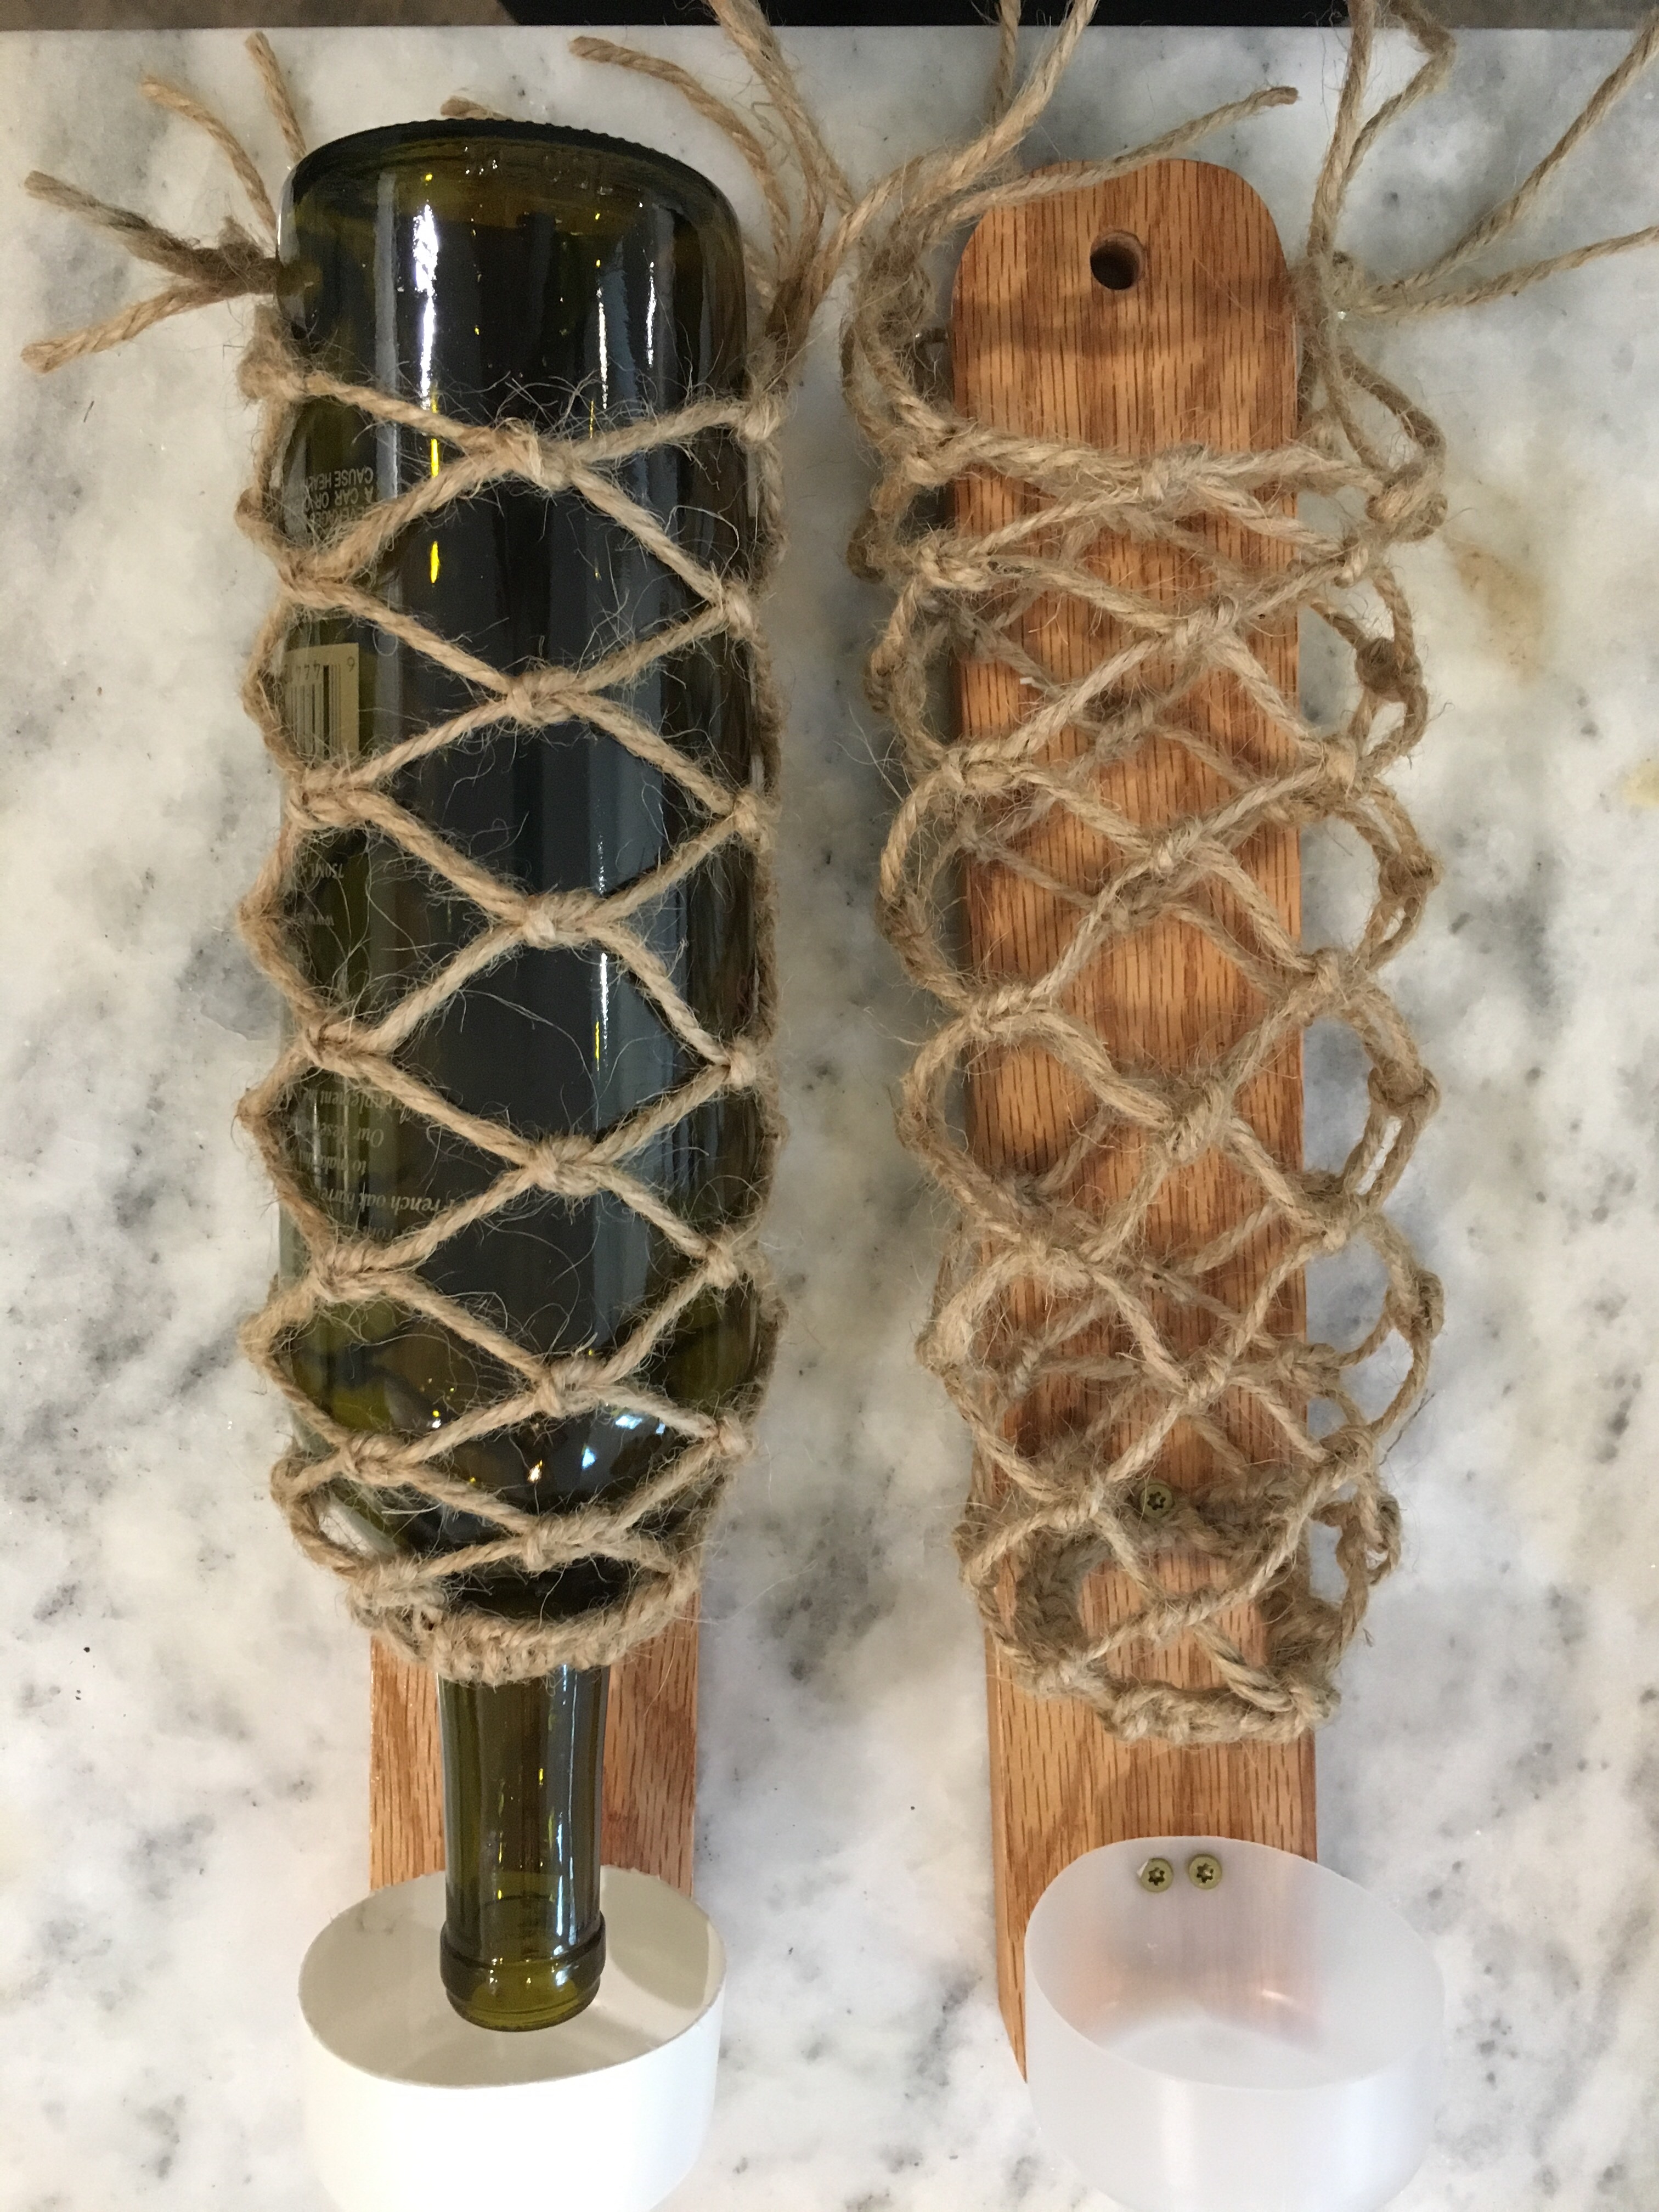
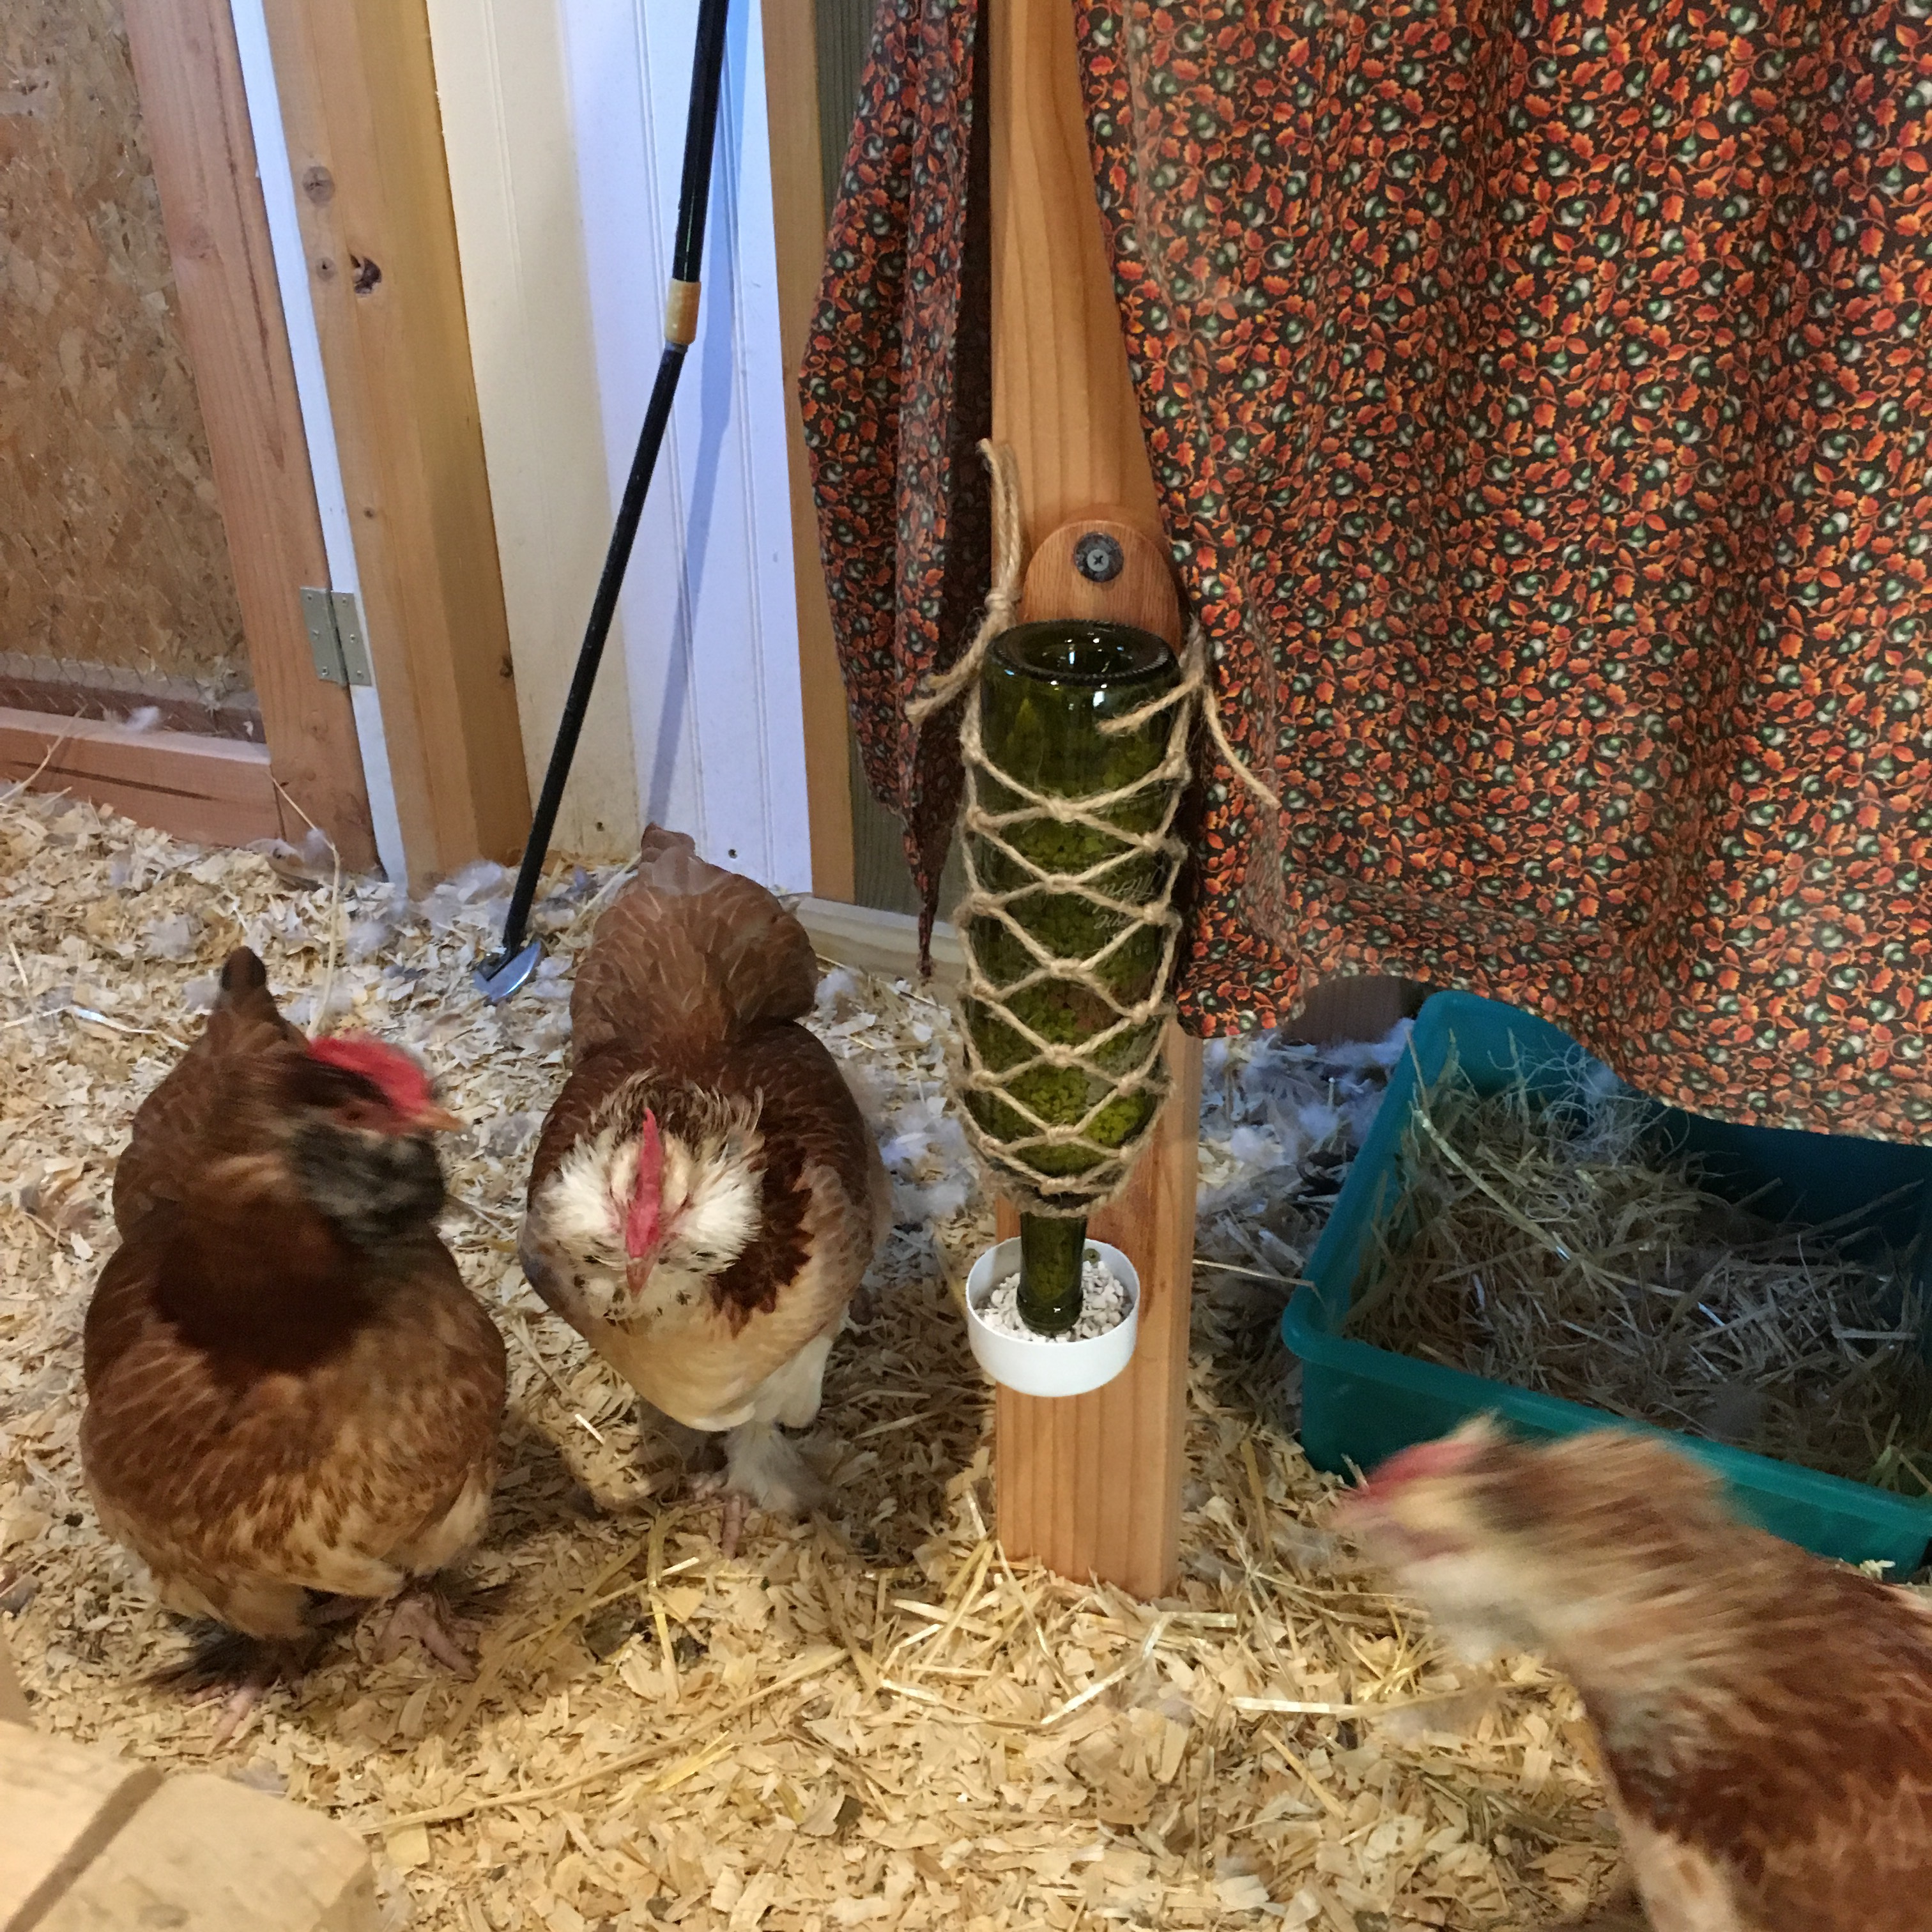
I modified this idea from Lisa of Fresh Eggs Daily. I used the cut-off bottom of an old water bottle for the cup (because I didn’t have tuna cans), and I made a twine net to hold the wine bottle. I cut four long pieces of twine (about 8 feet each), and made a loop in the middle. I stacked four loops together, then used half-hitches to secure the circle (this is where the neck of the bottle will go).
Loop of twineFour loops of twineHalf-hitch secured circle
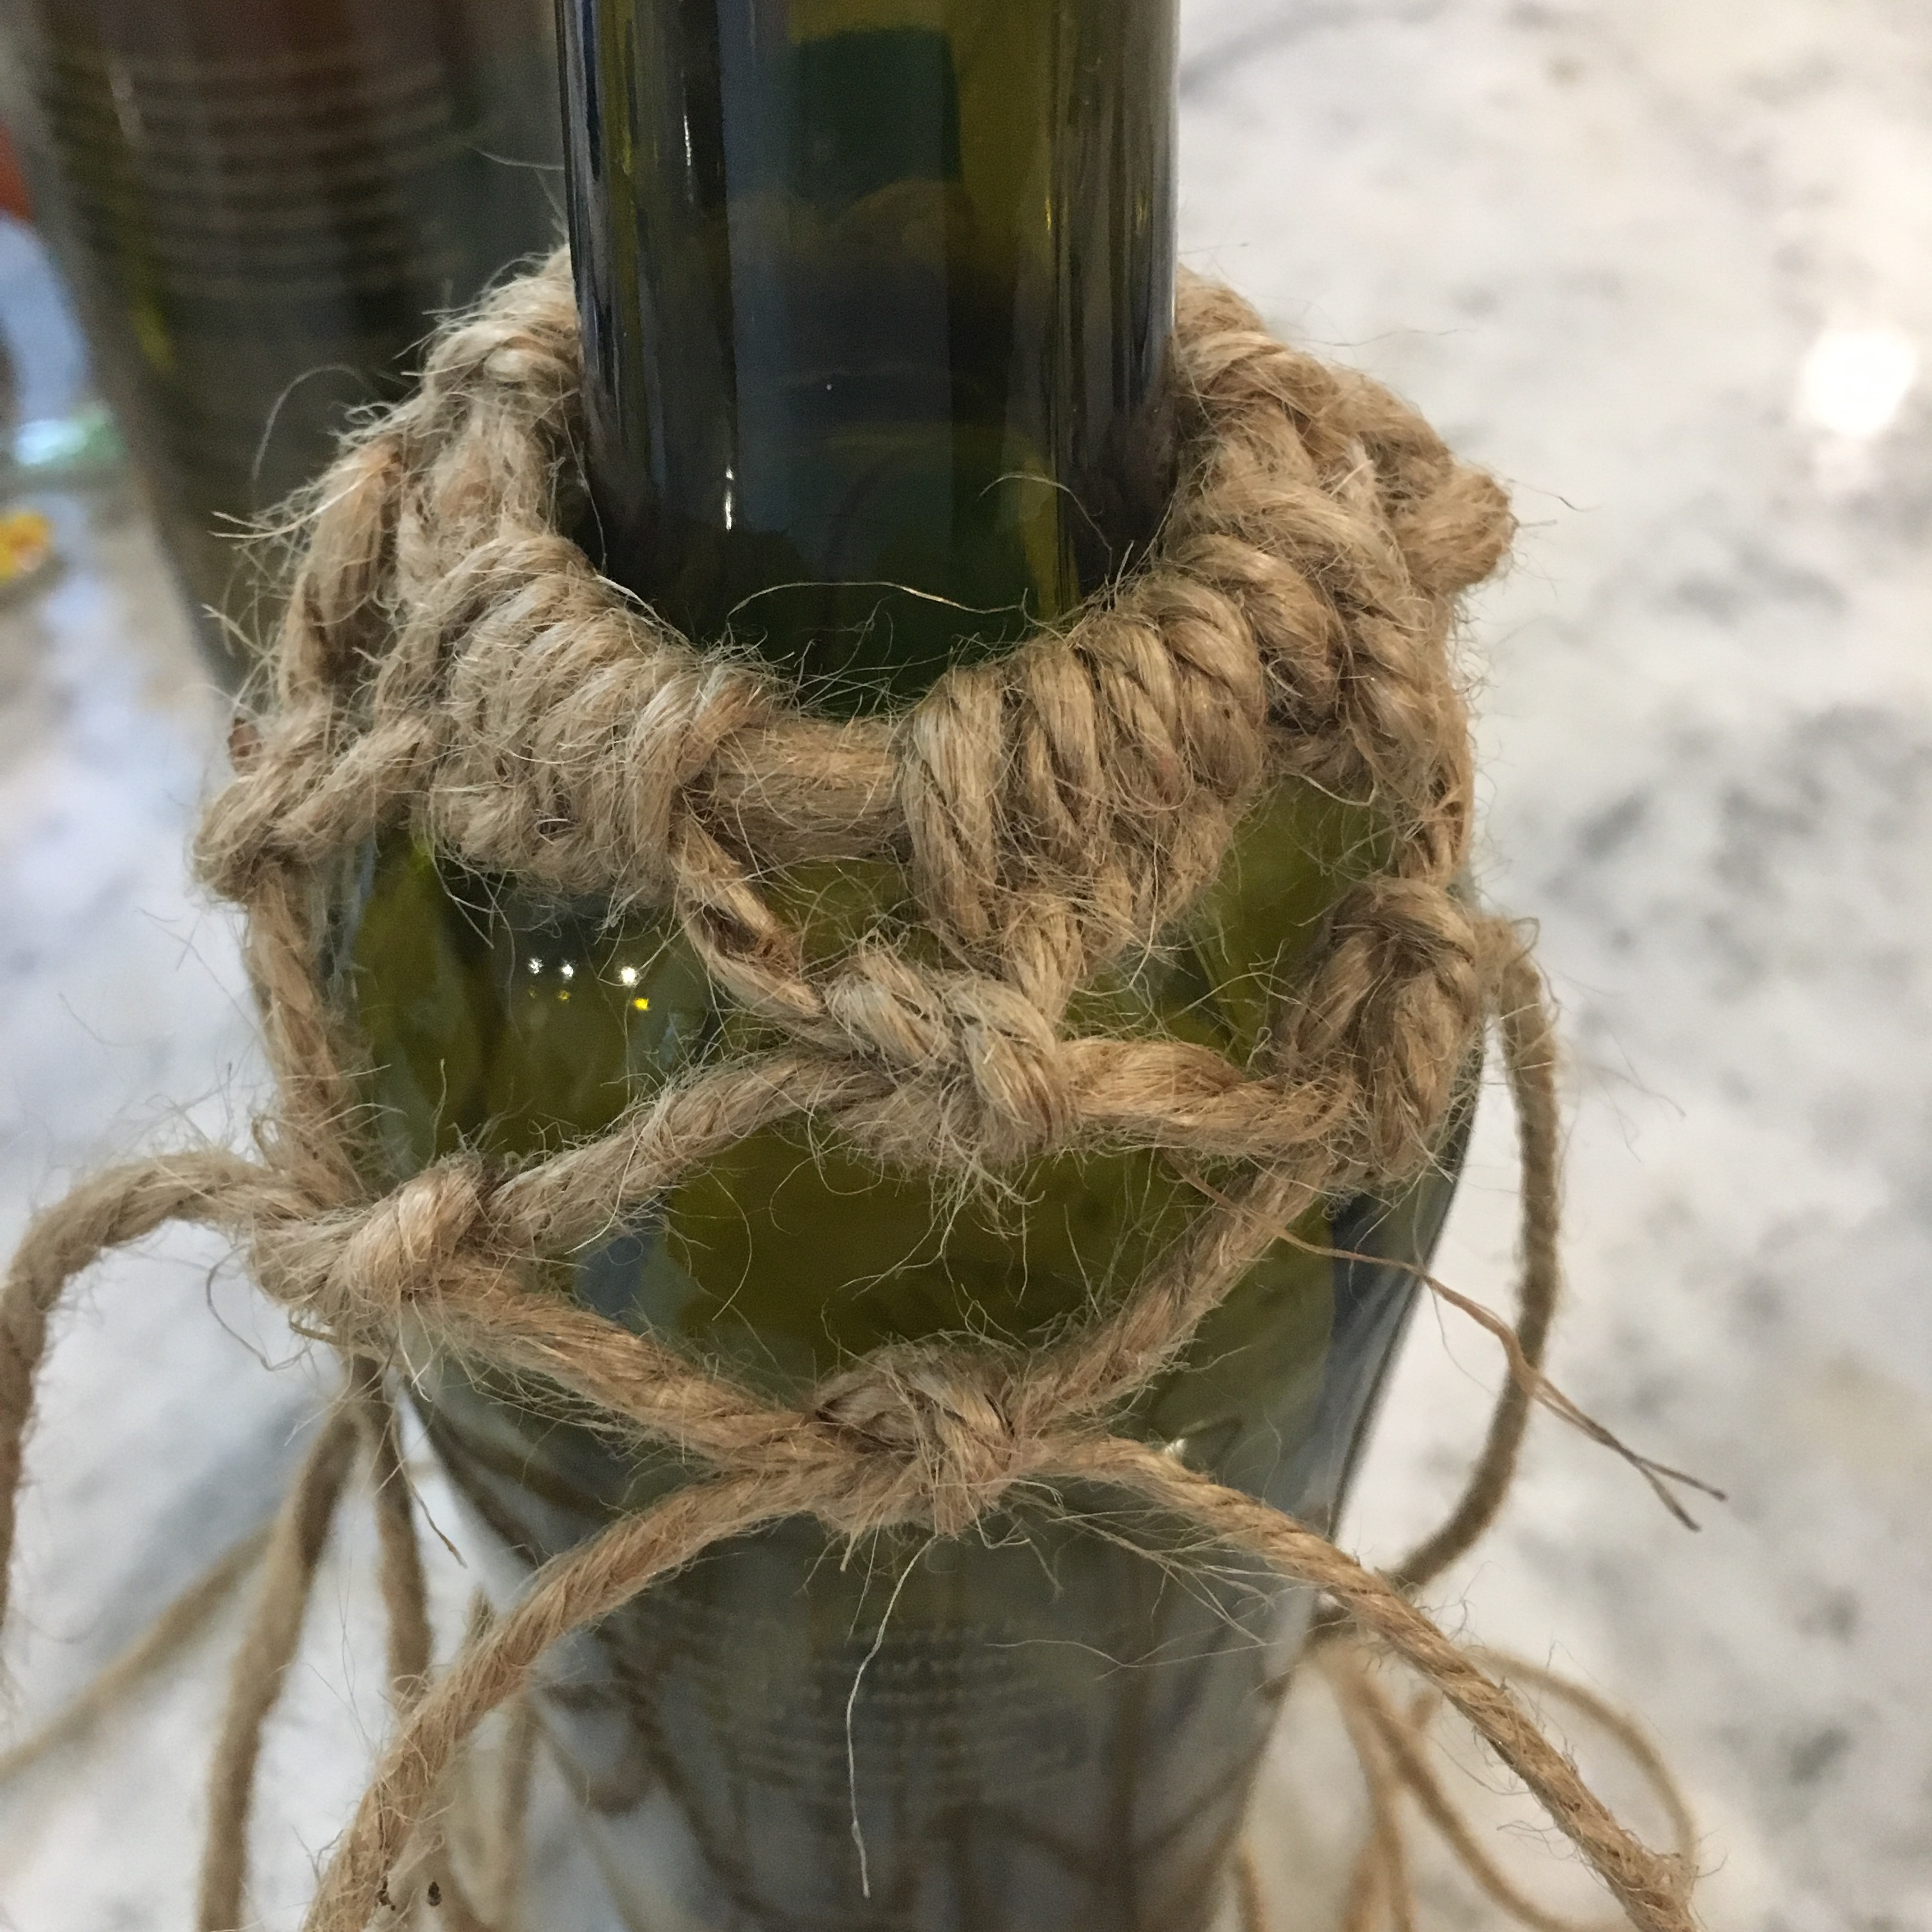
I put the twine circle on the bottle and made square knots using pairs of twine, then alternated the pairs to make the next row of knots. There are four knots in each row.
Square knot netting
I knotted 13 rounds, which nearly covered the bottle (the netting will stretch, so I didn’t want it too long). I attached the netting and cups to pieces of oak board, attached screw eyes to secure the top of the nets, and anchored the bottom of the net with a screw.
Finished netting attached to oak boards with plastic cups
I secured the oak boards to the legs of the work table with screws at the top and bottom.
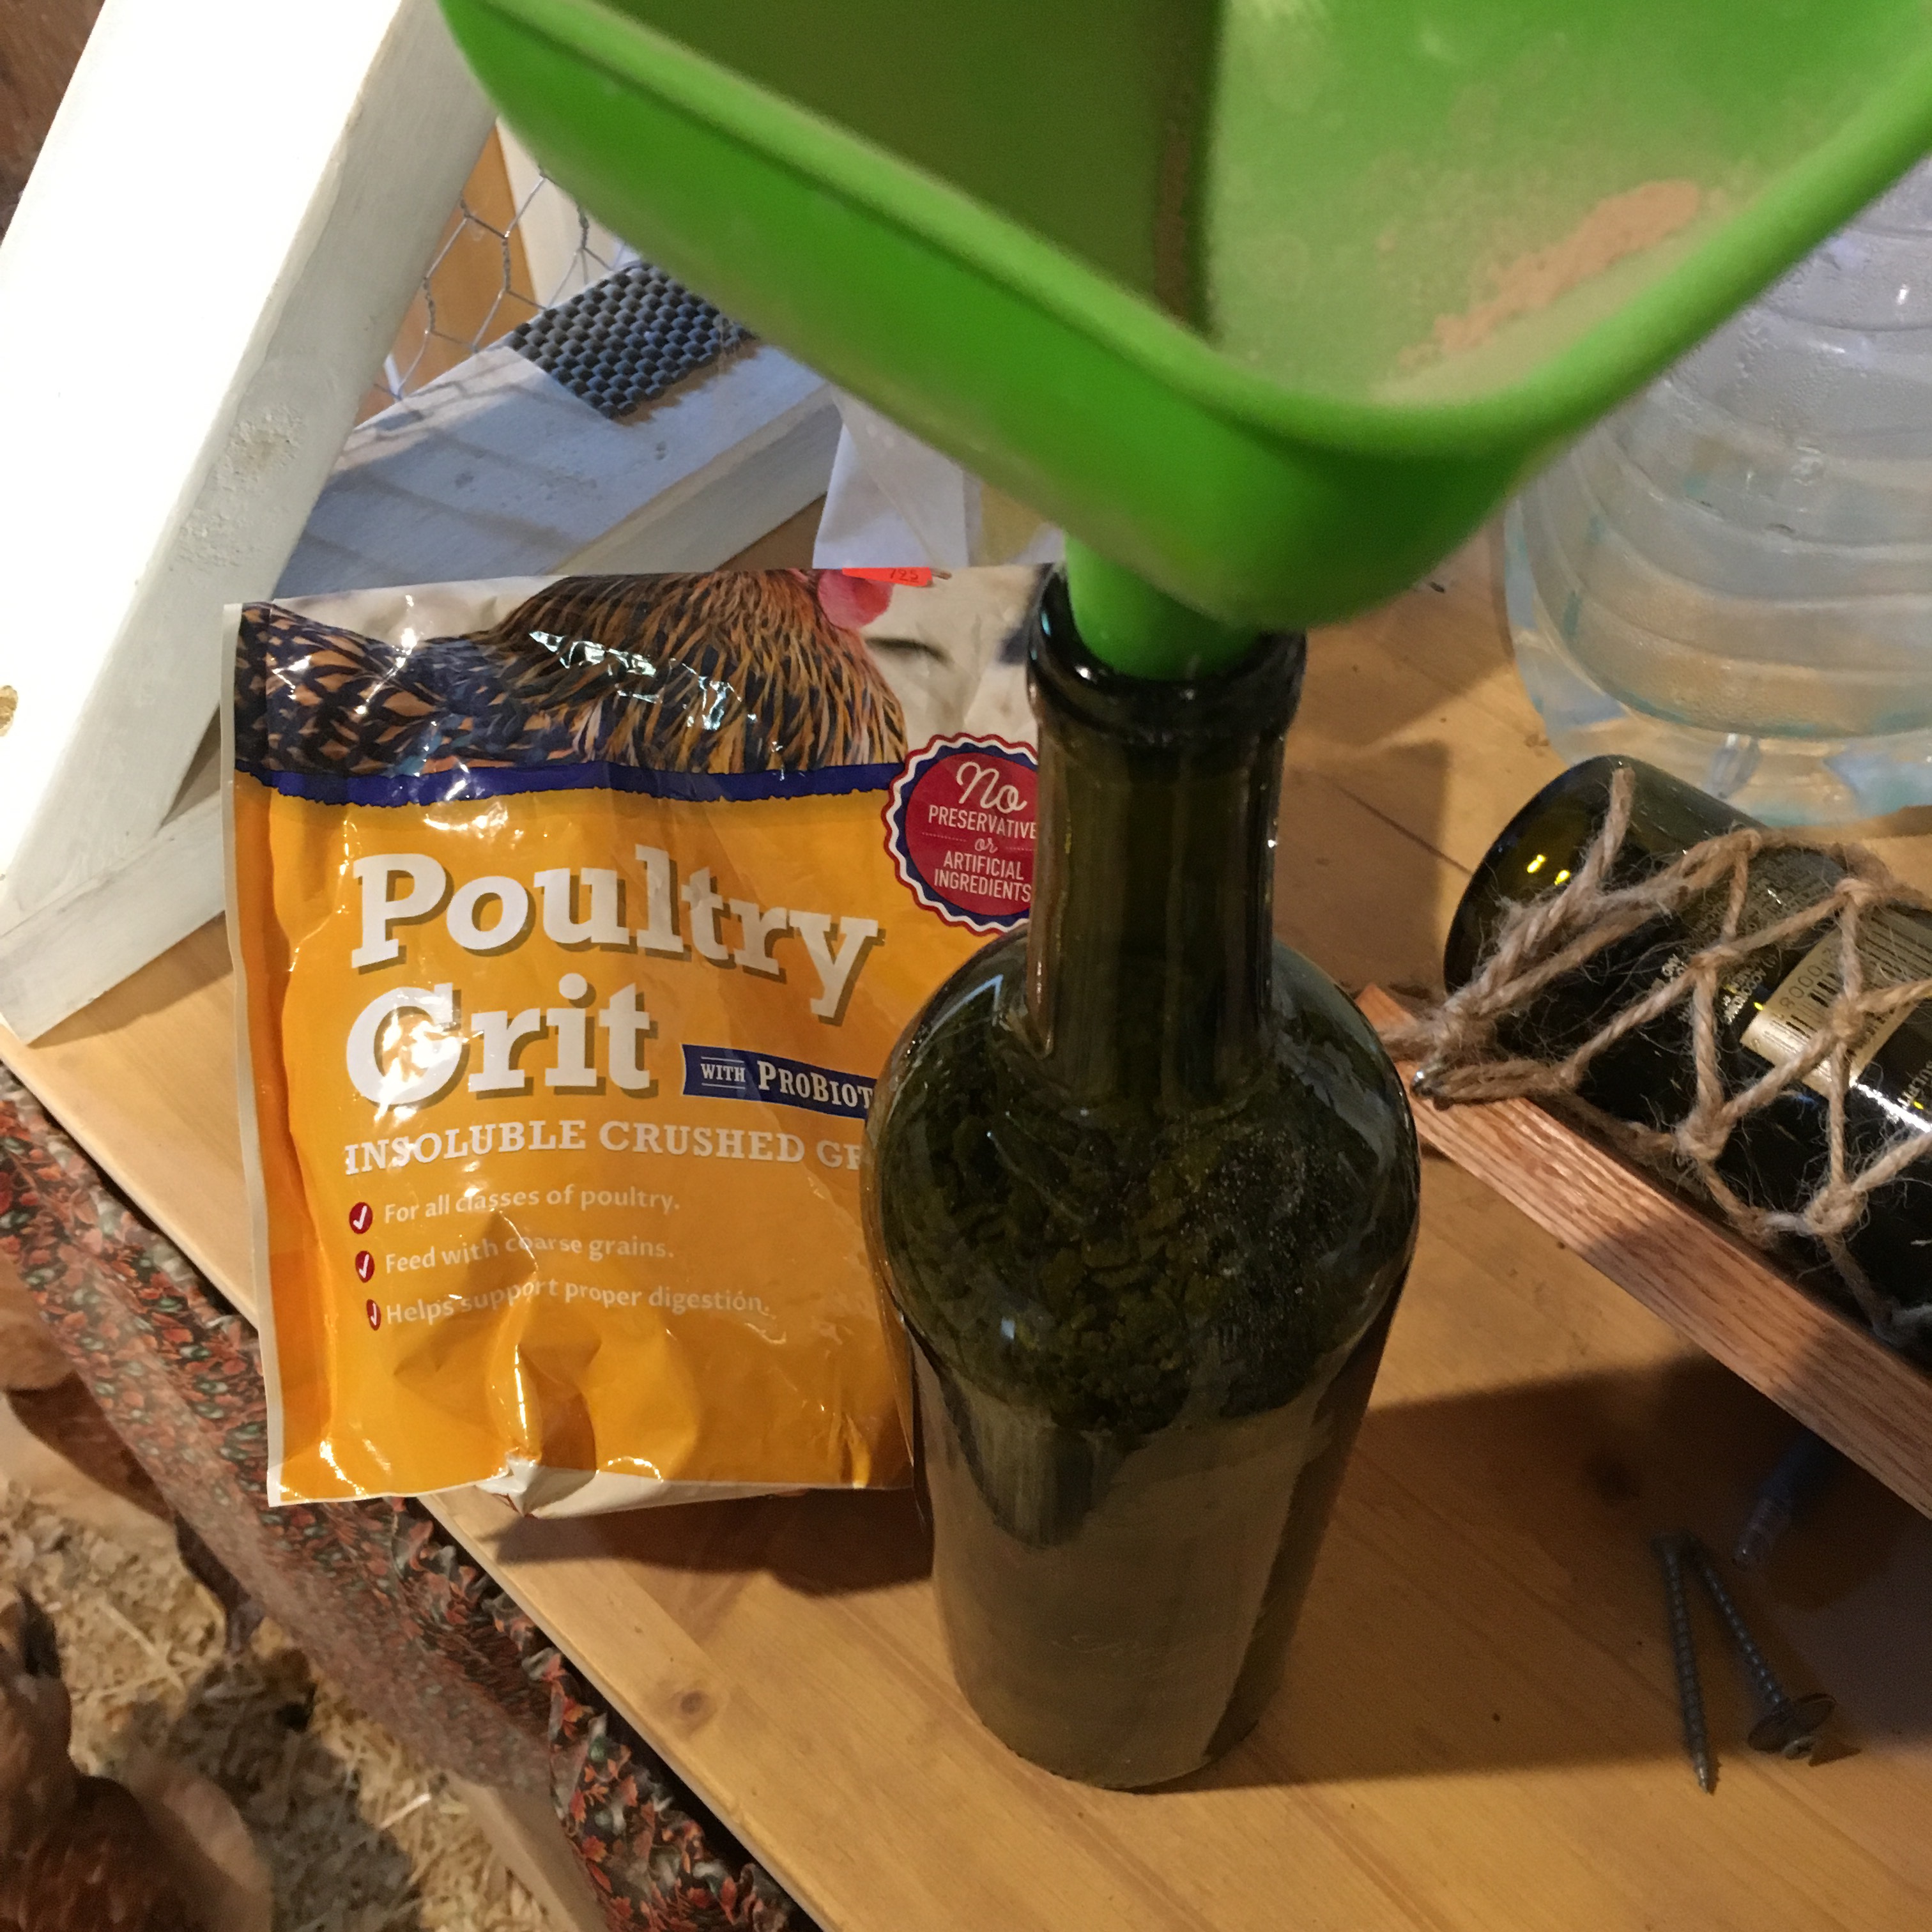
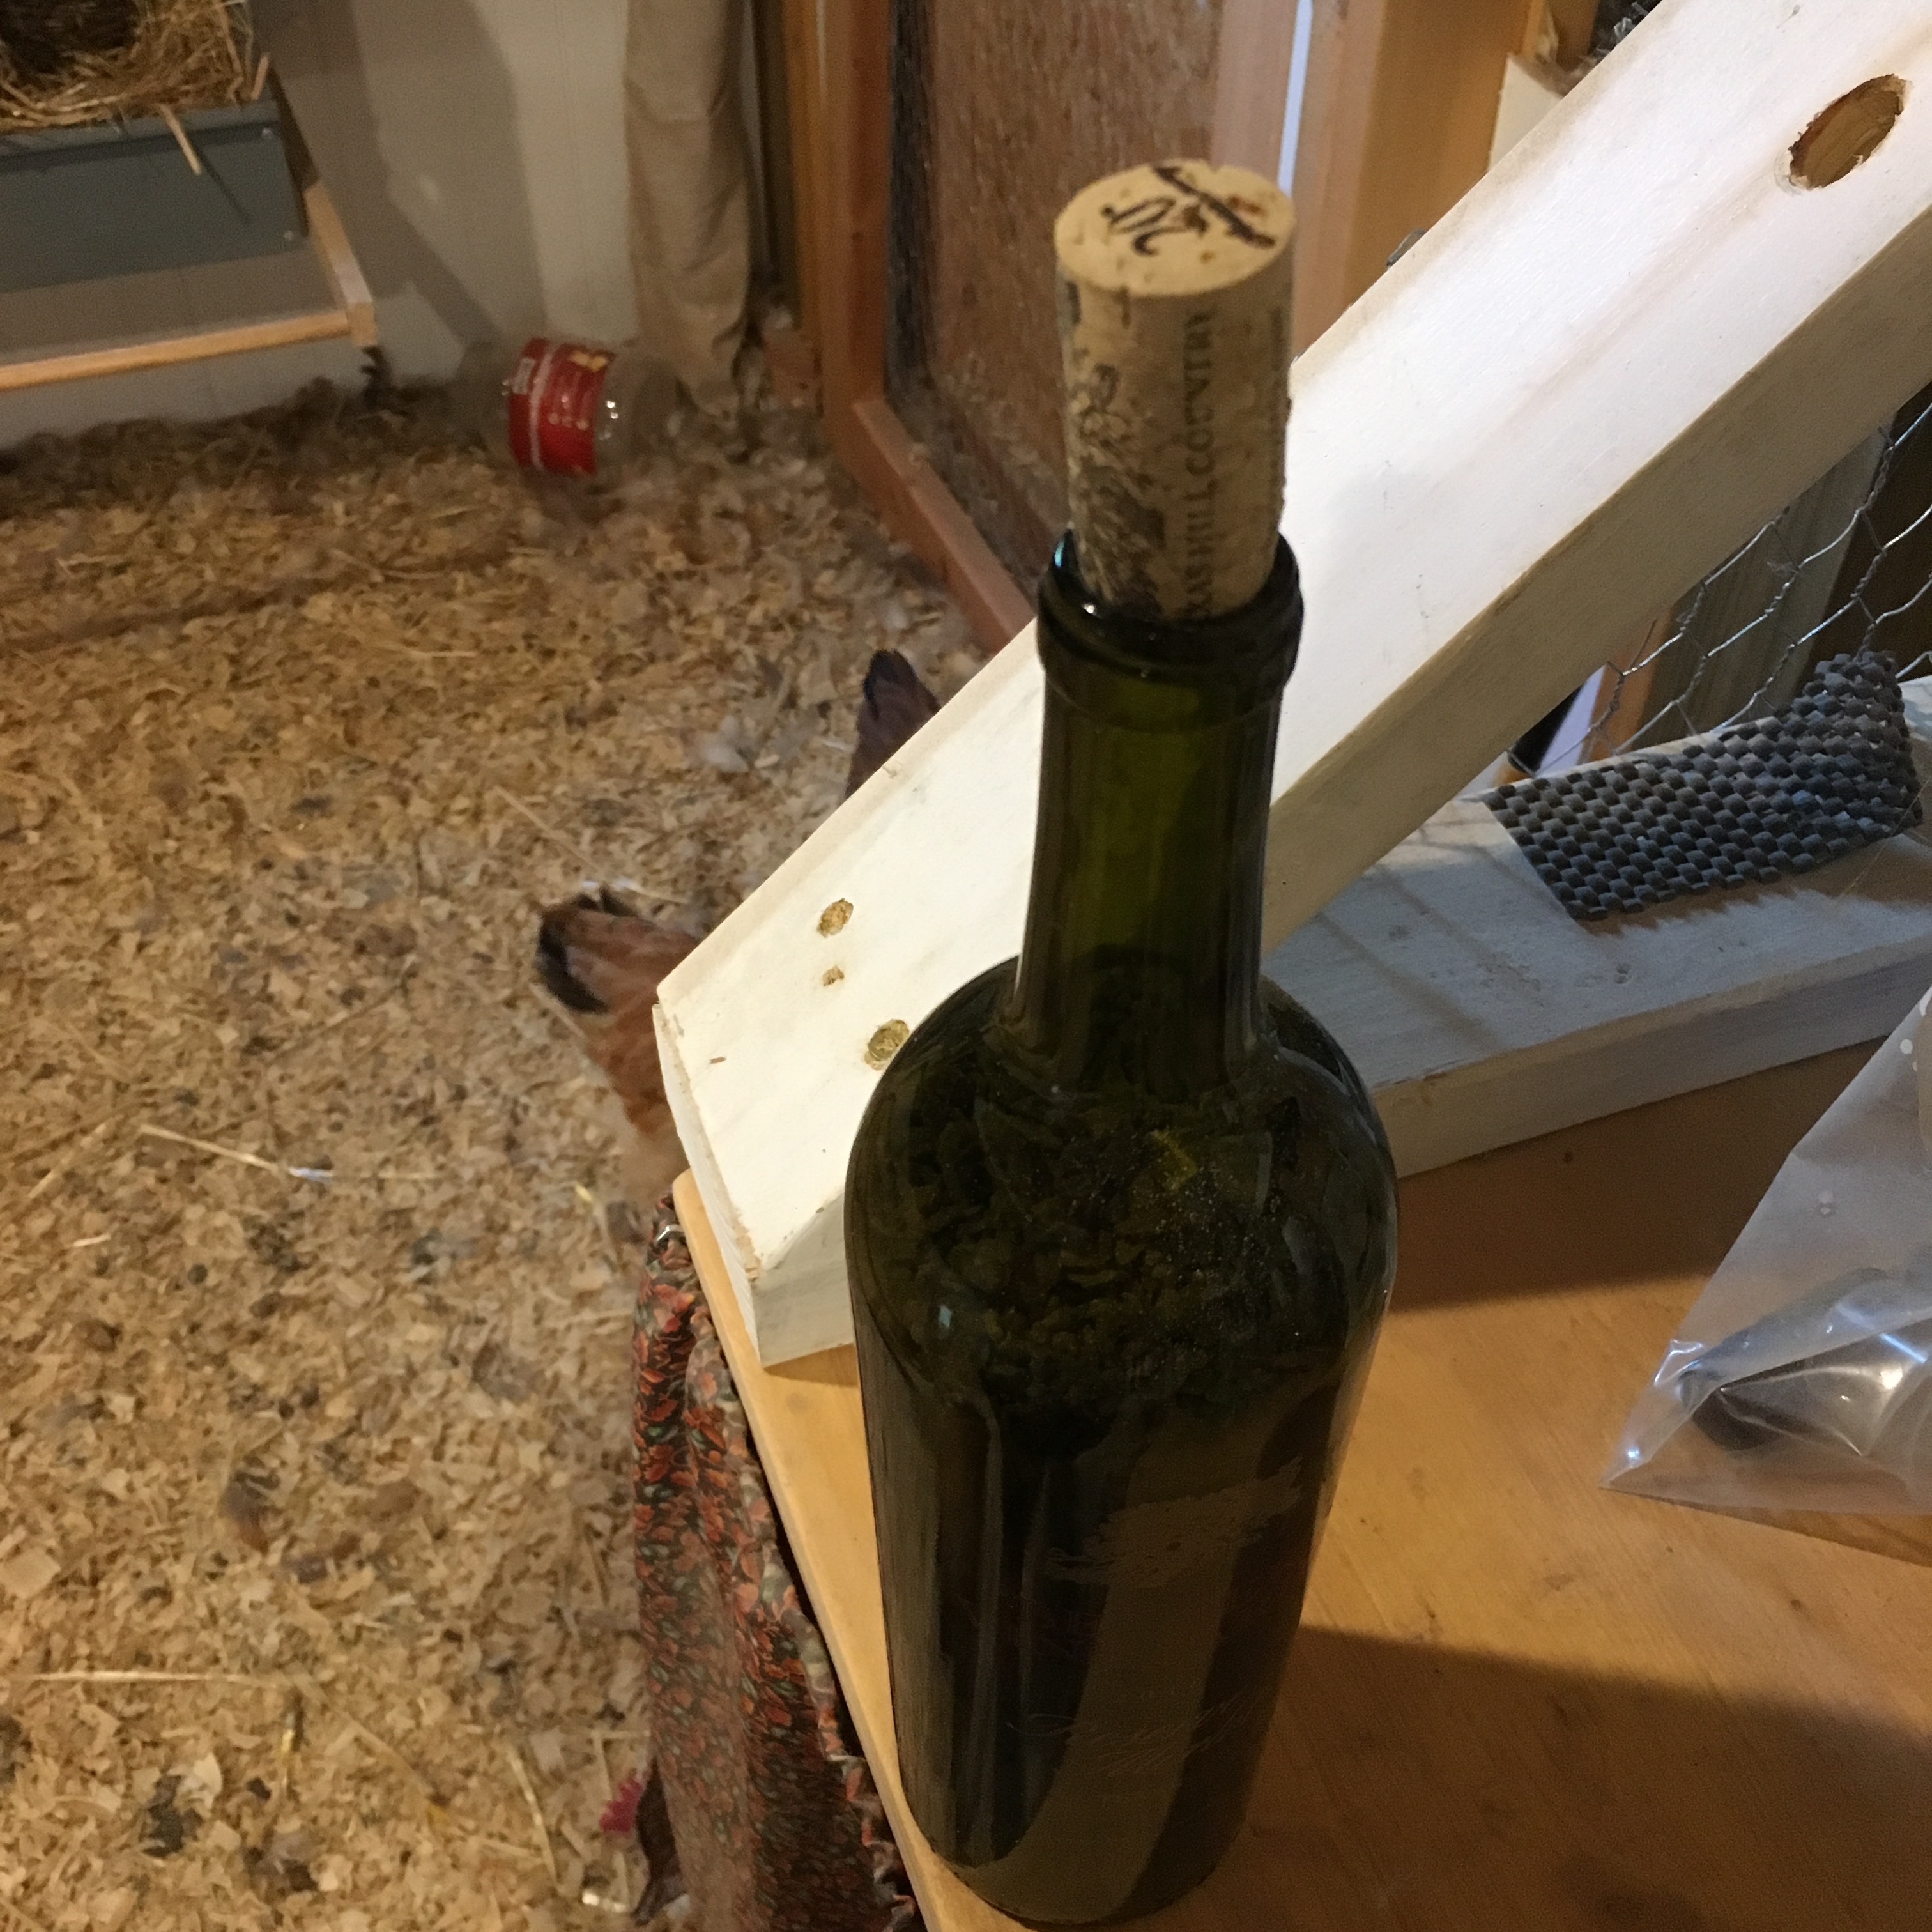
I filled the bottles using a funnelI put a cork in the bottle before inserting the bottle into the net
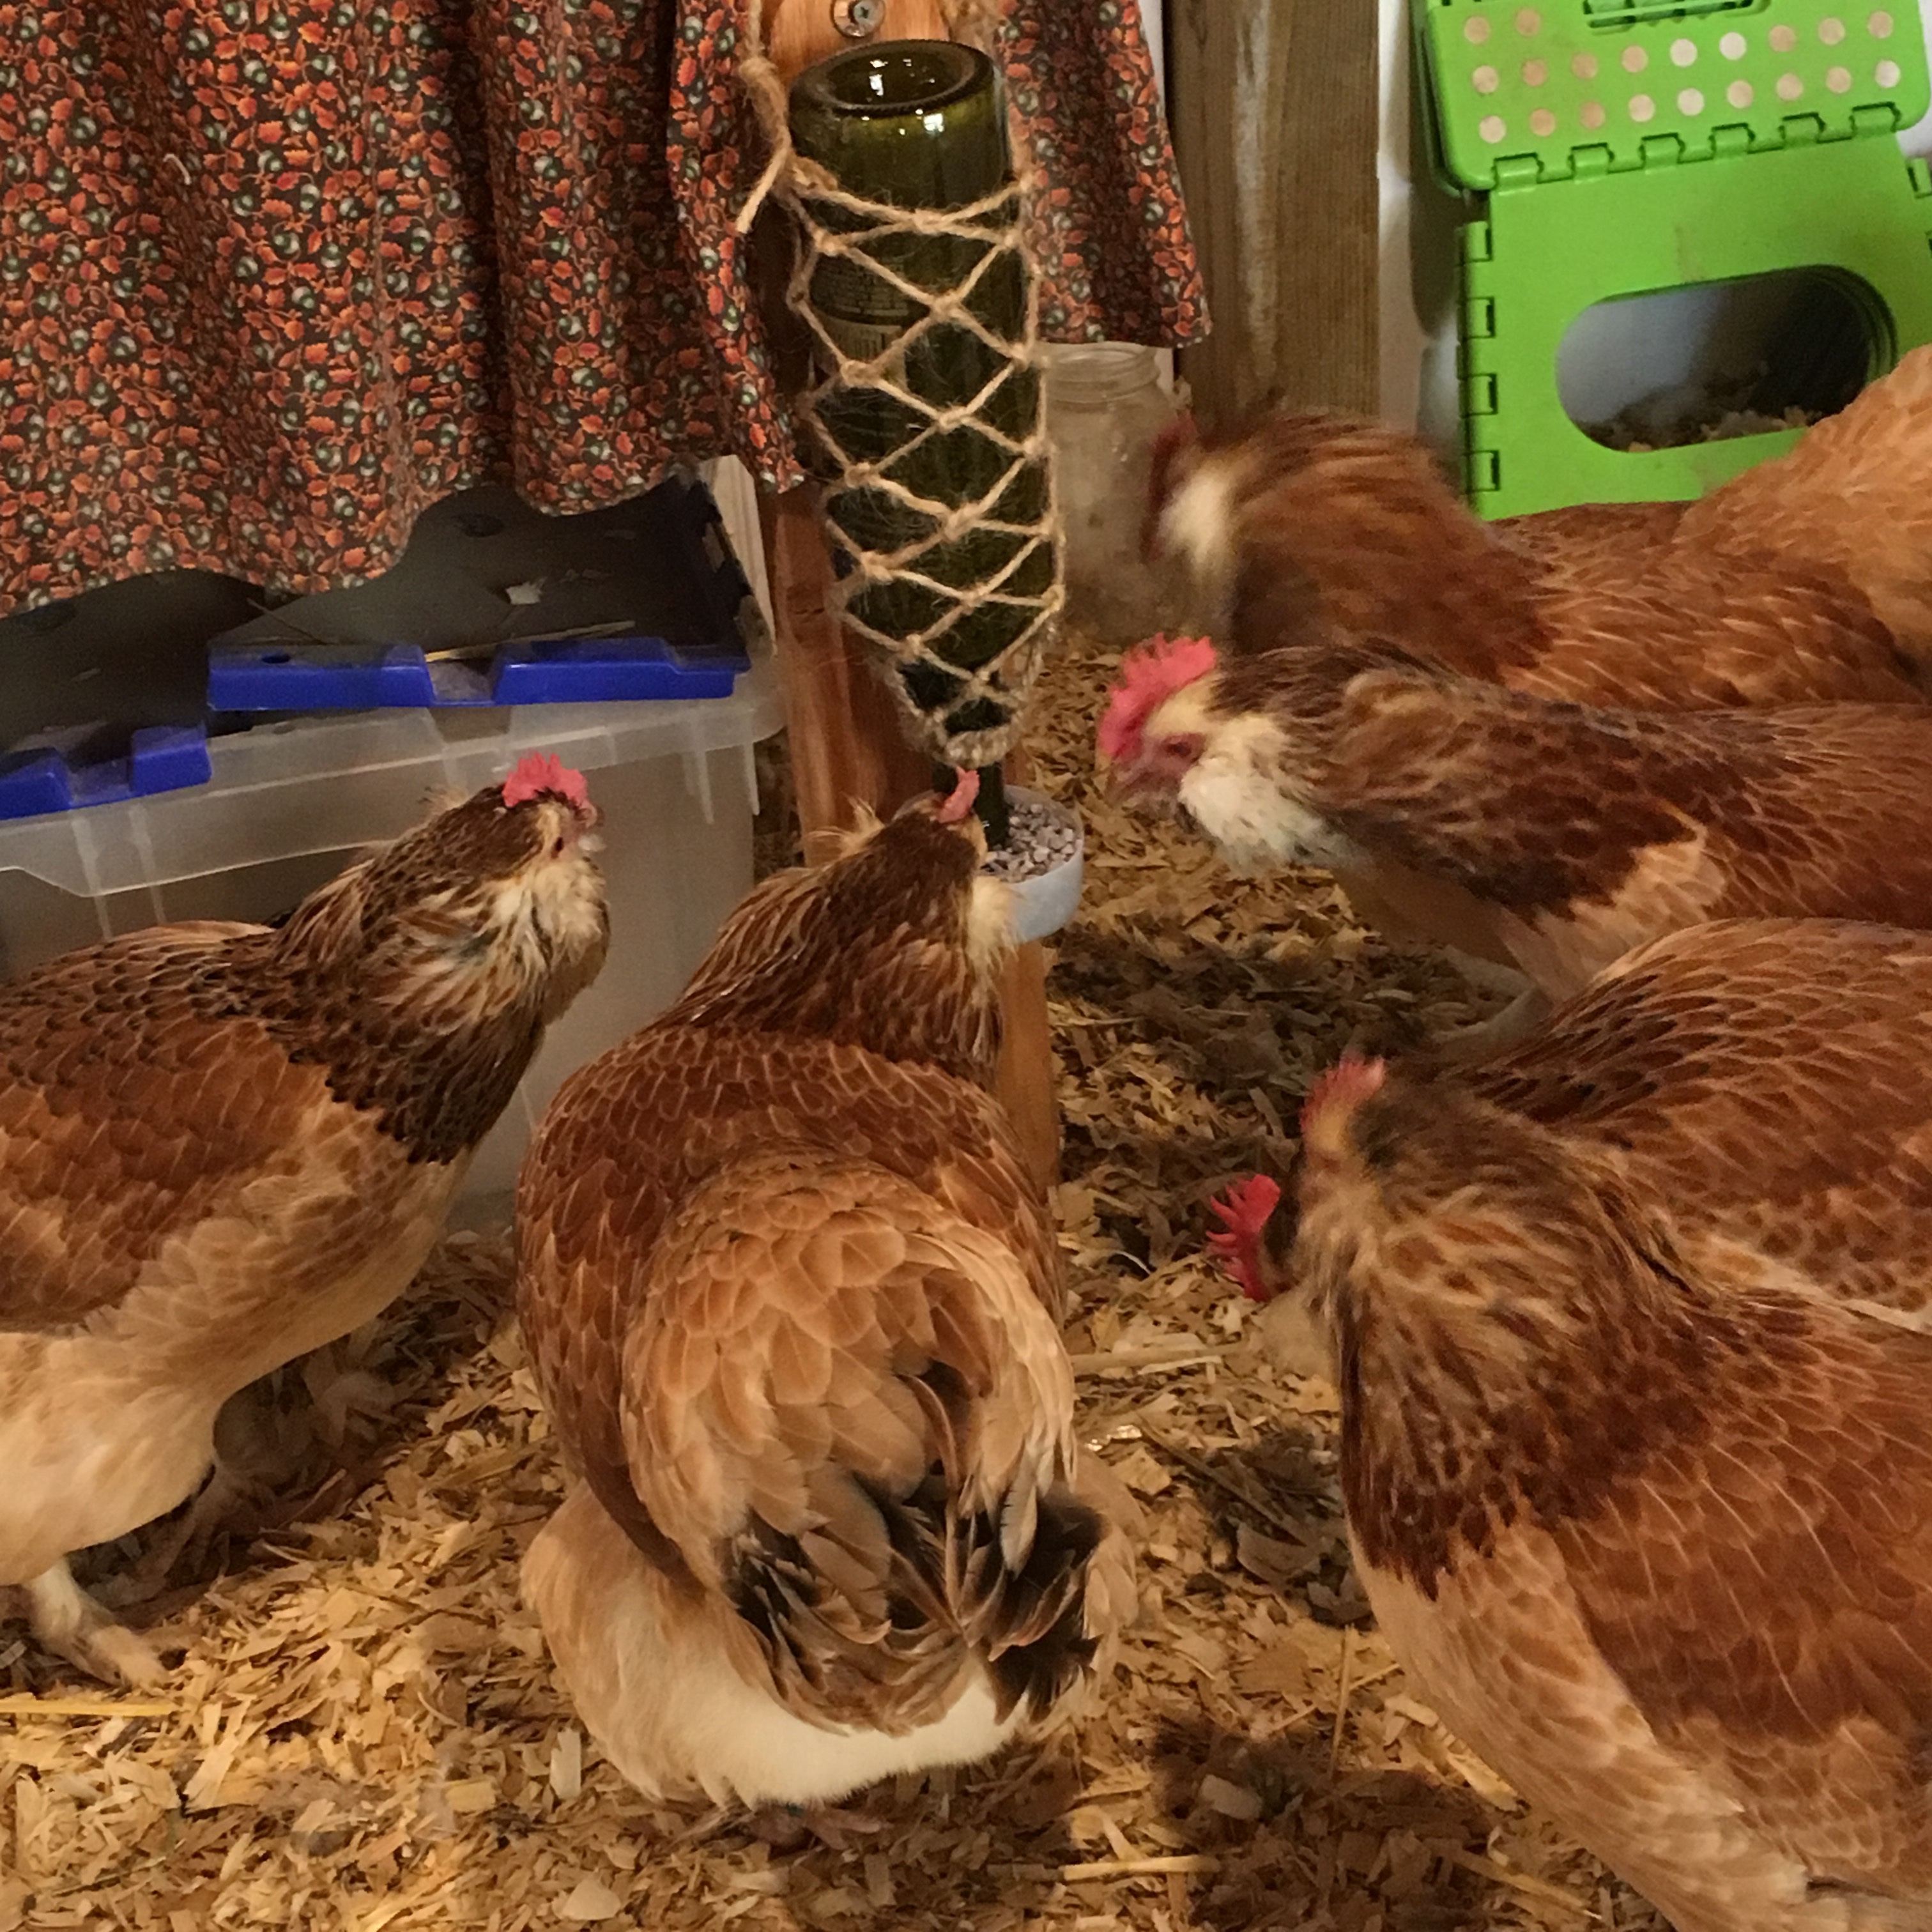
Putting a bottle full of grit upside down is a recipe for disaster, so I put a cork in until I had the bottle in place, then took out the cork so the grit could pour into the cup. Then, yay! The dispensing stopped when the cup was full. Phew!
My Mom sent me a box of merino wool roving and her drop spindle (thank you Mom!) It was interesting to spin with a store bought spindle rather than my cobbled together bits.
Single ply spun on top whorl store-bought spindle
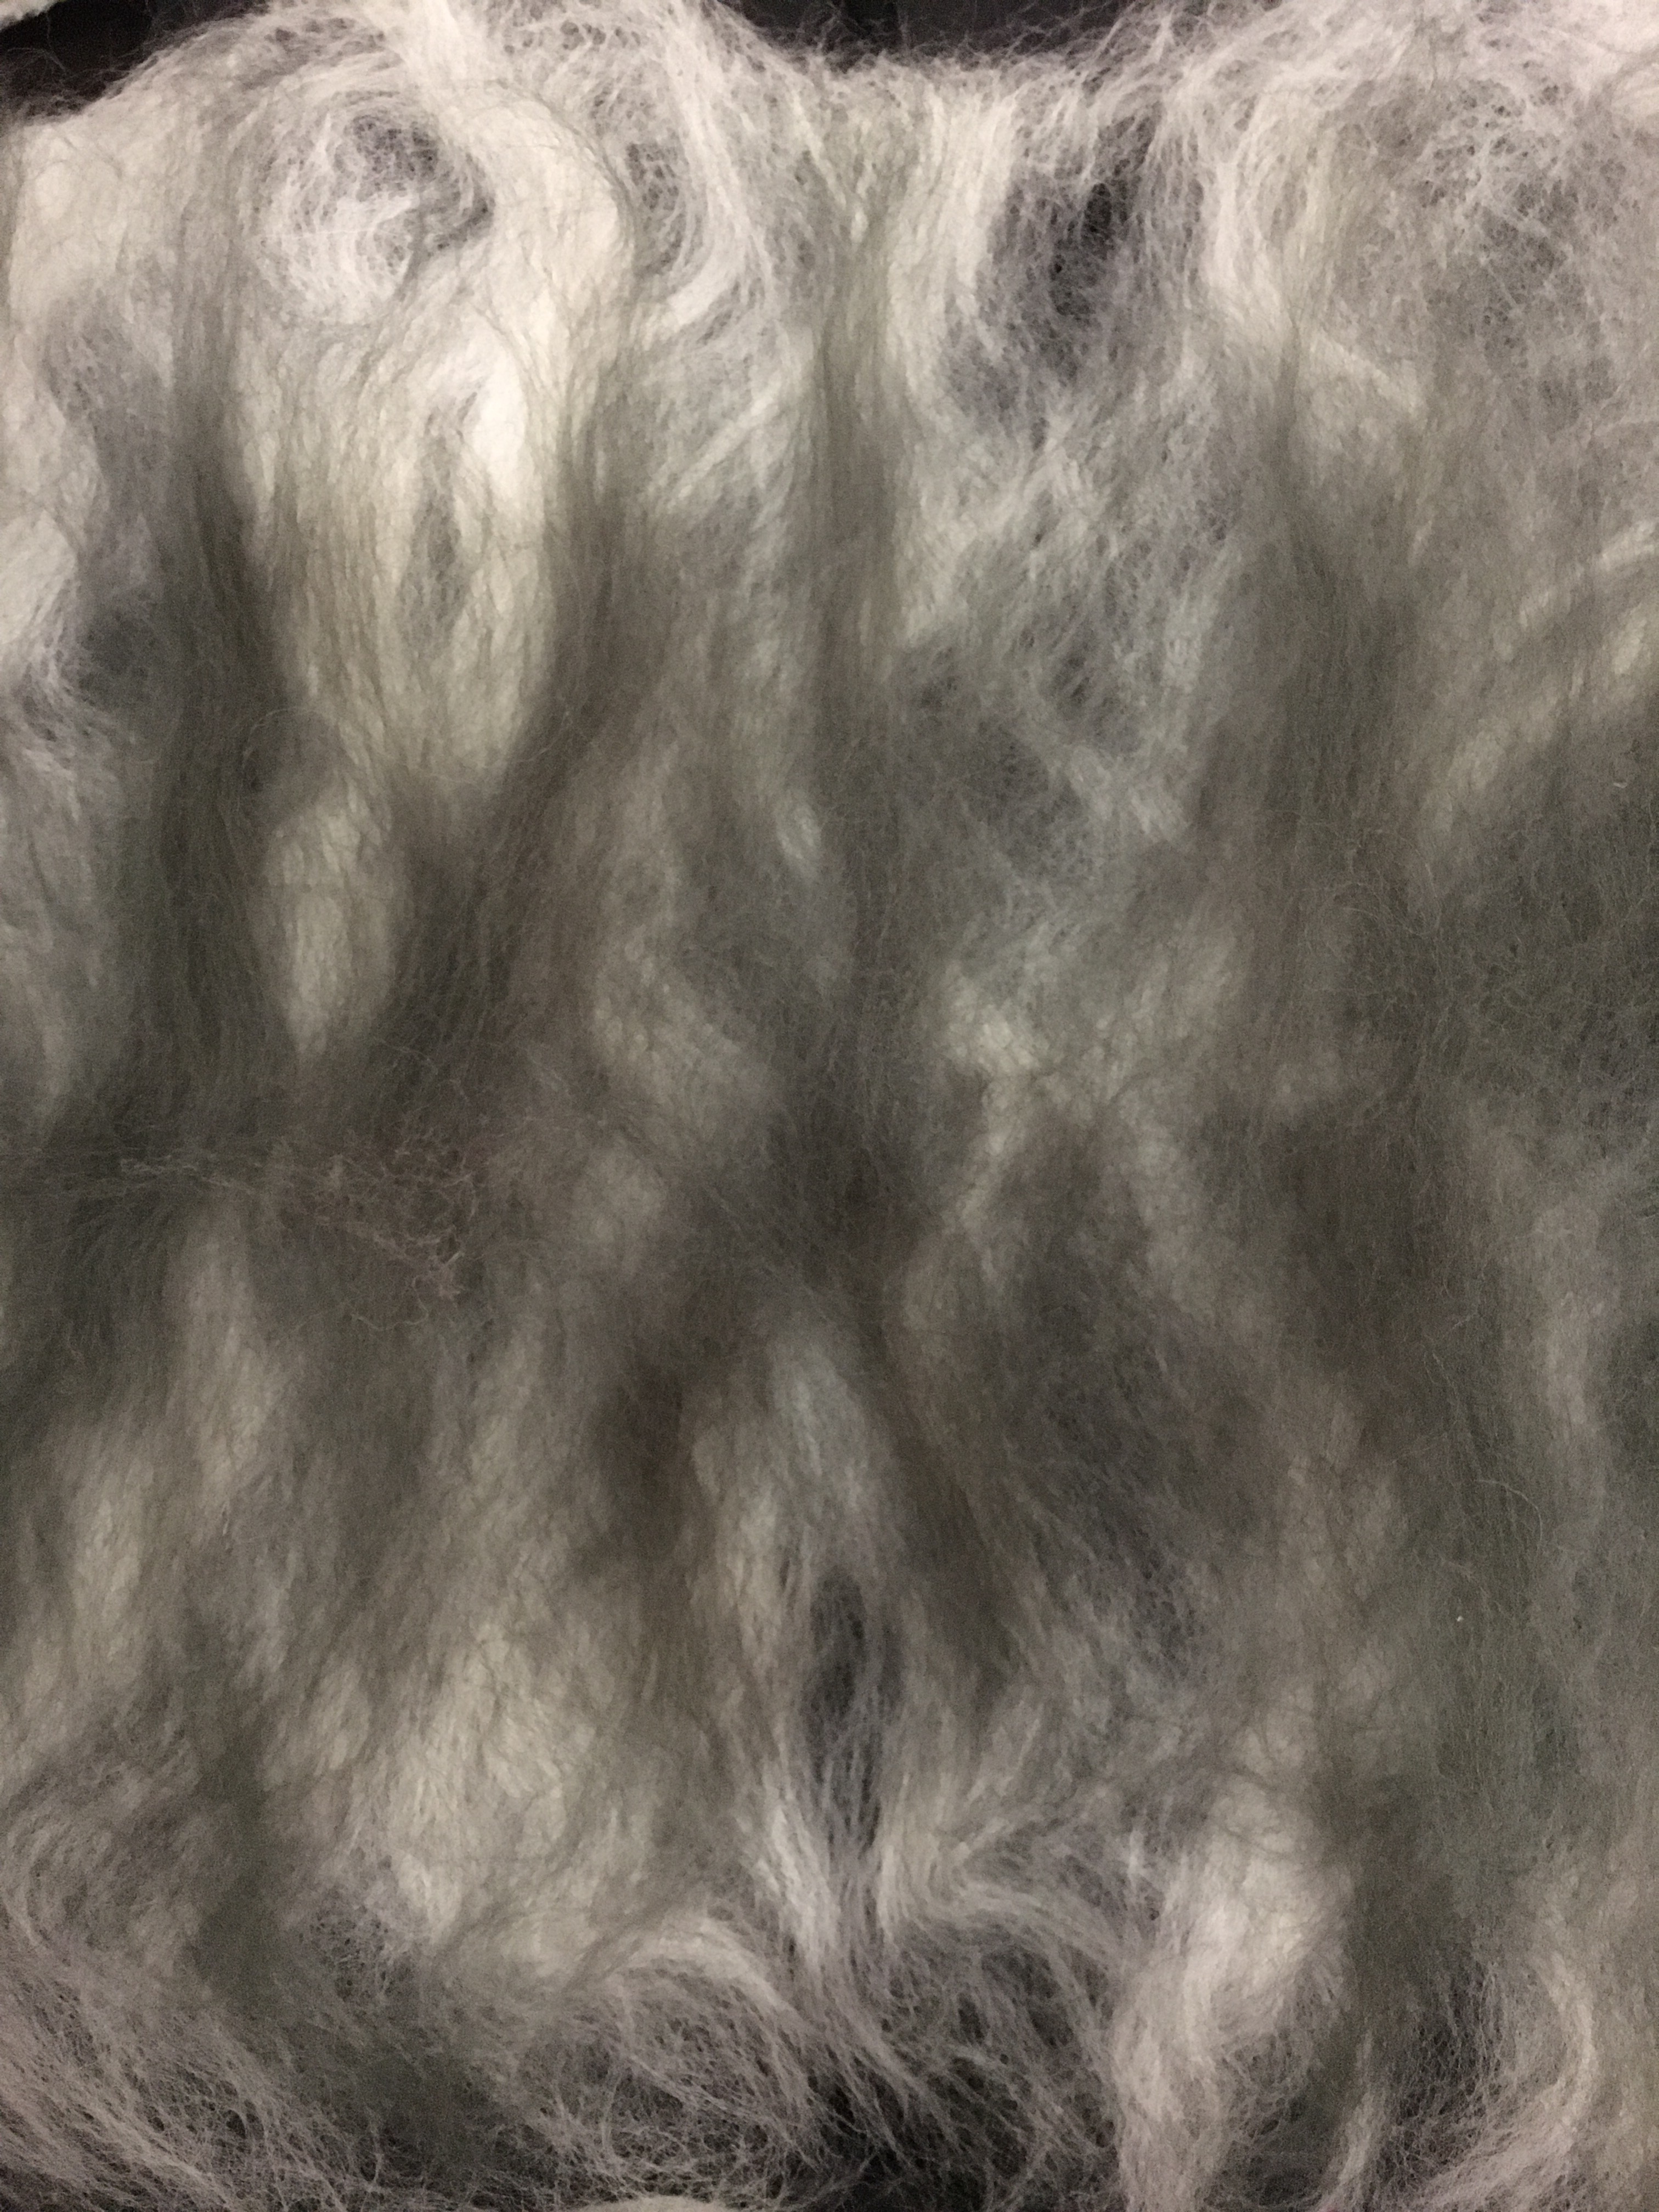
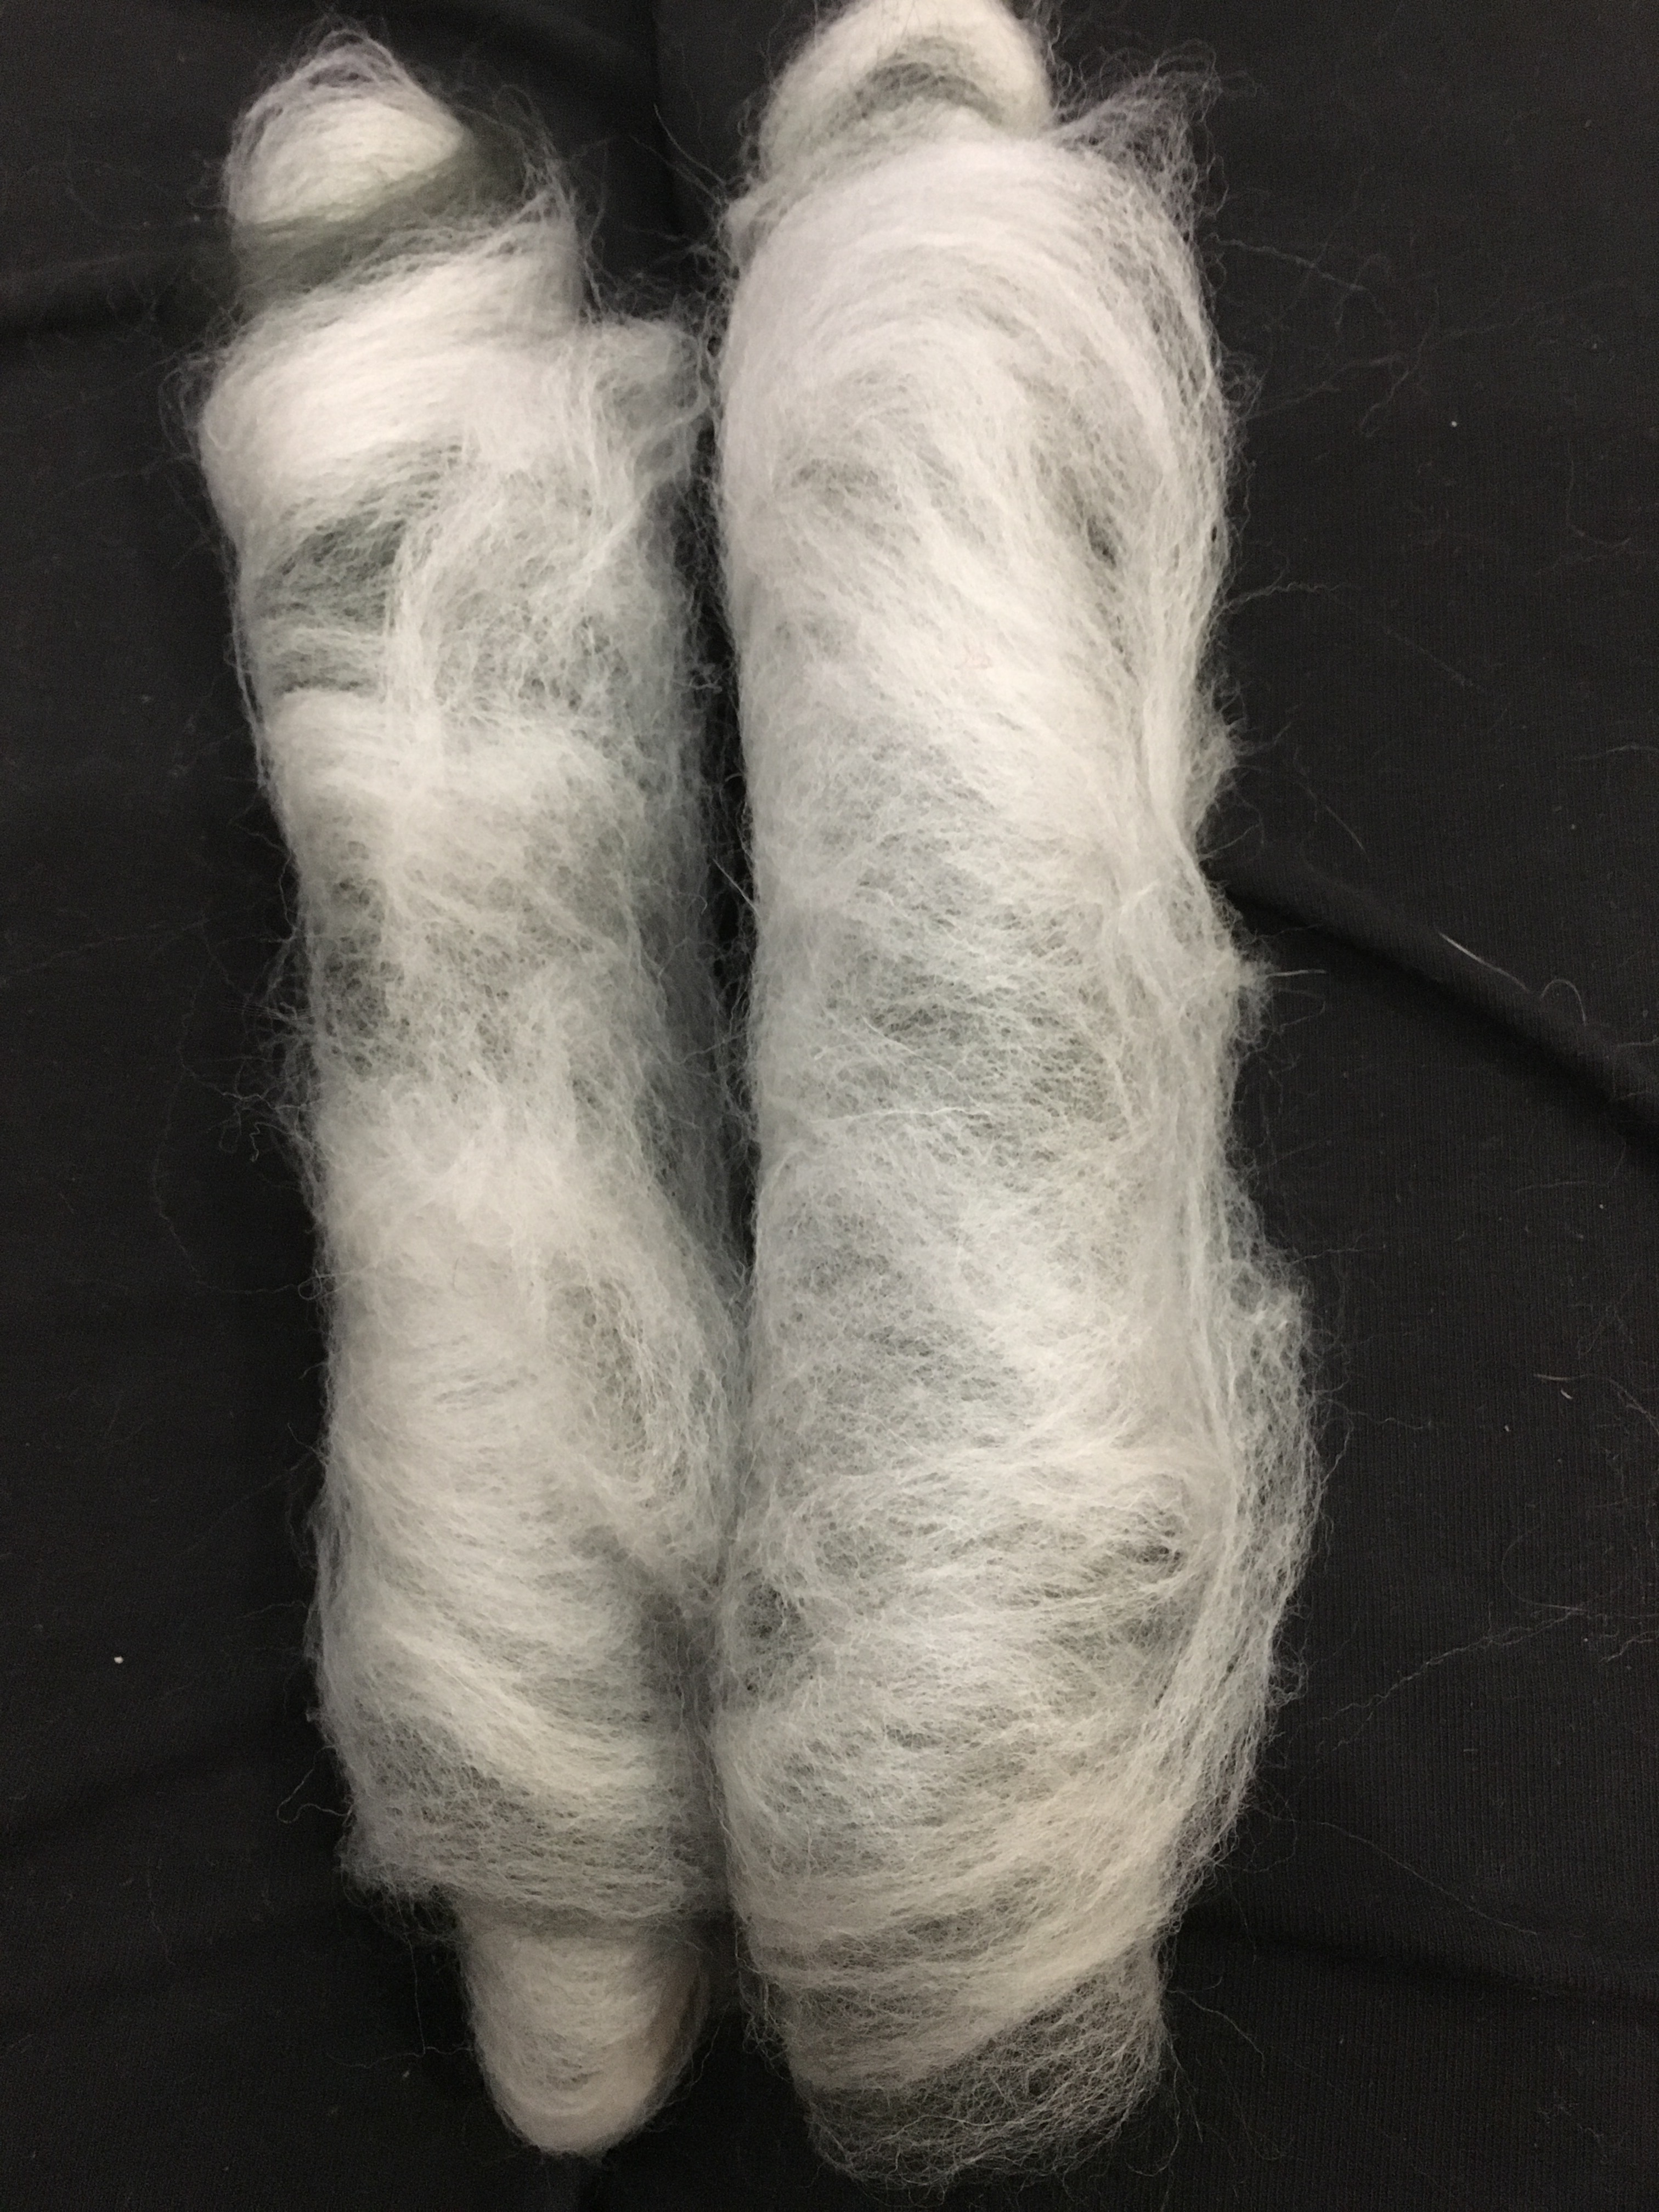
I don’t like spinning directly from the roving, however. I was having trouble with fiber management and drafting. I know some wrap the roving around their forearm, and others use a variety of distaffs, but I still let too much twist into my fiber and often need to untwist a bit so I can thin out the draft. So I made some rolag type things. The videos I’ve seen on making rolags for spinning take fiber that has been carded. I don’t have large carders (yet), so I spread a section of roving out (like Halloween spiderwebs), and layered two colors together (to double the amount of finished yarn, honestly), then rolled it up perpendicular to the fibers. I think these rolags are easier to manage as I am still learning.
Roving spread out and layered with two colorsRolags?
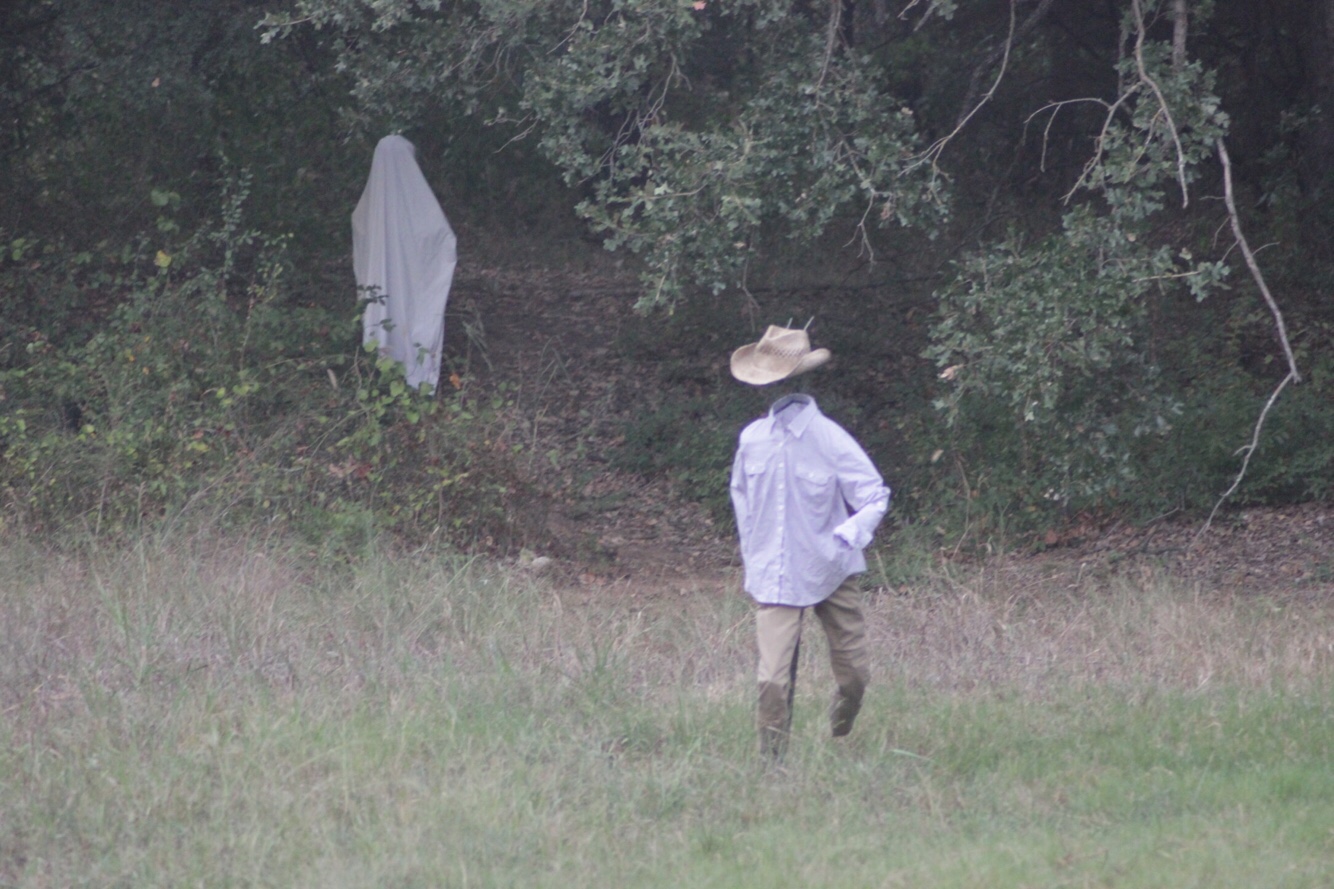
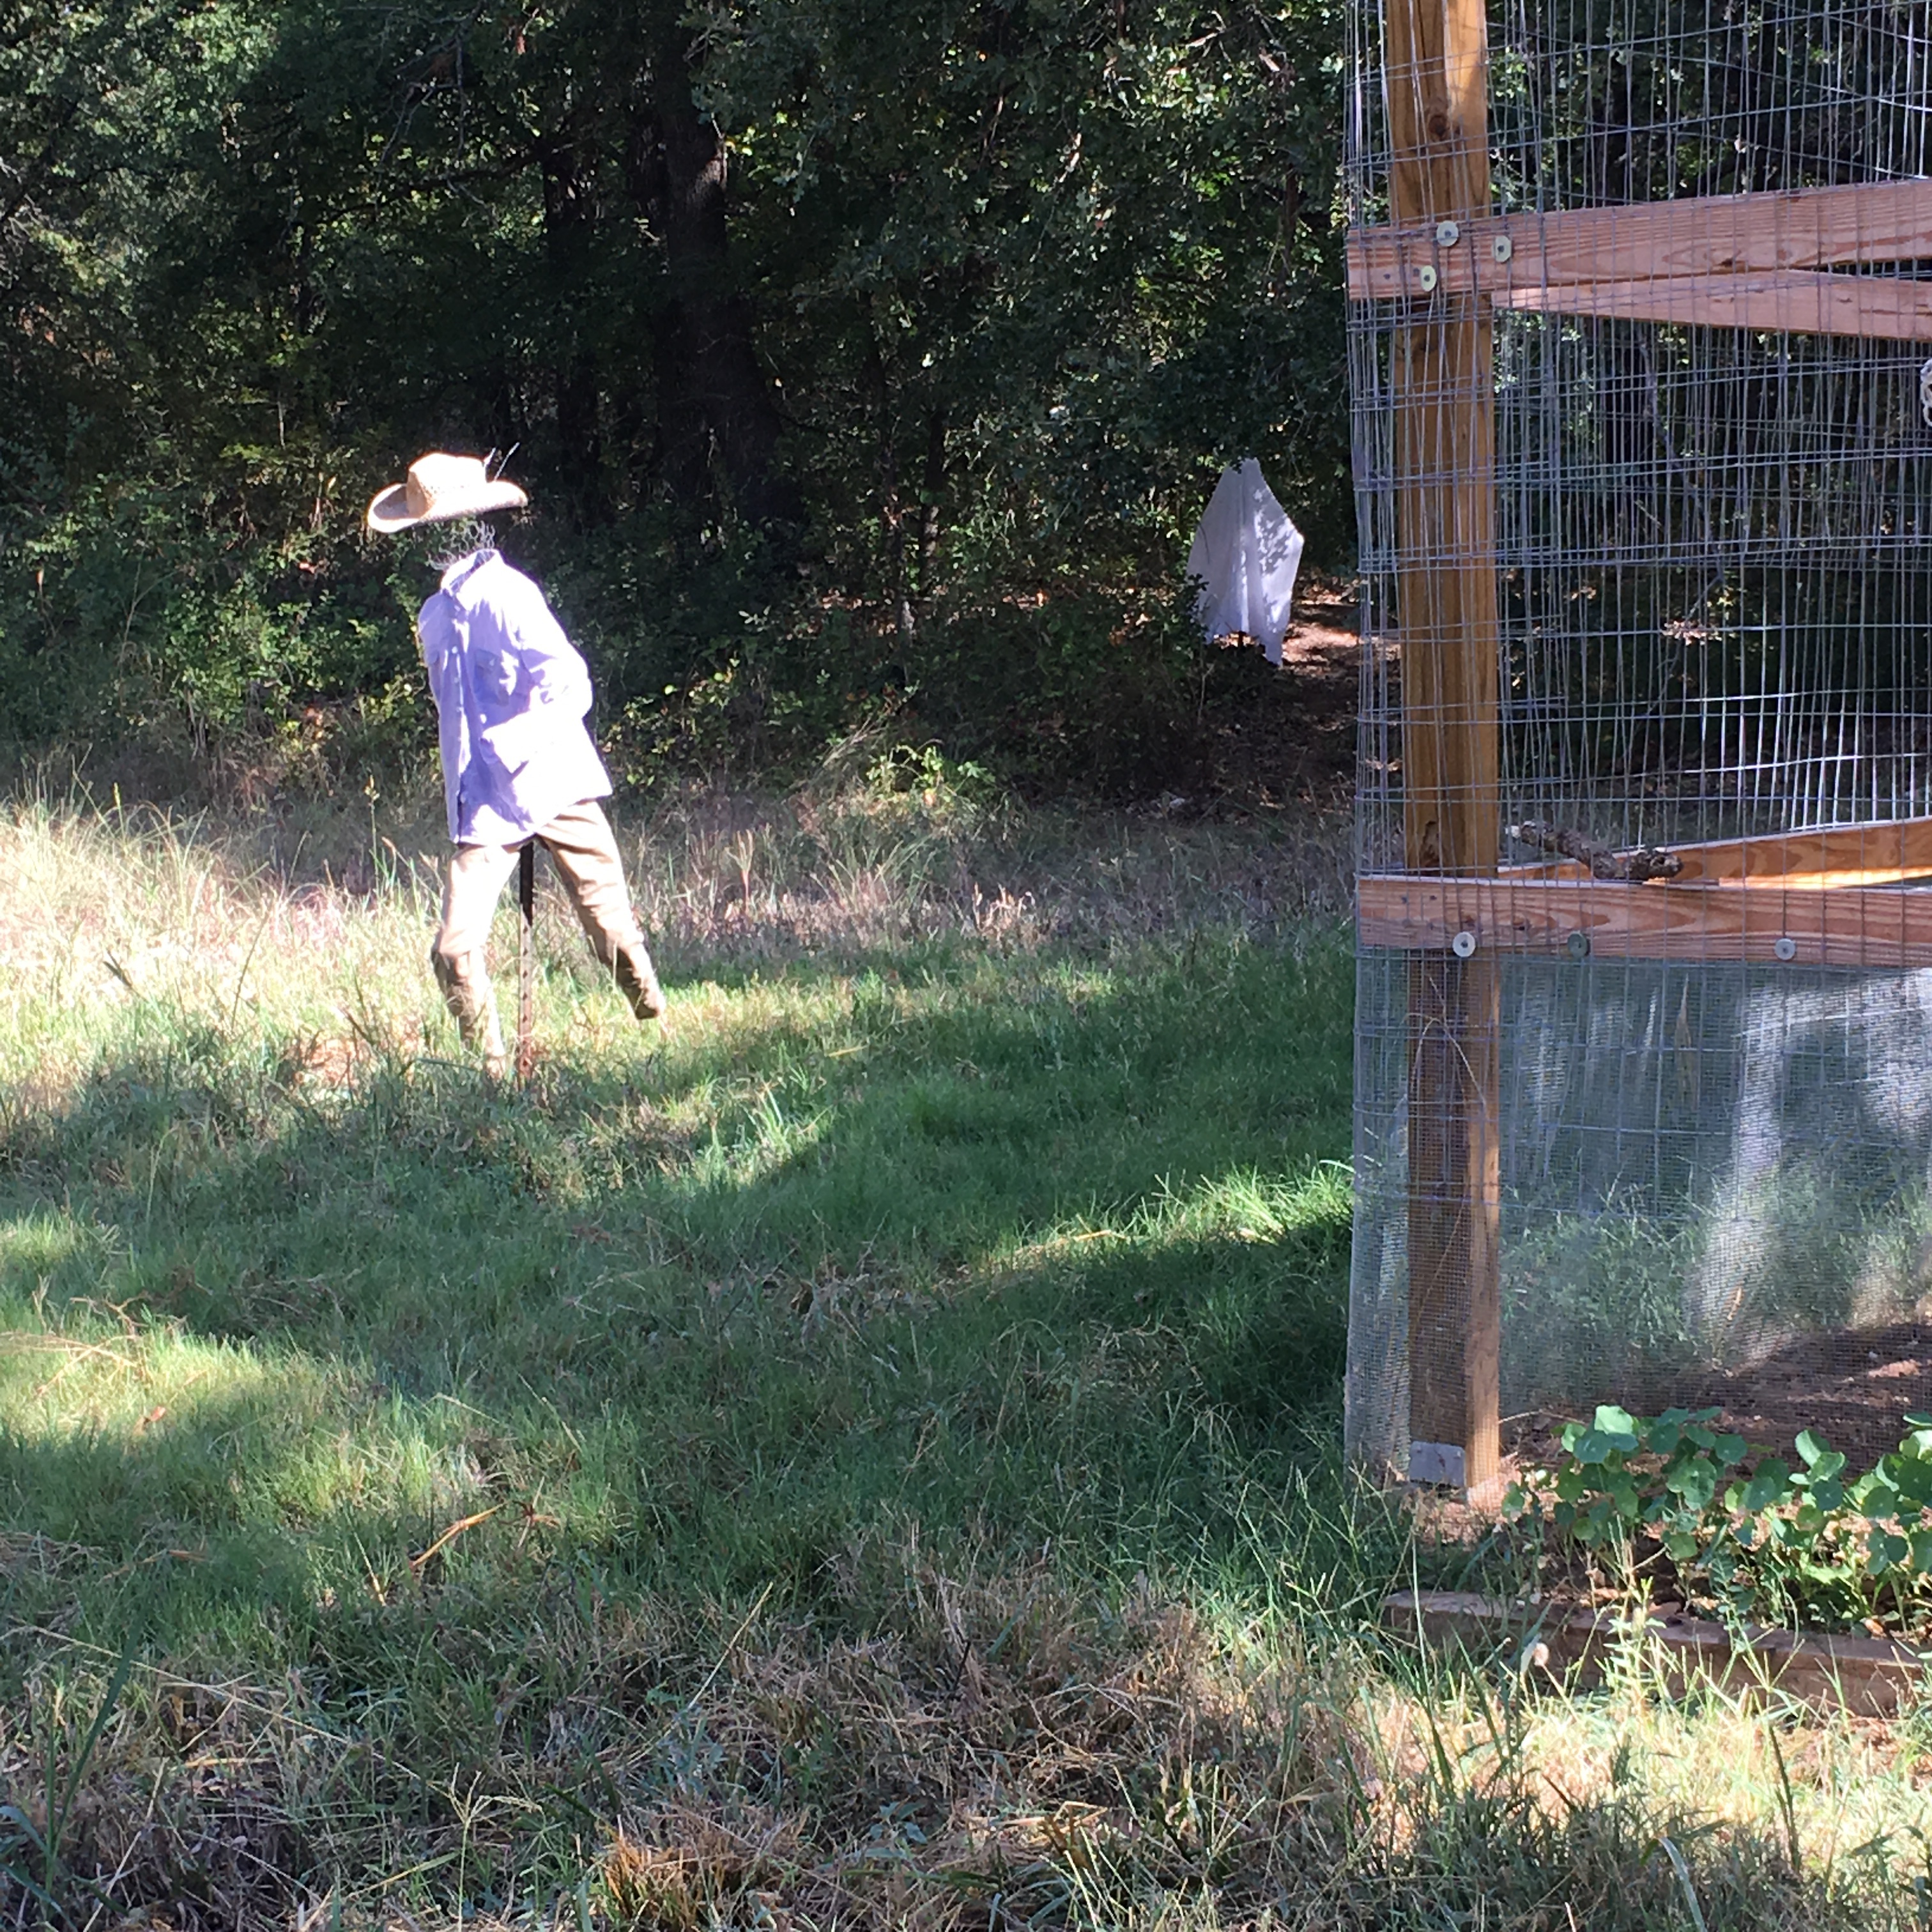
The idea started as a simple desire to put up a scarecrow for fall. I even picked up a hat, shirt, and pants last year, but never got around to assembling it all. Apparently the idea had not fully ripened. This year I realized that I could flesh out my scarecrow with chicken wire. And if I did that, did I really need straw? Or a pumpkin head? Wouldn’t it look creepier if the hat “floated”? The chicken wire is more sculptable than straw. I could give the scarecrow motion. He could be running. Oh! What if he was running from another ghost deeper in the woods? That is amusing and make it creepier. I had plenty of chicken wire and even an extra white sheet. The idea was ripe.
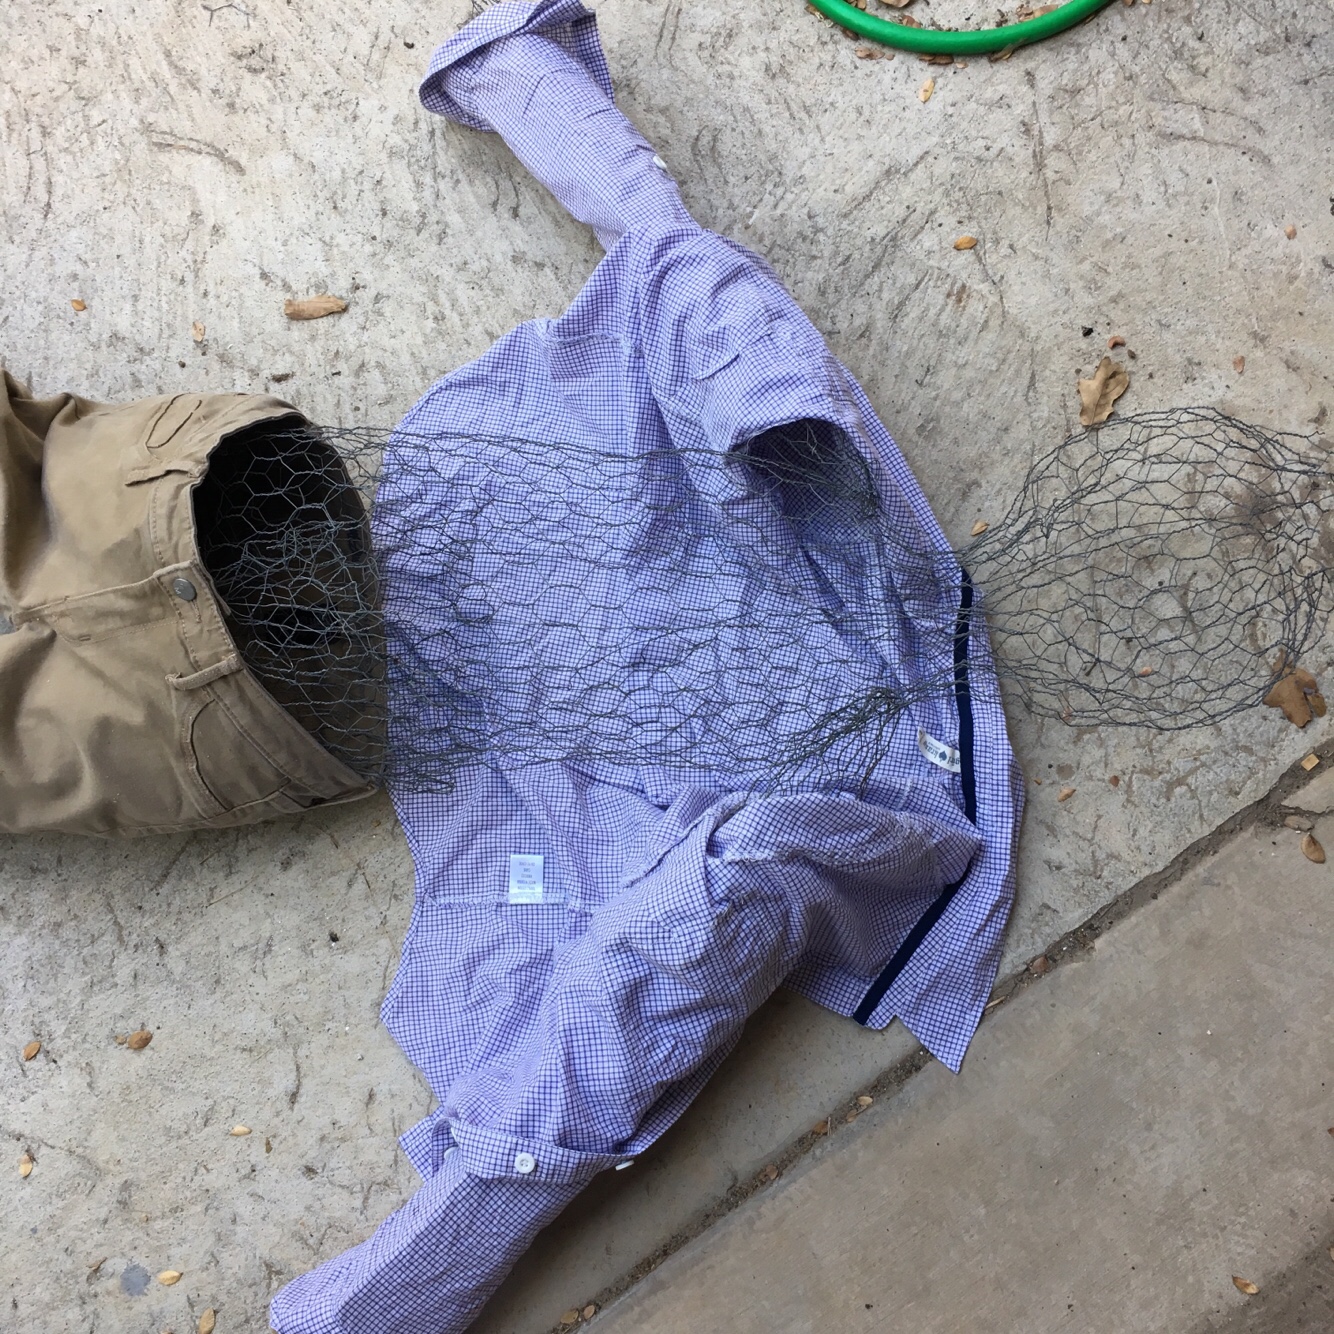
Filling clothes with rolls of chicken wire
I cut lengths of chicken wire to be just shorter than the legs and arms, folded in the sharp ends, rolled them up individually, and slid each roll into a pant leg or sleeve. I used a larger piece for the torso, forming the neck and head by squeezing the mesh together. To connect everything I bent the cut ends around adjacent mesh, and used some aluminum wire. I roughly formed the scarecrow into a running shape, then set a tall fence stake in the meadow. I did have to make a hole in the pants to slide the sculpture onto the stake (good thing it is cloth and wire, ouch). I refined the shape and attached the hat with wire.
Composition at dusk
For the ghost I set another fence stake back farther in the woods. I shaped a head and shoulders from chicken wire and draped the sheet over the top. I secured the sheet at the crown of the head and the tops of the shoulders.
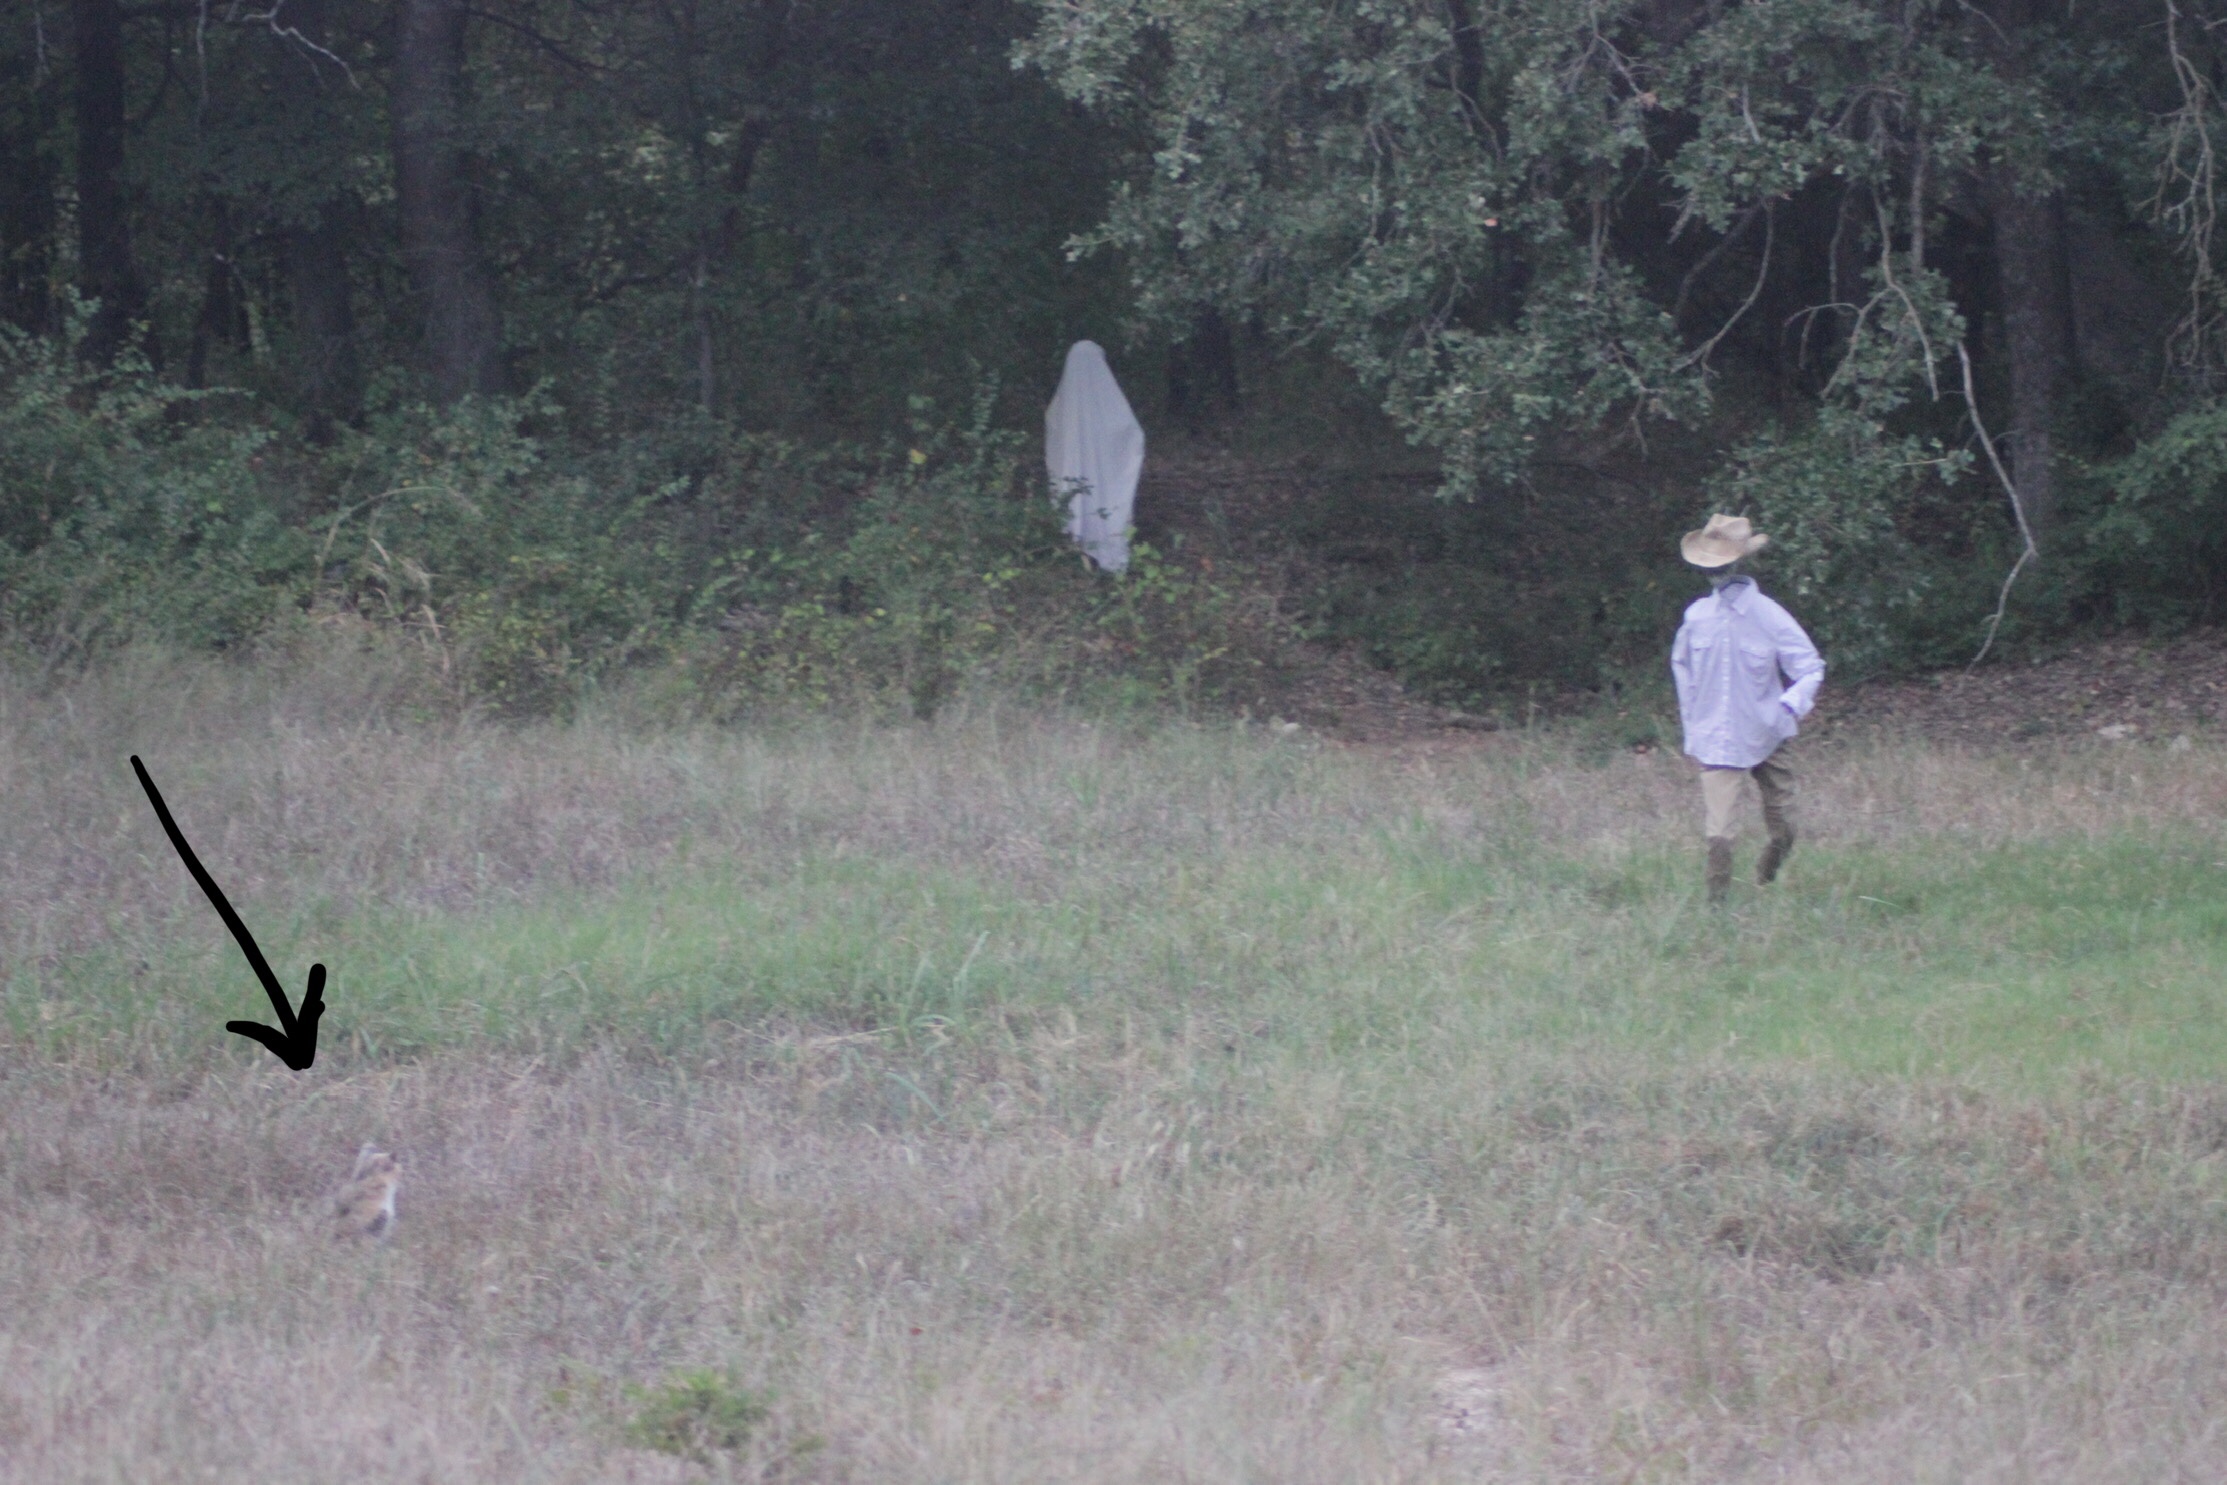
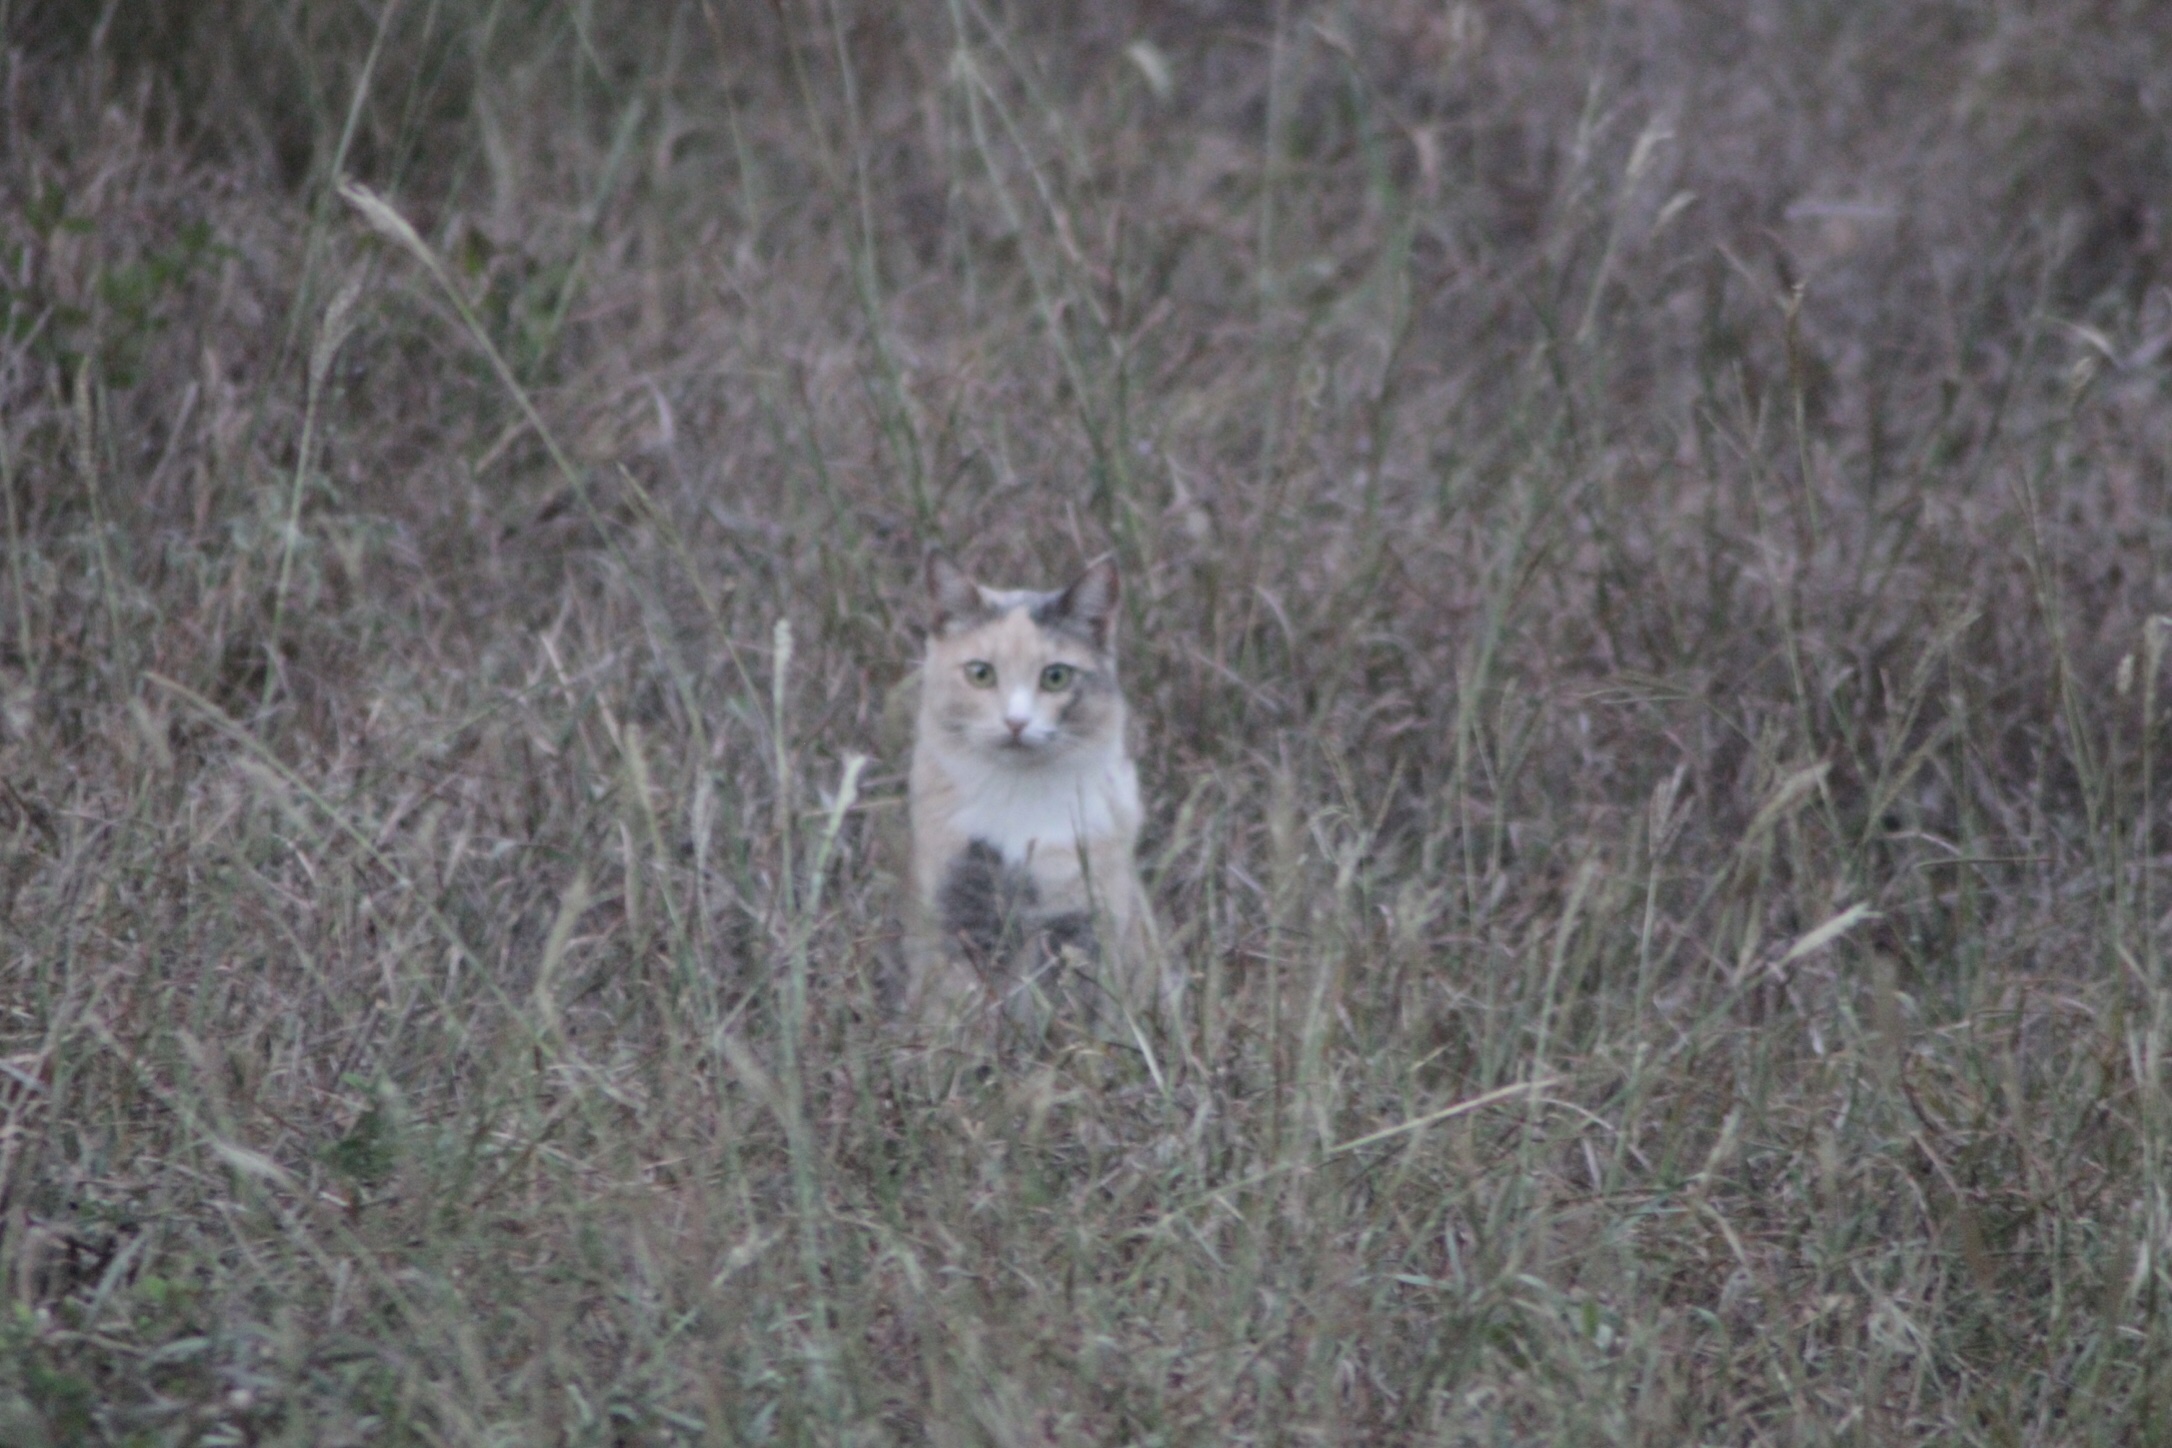
Best angle for the running effectOur cat trying to ascertain the threat levelSpooked?