How to make knitting needles from common parts

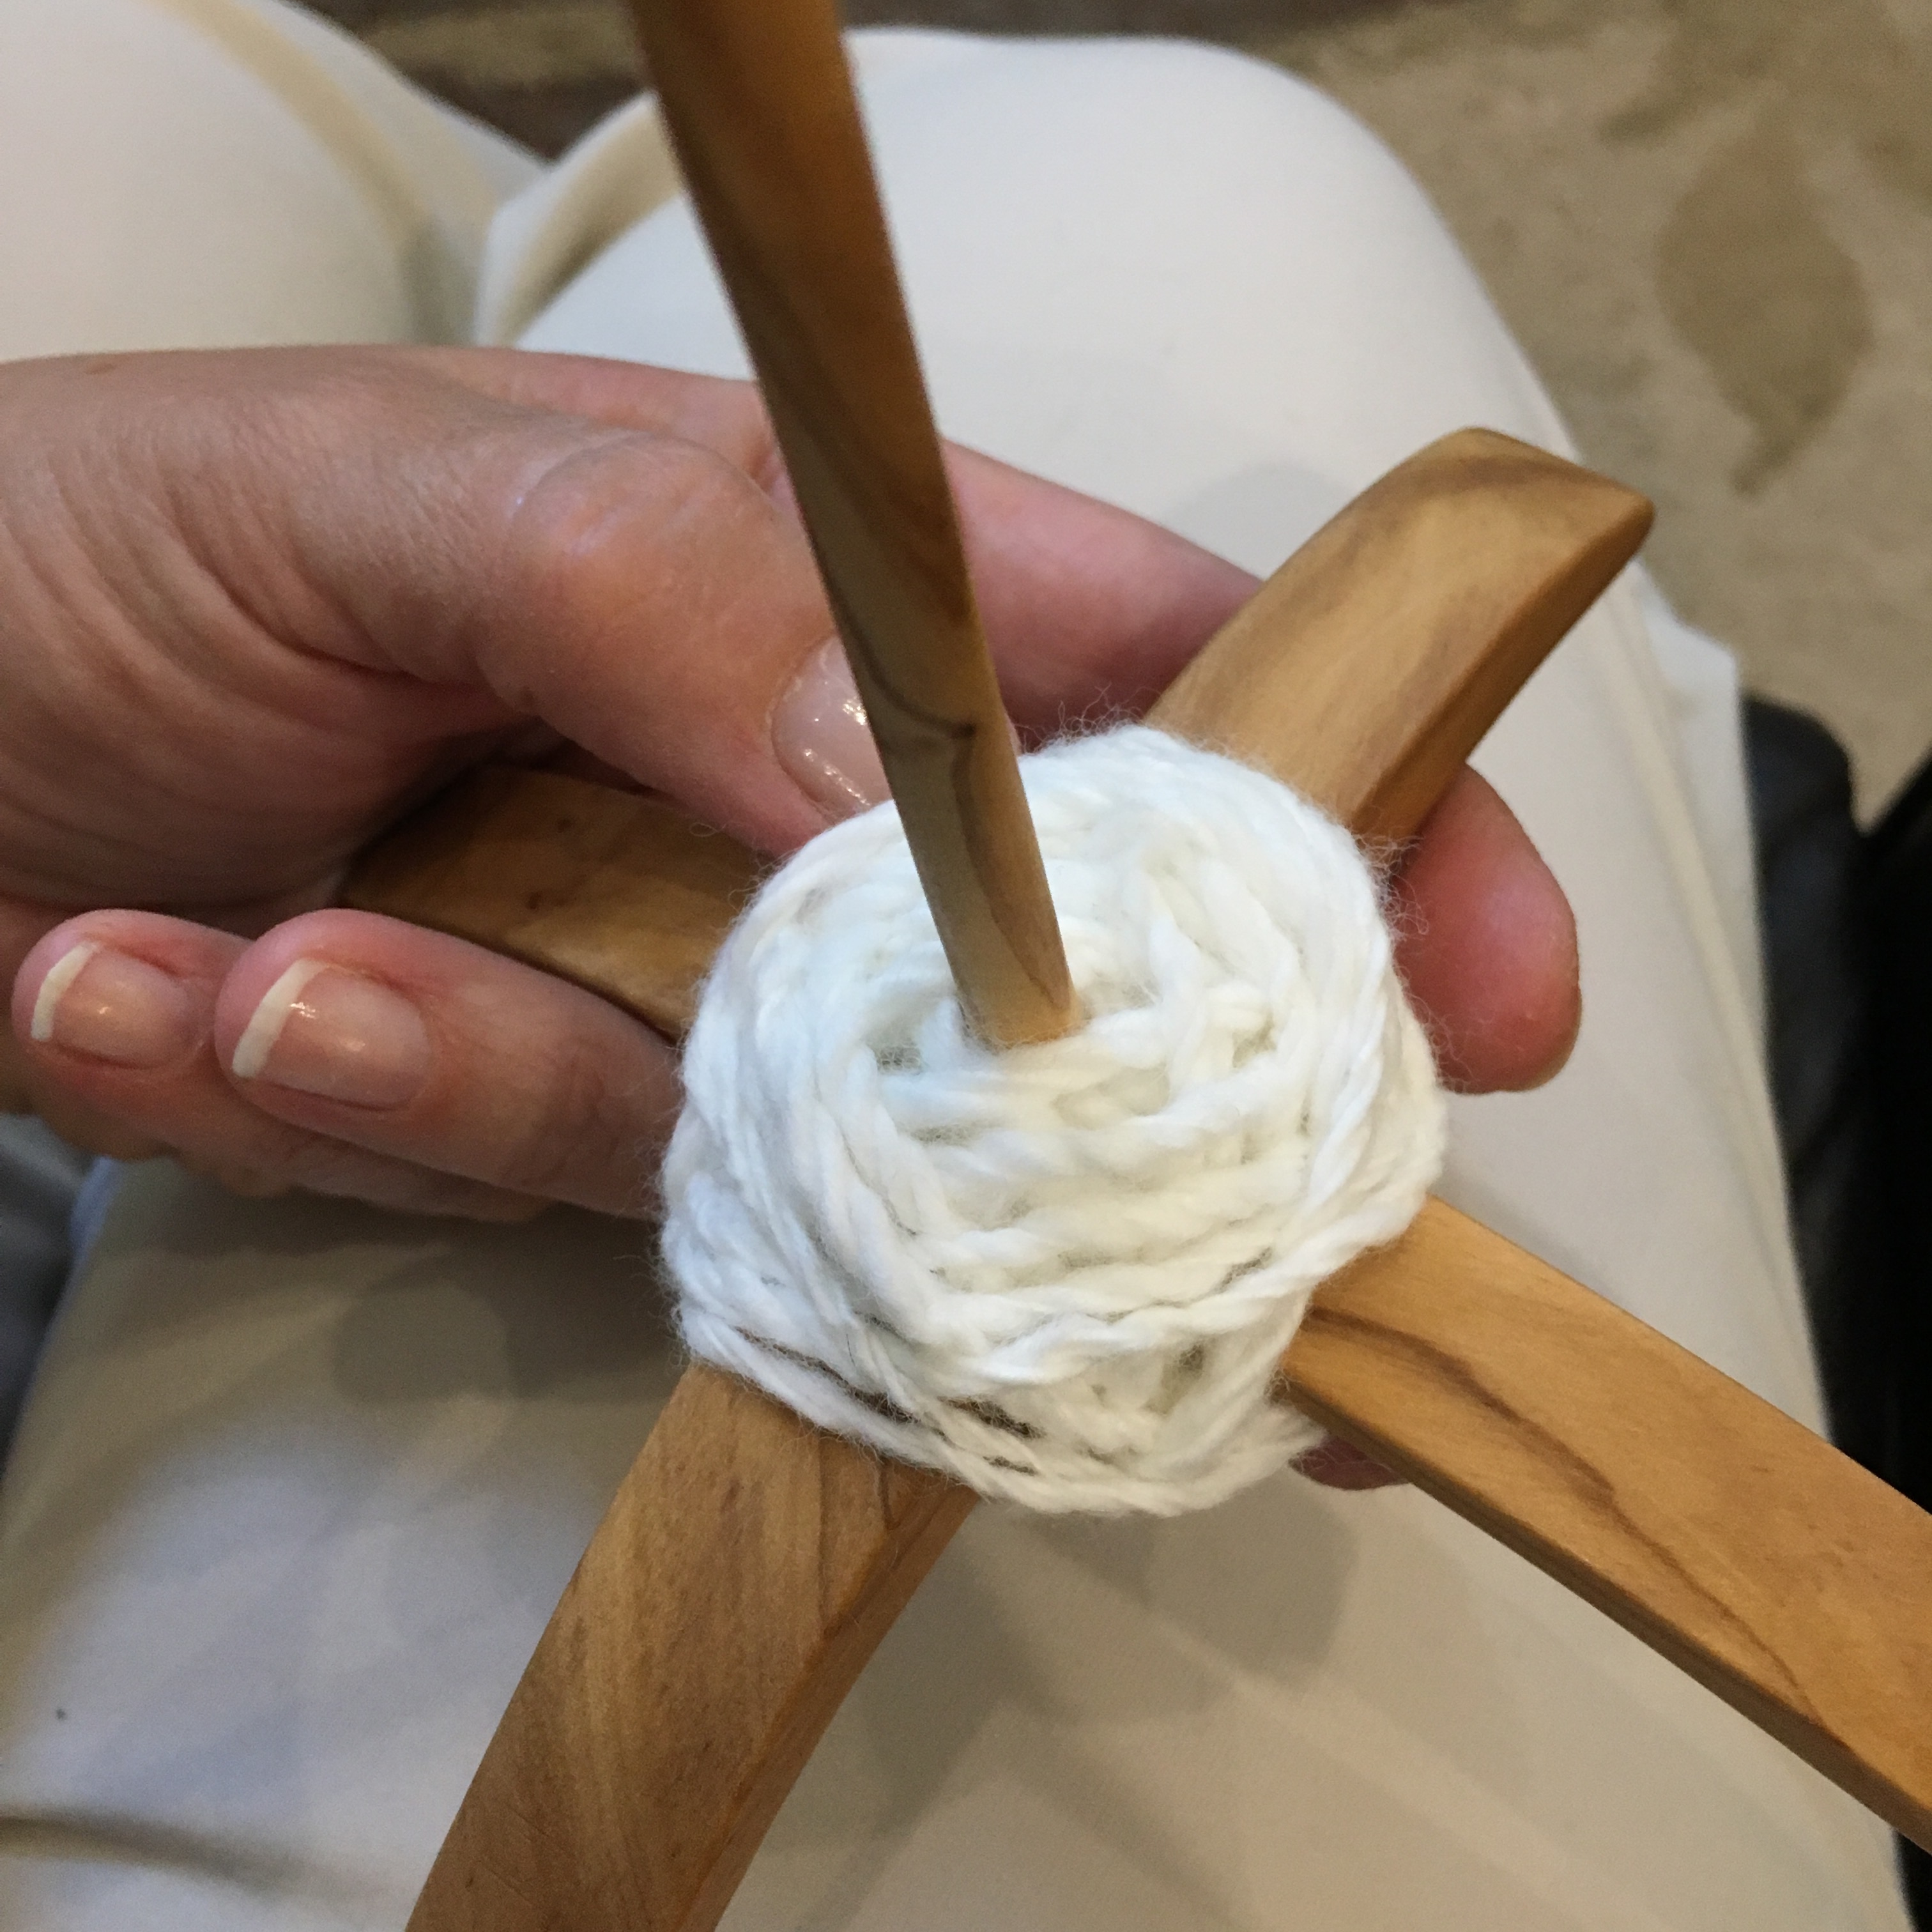
In a pinch, or if you need a bunch of needles for teaching a class, you can make knitting needles from dowels you can find in a hardware store. Making your own needles not only gives you a greater connection to your knitting, it is a much cheaper way to have wood needles, which I find more pleasing than plastic or aluminum when knitting (these are cheaper than those too).

To make these needles I picked up 3/8″ poplar dowels, which are about 68 cents each, at my local hardware store. I also used 120 and 320 grit sand paper. I cut the dowels to 14.5″ (I used a chop saw, but a hand saw would also work). You can use the 120 grit sandpaper to sharpen one end of the dowel. Make a slightly more slanted angle than a sharpened pencil. Blunt the end slightly, so that it is still easy to pick up a stitch, but is harder to split the yarn.

Sharpening the dowel using sandpaper

Sand the whole needle with 320 grit paper so the yarn slides nicely, but isn’t slick. Rub your hands along the needle; the oils from your skin will help the yarn slide on the needle, and the needles with continue to improve with use.

From left to right: 3/8” dowel, cut dowel, shaped end, sanded end

I used wooden beads with a 3/8″ hole to put a stop on the end of my needle. Alternatively you could use a fancier large hole bead, air dry clay, or Sculpy clay on the end to make a stop. A drop of glue will help keep the stop in place.

Wood bead with 3/8“ hole
End stop

If you knit with a tight tension on your yarn, you may break the needle, but you can always make more needles. And learn to ease up the tension without breaking one of the fancy turned needles from the specialty yarn shop (ouch).

Happy knitting! And May the Fourth be with you.

Poop aprons

Say what? Yup. Poop aprons. My eldest and I both want to have the chickens be lap chickens, but we don’t want to have to change clothes afterwards. We tried laying a cloth across our lap, but it was difficult to handle both the fabric and the chick. Hence we need poop aprons. I used some scrap blue cotton and blanket binding to make two simple aprons we can wear in the coop.

I had blanket binding in my ribbon stash, which makes a very quick, rather fancy sash. I cut the ends at an angle and used a match to melt the edges so they don’t fray.

End of blanket binding cut at an angle and sealed

Then I put a small hem on three sides of the fabric. (My hem foot is my favorite accessory ever; it makes it so easy to do tiny hems!)

Hem foot

I then ran a basting stitch across the top edge and pulled one thread to gather the top of the apron. Matching centers, I sewed the fabric between the layers of the blanket binding.

Sewing on the sash
Finished aprons

The aprons do their job! Although I may make longer versions later. These don’t quite cover my eldest’s knees. But hey, not bad for using scrap cloth and an hour of time.

Chick on poop apron

I’m luring them onto my lap with meal worms. Can’t be too bad, one fell asleep!

Sleepy chick on my lap!!

Enrichment

The chicks enjoyed their second time outside even more than the first! And they were even more excited about the grass and dirt I put in their inside area; not afraid of it at all, quite the opposite.

Actually perching!

They are also exploring the perch, so I made them another one using some 2x4s.

New practice perch made of 2x4s

Natural Egg Dye

This year we tried dying our hard boiled eggs with natural dyes! It was an interesting process, and another that definitely has a learning curve.

Natural dyes for hard boiled eggs (no vinegar in the purple cabbage solution on the left)

We roughly followed Fresh Egg Daily’s instructions, and bought blueberries, beets, yellow onions, turmeric (buying a small bag of this in the bulk section was less expensive), and purple cabbage. We halved the recipe in most cases, using only 2 cups of water and about 1.5 cups of veggies (or 1 Tbsp turmeric), and added 2 Tbsp vinegar, except for the purple cabbage. Now vinegar in the dye is what helps the dye set on the shell of the egg, but if you make a solution of purple cabbage juice acidic (which is what happens when you add vinegar), the liquid turns pink instead of blue, so I did not add vinegar to that jar. We also tried boiling the turmeric and purple cabbage together for the green color, then boiling them separately and adding about a cup of each liquid together in a different jar. I had already added the vinegar to the turmeric solution, so the “boiled separately” solution was a rusty brown (and I hid it in the pictures, because it was not a pretty color solution).

Eggs in solution in the refrigerator

We put hard boiled eggs in each jar and refrigerated them longer than recommended. We pulled the blueberry and beet after 48 hours, and the others after 72 hours.

From left to right: blueberries, purple cabbage (no vinegar), purple cabbage and turmeric, turmeric, yellow onion, beet

Results: I should have taken pictures of the blueberry dye and the beet dye right after I pulled them out of the solution, and then after I rinsed off the particulates. This picture is a day later, and the colors have started to go brown. The most surprising result was that even though the turmeric and purple cabbage solution color was brown, the eggs turned out green. The two darker green eggs had more vinegar in the solution. The purple cabbage solution without vinegar barely colored the eggs, but where there was a crack in the shell, definitely colored the egg white a blue color. I picked off a bit of shell on the beet dyed eggs as well to show the egg white color (no longer white).

Thanks for sticking with the length of this post. Here is a video of chicks learning to perch and fly as your reward.

Feeder trays

My primary book reference “Storey’s Guide to Raising Chickens” by Gail Damerow suggests putting feed on pieces of paper for days old chicks, then switching to a shallow tray once they have all figured out what to peck. I have some card stock I’ve been trying to get through (I thought I was ordering bright white, but what I ordered had rainbow flecks, ugh), so I used some of that to make simple little trays. The nice thing about the trays is they can be thrown away when they get poopy. But it will be even nicer when they eat just out of the hanging feeders. Any who, here is the video: