I love the cell phone pockets that I put in my capris this summer, and I decided to put pockets in all five pairs of my jeans. Rather than hand sew, I decided to use my sewing machine to speed up the process. It was a little trickier to get a neat pocket (I consider myself an adequate seamstress, my seams are mostly straight), but reinforcing the corners with a satin stitch was much easier.
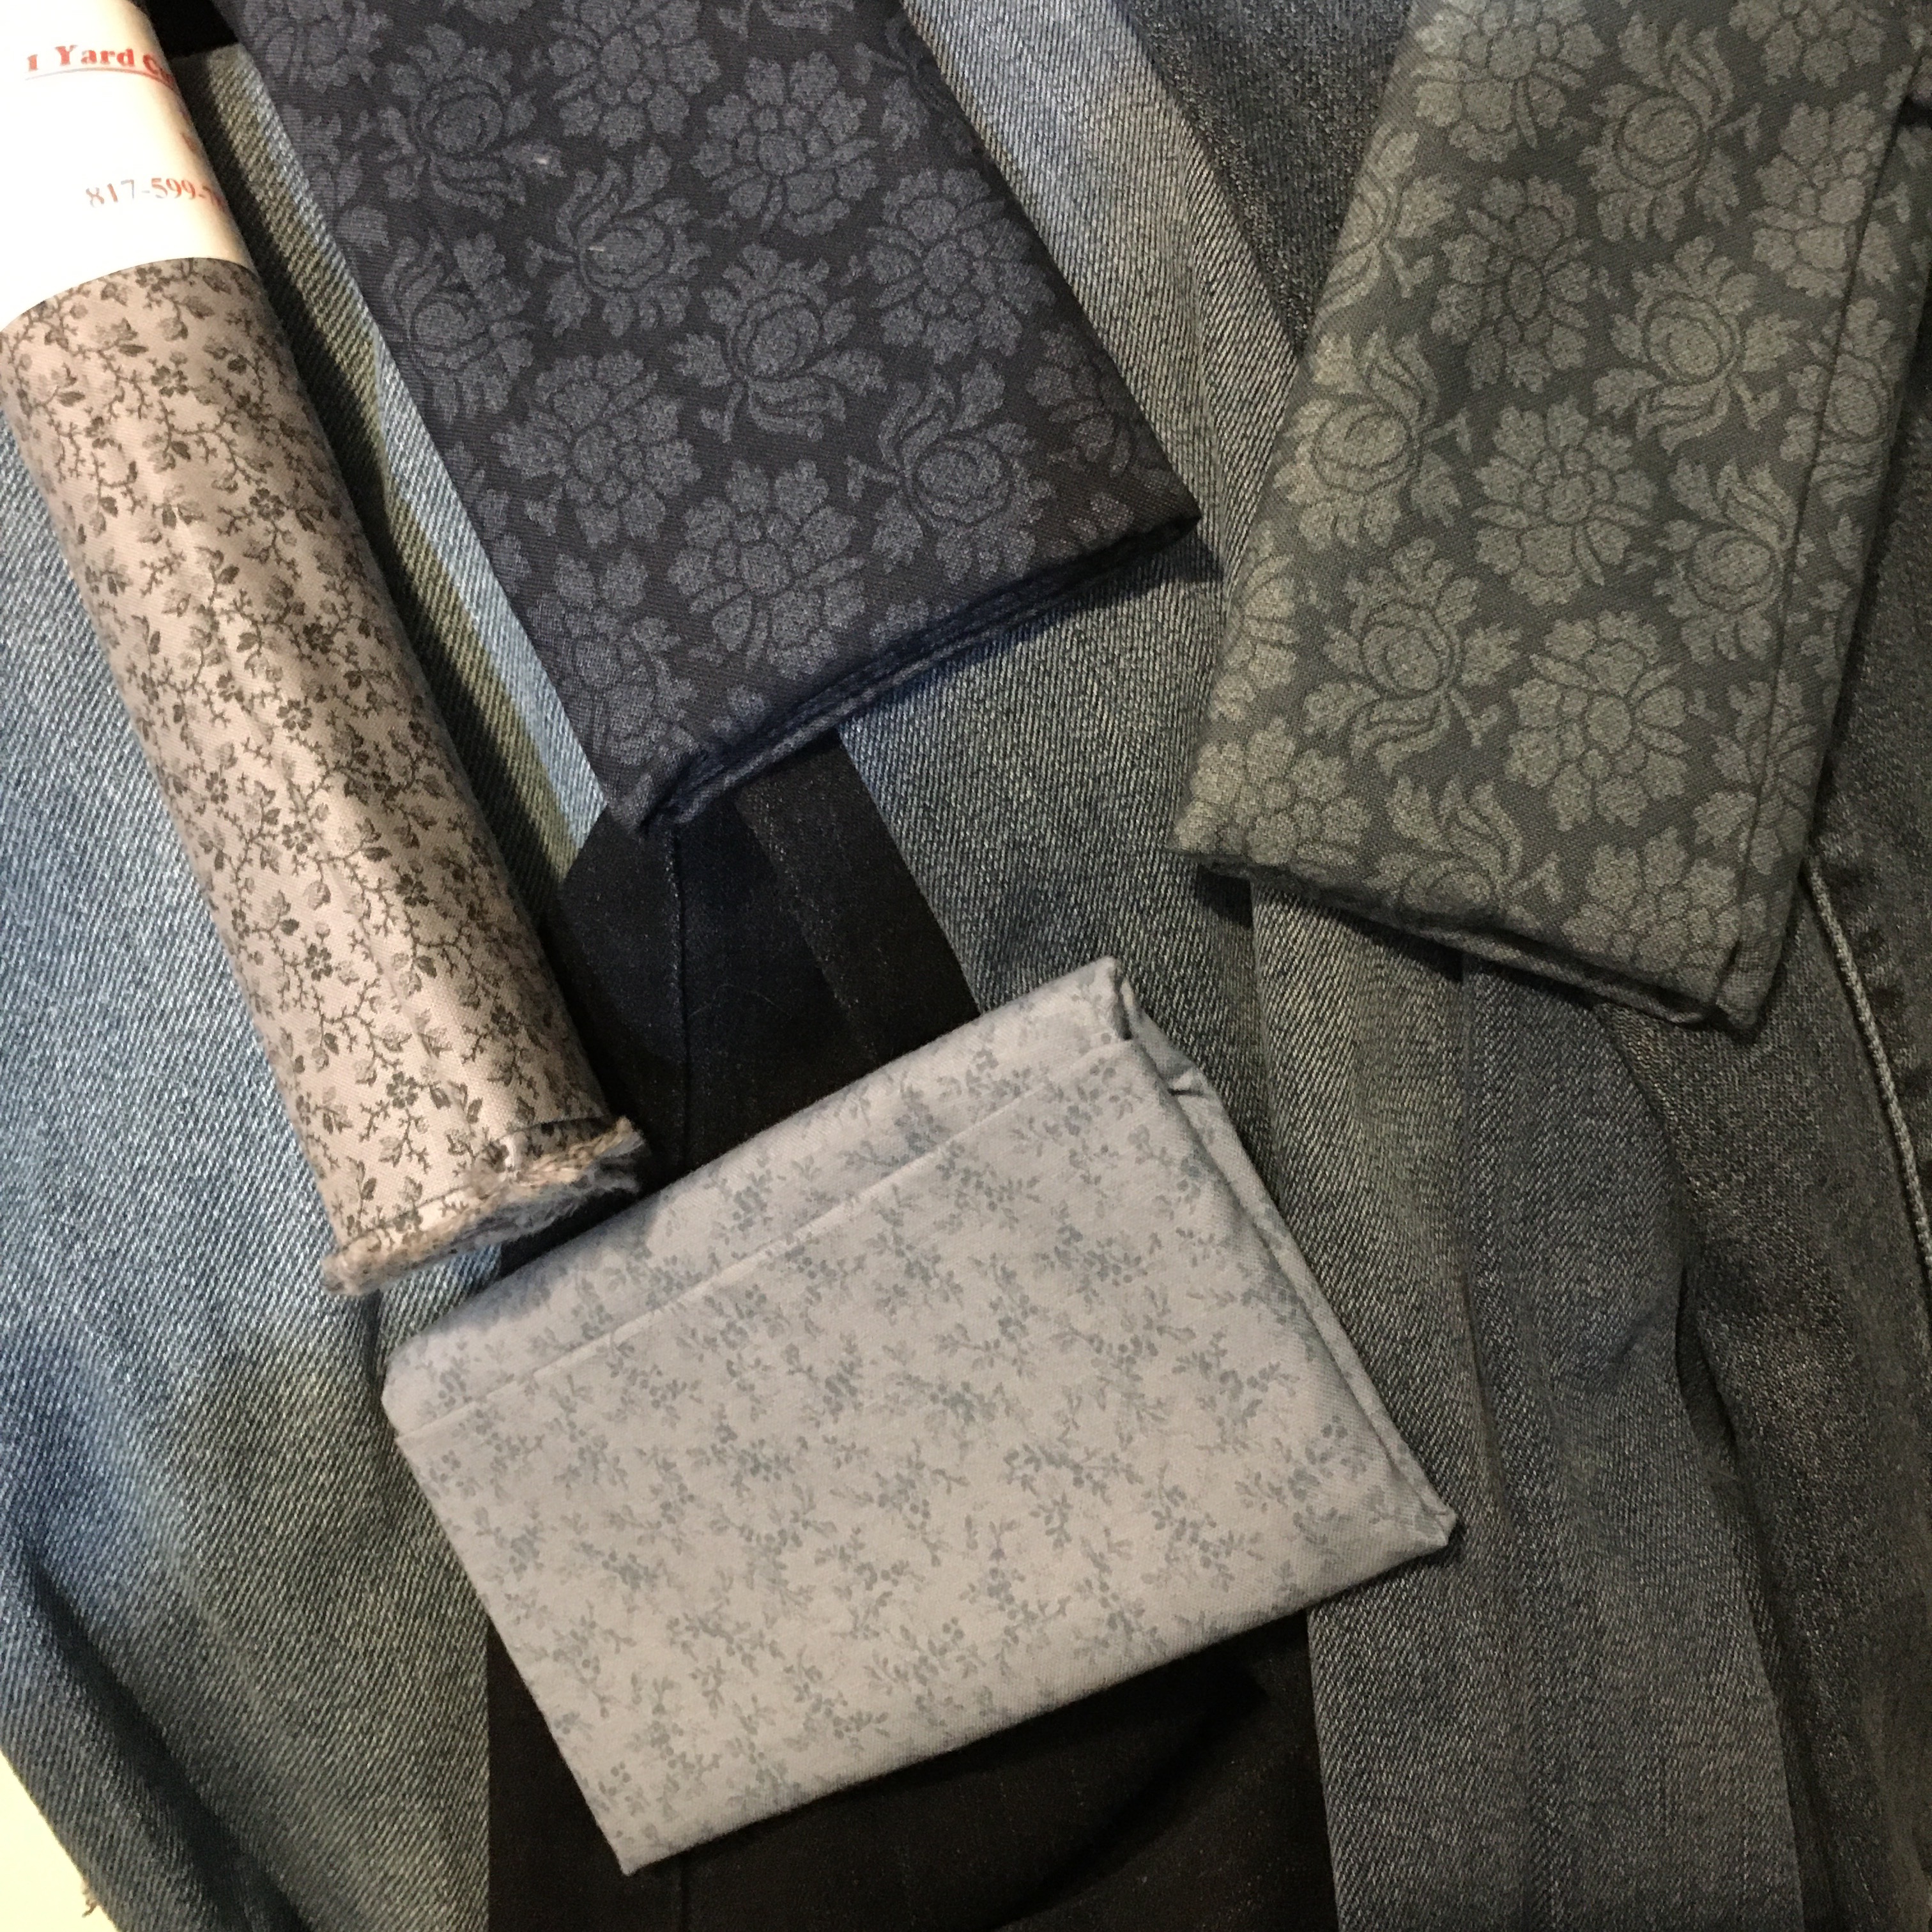
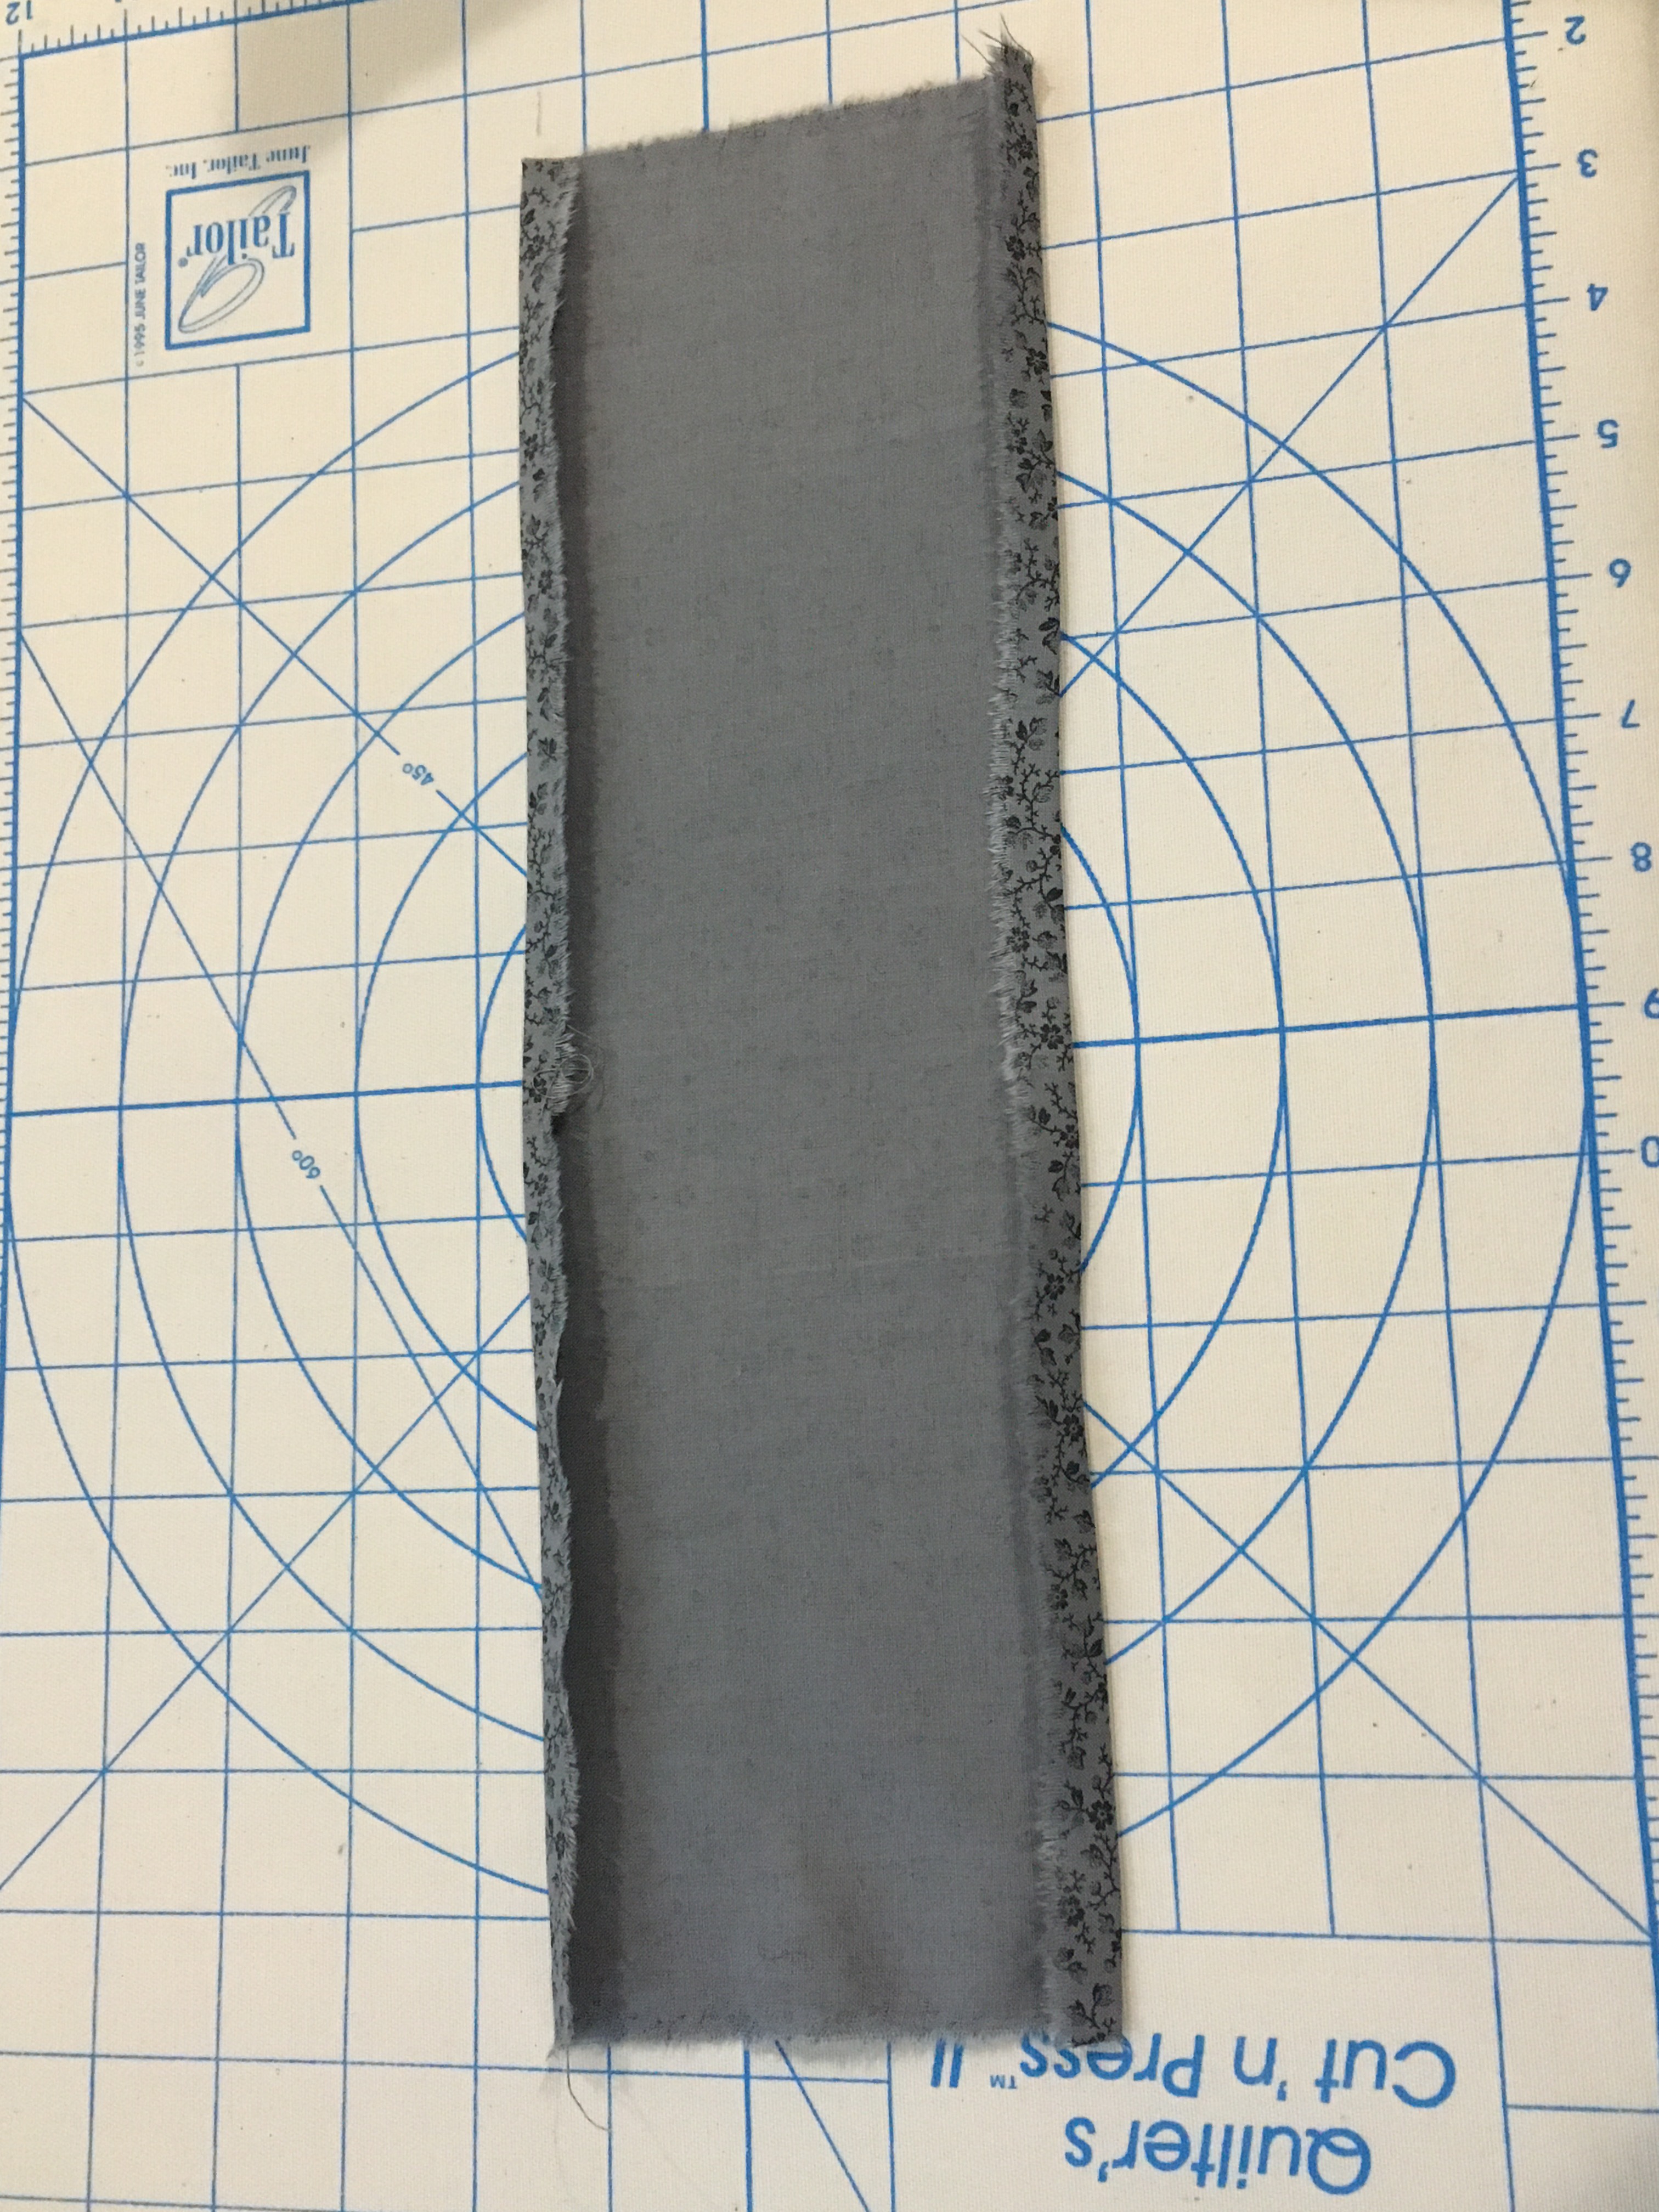
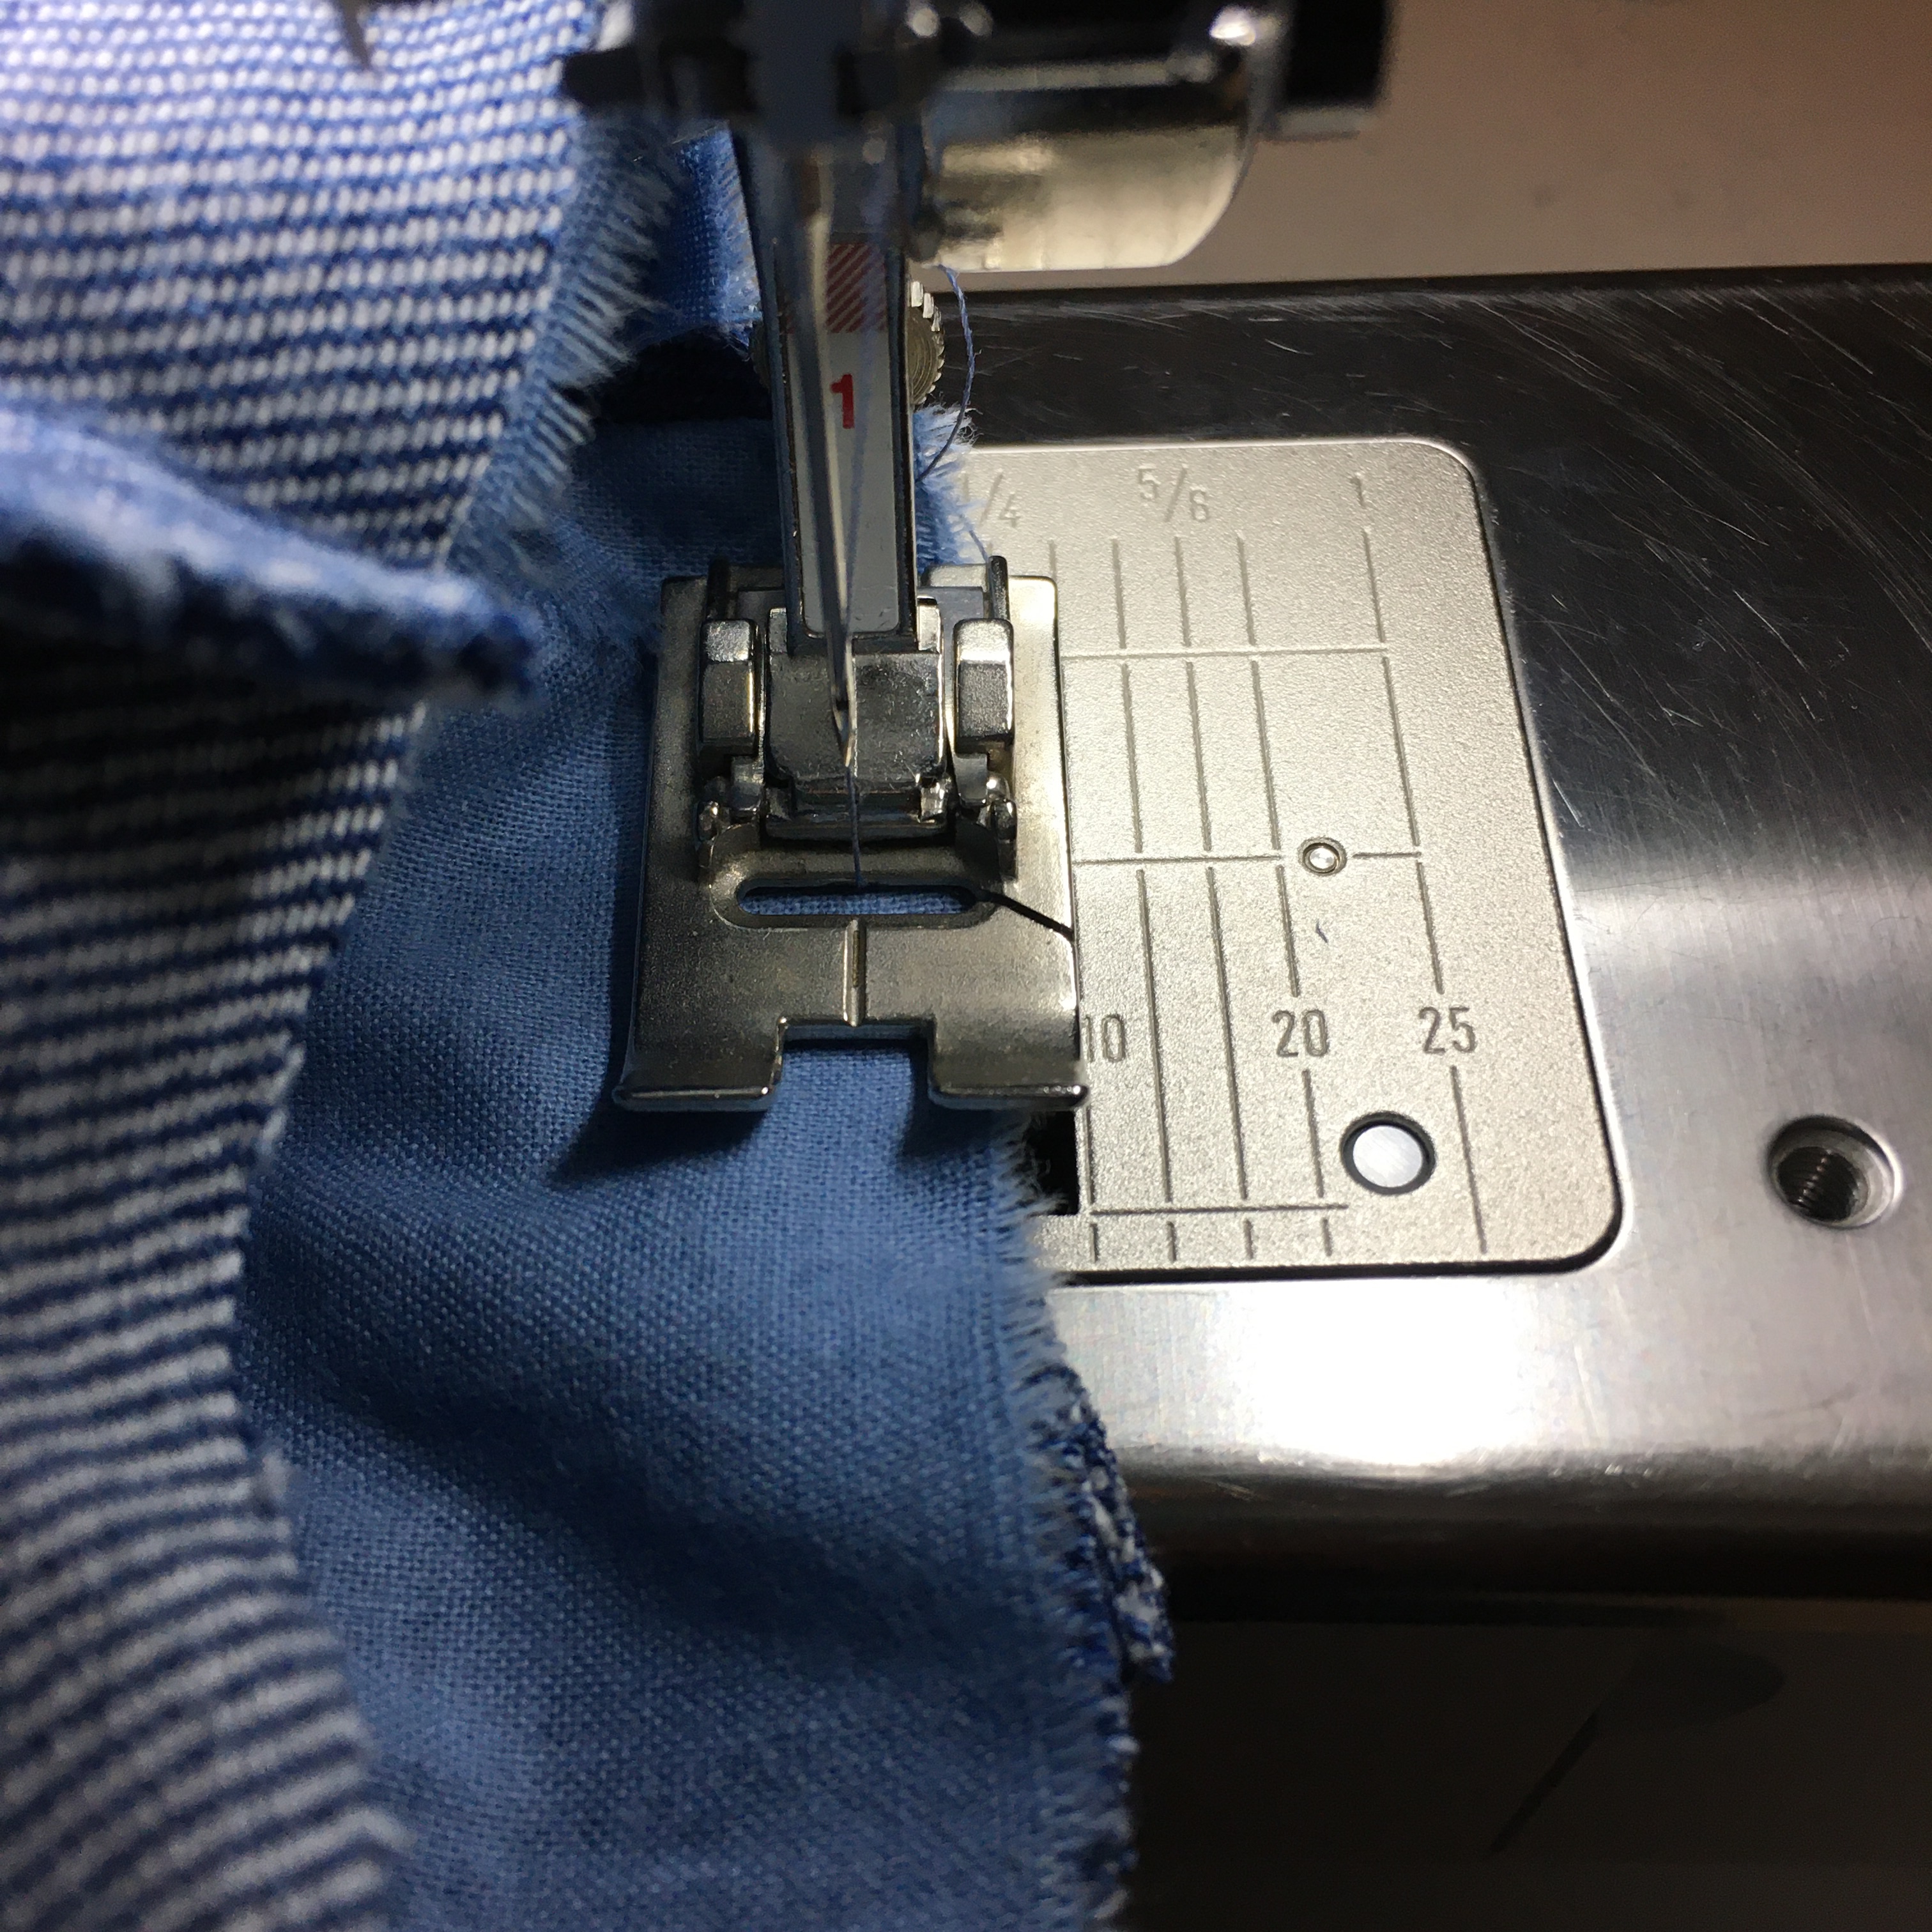
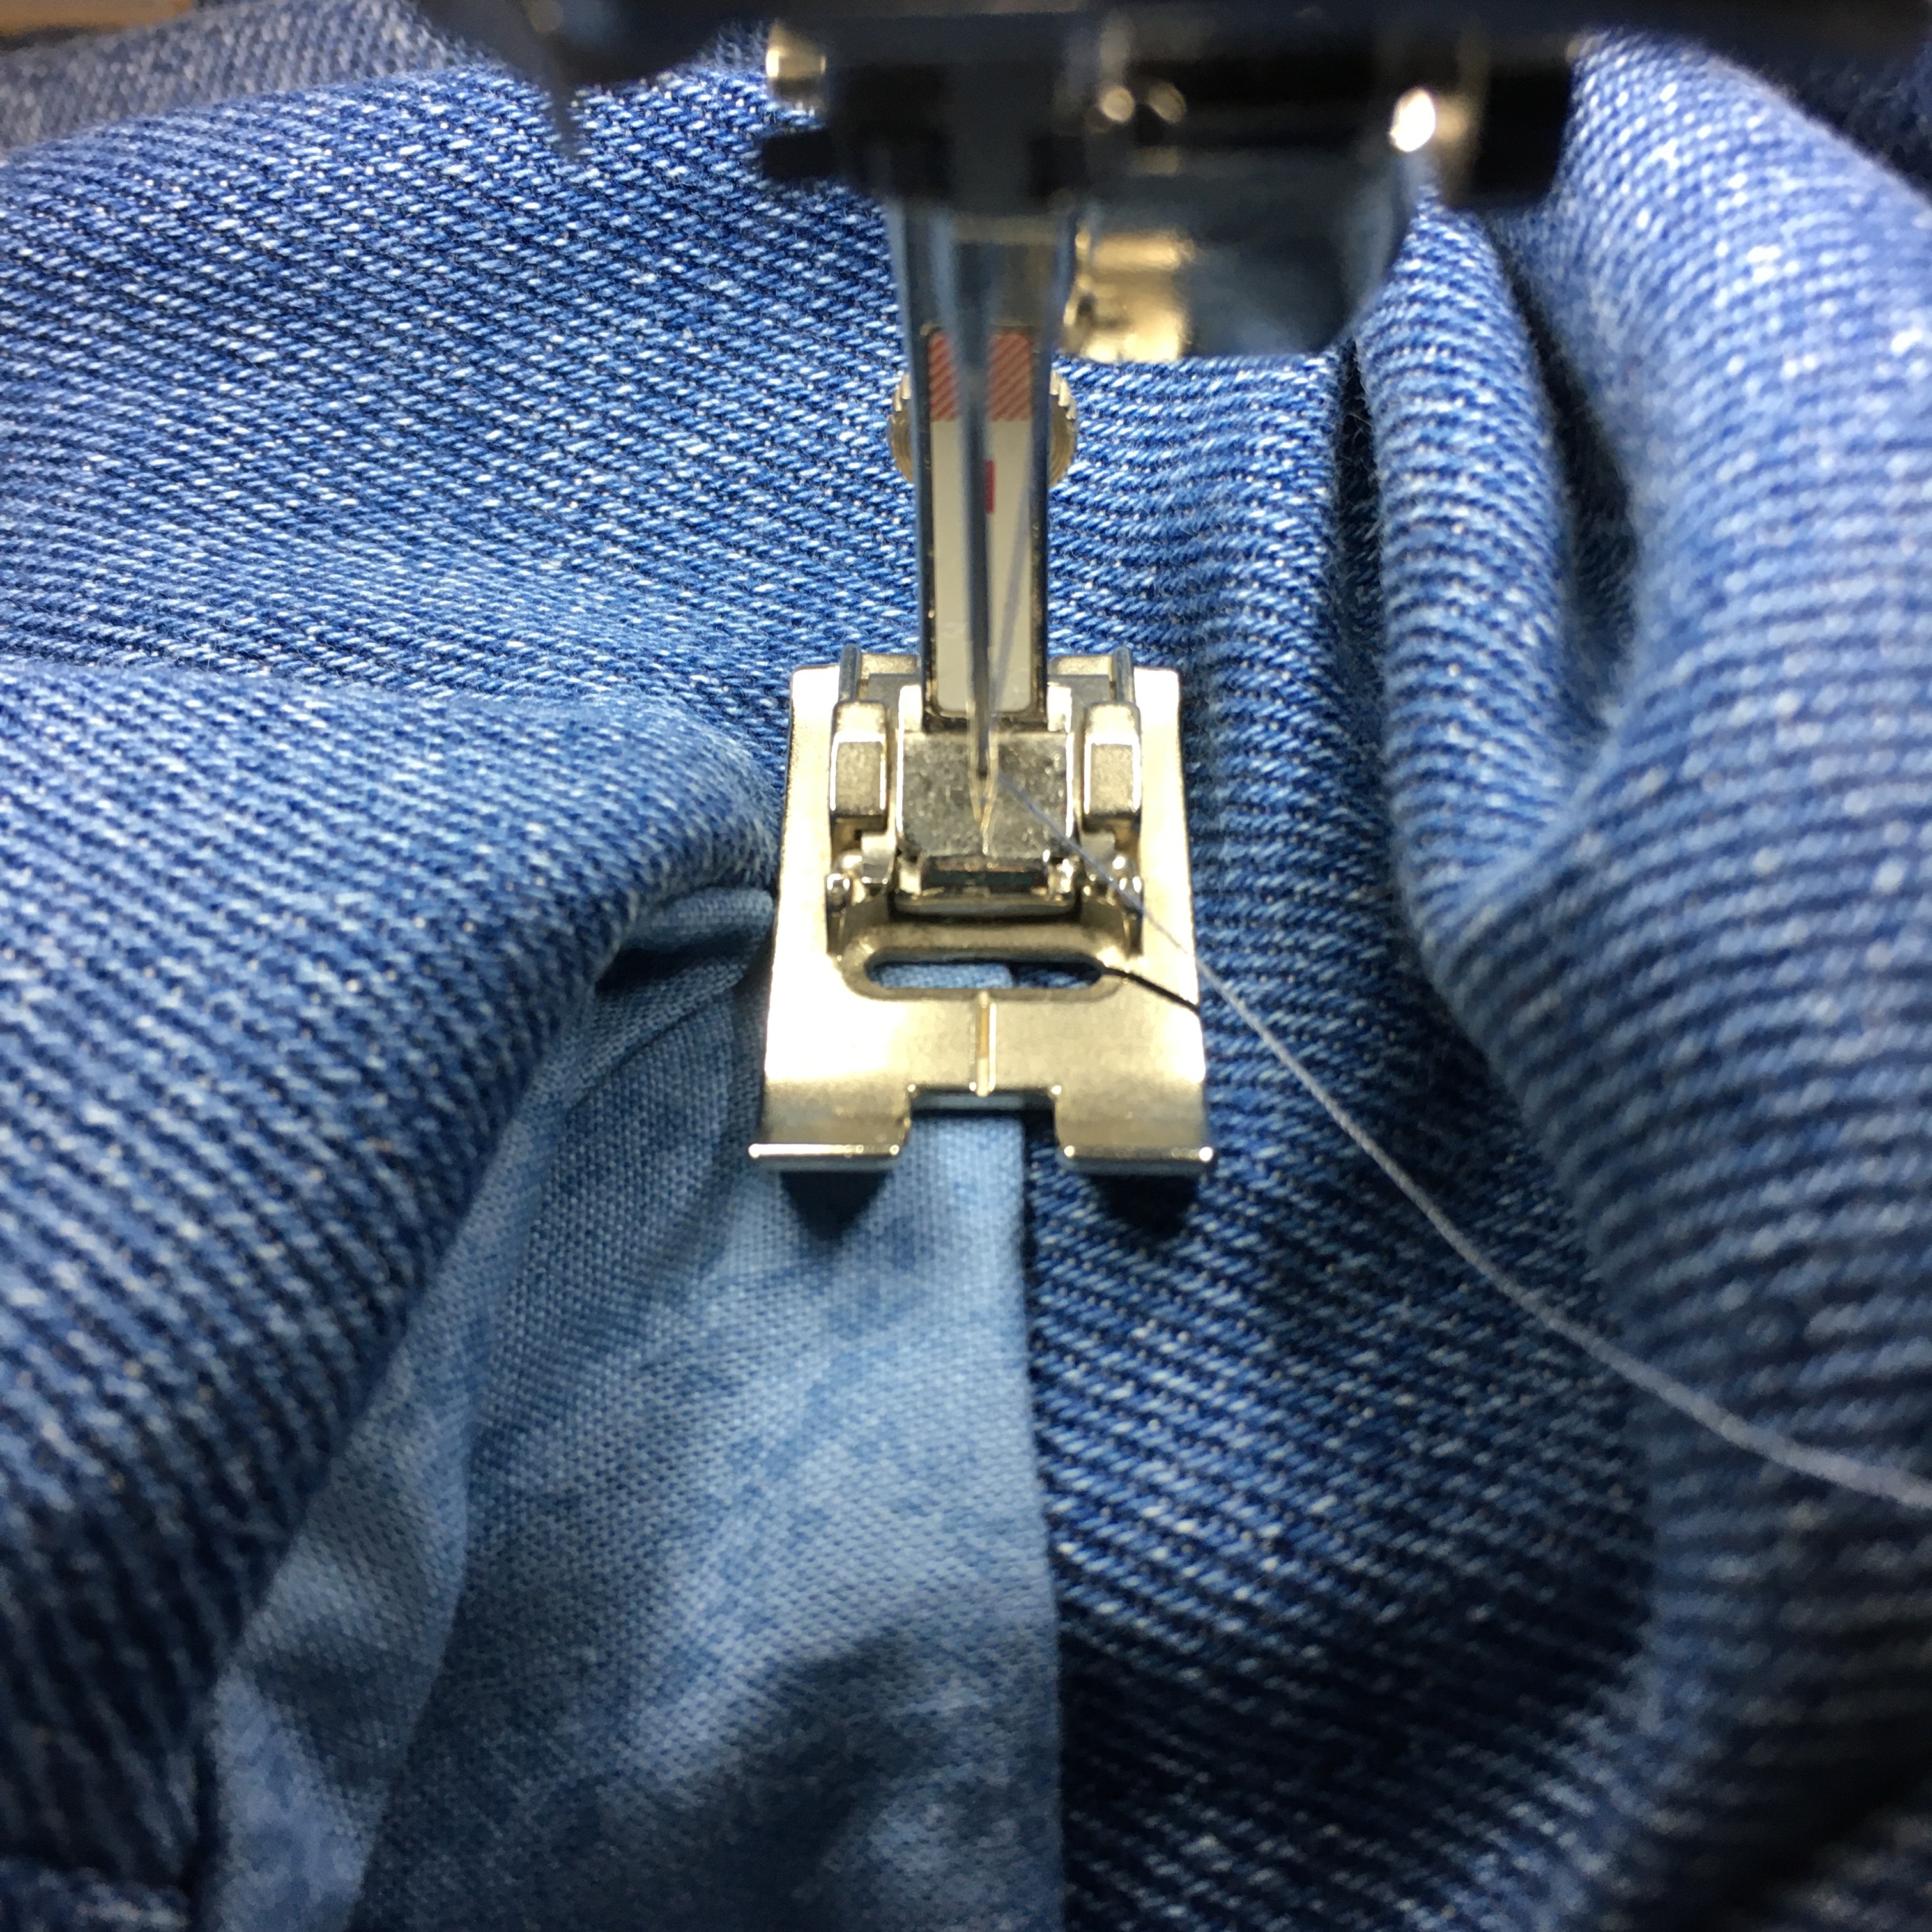
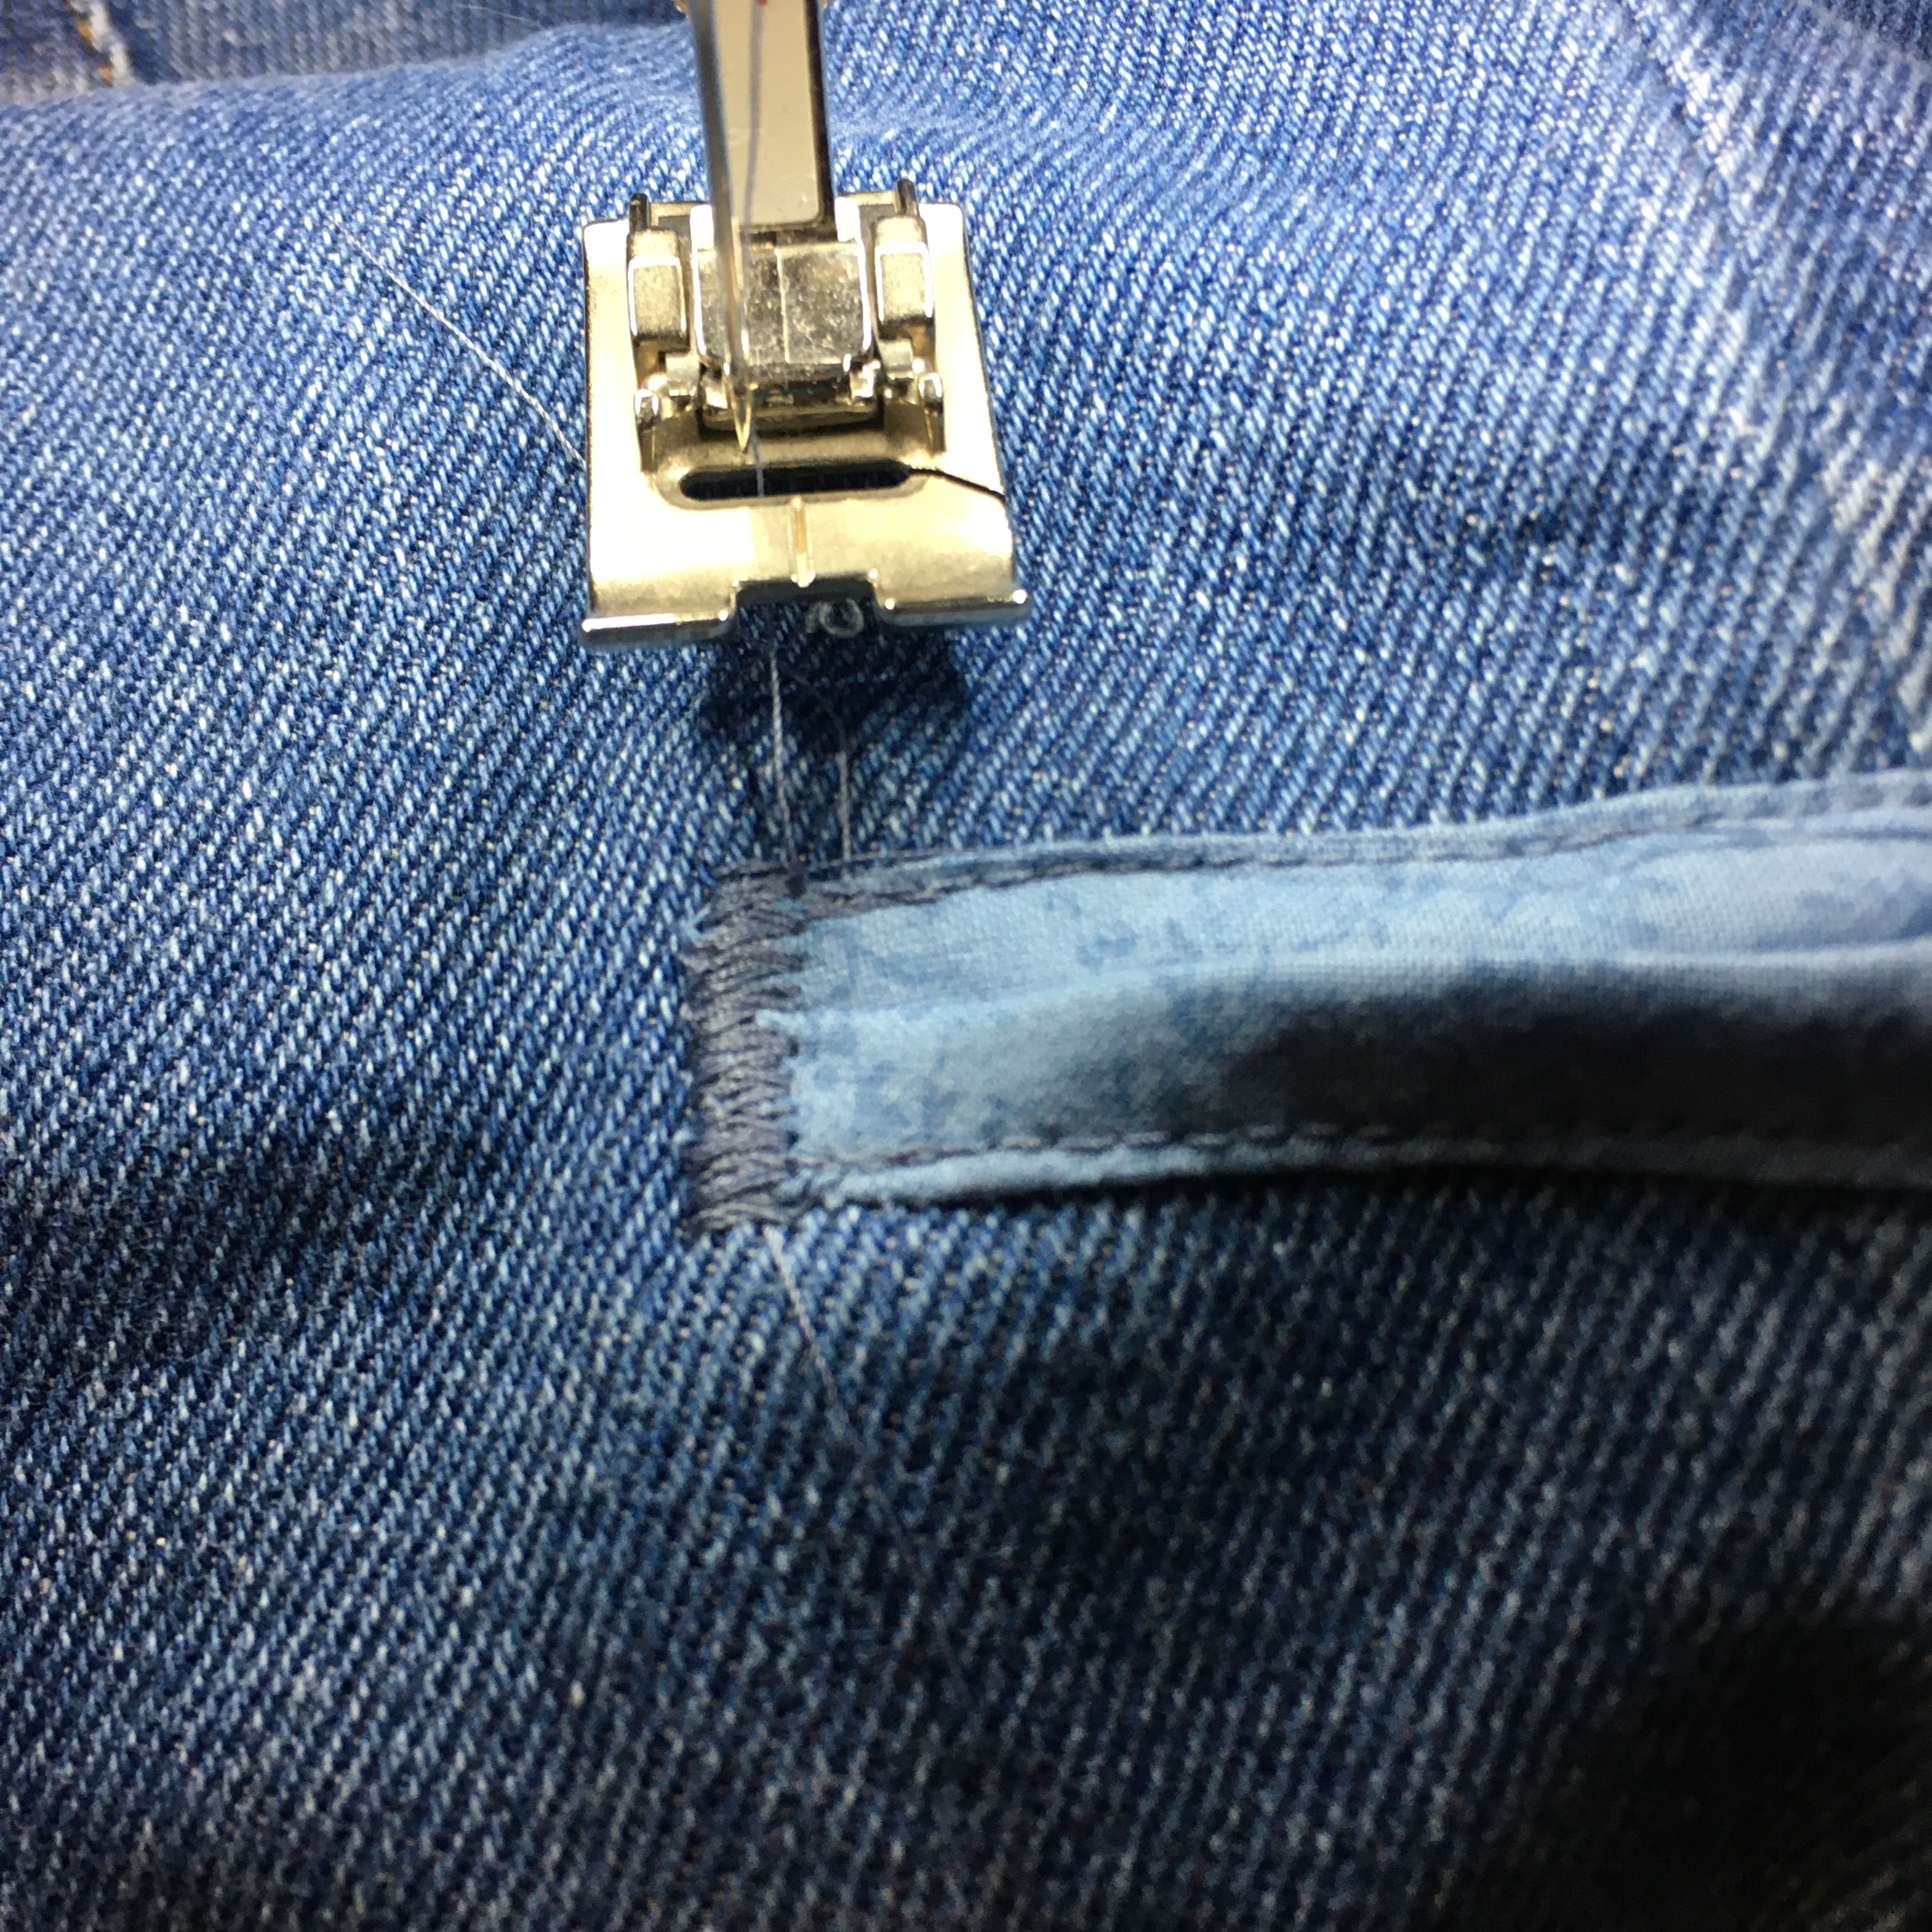
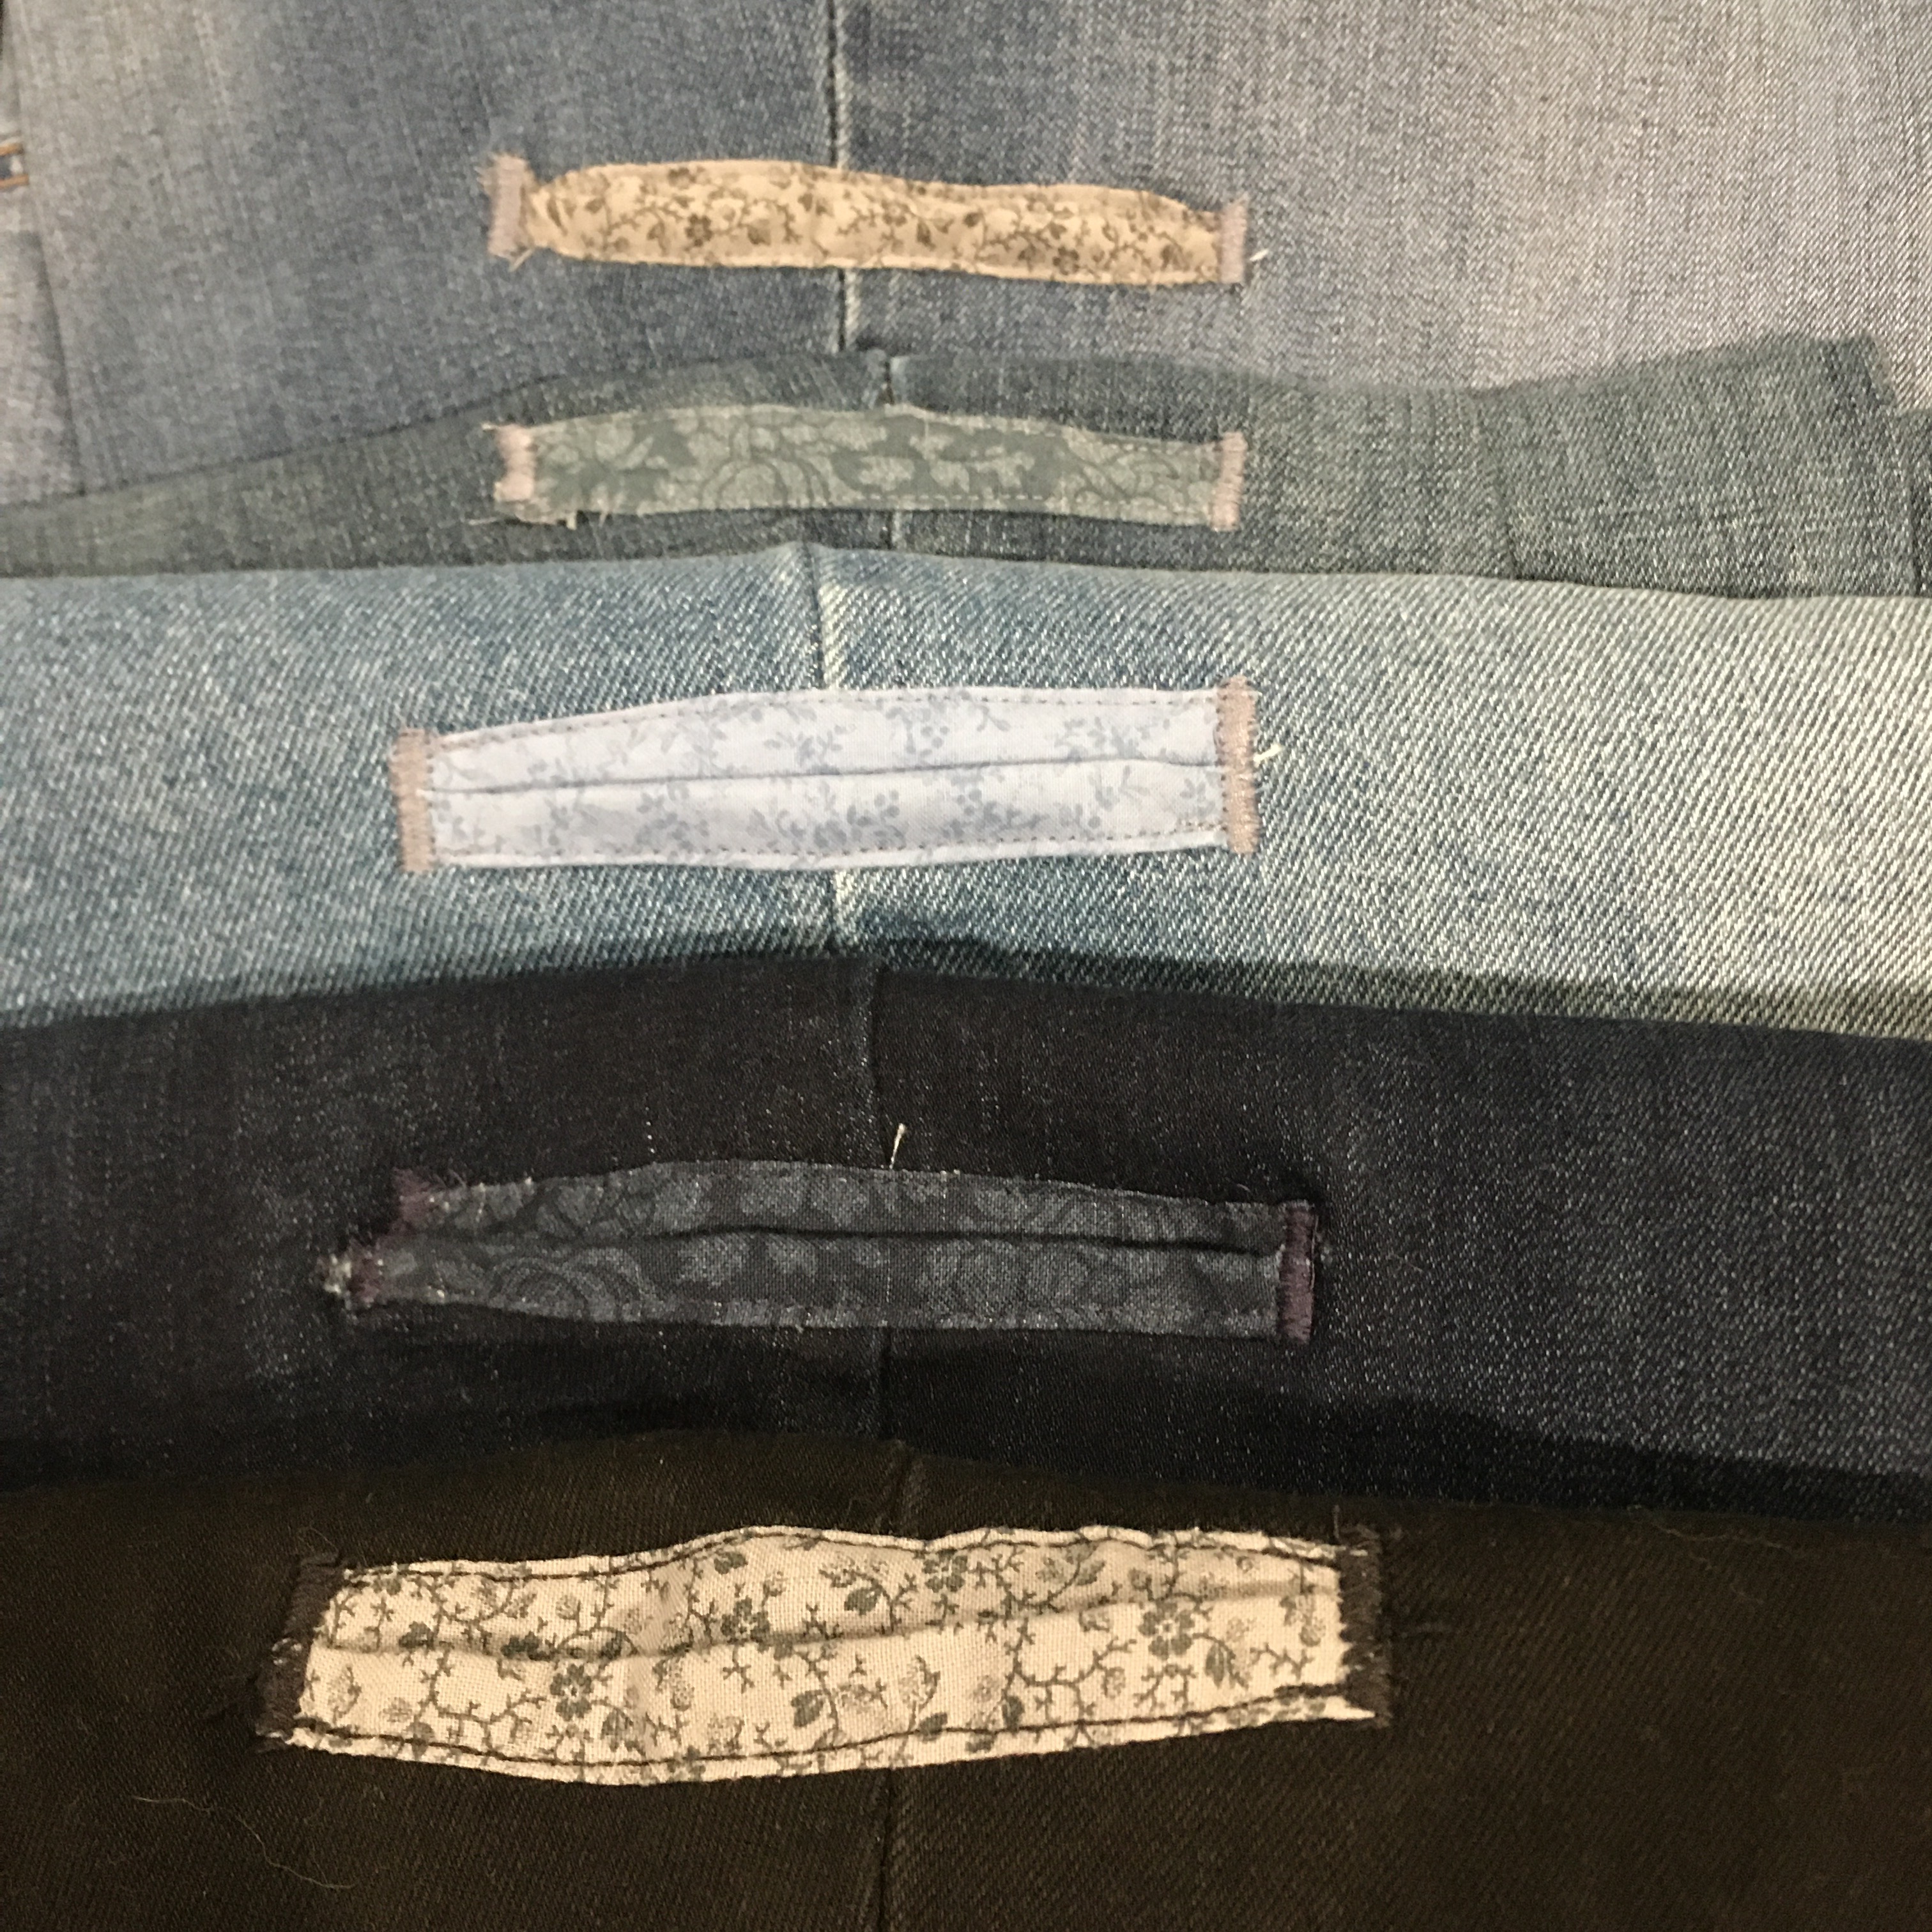
Some beautiful quilting fabric for the pocketsI cut the cotton material 5”x14” and ironed a 1/2” over on each long side.Using pins, I marked where to cut the jeans (I like the pocket on the right side, mid-thigh).I pinned the right sides together.I sewed 1/4” from the raw edges on both sides.After turning the pocket inside out, I over sewed close to the edge.I used a dense zigzag stitch to reinforce the ends of each pocket.Lastly, I sewed the sides of the pockets. I found the pockets were neatest if I did this last.All five pockets done. Not perfect, but perfectly serviceable.
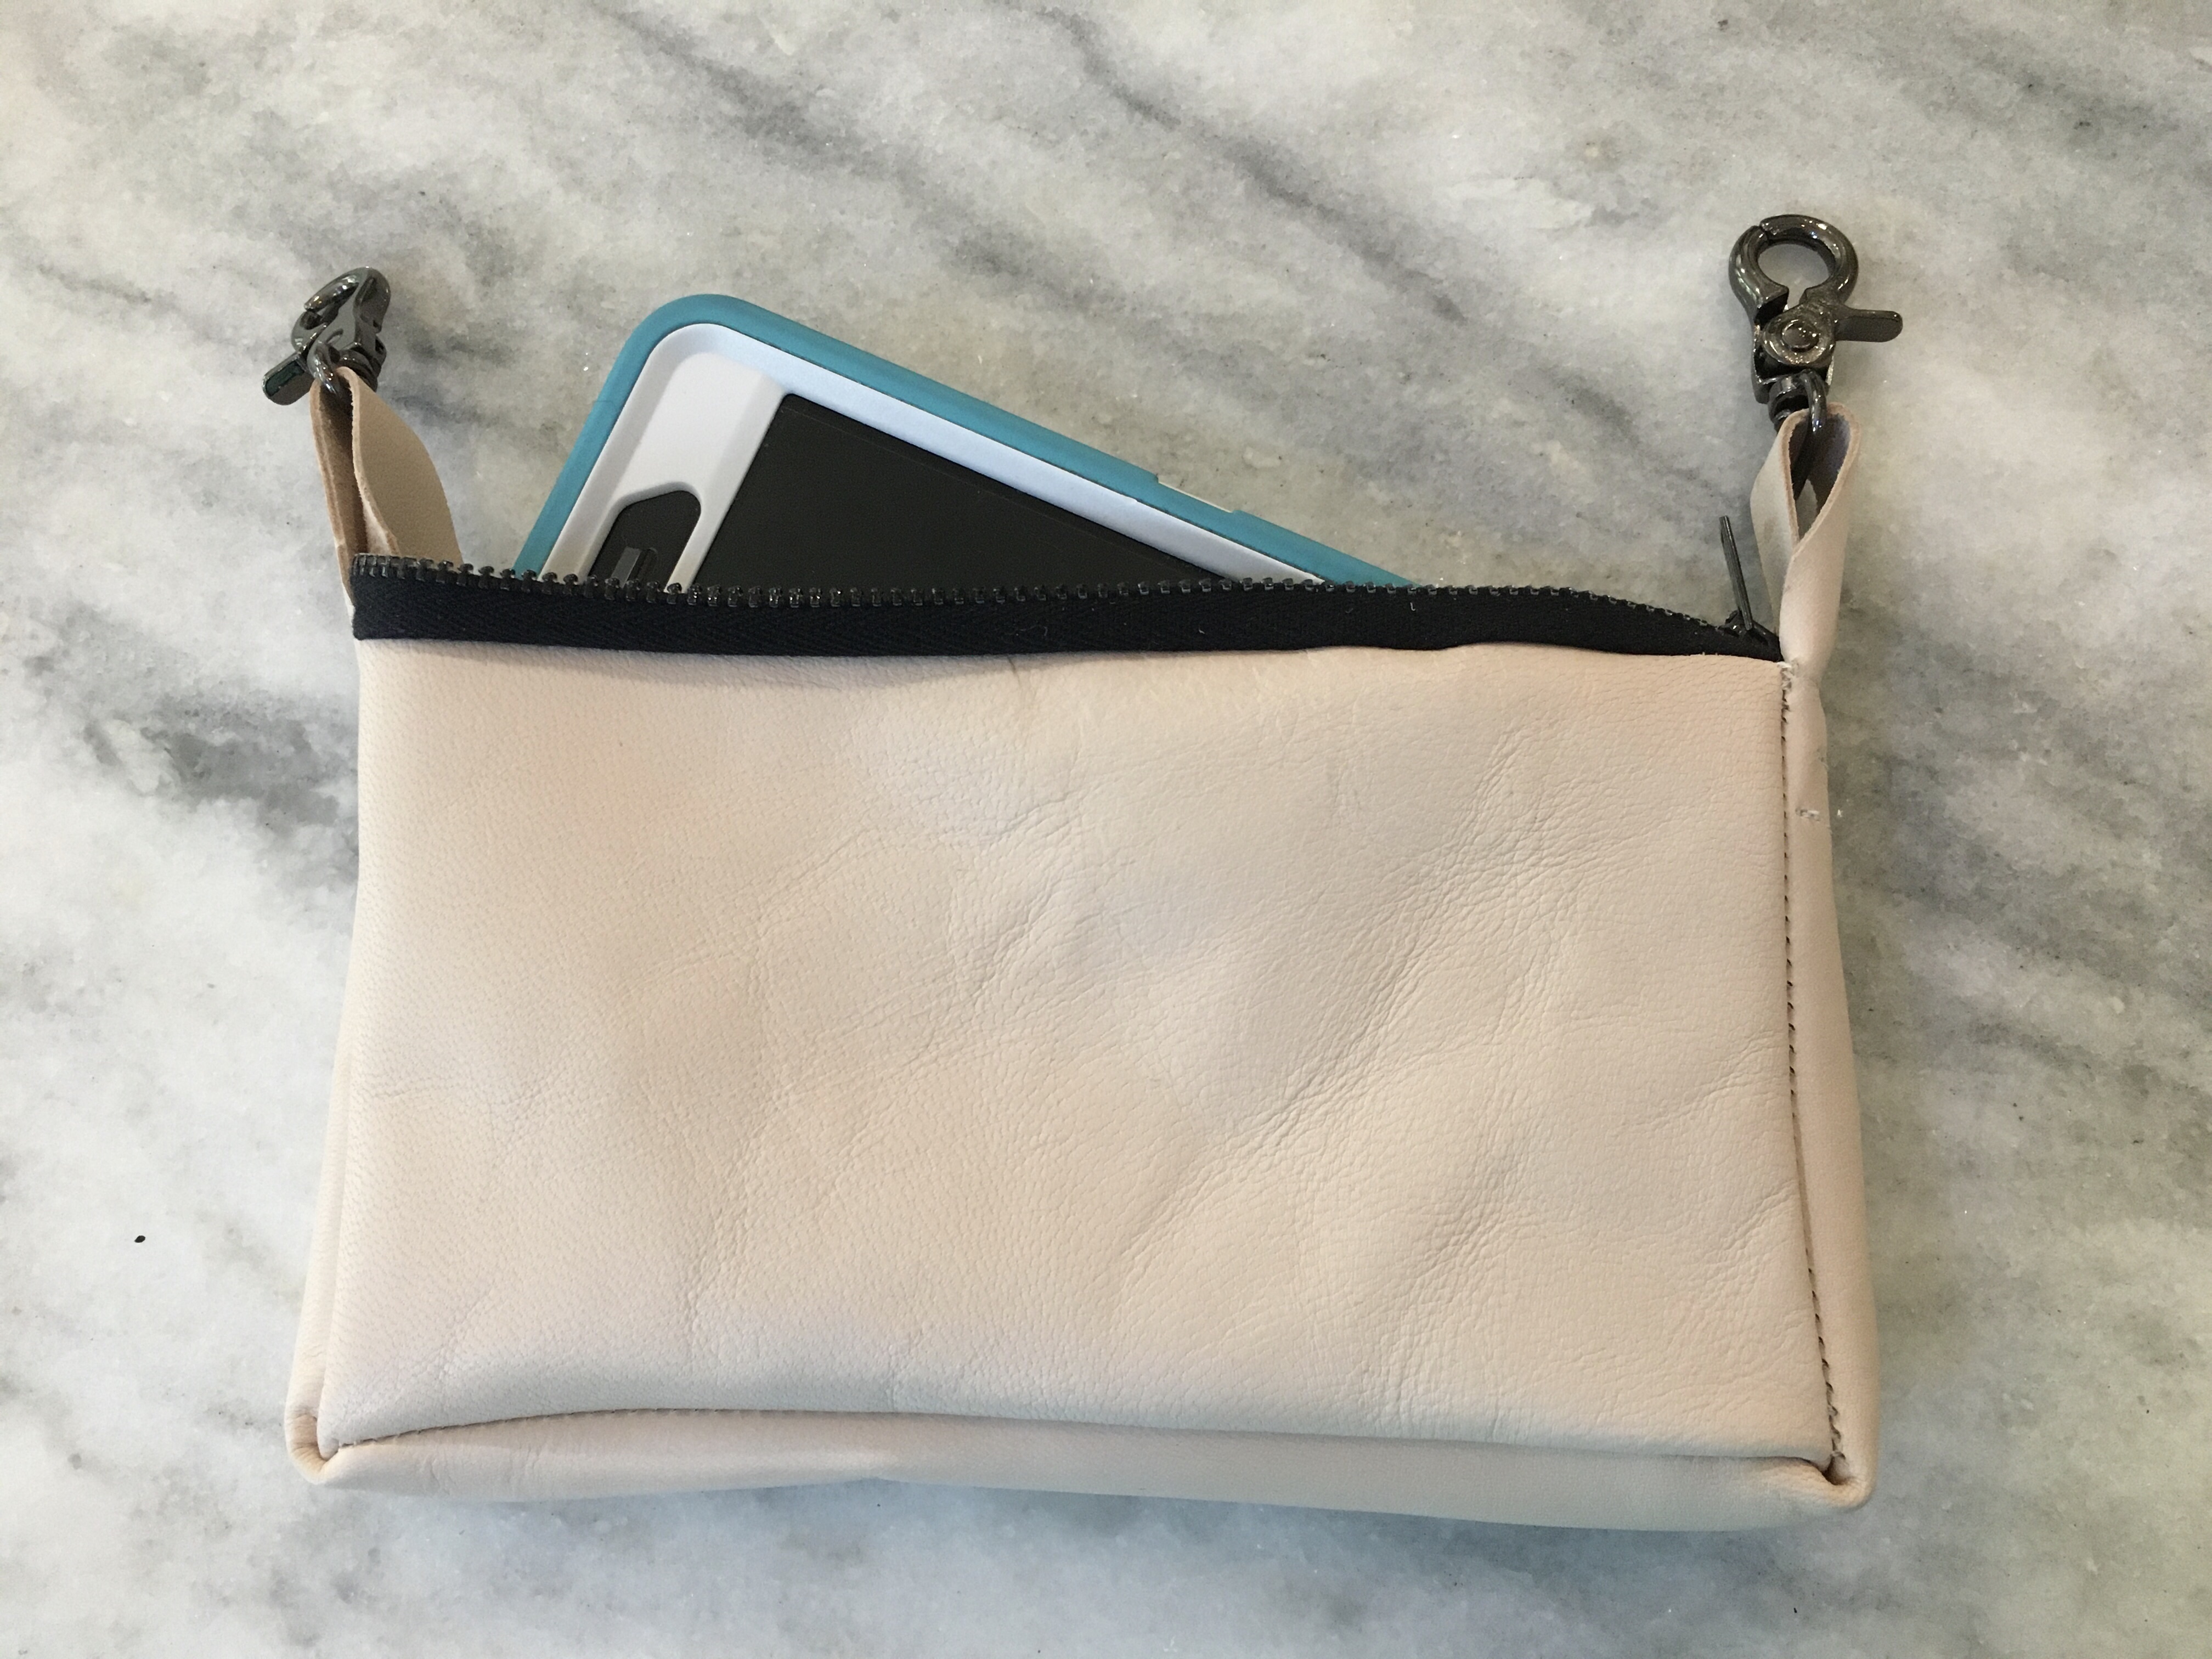
My eldest usually carries her cell phone in the back pocket of her jeans. This actually works surprisingly well most of the time, but not when she rides. We have been brainstorming acceptable alternatives. She is not a purse person, nor a fanny pack person, nor one that likes the riding pants with the special pockets. We needed a solution for jeans. I saw some clip on pouches, and she made a positive noise, so I made one!
I bought some goat leather in natural so that she could decorate it herself (if she wants), and swivel clips and a heavy duty zipper.
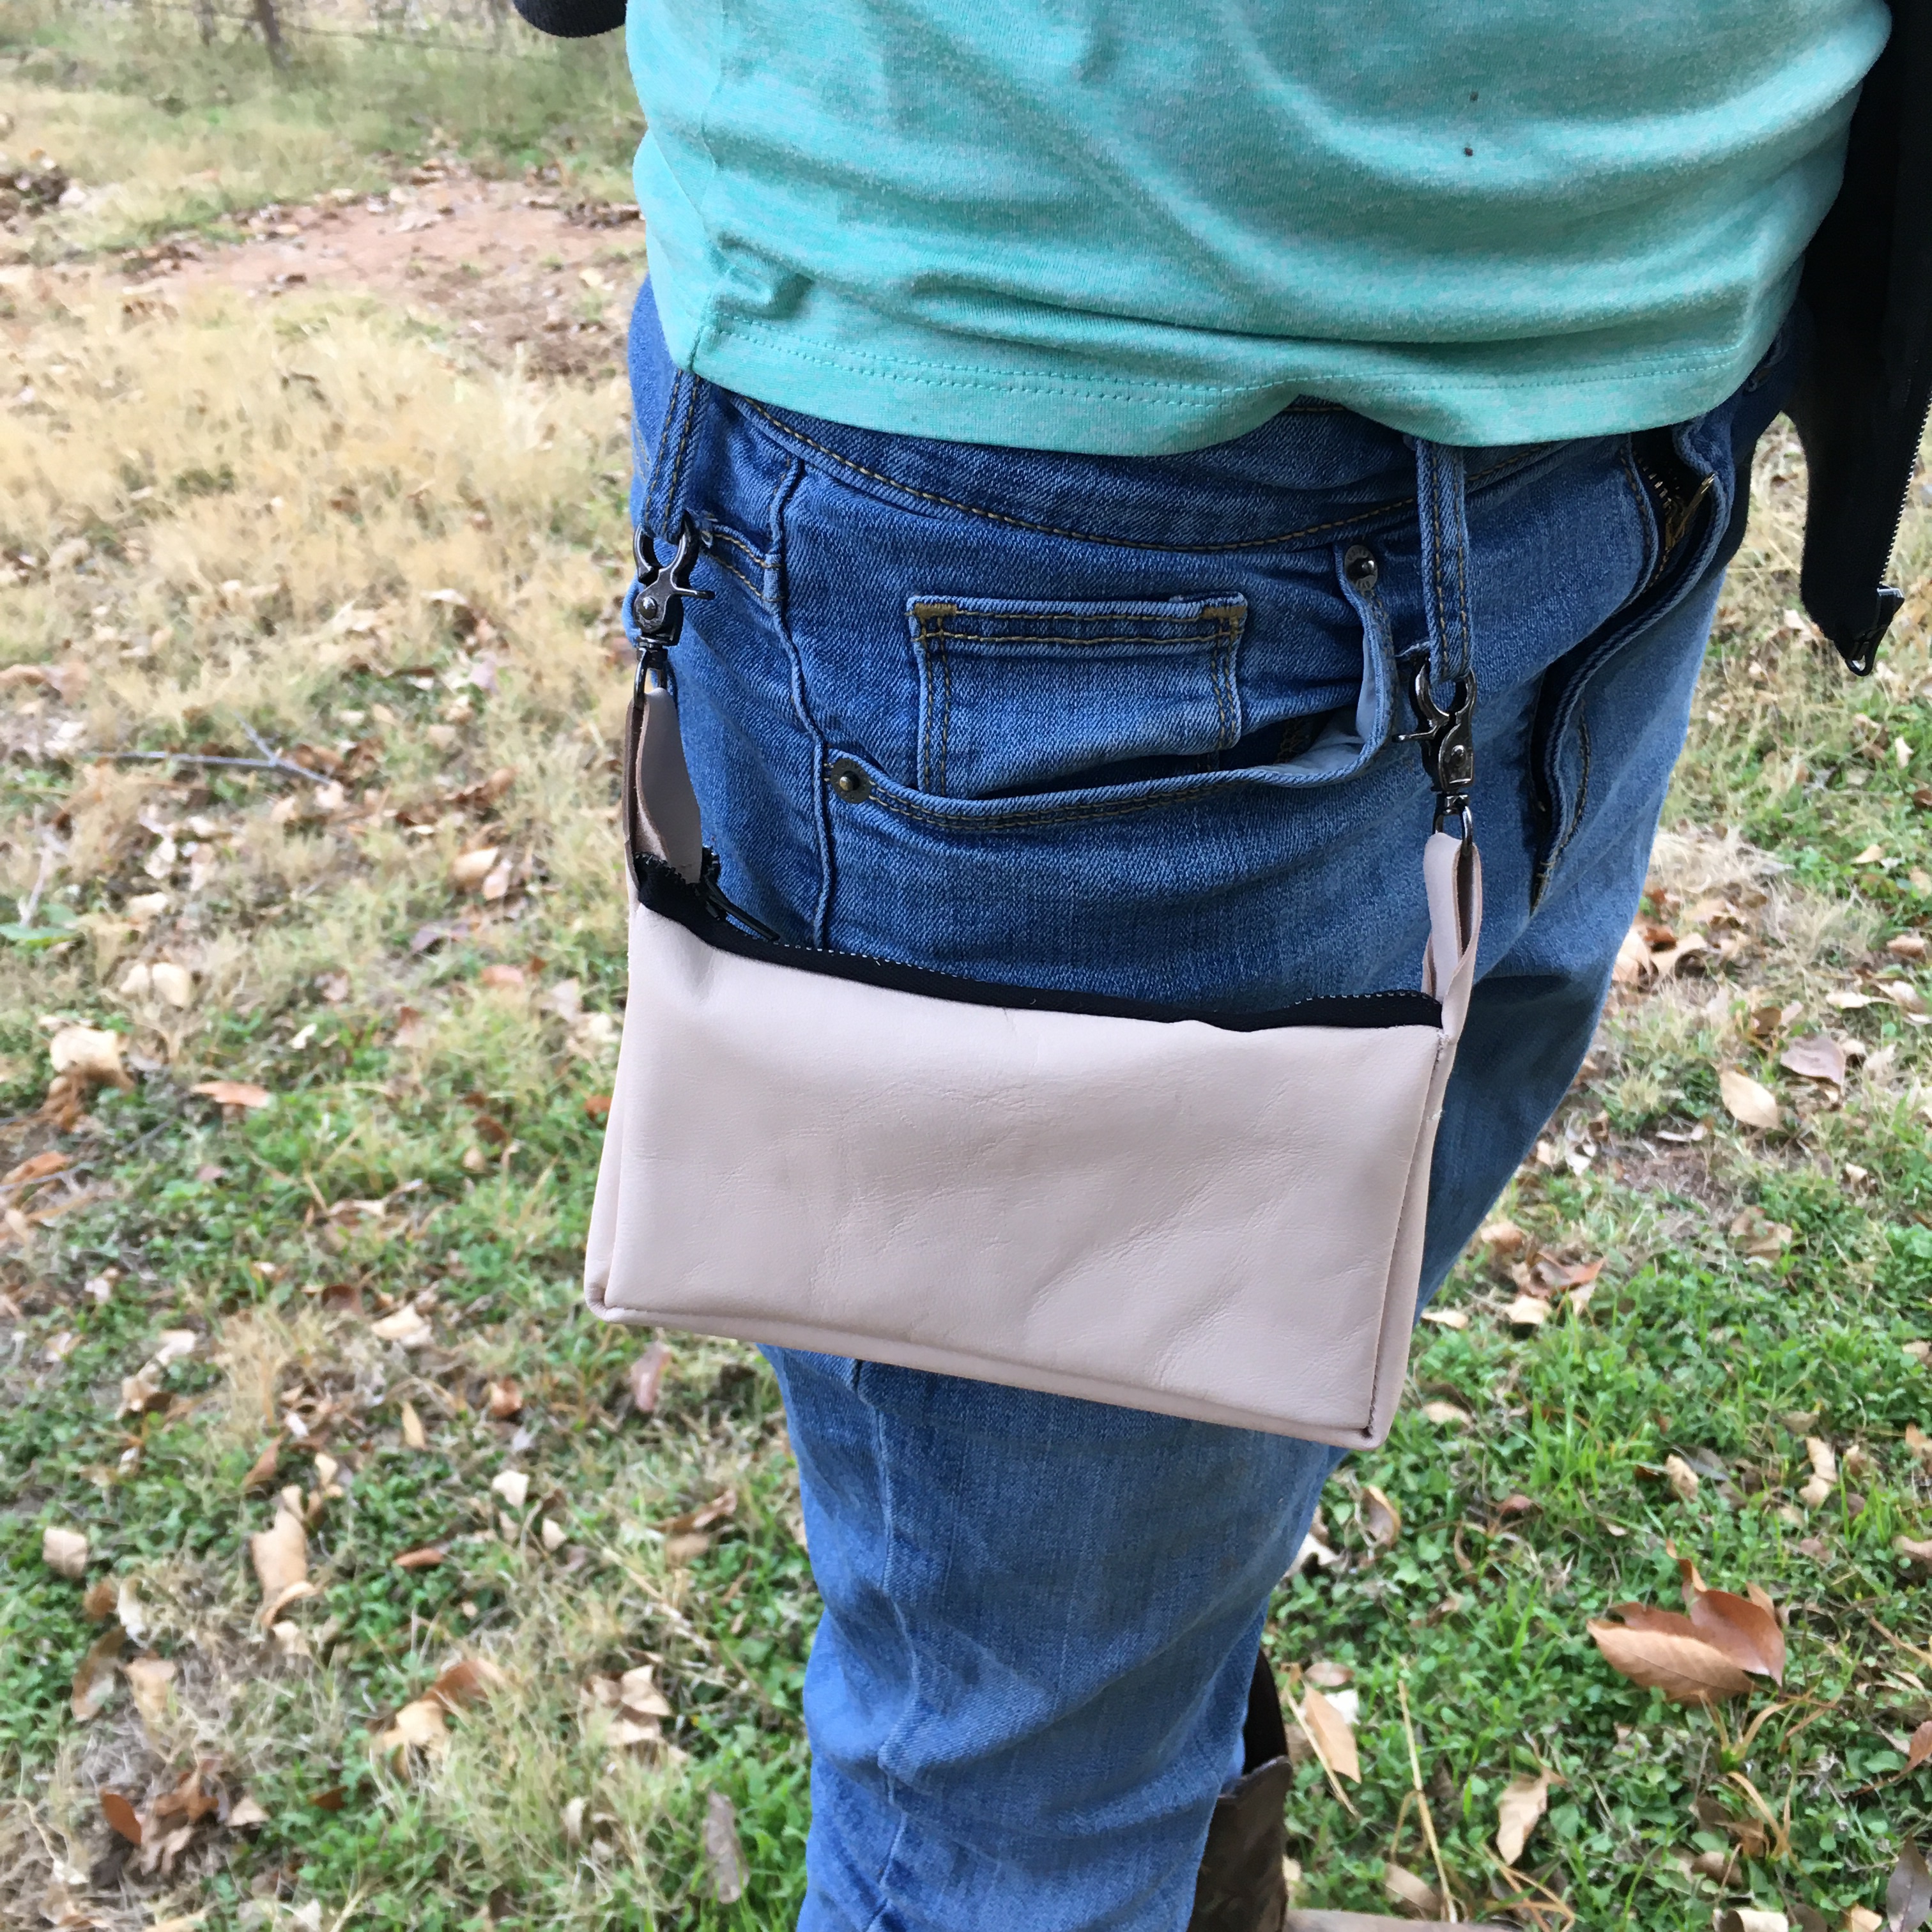
Leather clip on phone pouchPouch in use
It works! There is enough give that it doesn’t interfere with her riding, and the phone can’t fall out of her pocket into the dirt. I would make it differently if we need another one, but the basic concept is sound.
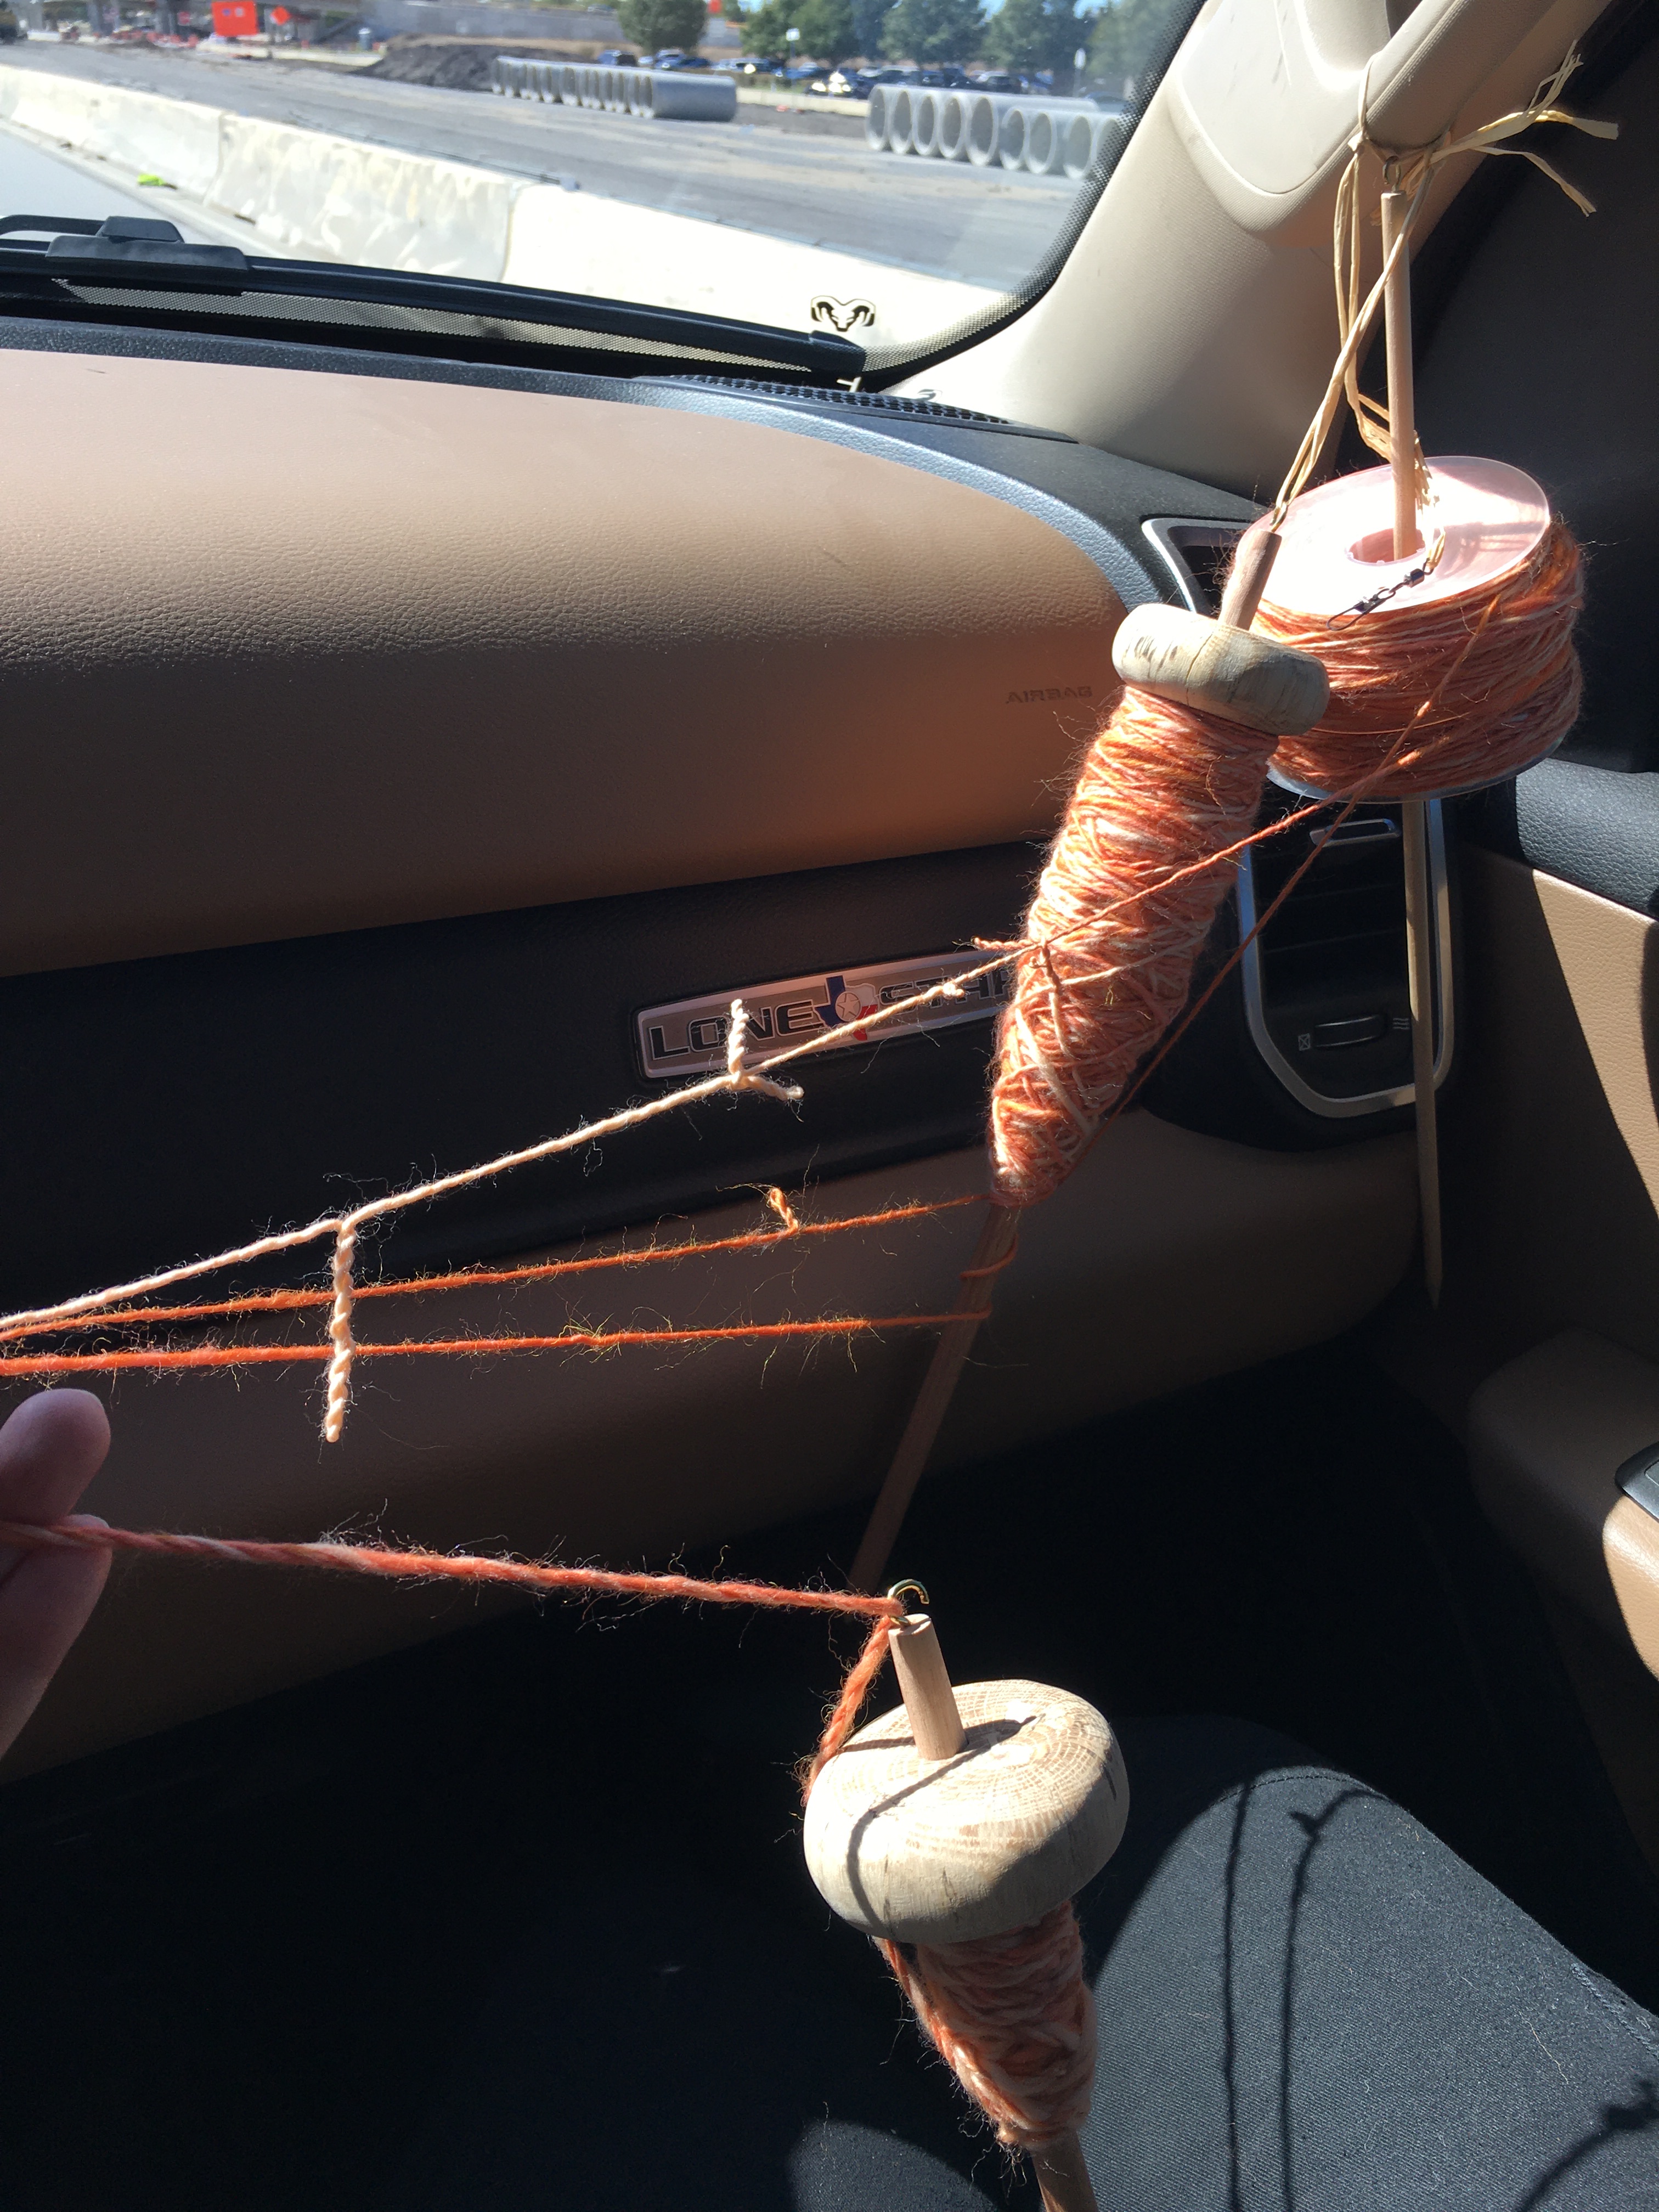
It is official, spinning is a lifetime “go”. My criteria for lifetime crafts is if I can craft in the car on long trips. I tested spinning and plying on a recent trip and I can spin in the truck! Hurray!
Plying wool in the truck
It took a little creative problem solving, and I have to wrap the yarn around the spindle more often, but I can spin and A: not get sick and B:be productive. Nälbinding and crochet are also good car crafts. Knitting not so much; I drop too many stitches when we go over bumps. Wire work makes a mess of tiny bits of wire. Similar problem with carving (not to mention using sharp knives in a moving vehicle is not recommended). Leather work also uses sharp implements. Drawing, reading, embroidery, sewing, and cross stitch make me ill in the car. Yay for spinning!
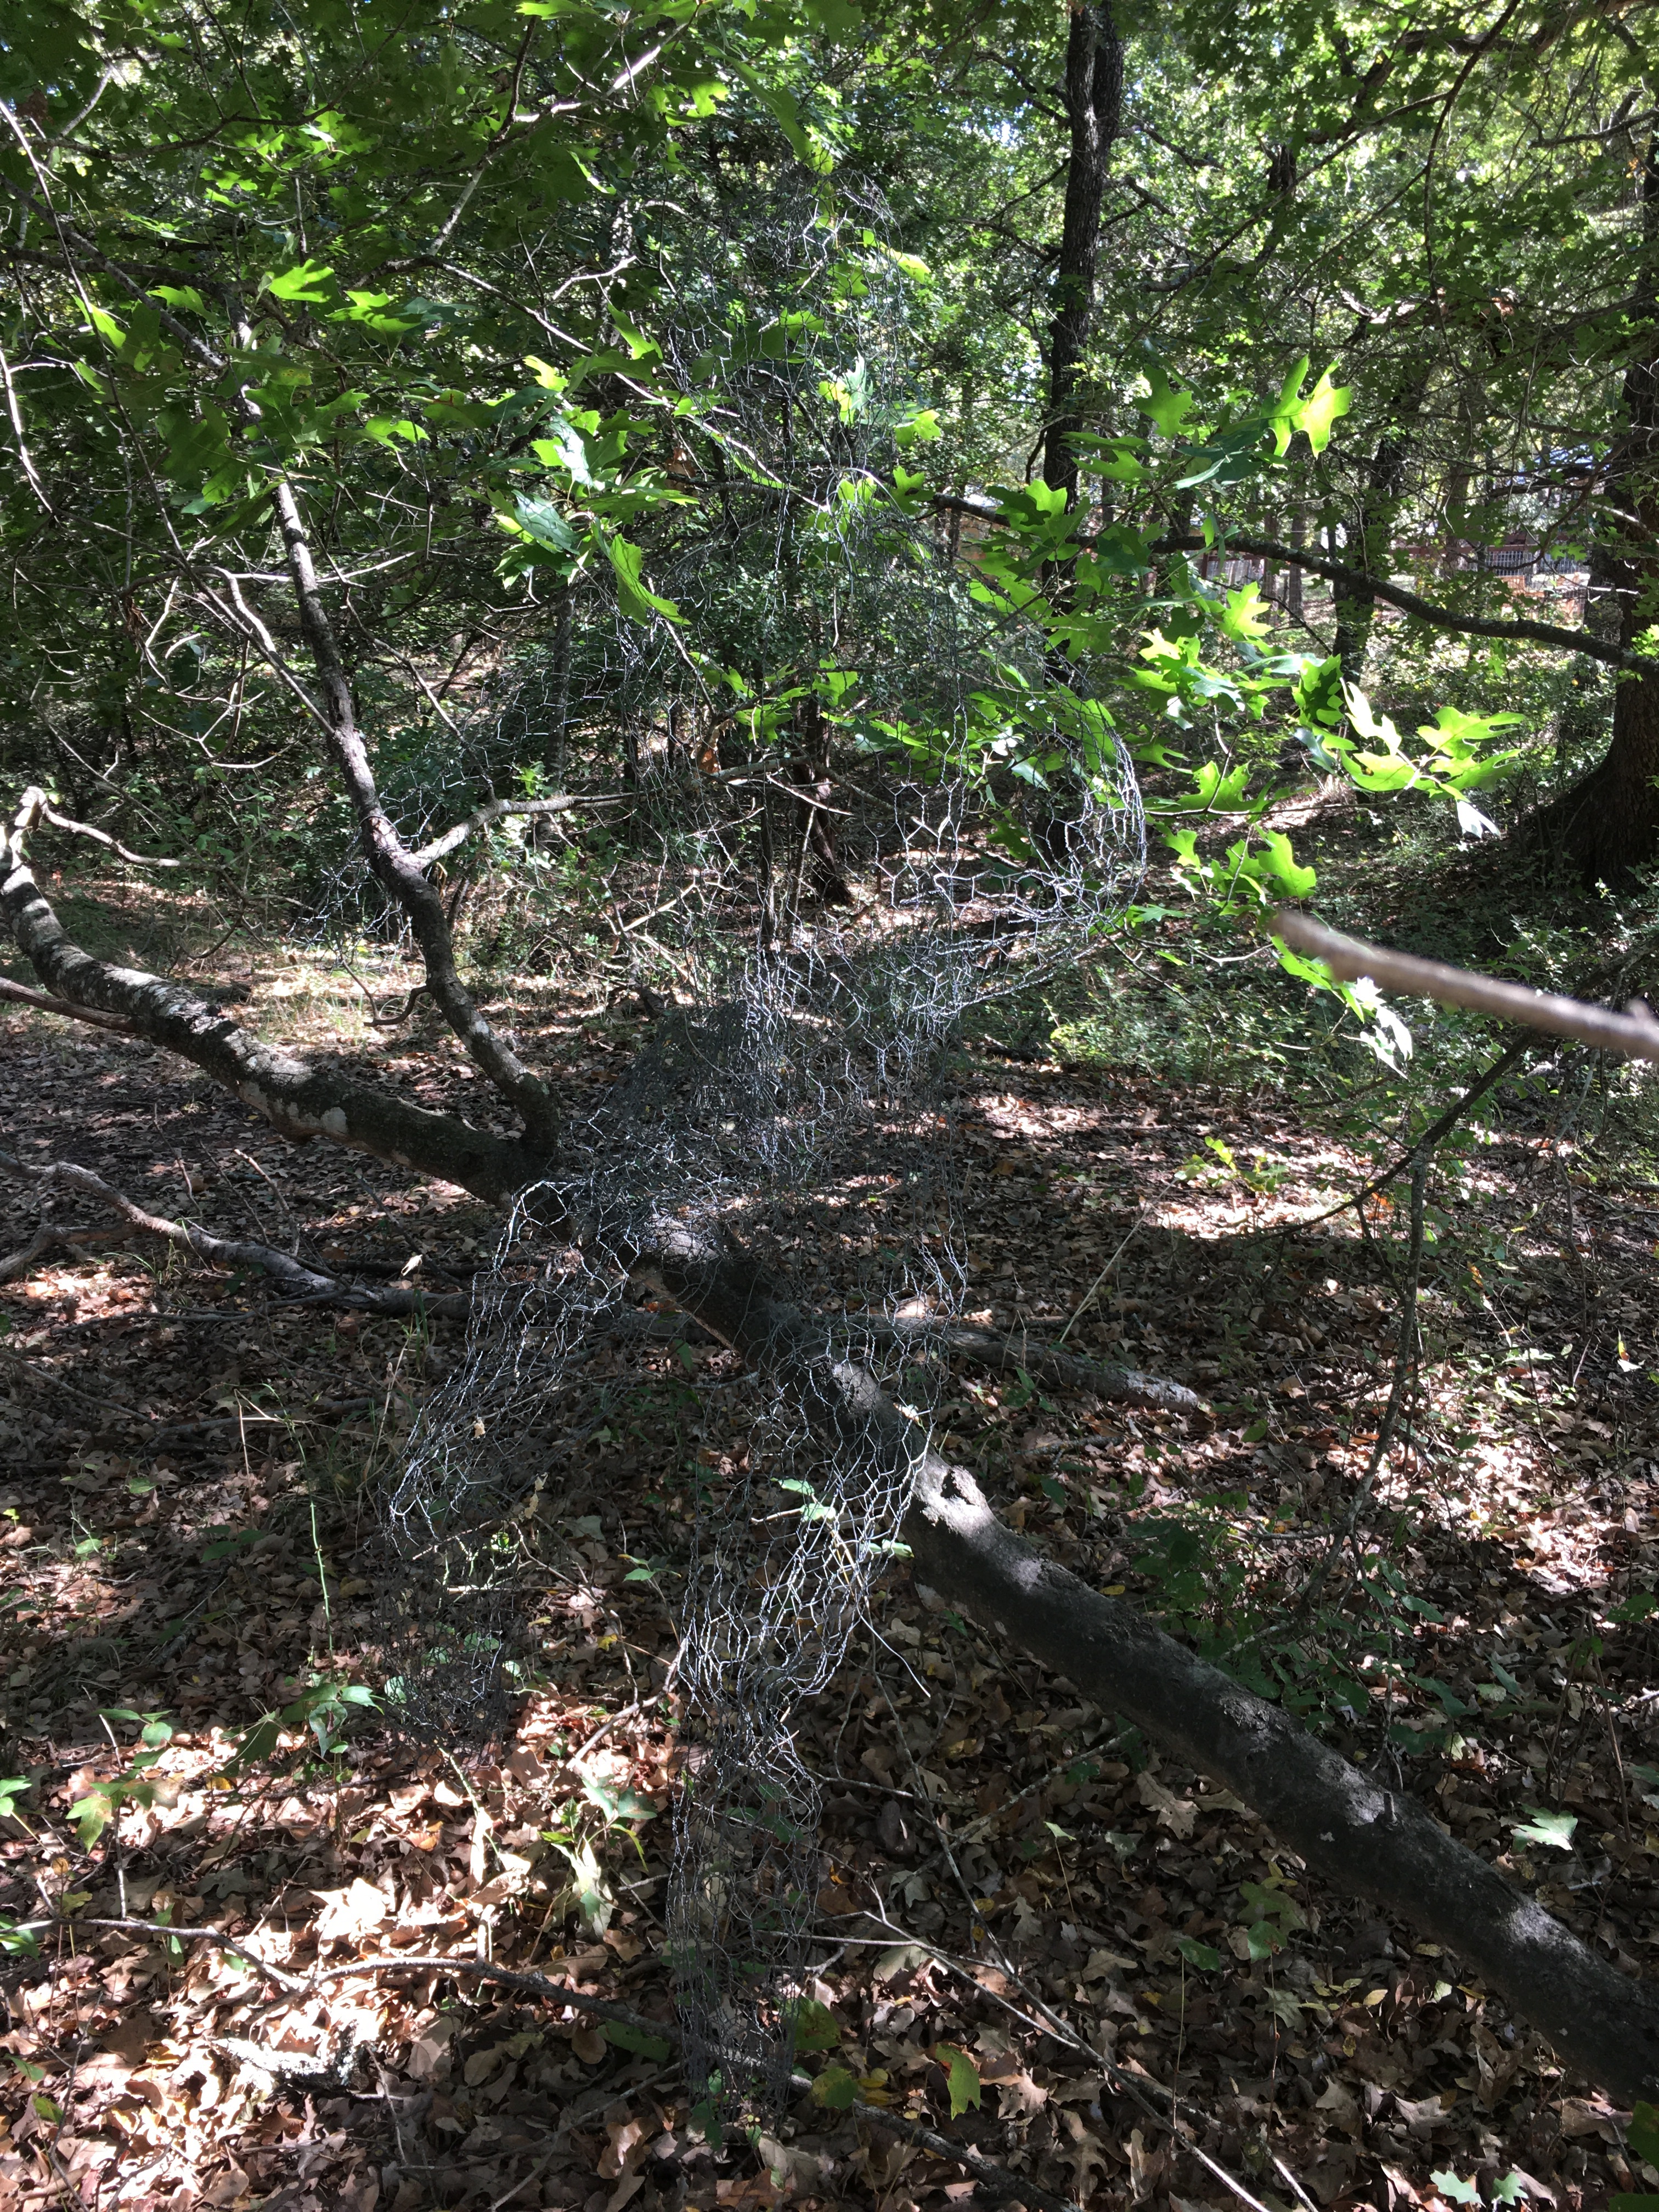
So I finally took down the scarecrow and his ghost mantel. Rather than store the whole kit-n-caboodle somewhere inside, I removed the hat and clothes and set the chicken wire frame up in the woods. Not just any old where, but sitting on a branch, waiting for next year. The gray wire is really hard to see in pictures, so I took a video too.
Wire humanoid figure sitting on a branch in the woods. Not creepy at all.
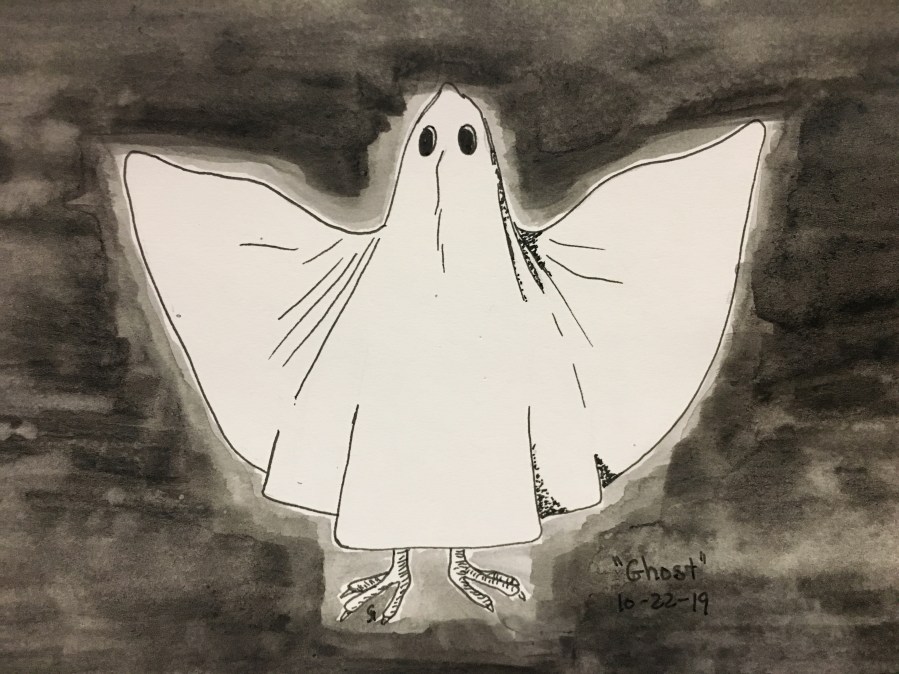
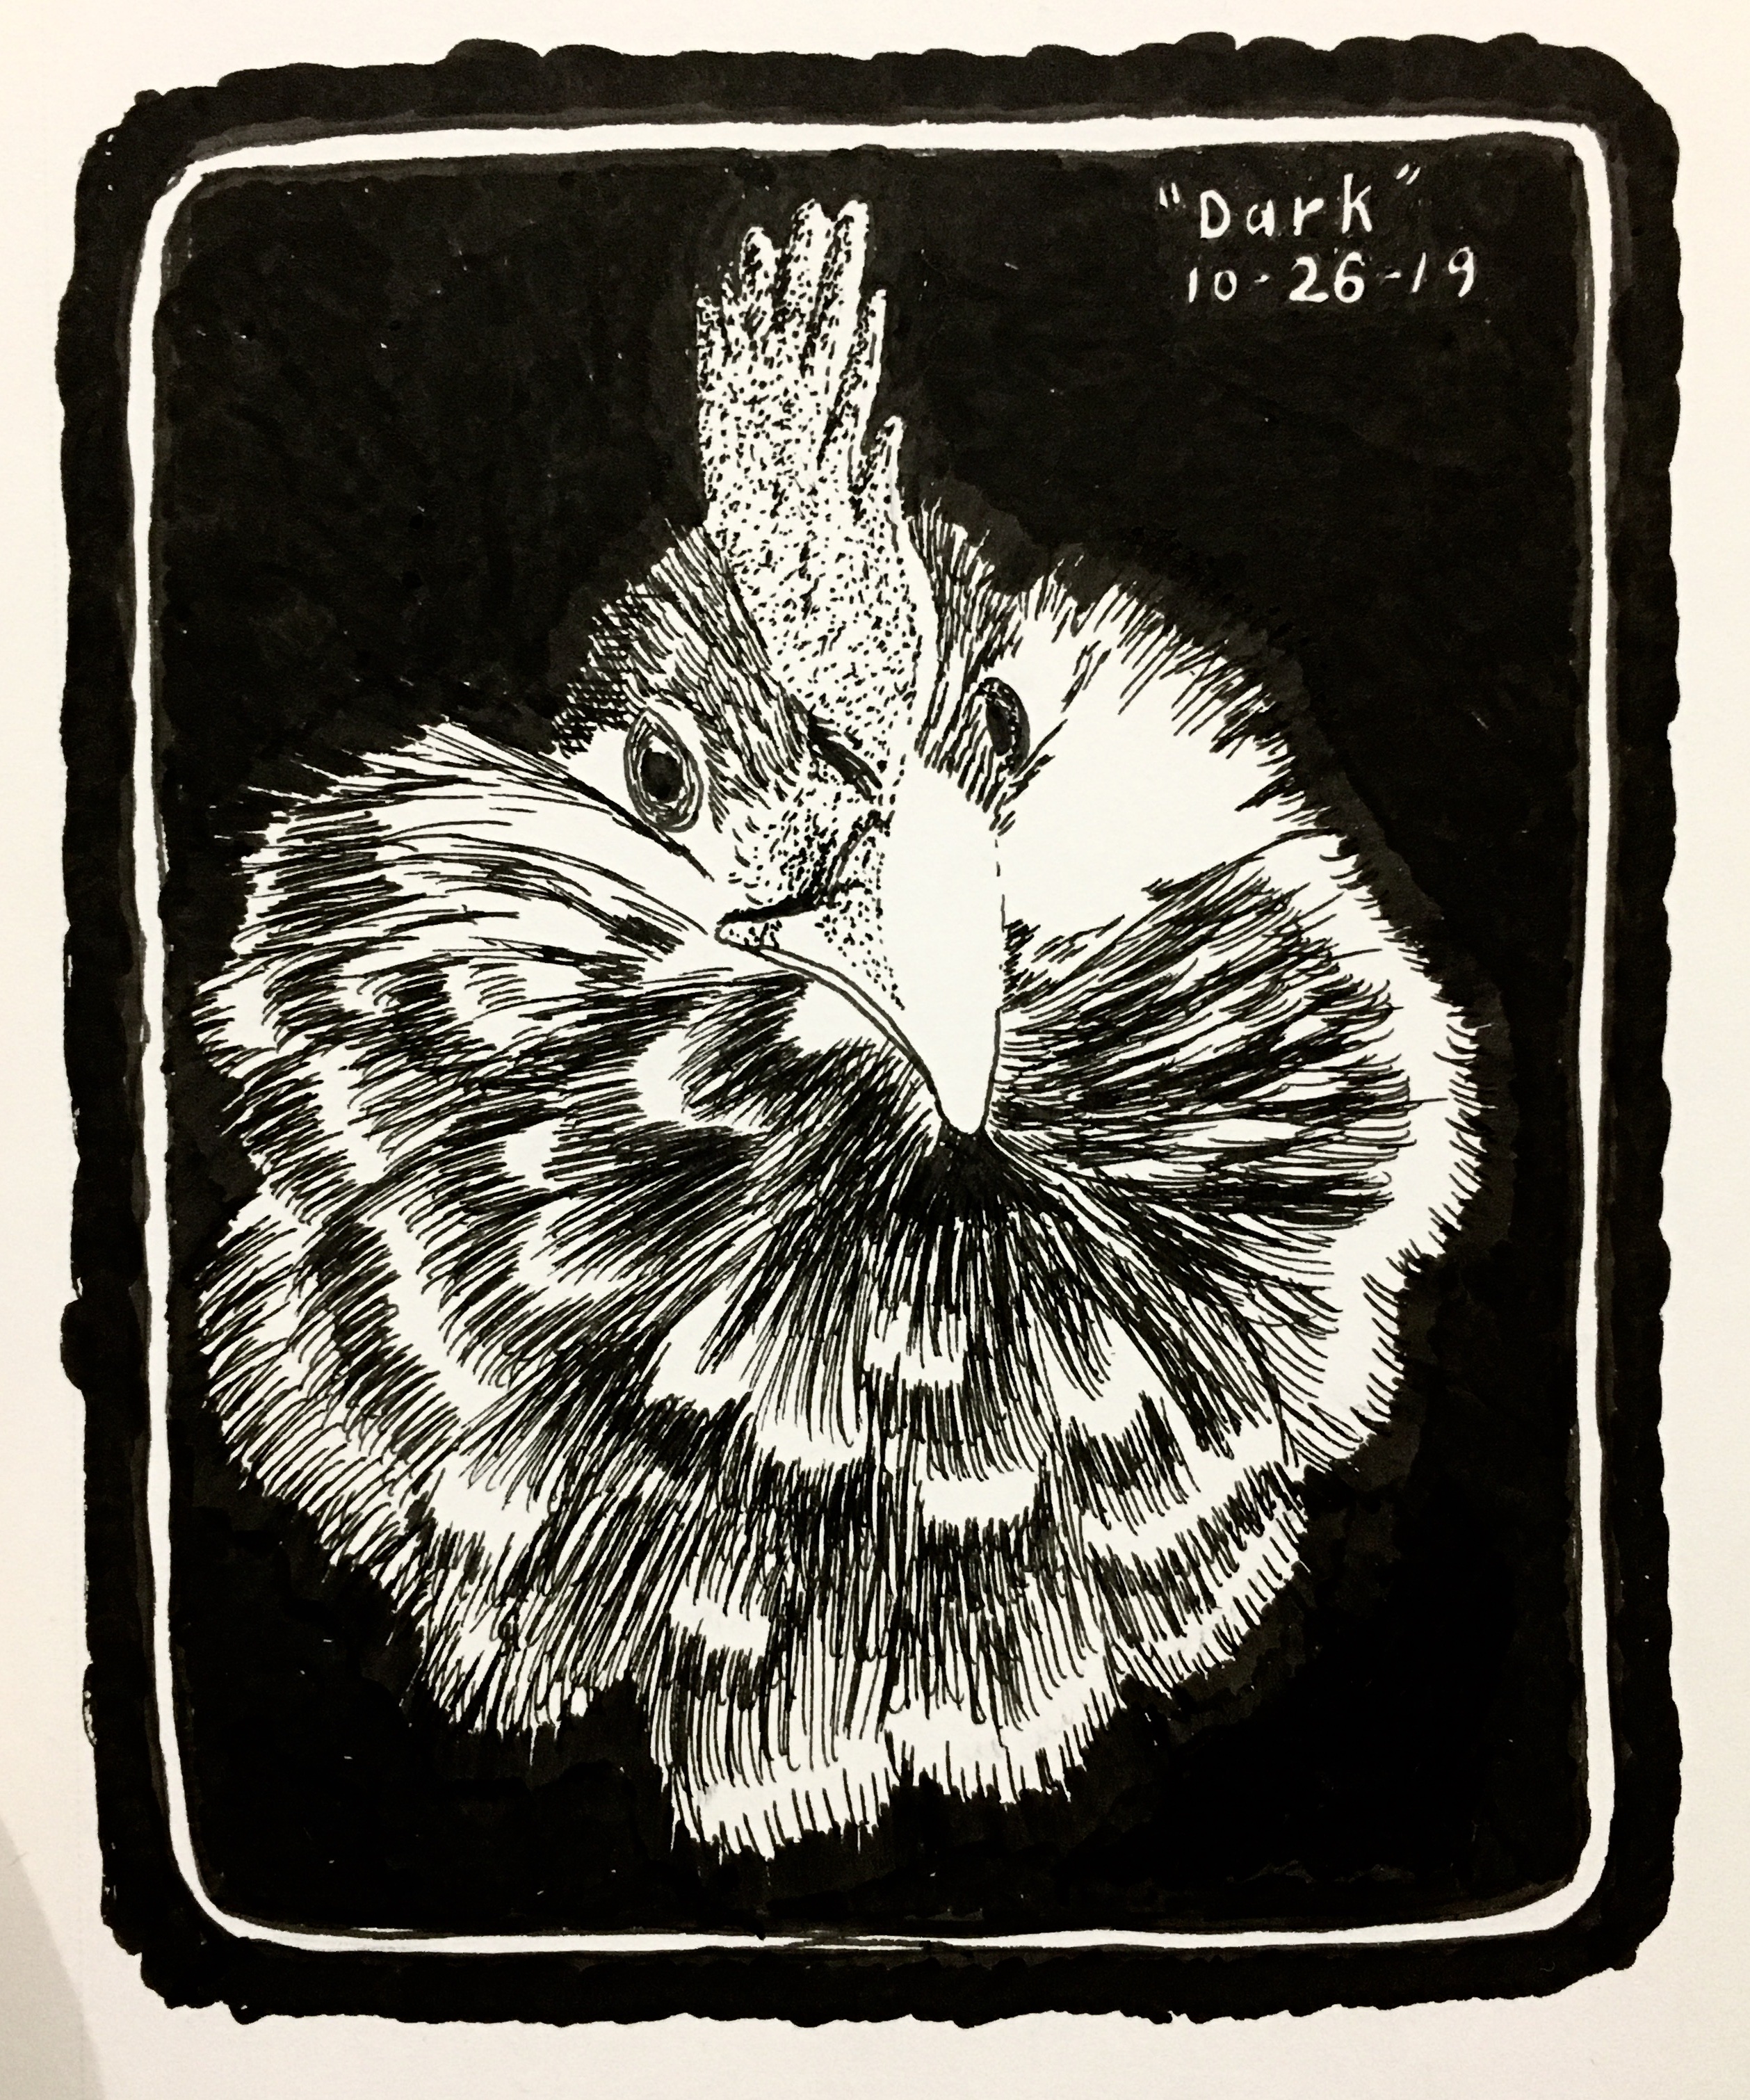
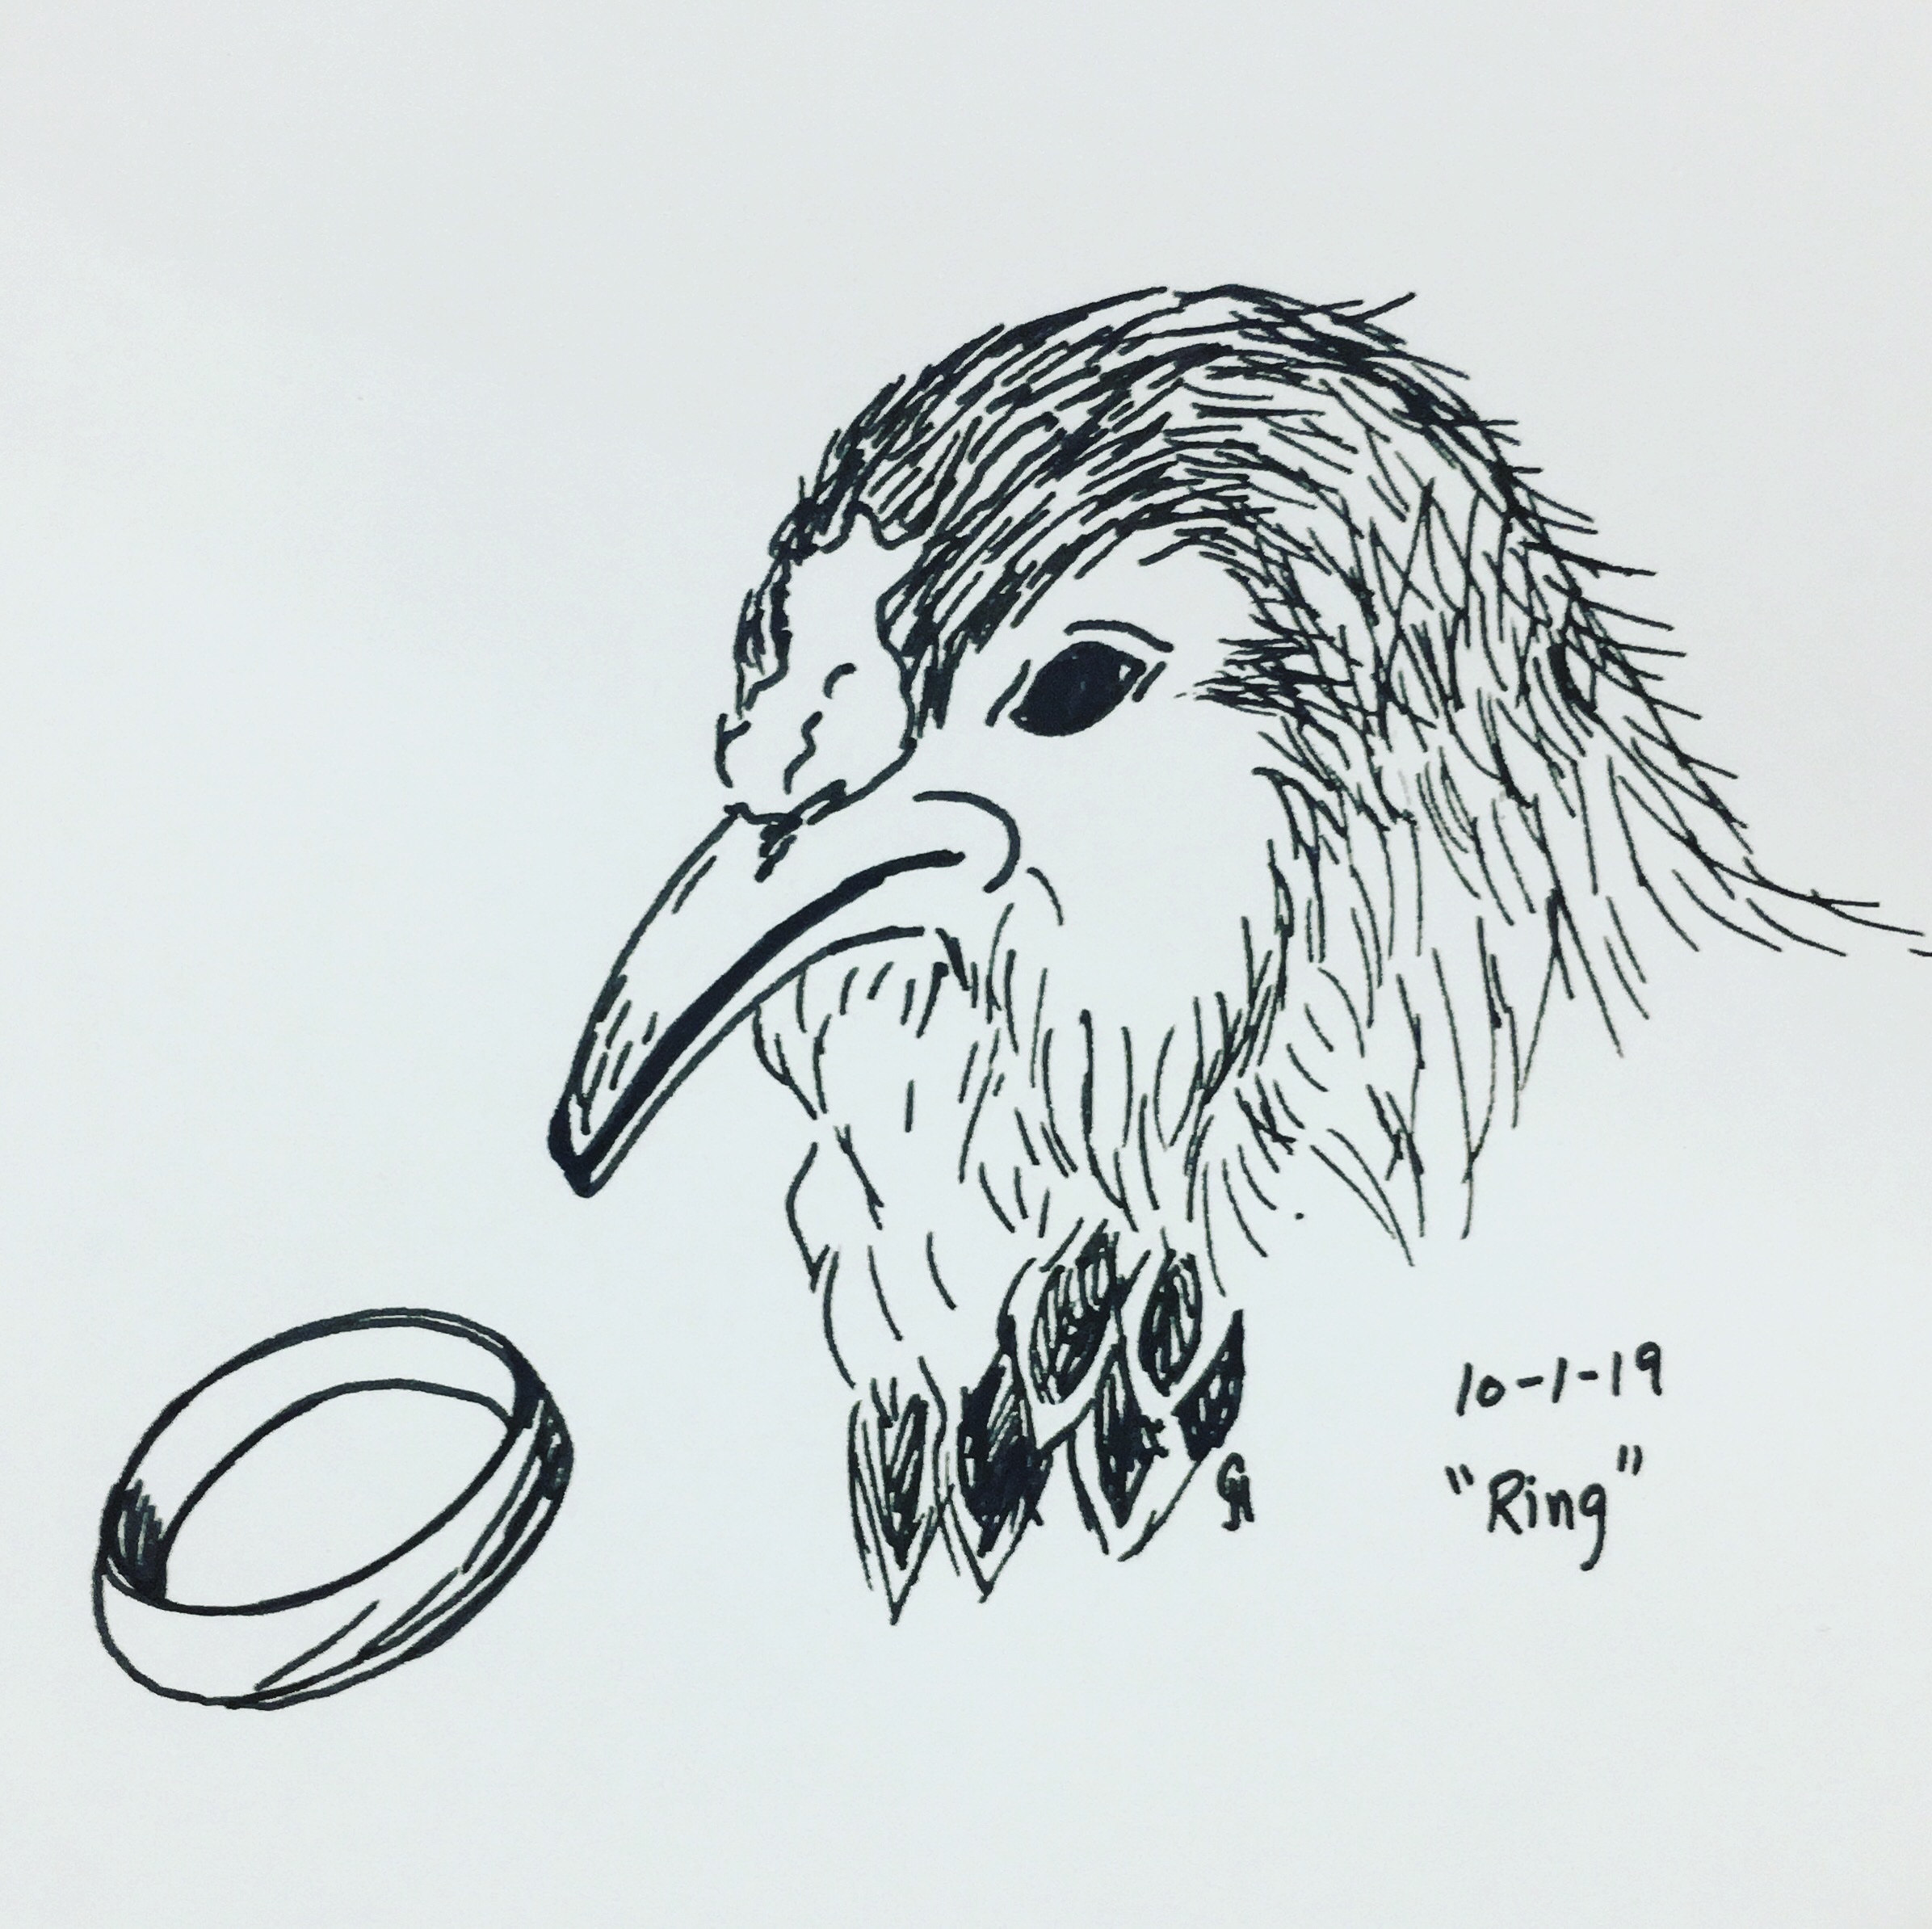
It is the last day of October and the last day of #inktober! Everyday this month I have made an ink drawing using the official Inktober prompts (of course my theme was chickens.) The daily practice definitely helped improve my ink drawings (especially when I decided to use pencil first!). I experimented with different pens, lines, shading, even filling in the background with ink using paintbrushes and paper towels. The practice was good, but ink is still not my preferred media.
Here is my best and the worst, and if you want to see more, hop over to Instagram and search #inktober. There are many amazing artists posting some eye popping work (figuratively and literally). And if you want to see mine, they are at @carynjhall.
My favorite drawing from this monthWorst and first